
Before setting your schedule, you’ll need to ensure the time is set correct on the Gree air conditioner remote.
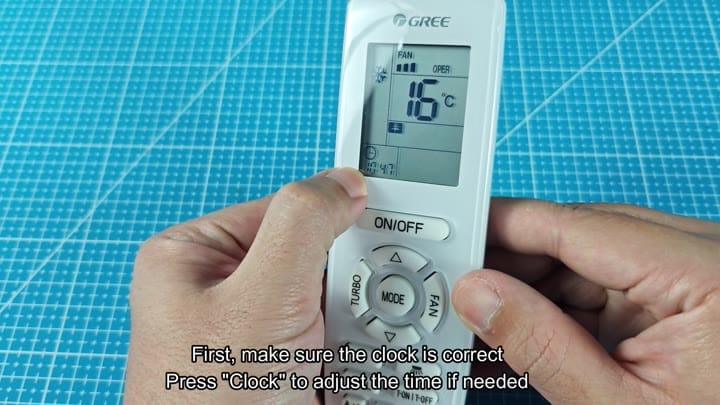
The timer settings won’t turn on when they should if the time setting aren’t right.
There’s a little LCD screen that will display the status as well as the temperature, and you can see what time it is currently. If the time isn’t correct on your unit, simply press the Clock button and set the time accordingy.
Setting the Timer Schedule
Avoid mistakes down the road.
Doing this one will save you from making mistake further along.
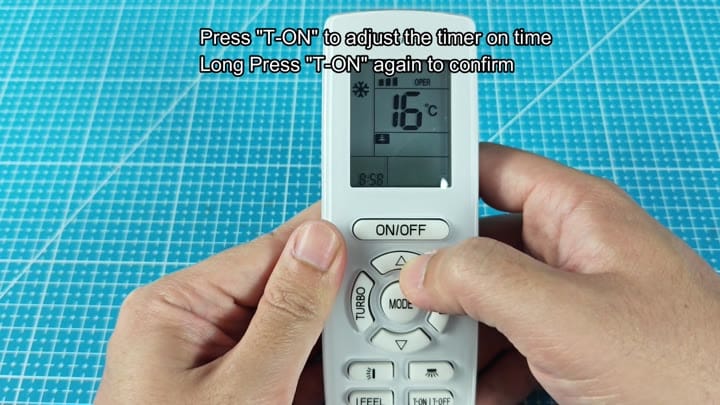
Pressing the T-ON button will allow you to set the air conditioner’s turn-on time. Pressing it again will let you change the time (the hour, then the minute) that the air con turns on. As soon as you’ve set the time, the screen change to reflect your chosen start time. Holding down the T-ON button for longer will lock in the time setting.
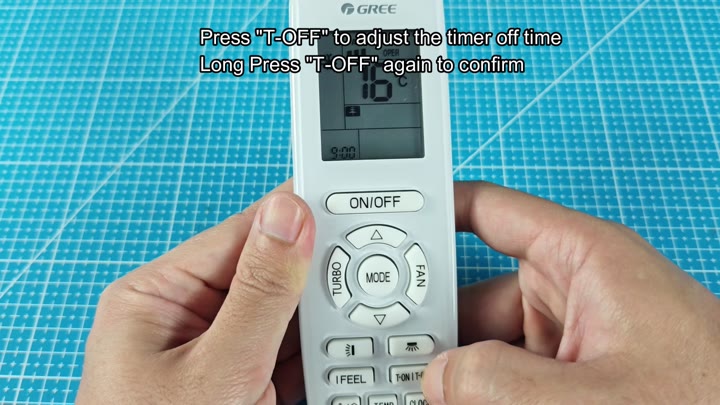
Using the T-OFF button, you will be able to specify when you want the air conditioner to shut down. Similar to the start time setting method, you’ll use the same procedure to change the digits on the screen to reflect your desired stop time. To save the new time, you perform another long press on the T-OFF button. If it’s correct, the remote will accept the new time and wait until then to turn off air conditioner.

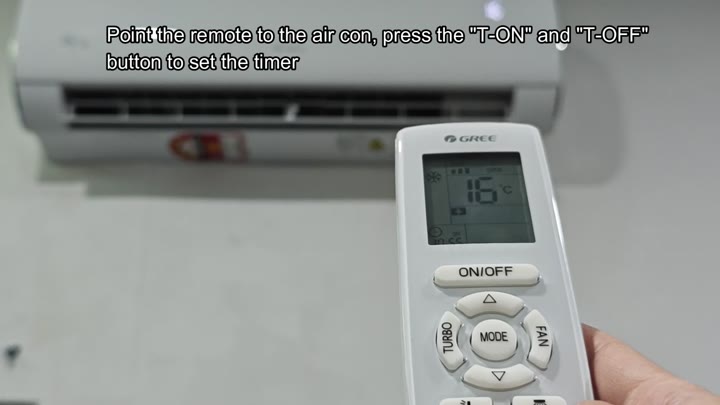
Once you set both times, you want to then transmit that signal from the remote back to the indoor unit. Point the remote at the wall-mounted air conditioner and let it emit its infrared signal to the receiver inside.
Then, once more, press the buttons to complete the programming. This will send the information from the remote over to the main unit, which will match the timers on the device with what you programmed.
This is a Gree remote.
Its interface is clean and doesn’t have a lot of complicated menus. You don’t spend time digging around trying to find some secret code or buried setting. The primary screen has everything you need in one place. It’s convenient and saves time.
After setting up the timer once, you can check that it’s working correct on the display. The ON and OFF timers (T-ON/T-OFF) is displayed clearly. After that, it will operate according to this schedule by itself. You don’t need to press a button and worry about forgetting to turn the air conditioner off. That’s the job of the timer.
The buttons on the remote give good feedback. They’re quite satisfying to press. The screen is illuminated well even when it’s dark. You should of checked the clock first to avoid errors, then use the specific button steps. It’s straightforward. The system won’t get in your way too much.
If you want to set the air conditioner to come on during specific hours each day, it works just fine. The controls aren’t complicated. You don’t have to browse through several layers of menus before getting to the timer option. It’s right there. Convenience is more important then complexity here.
Remote buttons are labeled clearly. T-ON and T-OFF shouldn’t be mixed up. Their purpose is clear, so you don’t really have to think twice about them. Start = start. Stop = stop.
Compared to other appliances, it’s easy enough to program the schedule. First thing: look at the clock. Avoid the obvious mistakes. Next, enter the starting time. After that, the stopping time. Then you send the command to the unit.
Instantly, the remote pairs with the air conditioner. Without hesitation, the unit recieve your commands. You know you’ve got it right. When the scheduled times arrive, the air conditioner turns itself on and off based off your T-ON and T-OFF settings. It’s an easy set-up.
Programming the timer was made simple. You do not need to look up a manual to use these functions. To make sure there aren’t accidental changes, the remote confirms the settings via a long press. That is a good choice.
Once programmed, the air conditioner will run on schedule without fail. There’s no need to remember to turn things on/off yourself. The timer handles everything reliablly. It is a bit of work, but it is worth it.
