
Give your old HP 14 notebook new life with a memory upgrade.
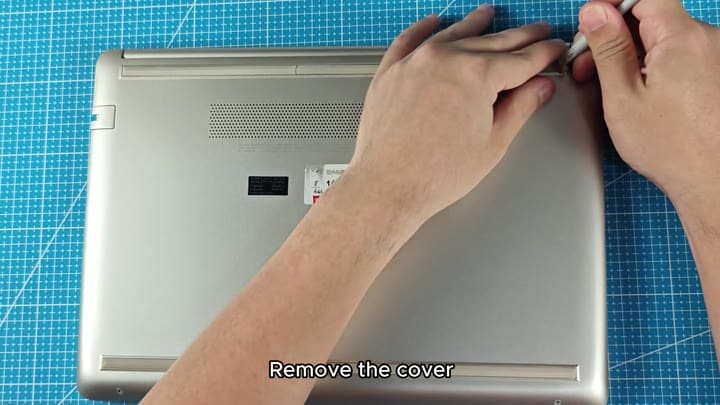
The computer is slow; adding some more memory will speed up things, without buying a whole new system. Before you do anything though, you’ll need to remove the bottom panel and get inside it. I used a small pry tool to work around the sides until silver chassis started coming loose from the body.
Installing the New Memory
Once that’s apart, pop open the cover (the clips come undone).
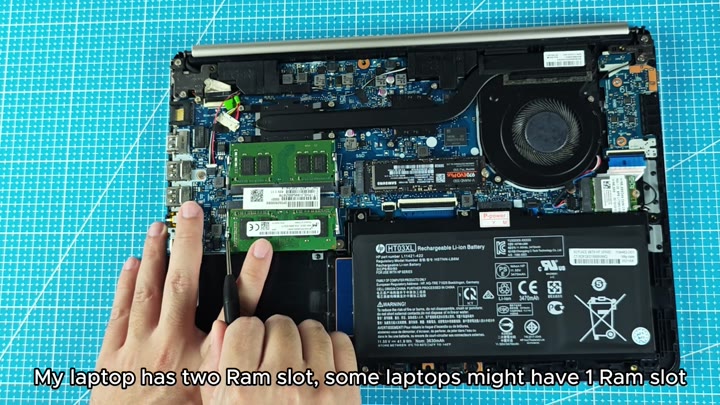
Removing the panel reveals the motherboard. For this HP 14, it’s a blessing that this notebook has not just one but two memory slots.
That’s something many new thin-and-lights do anymore: they’re limited in terms of expandability because they only offer a single slot. With two you can play with the capacity a bit more.
What’s currently in the system? Always check first. Then proceed with the memory modules.
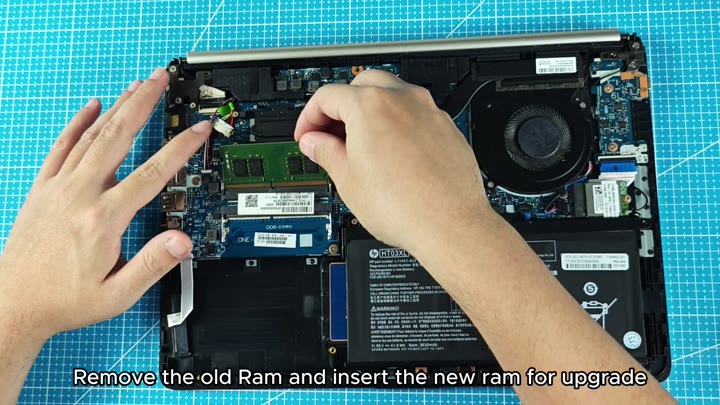
Slowly you let go of the side retention clips for the slots. At that point the old RAM pops out at a bit of an angle. Pull it off and lay it aside.
Remove the old RAM and insert the new RAM. You want to ensure the new RAM has its notch lined up with the key in the slot. Push it firmly into place.
Take it all apart
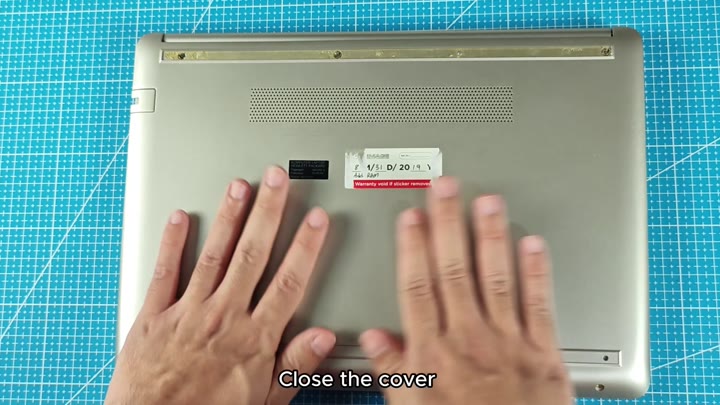
Now put it back together again. Make sure there aren’t any screws or tools in the chassis. Place the bottom cover onto the body of the chassis. Push down around the edges and the clips will snap back into place.
The warranty sticker on the back stays intact. Don’t worry, this isn’t a seal-breaking procedure that voids your warranty, either.
Then you test it. You fire up your laptop and let it boot all the way into Windows. The screen comes alive, and the machine make its usual startup sound.
Then you poke around in system settings to see if it registered the new piece of hardware. That’s the sign it installed correctly.
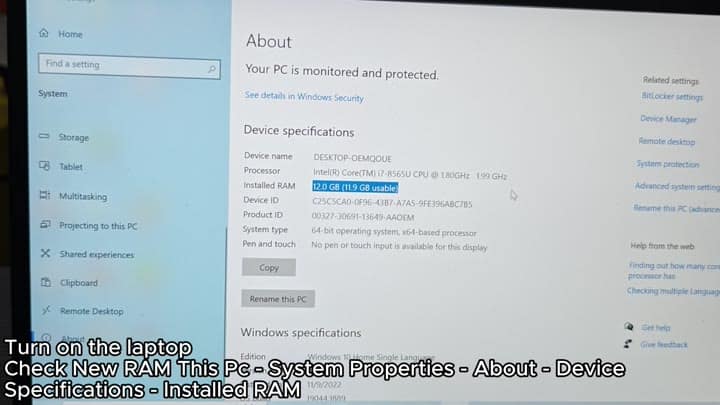
To verify the newly installed RAM, you go into the Start menu, select System settings, then look for the About section on the following screen. Under that will be the Device specifications area.
Here’s where you find your processor model (an Intel Core i7-8565U in this example). And here’s how much RAM is installed. In this case, the system reads 12.0 GB of memory, 11.9 GB of it available to the OS. That means the new modules is recognized and operational.
Bumpin’ up your laptop’s RAM doesn’t call for advanced engineering degrees. You just need the proper tools and some patience. Take off the cover, swap out the sticks, check the specs: it’s a straight-forward process.
