
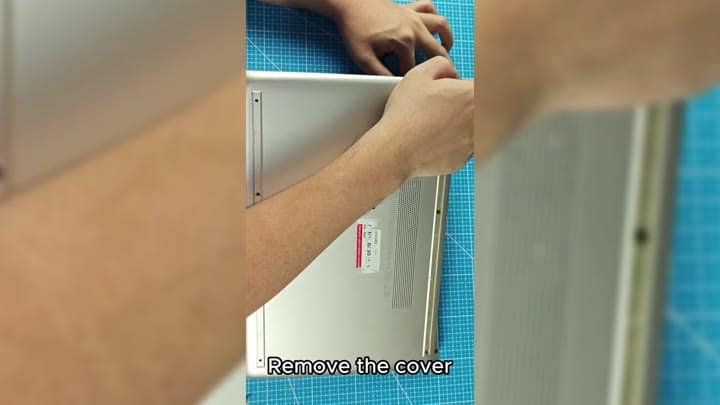
First thing up; remove the bottom cover. The cover has some clips on each side holding it down with a little more resistence then you might expect. It just pops off once you get a couple of those clips loose. It expose the insides of the HP 14. All you need are steady hands; no special tools are required.
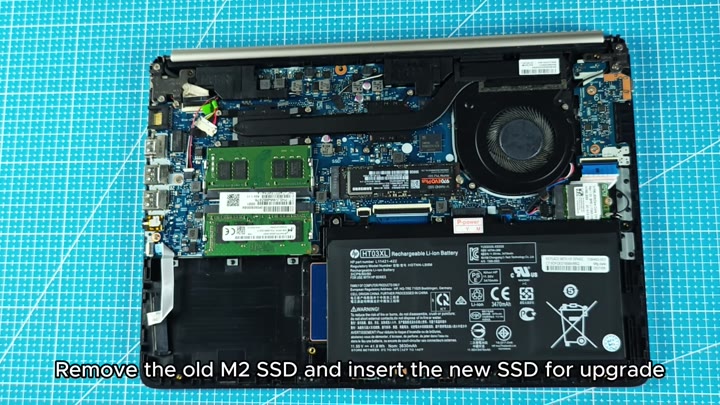
After cracking it open, you can see the motherboard entireley. Right by the battery, there’s the M.2 slot; your current SSD is also already installed and ready for removal. All you have to do now is remove that old drive, and install something faster. This look fairly easy.
Final Tips and Considerations
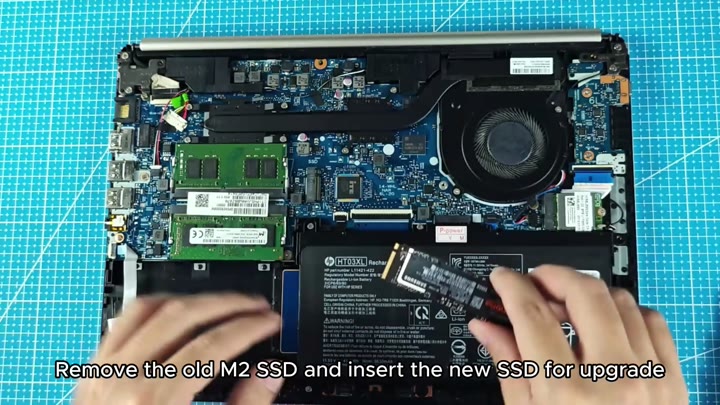
Slide the old drive out easily, remove the retention screw, carefully unplug the connector, and you’re good to go. Now, let’s install the new drive.
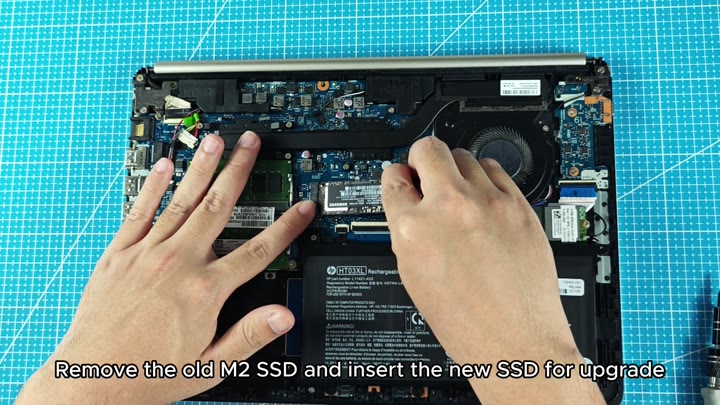
The new Samsung 970 EVO Plus fits perfecty in the slot; you just line it up and click it in. All that’s left to do is add the screw to hold it down securely and you’re all set with the SSD upgrade.
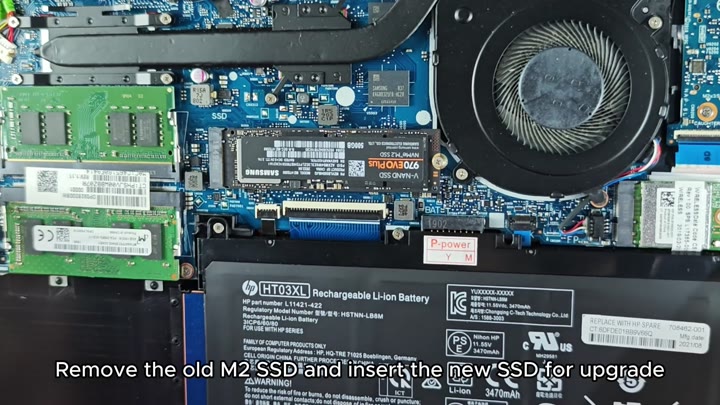
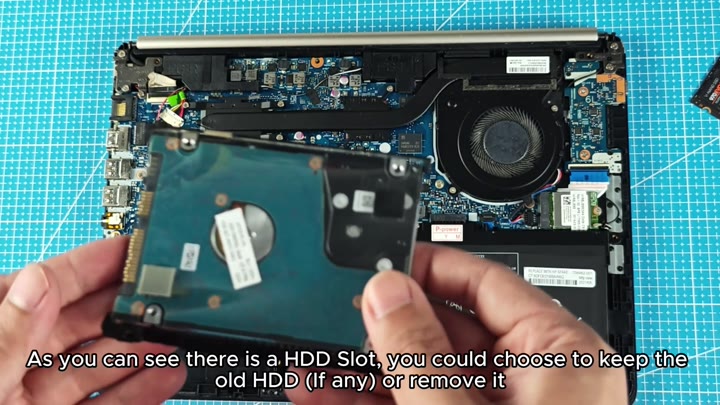
Once the new drive is in place, take another look at the chassis. Right beside the motherboard, there’s even a bay available for a ordinary 2.5-inch hard disk drive. This provide flexibility for additional storage.
Now you’re holding that old teal-colored HDD in your hands. Do you want a little more storage? Keep it. Not using it anymore and want to shed some weight? Remove it altogether. It’s up to you whether you decide to keep it for now.
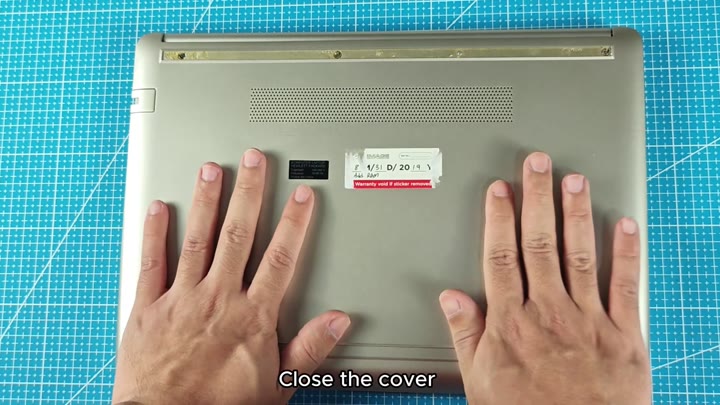
The cover comes off just as easily as it goes on. Simply line it back up on the chassis and press down firmly to engage the clips.
Now the laptop is as good as new.
Replacing the drive here isn’t a scary job either. It’s all laid out sensibly, and the access panel pulls free easily. There’s no need to remove the battery before messing with the M.2 slot, although there may be those who wants that added peace of mind. Nope (it’s right down to swapping time).
After removing the panel you get a good look at the SSD and also have easy access to the M.2 slot. The process doesn’t take too long and before you know it, you’re done, which will surprise you given how little work was necessary. Some laptops uses hidden screws or glue that makes this a nightmare, but this isn’t the case here.
The HDD bay matter here as well. If you wish to have a dual-drive setup then that’s cool too. Keep your OS on the speedy NVMe drive. Store your media files on the slow(er) HDD. This make perfect sense for budget builds.
You don’t monkey around with the RAM slots. Those appear undisturbed and seem secure. There is no noticeable dust buildup anywhere, and the cooling fan is in decent shape. The insides is clean.
Close the laptop. Leave the warranty sticker in place. Don’t tear it off when closing the laptop.
Many folks fear that they’ll void their warranty if they open the laptop, and in most parts of the world, opening the laptop doesn’t void the warranty. Opening the laptop voids the warranty if you mess it up.
It takes under 20 minutes. You’ve got the new drive. You’ve got your tools at hand. All you do is run through a few steps. It is an easy fix.
And now your laptop is noticeable faster. Applications load more quickly. Boot time has been reduced.
Please note that before purchasing that new drive, you should of verify what kind of slot you have. Those M.2 slots can be either SATA or NVMe (the latter being significantly faster). Make sure to get one that’s compatible with your setup. Some slots aren’t even made for NVMe.
The HP 14 is like a whole new computer. The older SSD had slowed it down considerbaly, and this speed boost has given new life to the device. No regrets on this one.
So if you happen to be rocking an old HP laptop, you might want to do this too. This is a great way to boost your laptop’s speed for a low price. No need to go out and buy a new PC. Upgrade the storage and boom. Done.
