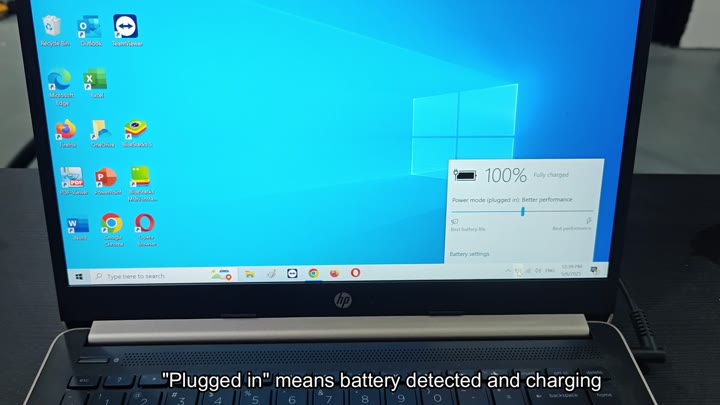
Since driver issues can be a frequent cause for power management troubles, you’ll want to check software side of things first on your HP 14 laptop.
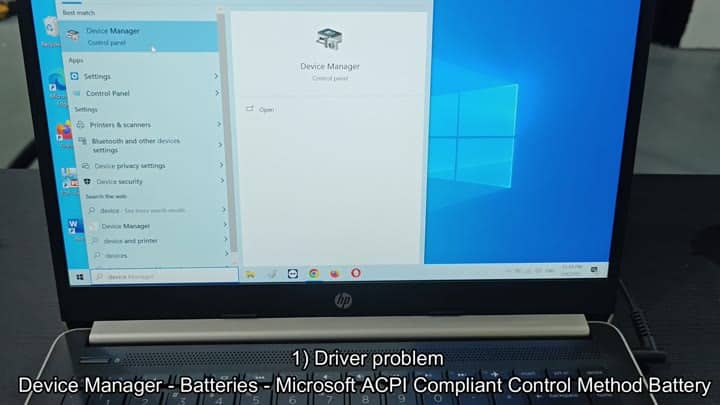
Did the power interface turn off, but the system didn’t tell you? Go to Start menu and type “Device Manager.” Select it from list. Does the system recognize battery part correctly?
Inspecting Internal Hardware Components
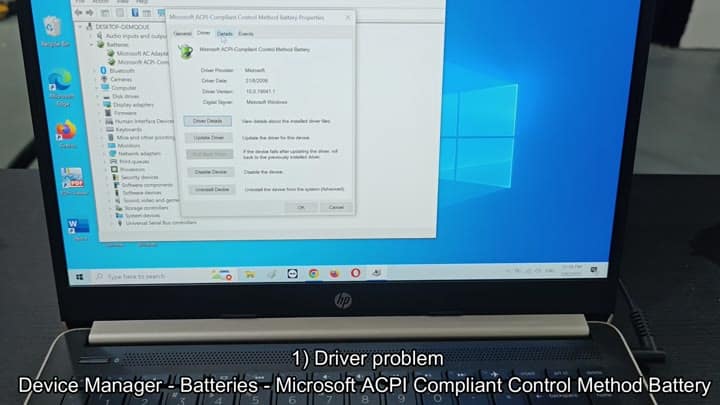
Next, go to Batteries section and find Microsoft ACPI Compliant Control Method Battery. Right click it and choose Uninstall Device. It won’t delete the battery; it will just reset driver configuration.
Uninstall and then scan for hardware changes to have Windows reinstalls the driver for you.
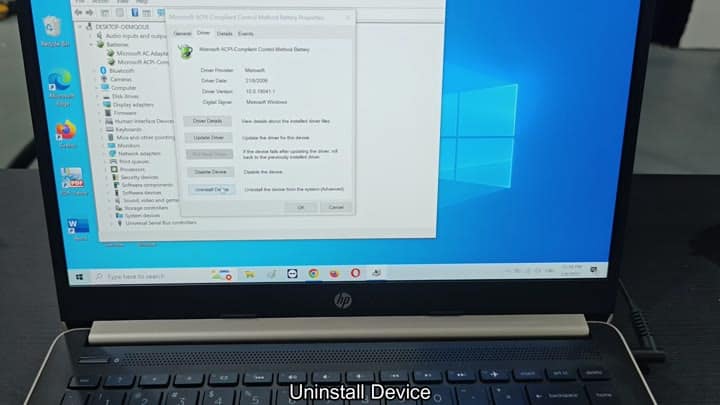
In most cases, that’s all it takes.
In case driver reset doesn’t help, it’s time to take apart hardware. Remove charger and check cable and brick itself. It could be that one of wires inside charger got broken, preventing any power from flowing in your laptop. Internal breakages cannot be seen with the naked eye.
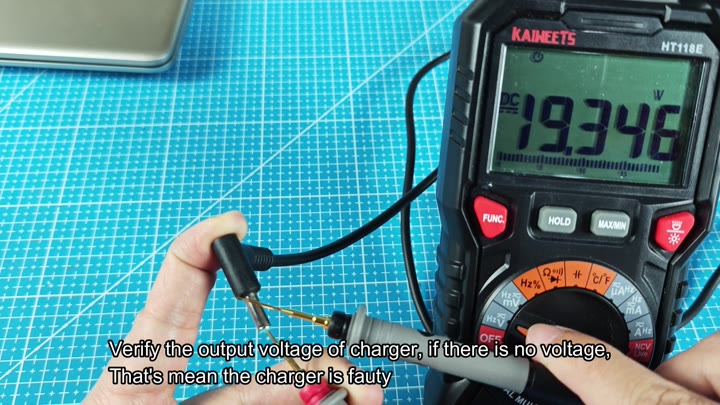
To test this, use your multimeter to measure voltage at end of connector. Zero means it’s dead. Check if your adapter output the correct DC voltage to make sure it is working correctly.
If inspecting physical components doesn’t fix the problem, then next we’ll look into battery itself. Lithium-ion batteries will degrade with age. An unhealthy battery won’t take a charge or will tell you wrong level.
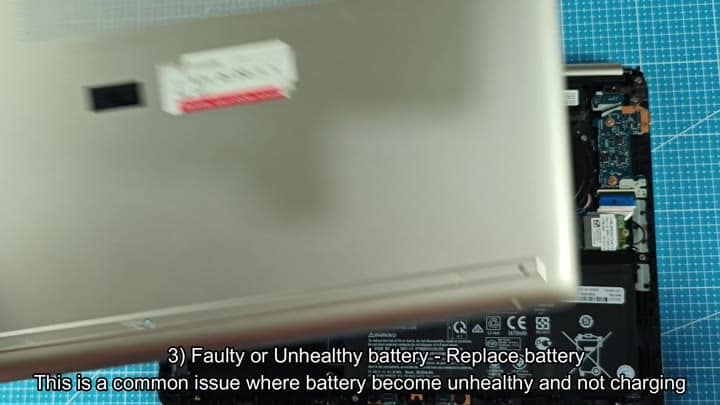
Open laptop casing to inspect internal battery.
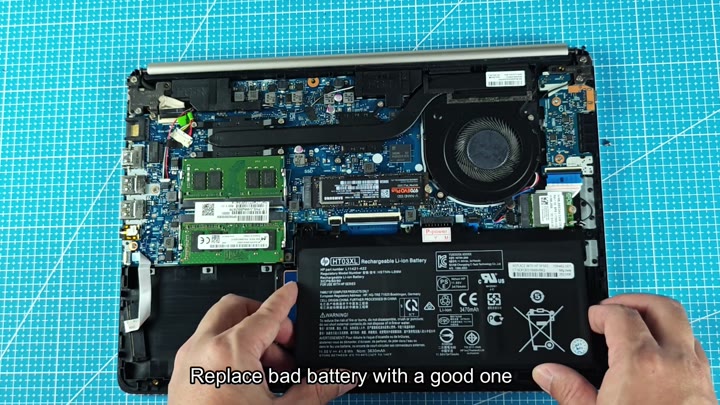
Take off cover on your laptop and look at battery inside. Gently take out old battery and look at it next to new one.
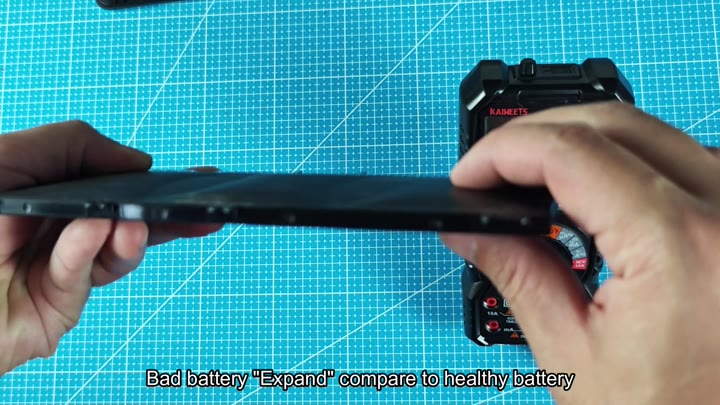
Look for any hint of a slight bulge in old one because if the batteries has expanded, then the chemicals are breaking down within cells. An old, swollen battery not only won’t hold a charge well but is also potentially unsafe.
A swollen battery is an inefficient and dangerous thing.
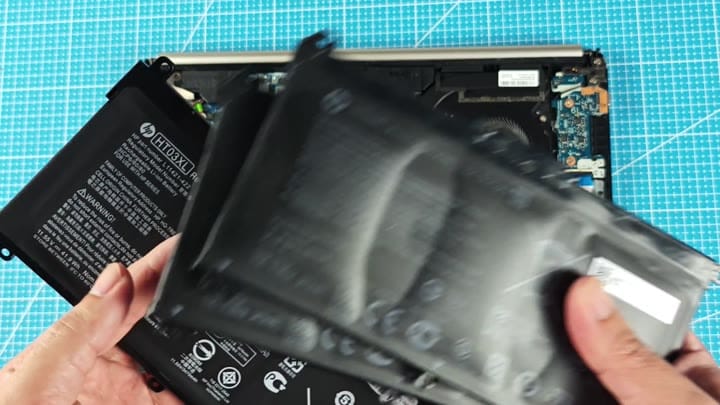
This tells us that it’s not a new battery, because new one is flat and the old one is expanded.
Remove old battery from computer and replace it with new one. Make sure that all of connectors are seated propery. Connect charger again and let machine discover new battery right away.
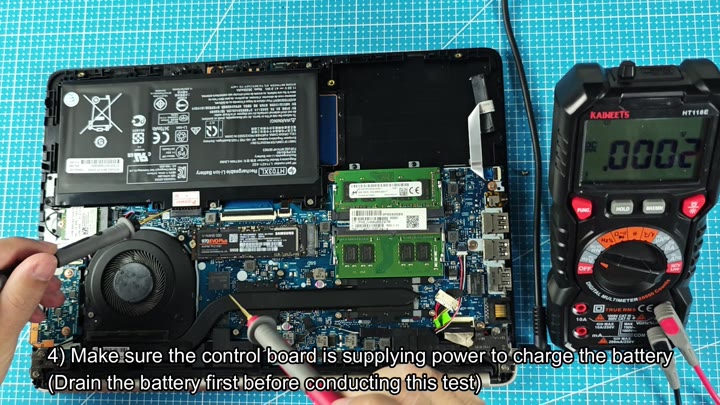
In most cases where the old cell was nearing end-of-life, this will fix it. Otherwise, you may have a bad motherboard on your hands. It’s possible that power board that sends electricity to the battery is broken. When this happens, no juice ever makes its way to the cell. To test for that, fully drain battery first, then check for a charging current rather than any leftover power in the battery.
With a multimeter, probe battery connector on motherboard to check if board is supplying power. Does it have current flowing through it? If you read zero then your motherboard isn’t providing the current. That’s an issue further down the line.
In many cases, the board sends power correctly once the new battery are in place. You’ll see the percentage increase and you’ll see status go from “Not charging” to “Plugged in”. Shortly after that the screen will say “100% Fully charged.
After charging it right, laptop is good as new again.
Most of the time, it’s a bad battery and the need for a fresh hardware install, but more often than not you should of worried about replacing charger or motherboard if it’s still working. Avoiding repairs you don’t actualy need is always a plus.
Check easy things first. The easiest place to start is with battery health. You may be able to reset your drivers too.
Always check obvious before assuming the worst.
Luckily, most of these problems can be solved with basic troubleshooting.
There is a solution, but it takes time to go through items one by one.