
Rebooting your 8th Gen Kindle is as easy as navigating to a few thing on the menu, no tech skills involved, just knowing where to click. First tap the screen so it wakes up. It will prompt you to register the device but don’t do that yet. Just try and find system controls.
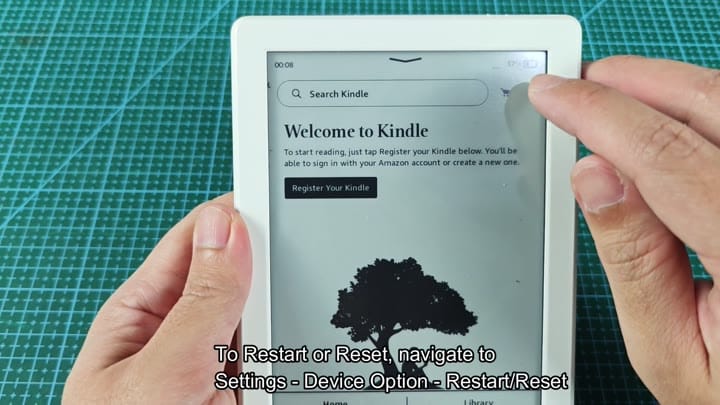
It seems simple enough at first.
Restart vs Reset differences
Next you’ll tap on the settings icon. Instantly, a bunch of things pop up in the main menu: wireless, account info, reading options; lots of stuff. Scroll down fast and your finger will land on Device Options. It is about midway through the list, so it is a good spot to look.
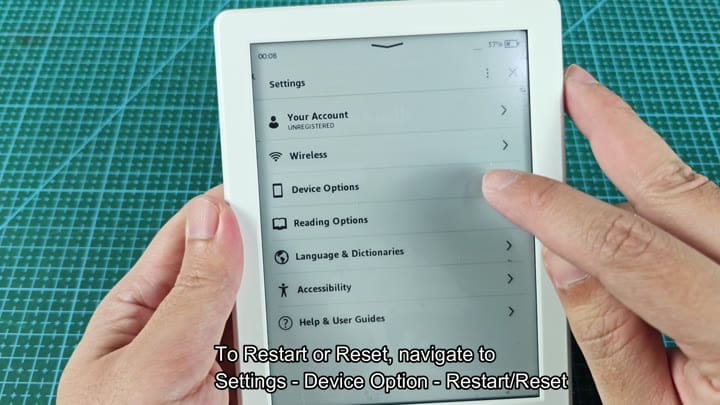
Without thinking, you tap it.
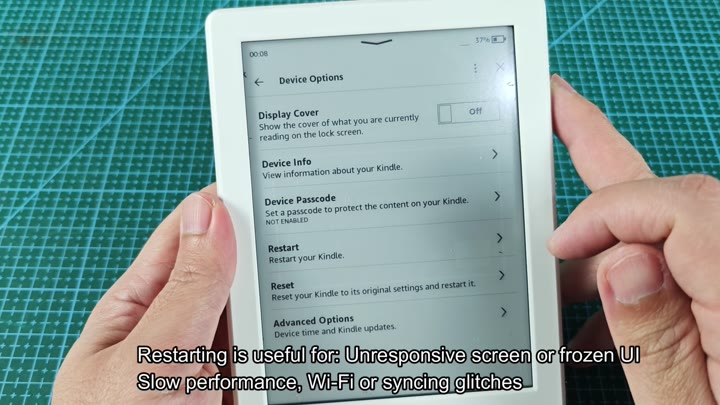
Now you’re on a new screen that’s full of options like passcodes, device info, and display settings. Scroll down further and you’ll see two button at the bottom of the page that stand out. They look alike, but are very different.
One of them is called Restart. The other one is Reset. And knowing when to use each button make all the difference in the world. If there’s a small glitch, restarting won’t affect your data; resetting will wipe everything clean.
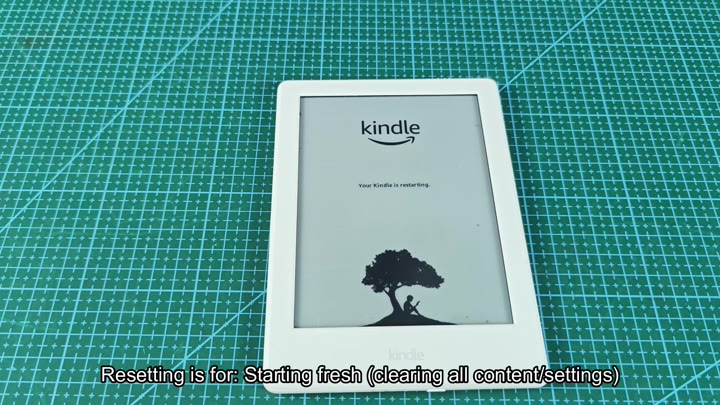
So when Wi-Fi goes haywire, or the screen freezes, you’re going to give a restart a shot. It’s like the system’s own get out of jail free card. You hit that Restart button, and the device pause for a second. And then the logo comes on, and the tree animation begins to play. Now it’s rebooting the thing.
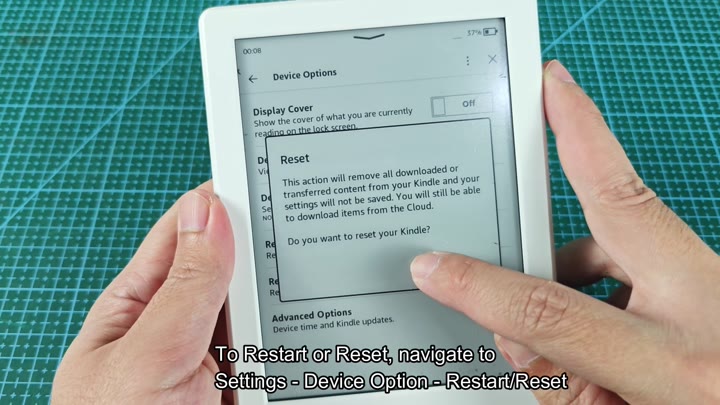
You take a moment to let it come back up and then look at menu once more. You return to Device Options and tap Reset this time. A warning dialog box pops up telling you that settings wouldn’t be saved and content would be removed. It’s a serious step; you’re starting from scratch. But just seeing the warning helps. You don’t confirm it yet.
A warning dialog box appears, saying content would be removed and settings would not be saved. This is a serious step that mean starting fresh. You do not confirm it yet, but just seeing the warning helps.
Now, if you sell the device, then reset is what you do. Or if it’s really broken and won’t work at all anymore, you’d reset. It resets your Kindle back to its out of box state. This means it gets rid of everything. All of your stuff. Your notes, your books, etc.
That’s the nuclear option, but the process is actualy faster than expected. So remember, it’s not a fast solution.
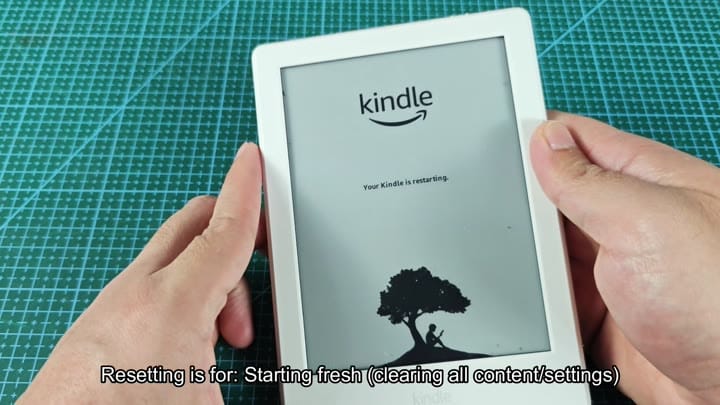
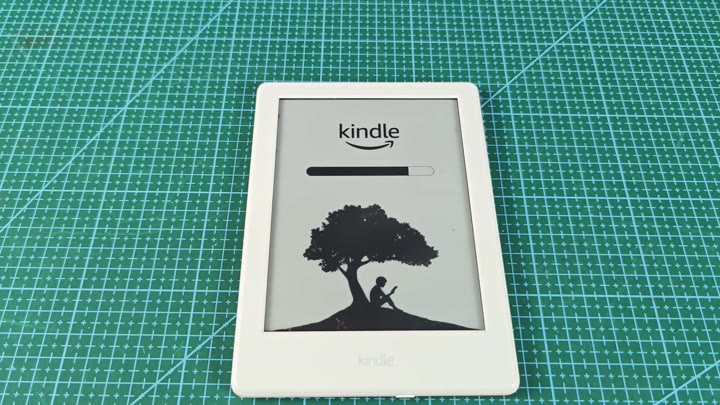
The reset process is actually pretty quick. The screen turns black, then the logo comes back. Then there’s a progress bar on the bottom, which slowly fills up. The Kindle starts wiping itself. You sit there patiently, and it does it nicely.
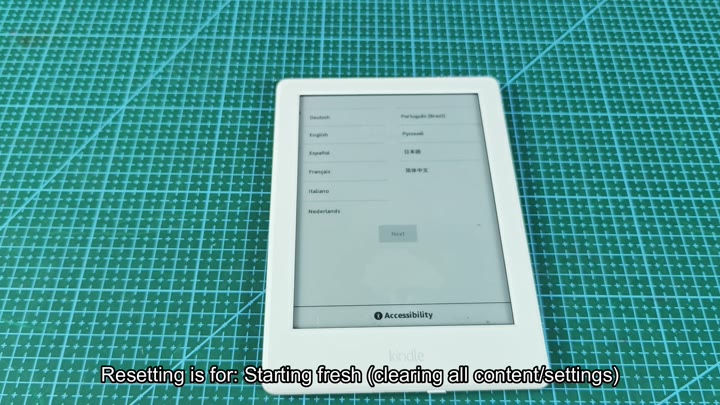
When the bar fills, the next screen appears. It wants you to select your language. There are options for English, Spanish and French.
Again you choose English. It is weird, yet refreshing, it’s almost like recieveing a brand new device. Your Kindle is now ready to use. The process is finished. Easy fix, not much to it really.
Good to know we have both now. Reset for big problems, restart for little ones. The way forward is clear. Tap Settings. Then tap Device Options. And then you decide. It is not complicated whatsoever.
You feel confident now. When next the screen hangs, you’ll know exactly what to do. There’s no need to panic. Just tap and wait.
It worked.
Within just a few minutes, it’s all over, and suddenly, you’re happy about how simple the process was. Kudos to Amazon for that. Everything is clearly marked; the menus make sense. There’s no way to screw things up, and everything ends up nice and neat. Now your device’s running great and you like what you see. It is good enough.
