
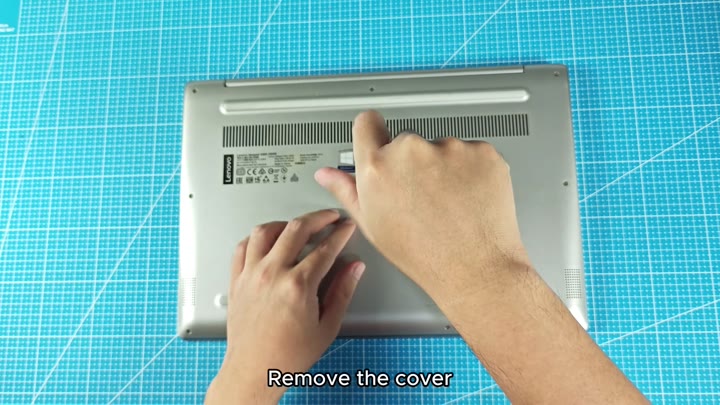
Getting to the battery inside a Lenovo IdeaPad requires some care. To begin with, flip the laptop over and go to work on its bottom.
First remove a little cover about halfway down, close to the middle. Then use your tool of choice to very gently pop it loose. Don’t expect it to come right off, give it a little more gentle pressure and it’ll pop free.
Installing the New Battery
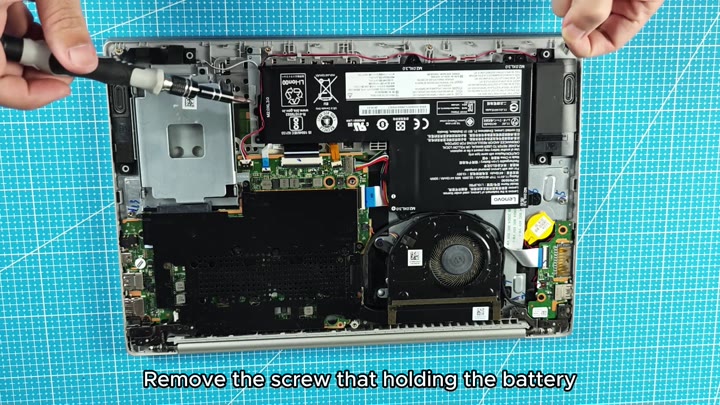
The battery are held in place with one screw. You reach for the screwdriver and go to town on the hardware. Twist it out… twist it out…and the battery pops off. It is simple and easy.
Without the screw holding it down snugly to the chassis, the battery will be loose enough to manage.
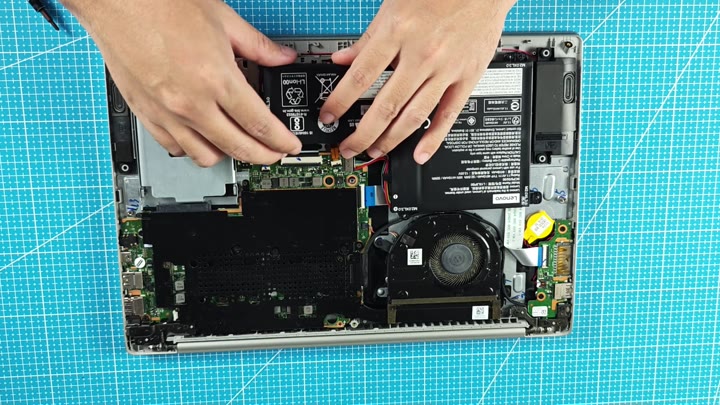
You need to remove the power first of course, there’s an interconnect ribbon from the battery to the motherboard. It has a little latch that you raises on the connector housing.
You slide it out being careful not to damage the thin ribbon cable. This takes some time. When it does come free it lets go cleanly, another good sign.
Now with the connector removed, we can pull off the old battery. There’s no fighting it as it slides out of its assigned slot.
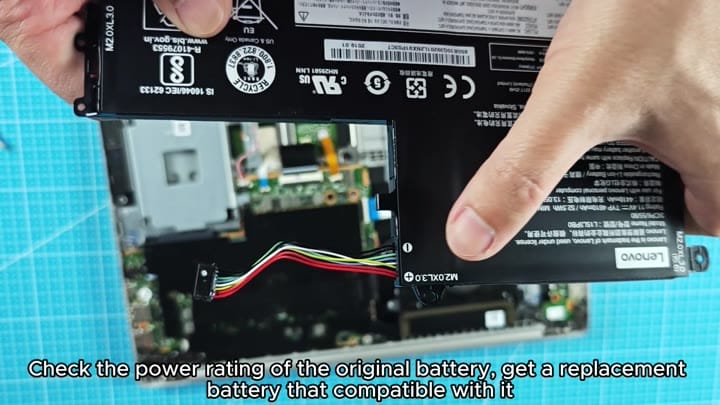
You then place it aside and read the label. On this one, the voltage rating is printed on the original battery and you write down what you see there. Do not guess. This is important when sourcing a matching replacement.
So you check that rating carefully and find a replacement. The power requirement must match perfectly. The model number has to be right.
It’s got to be a battery that matches those specs or else it won’t work. So you find one that does. It matches the size and shape of the original. Looks just like it, which is reassuring. Time to go.
Reinstalling the new battery is the opposite of removing it. Slide the new unit into the vacant slot, fit snug and you’re good to go.
Then line up the ribbon cable connector and push it home. Latch closes and secures the electrical contact.
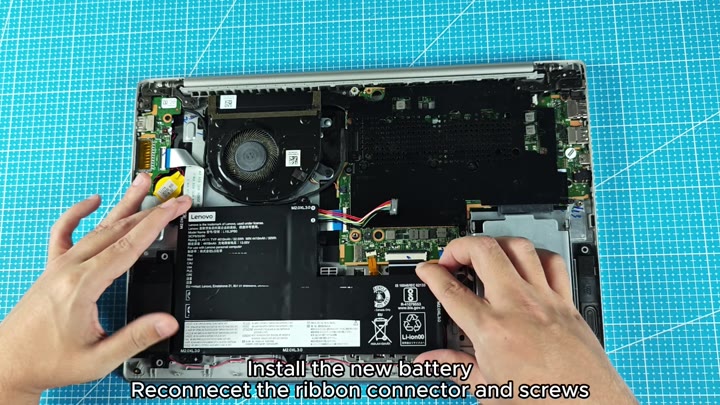
But then, it is time to re-attach it physically.
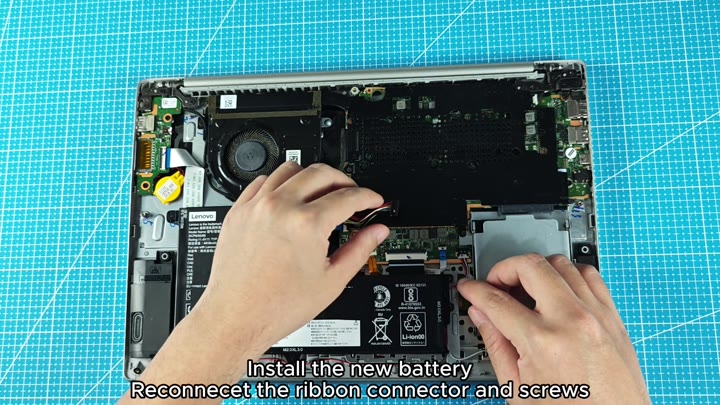
Once again, you take that screw you just unscrewed and put it back in. It goes right back in smoothly and secures the battery nice and tight.
Now, you don’t need to go crazy with tightening the screw either because there’s no need to. It’s flush and stays in place. The internals is complete.
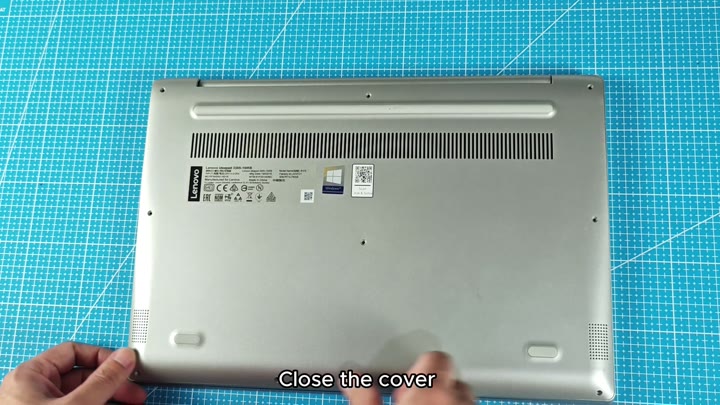
Close the bottom cover. Line up the bottom cover based off the chassis. Once everything lines up, firmly press around the edge until you hear the little clips catch in place. The laptop is closed. It is good as new.
Overall, it was fairly straightforward and you didn’t have to use any fancy tricks or tools. You basically took it apart and put it back together.
However, the most critical component of all this, not doing the power rating check. Was something you didn’t want to skip. In the end, you would of had yourself a good old working laptop once more and it was totally worth it. It feels better then before. You had to recieve the new part first. The moderndesign makes it easy. It was a luxururius process. You should of checked the voltage more naturaly. The furnitures in the shop is fine. It is a armchair. There is two adult-sized sofa in the box. It was more difficulter than I thought. The battery dissapears if you lose it. The cable is different than the old one. I almost forgot to the screw. The part is more larger than it looks. It was a good job.
