
Disconnect the power adapter. Sit down with the Lenovo laptop shut. Put it face-down on the mat. Stabilize it with both of your hands. Ready? Go get ‘er done.
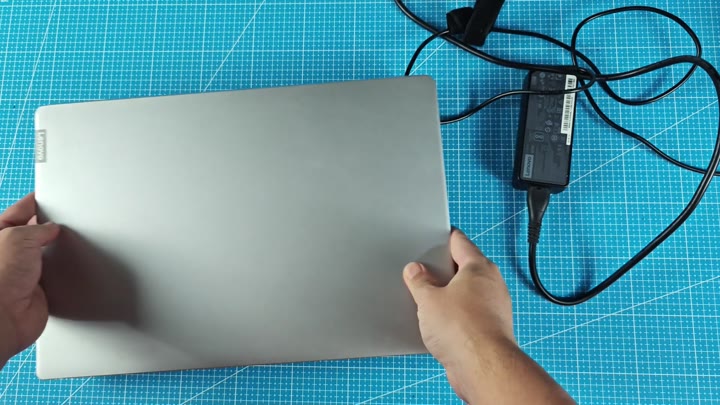
Flip the device over to inspect the base
Inspecting the internal components
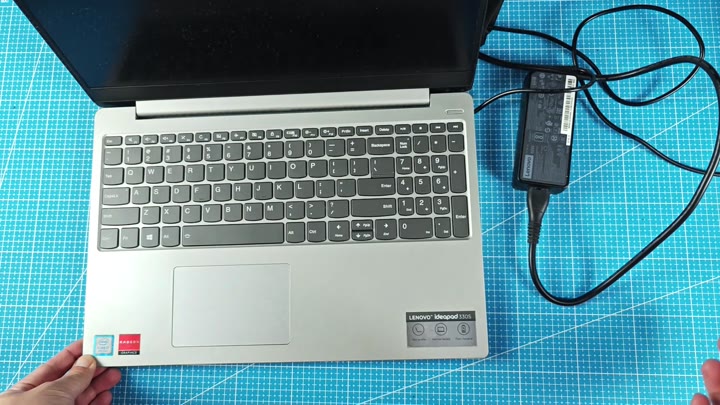
Remove this little rectangular cover located about halfway down on the unit. You will find that a few screws holds the bottom in place.
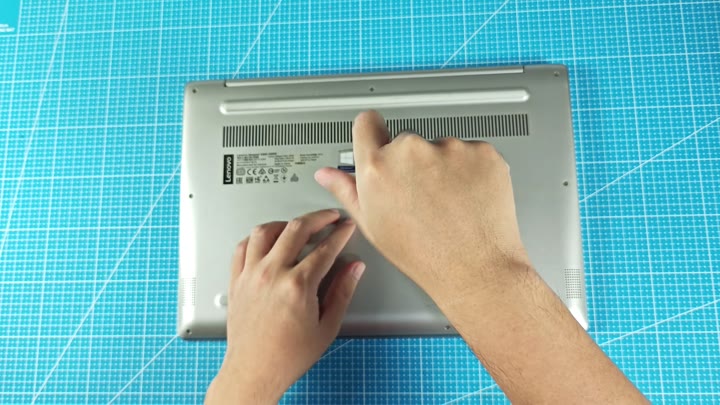
You can access the hardware.
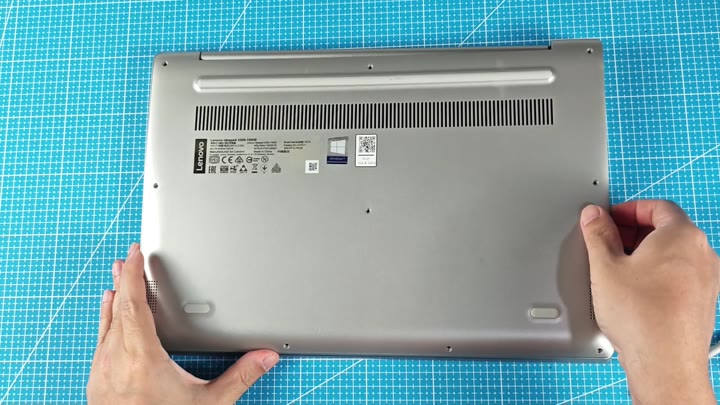
After you remove the first set of fasteners, work outward toward the edges. Remove as many screws as you can see from below and go slow to ensure that it’s done methodically.
Don’t let anything break free before you’re ready; you want to stay in control of this one.
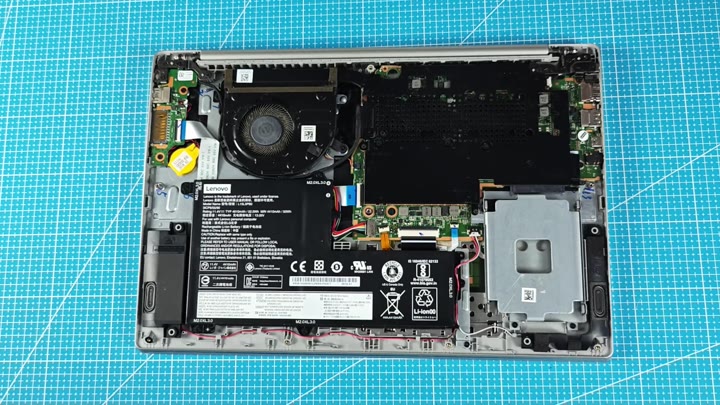
With the bottom panel removed, we gets a full view of the internals. It’s dominated by a big, black battery which carries model number L18M3P24 (spec’d at 11.5 volts). Next to that is the heatsink and cooling fan and there’s an unused SSD bay too.
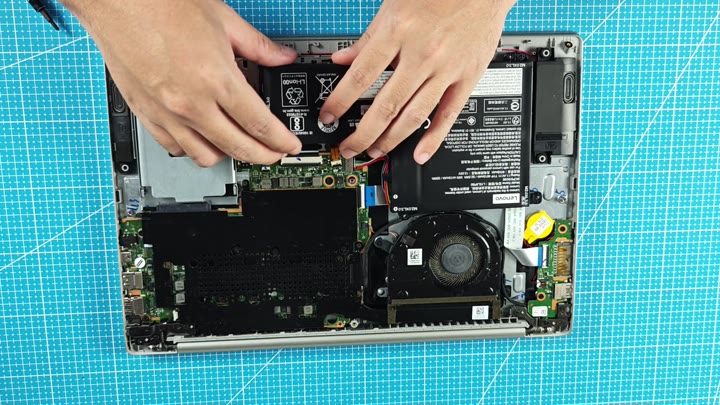
Now let’s take a closer look at the battery. Before starting the teardown process, make sure to remove the primary power cable and unplug it from black module (marked with GTRTHIN) by gently pulling it away. That way you don’t risk shorting anything out while taking it apart… A common misstep.
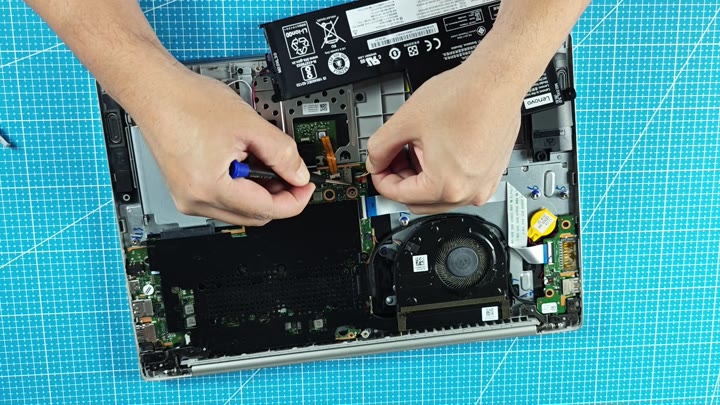
A blue-handled screwdriver will be your friend when dealing with the connectors around the motherboard. Because the battery is not completely out of the chassis, you’ll need to keep one hand on the board to stabilize it as you works on the other. It requires precision.
Use a blue-handled screwdriver to manipulate the connectors near the motherboard. The battery is still partially seated in the chassis, so you must hold the board steady with one hand while working with the other. Precision matter here.
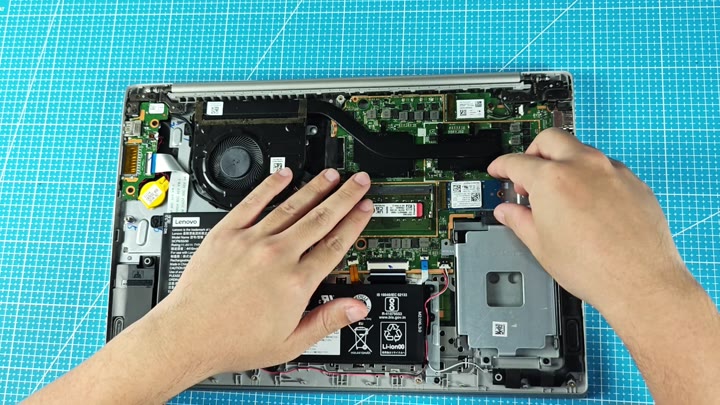
Last up: memory. First remove the existing memory module from the slot. Then prep the new one (a Kingston DDR4 SODIMM in this case, green). It’s labeled as model KVR24N17S8/8 with spec details of PC4-19200S on a white label.
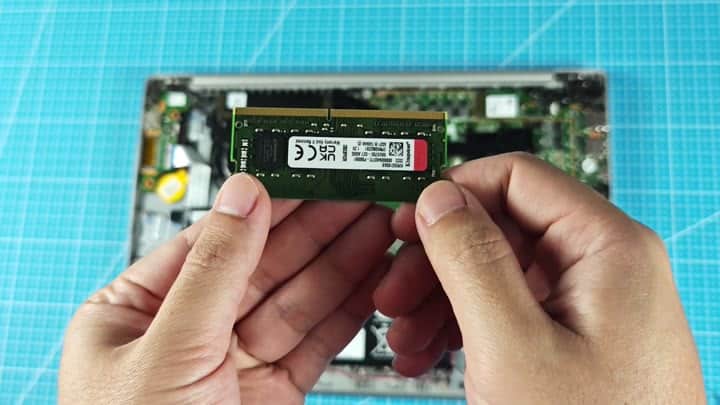
Align the notches on the new stick with the slot on the motherboard. Apply a firm press to seat it into place, and let the clips snap down automatically. A forced fit does not work, but this method is effective. Reassemble the case afterward.
Line up the notch in the stick’s new motherboard and push it firmly into place, allowing the clips to snap down by themselves. It wouldn’t force fit; it will work. Once you’re back in the case, you are good to go.
