
To change the drain pump in an LG washer, you follow a certain order of disassembly. First: how do you get inside? Release clips and then lift up the top panel.
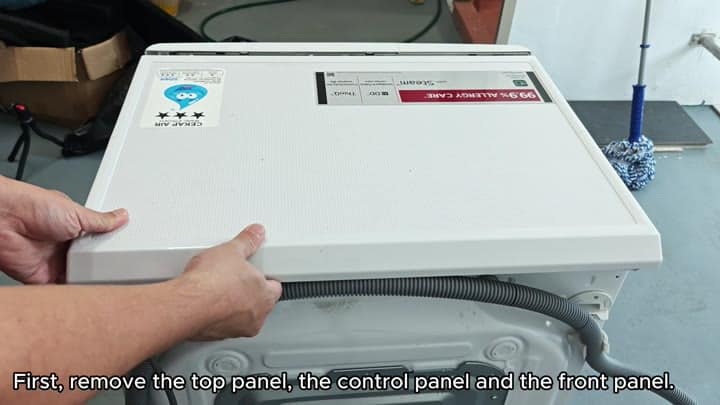
You lift the top panel off, which expose the upper chassis.
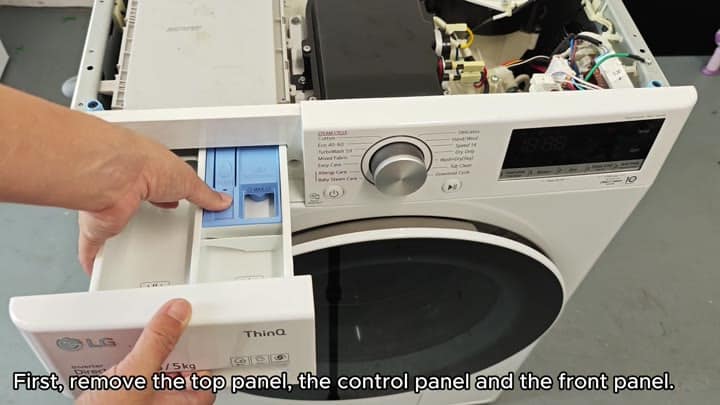
After that, you remove the control console. Simply unhook it from the body and slide it back. Once the console is removed, the screws for the front door panel will be exposed.
Accessing the drain pump
The removal of the front door panel are the only complicated piece, but it open up access to the drum area entirely.
First off, when you touch anything that’s electric, make sure all of the water have been drained out. Even if your pump is dead, there will still be some liquid sitting in the system. The bottom port drain into a plastic bag.
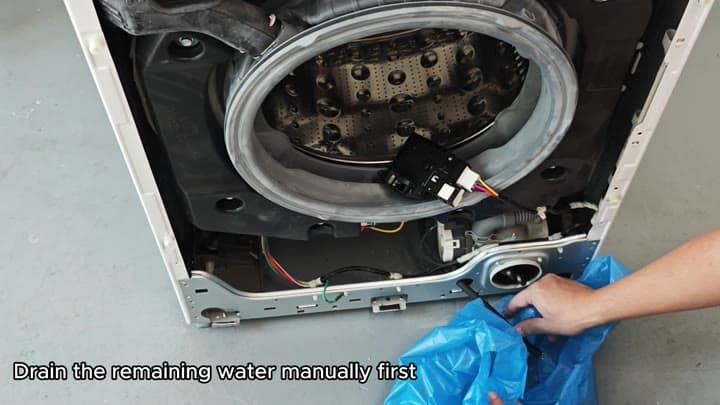
It keeps the work area clean and there is no mess on the floor.
The drain pump assembly are located in the bottom right-hand side of the unit. It is behind the front panel frame. The wiring and insulation come off so that you can easily view the pump.
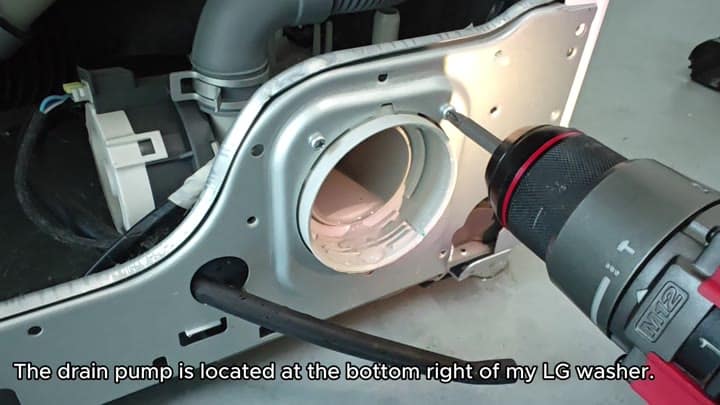
It’s a tight fit and you need some patience to get there. First, you unhook everything that was hooked up to the pump. Unclamp the discharge lines and remove the water supply hoses. They is clamped in place so you simply loosen them and slip them off.
Next, you remove the electrical connectors feeding into the pump.
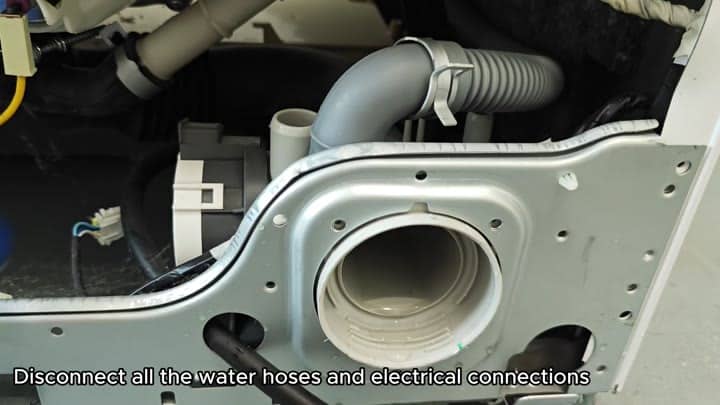
Here it is, all isolated.
The LG pumps are unique because they has two motors on a single pump. If you only have one bad motor, this allow you to simply change out that one without replacing the whole housing. Or just replace the whole pump module.
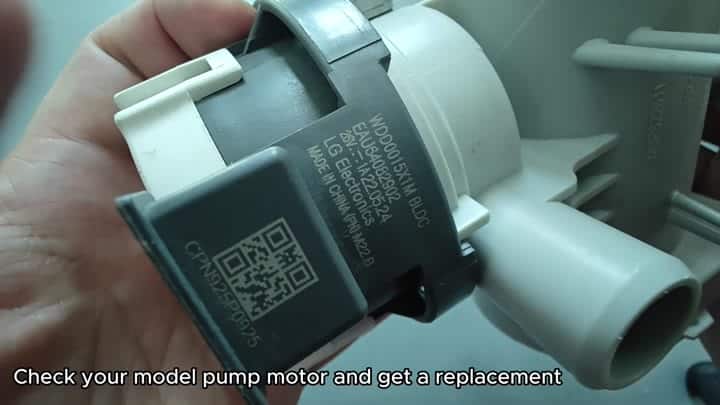
Check the old motor and see if it is compatible with that part number.
Next time something goes bad, like your pump motor housing, you replaces that without any problems. You just grab another one of those assemblys for a new pump motor. It is the same shape as the old one. It has the same connectors as the old one. It has the same spots to mount it as before. Just make sure it matches the model and then you are good to go.
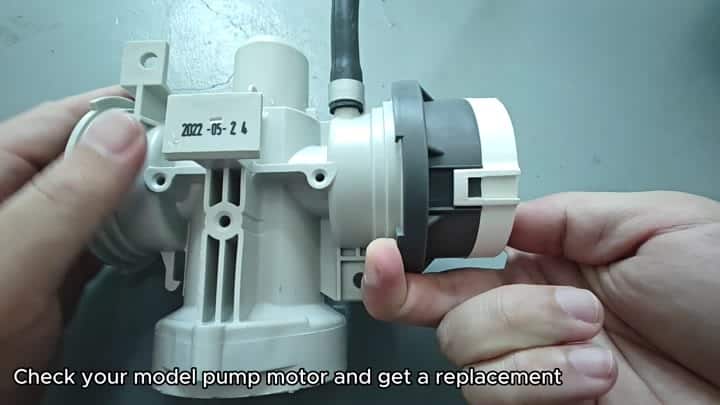
Installing the new part is the exact opposite of removing it. The new pump module go into the lower-right corner. All the water hoses goes back on, with their clamps being nice and tight.
The wiring connects easily; it can’t be done wrong since there’s only one way for it to connect. Here are some final checks you want to do. Restore power and run a quick test. Make sure no leaks exists. Nice and tight connections avoids any possible water issues down the road.
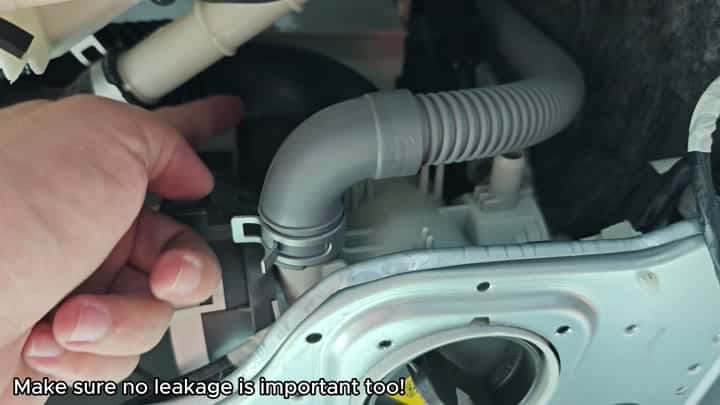
Now it’s back to normal machine cycling. That tells me I repaired it properley.
It is not a lengthy process for the entire job. It is a common problem that has an easy solution. It would of been worth doing.
