
Front-loaders also have water in their drum, but that’s because the machine wasn’t able to finish its cycle, perhaps due to an interrupted cycle or a faulty drain pump.
Now you want to get rid of this standing water without starting another load; i.e., doing a full wash and/or spin cycle. Easy enough. Find the right button combination to remove the water. Simple as pie, once you remember which buttons to push. A couple of attempt will do it; then you’ve got it.
Executing the Drain Cycle
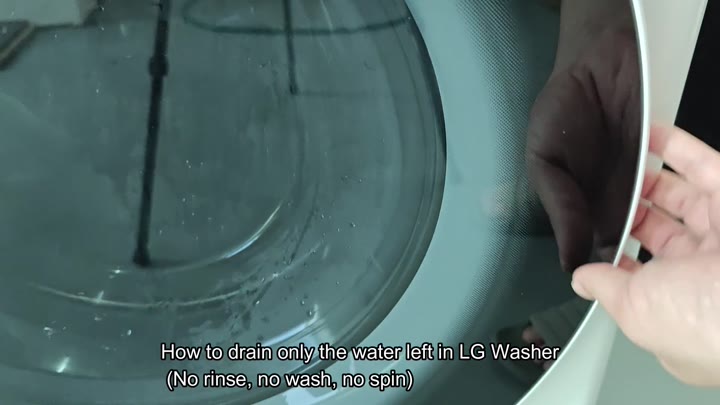
Start by resetting the machine’s internal logic. For this, unplug the washer from the wall outlet. Make sure there’s no juice running through it. Wait a second or two just to be certain that the power has been totally disconnected.
Now plug it back in to reboot the machine. A basic power cycle remove any stuck programs or error states. The control board “wakes up” so it can receive your next command.
After plugging the unit back in, glance up at the display. There’s a digital screen with all the timer settings and defaults. At this point, if there’s an in-progress program running, you want to cancel it. Starting another one on top of it could cause issues. Make sure you clear whatever’s currently going on so the new custom cycle will work as planned.
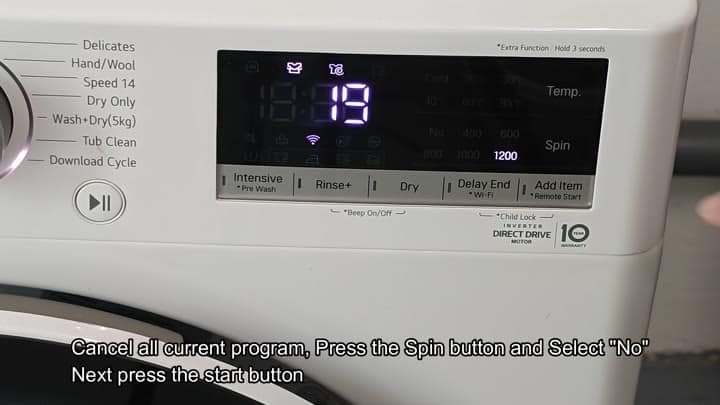
Then, concentrate on the spin speed settings. There are a number of RPM selections available: 1200, 600 or maybe 400. Hit the Spin button again and again until it updates to the next setting.
When you see the list of options displayed, each will scroll across the screen. Keep hitting the button until you find the No selection option. What this does is removes all rotation of the drum. It isolates the drainage function from the mechanical spin action.
So you check all those settings and make sure Spin is turned off (“No”). And don’t worry about how long it’s going to be on, or what temp. This time, it doesn’t matter. All that matters is whether it pumps or not.
Since you’ve got it set up like this, it’s now going to execute the drain command. It won’t agitate, it won’t take any more water in.
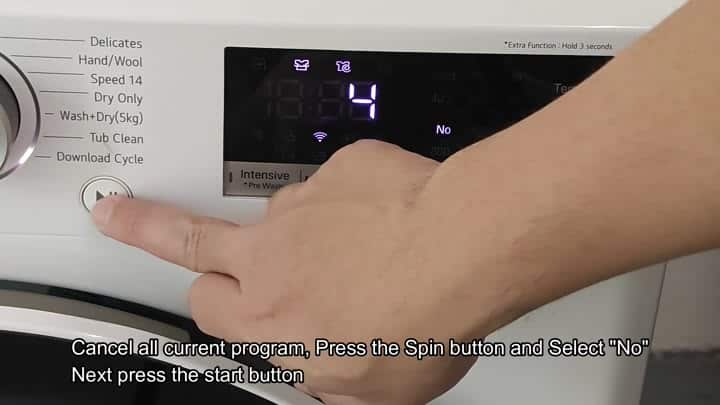
The machine starts with a push of the Start button. It hums and you hear the drain pump engage. Water begins to flow out of the drum through the pump hose. You hear the water level going down; it’s that gurgling sound. The timer doesn’t change much, if at all, on the display. That’s where it gets focused: the acoustic feedback from the pump.
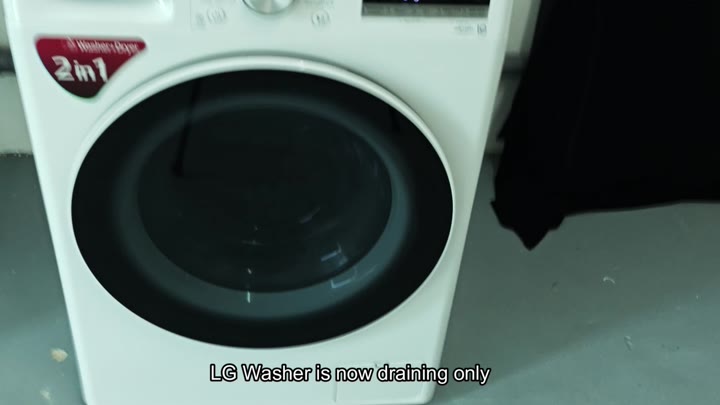
As you can imagine, the machine keeps running, until all the water dissapears. Notice how the drum slows to a stop. There’s no violent spinning this time around. It’s just the sound of the pump emptying out the basin.
For safety reasons, the door doesn’t unlock at this stage. Only when it’s finished will it unlock.
The machine continues running until the water is gone.
Once the cycle has finished, you’ll see the word “End” appear on the screen. This means that the drain process worked correctly.
Once the process finishes, you open the door and look inside the drum. Water is no longer visible in the base of the tub. There may be some moisture left on the glass or rubber seal, which is naturaly fine and nothing to worry about.
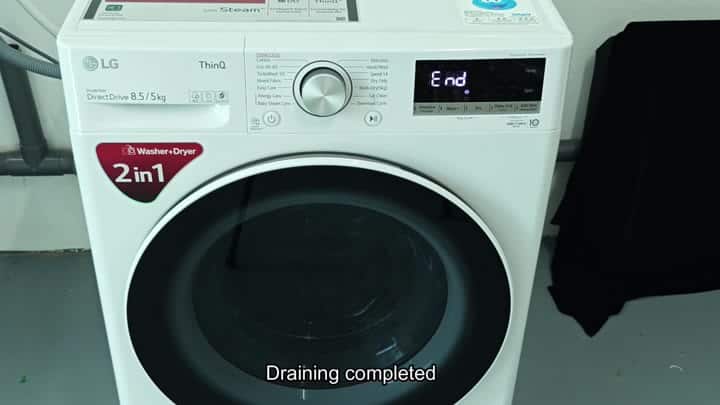
Drum is looking nice and dry, ready for another load. If there’s standing water in the drum, it will eventually lead to mold (and stinky smells). Get rid of it quickly. Running a tub clean cycle isn’t necessary with just a little water. Simply drain it out.
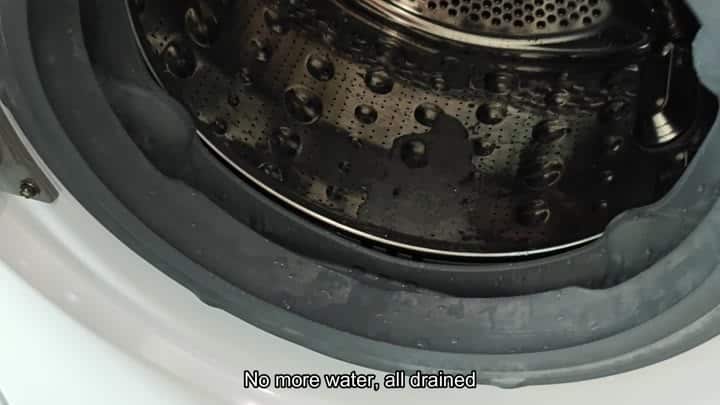
It’s a time saver compared to doing a whole load, because you’re not washing anything that doesn’t need it. It is good when you stop a cycle midway. Best if you cancel any active programs and set the spin to “No” first.
The one thing to remember is to turn the Spin setting to “No.” Then press start. Done.
