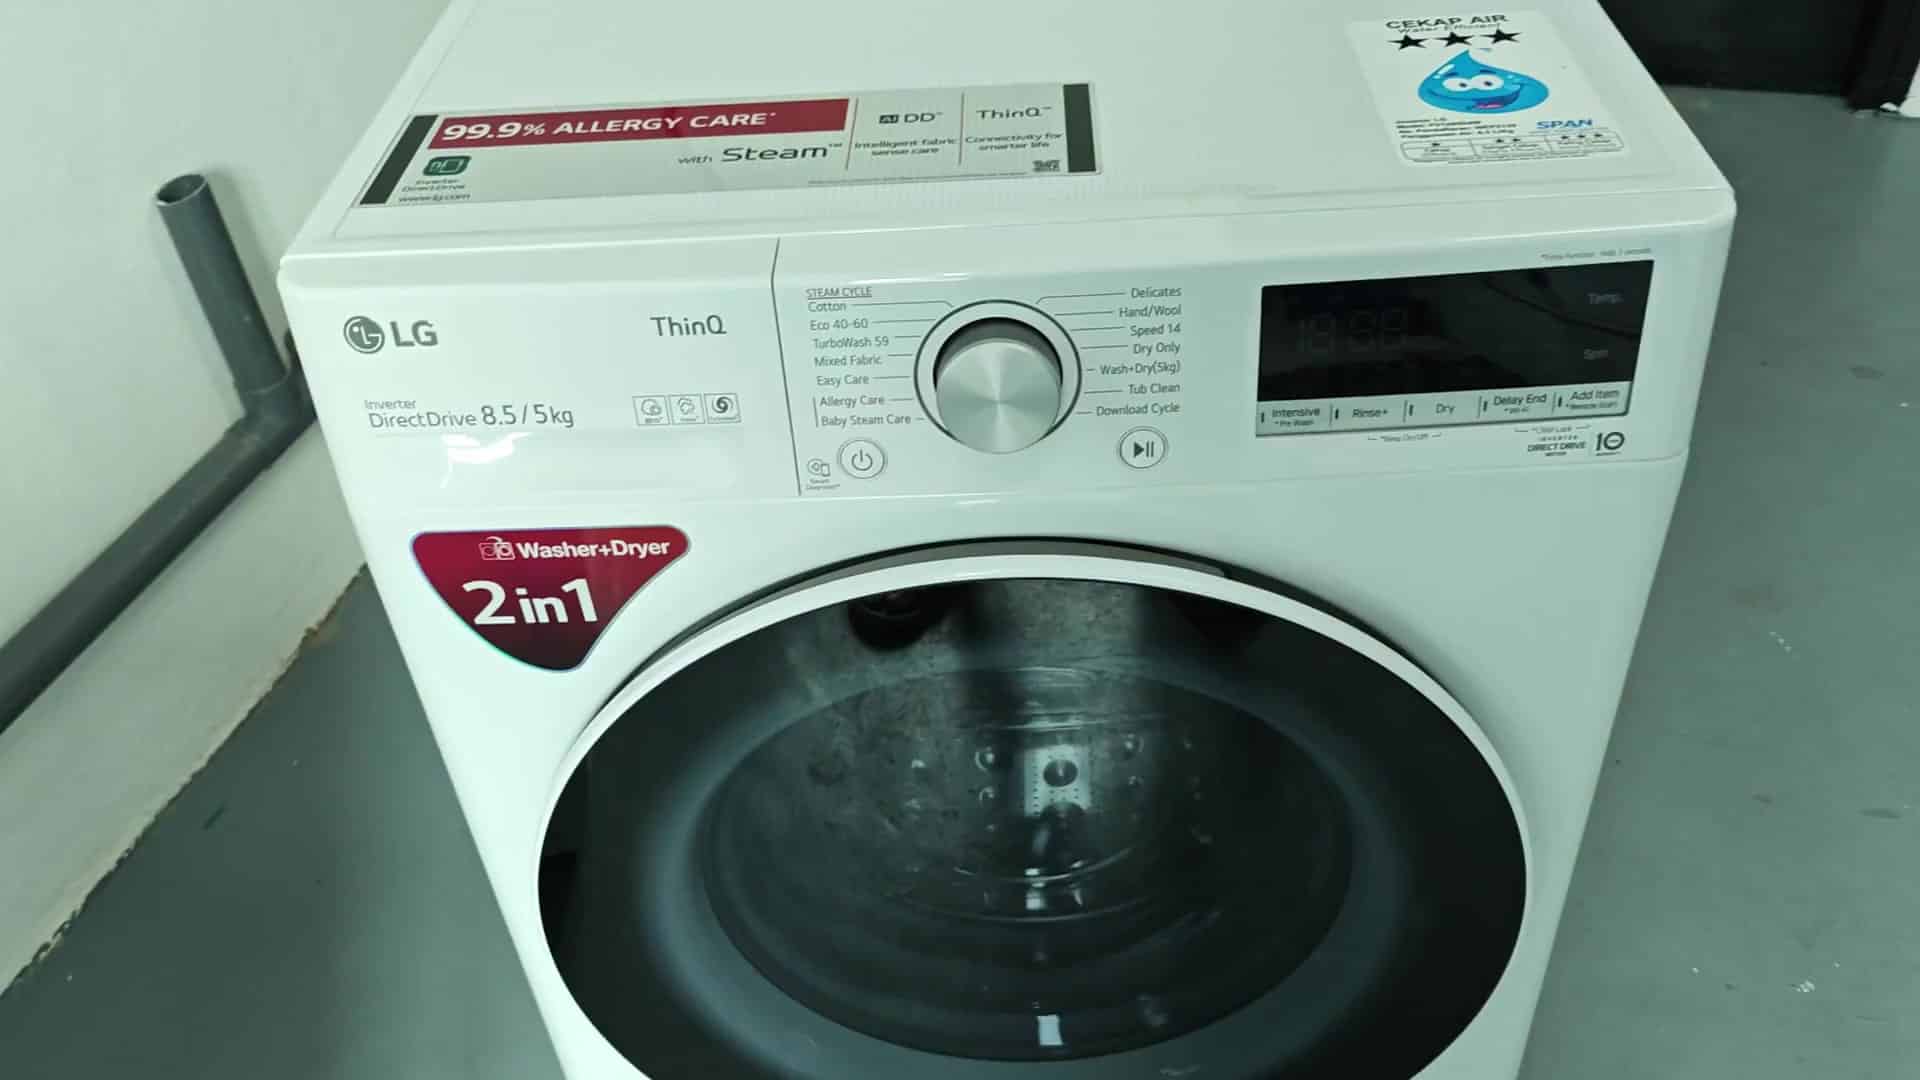
In the laundry room, your new LG washer dryer combo are brand spanking new. It looks great. It’s got that direct drive motor…which supposidly makes this thing quiet as a church mouse.
You want to do some laundry and is ready to go. But there is a catch: the unit won’t run correctly until… These are transit bolts.
Removing the transit bolts safely
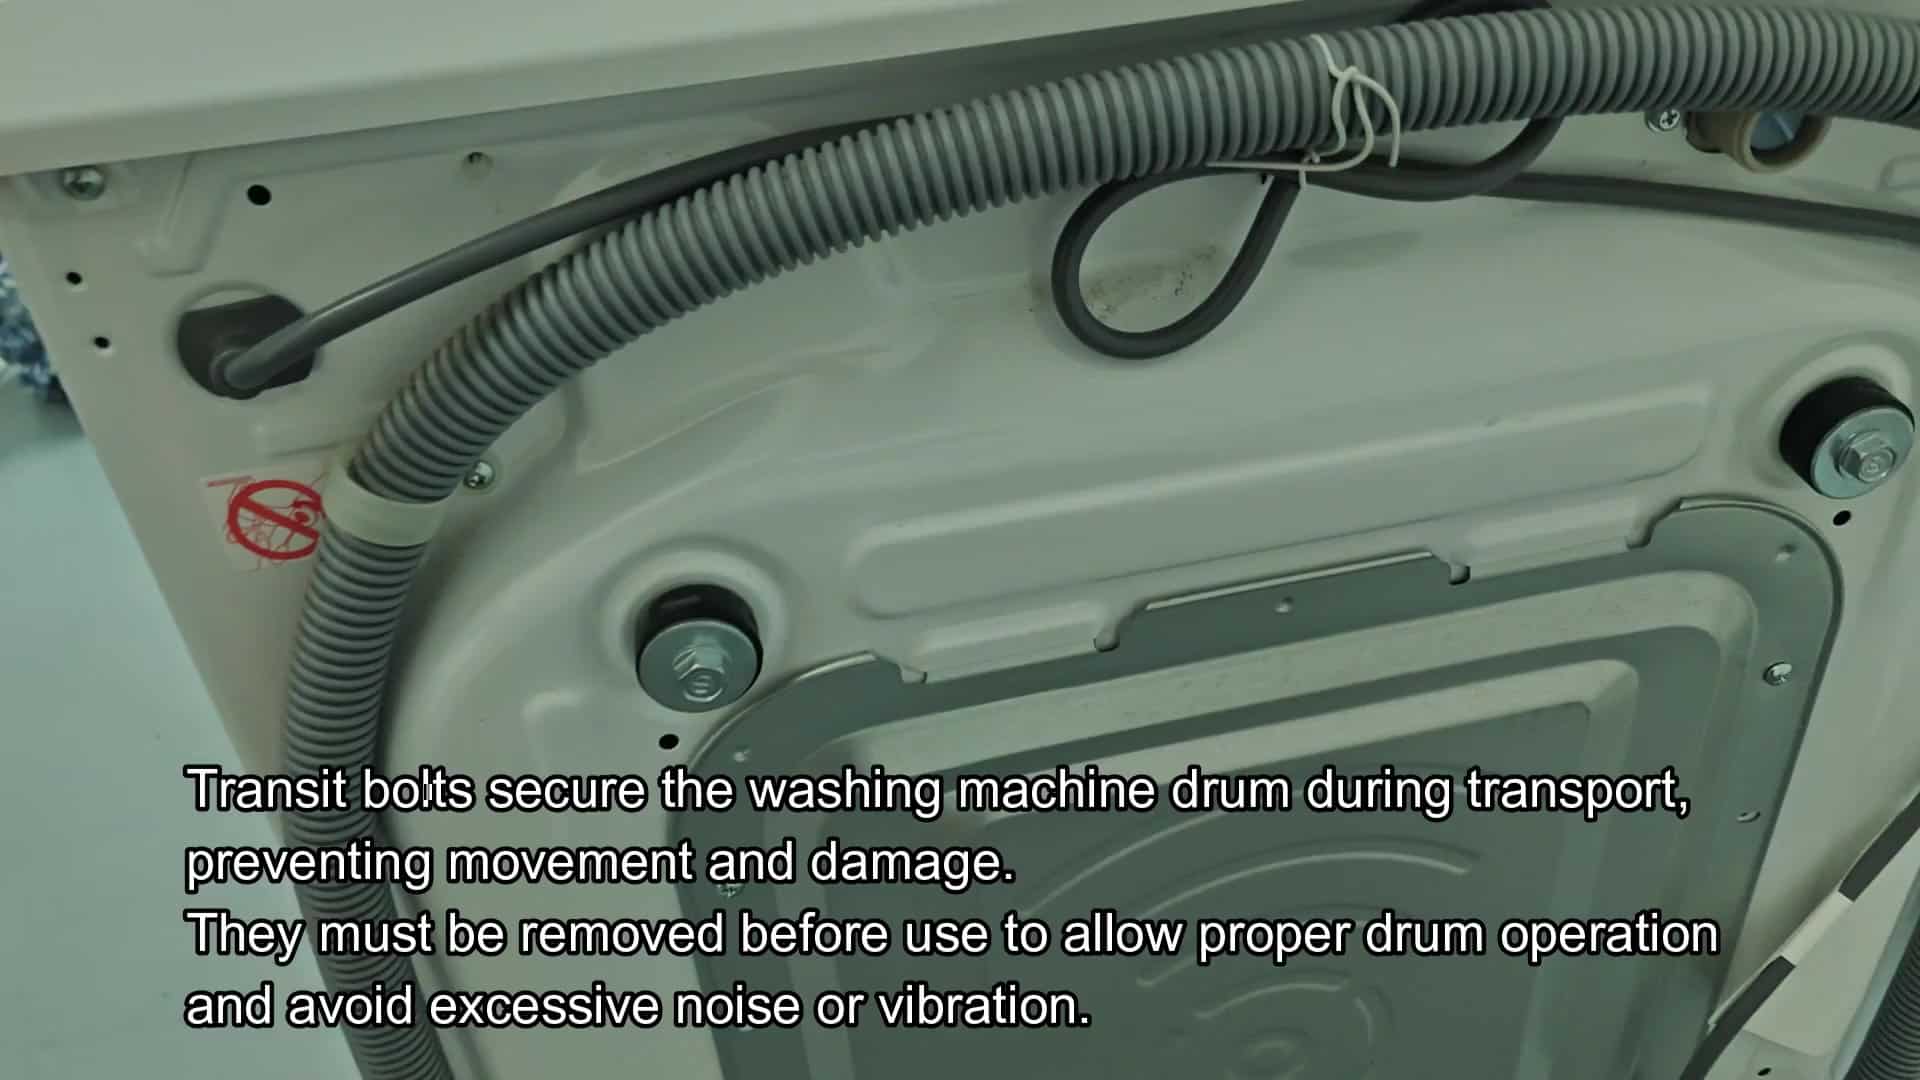
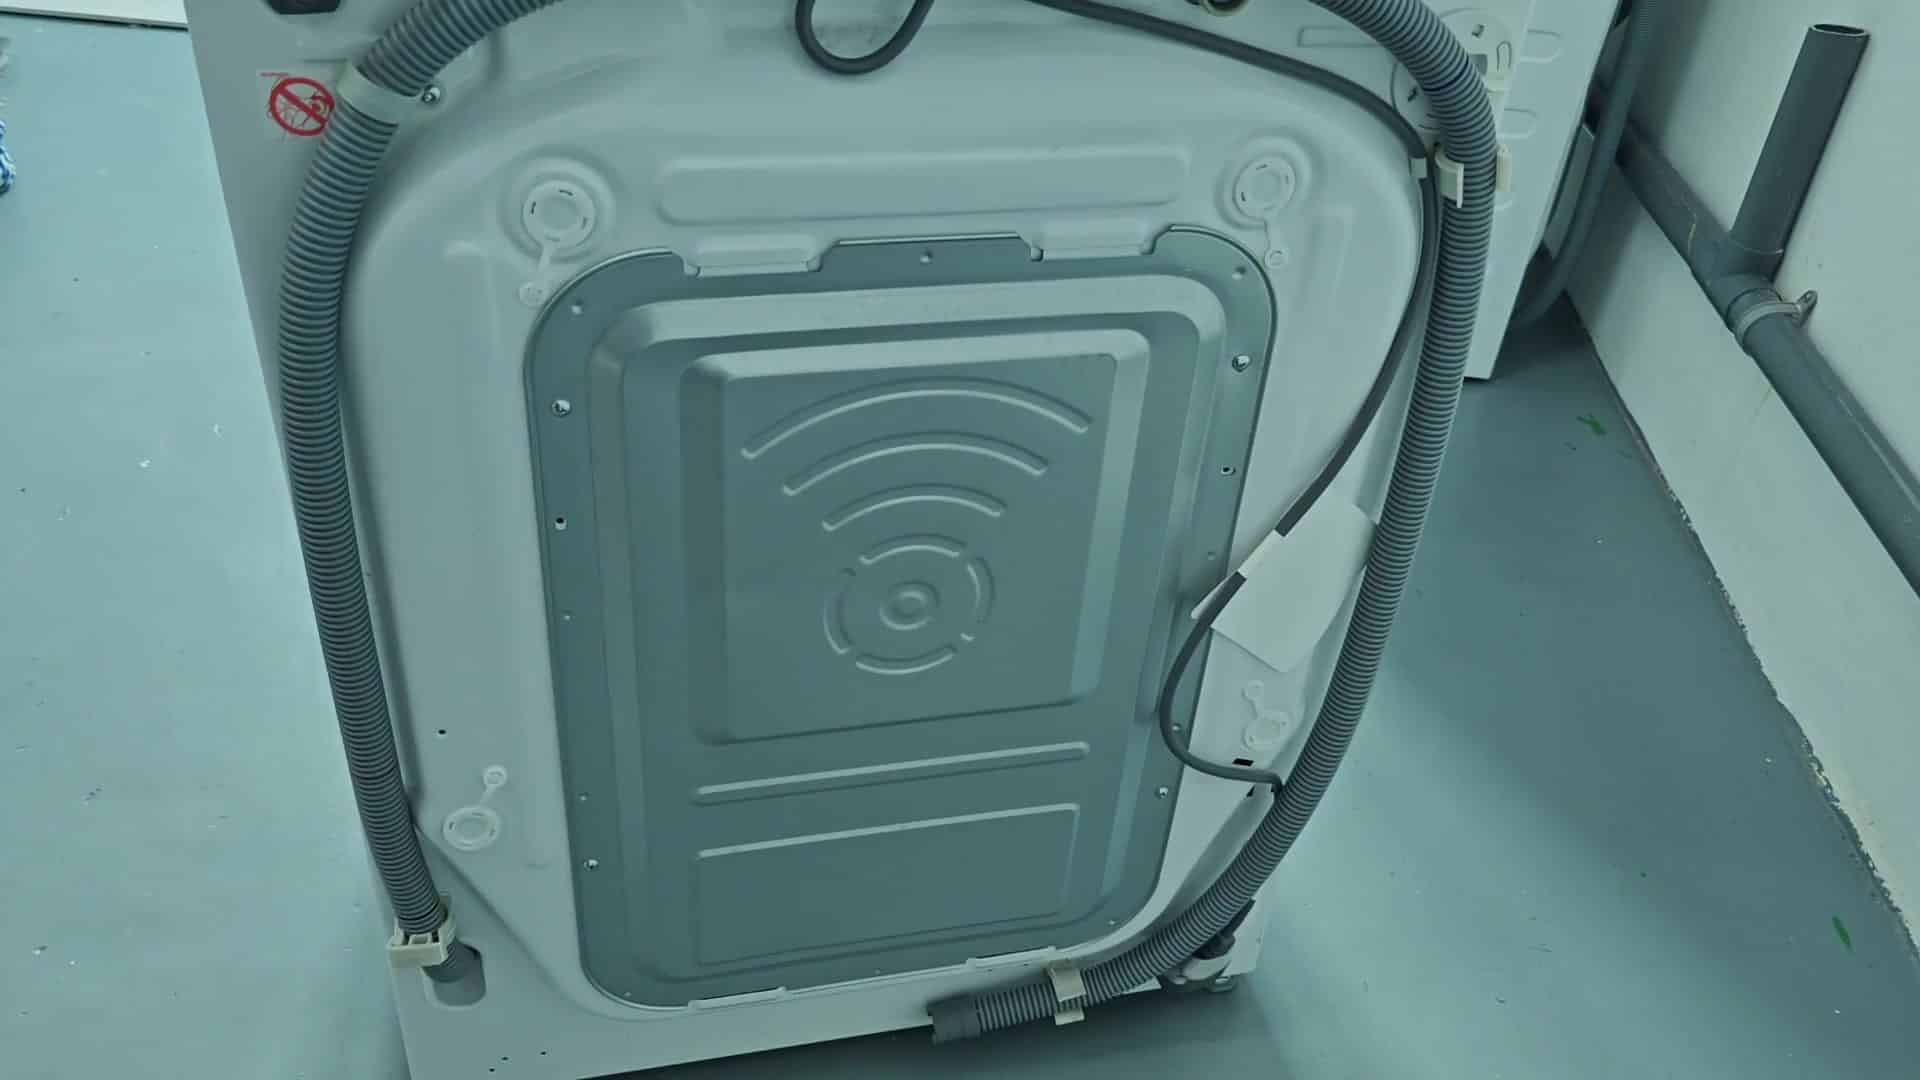
When you get new units, they will have transit bolts still installed. They’re the heavy duty hardware pieces on the back panel that keeps the drum locked into place for shipping to prevent it from banging around in the truck and causing damage internally. You’ll need to remove these before turning power on as it can causes some serious operational problems if left in.
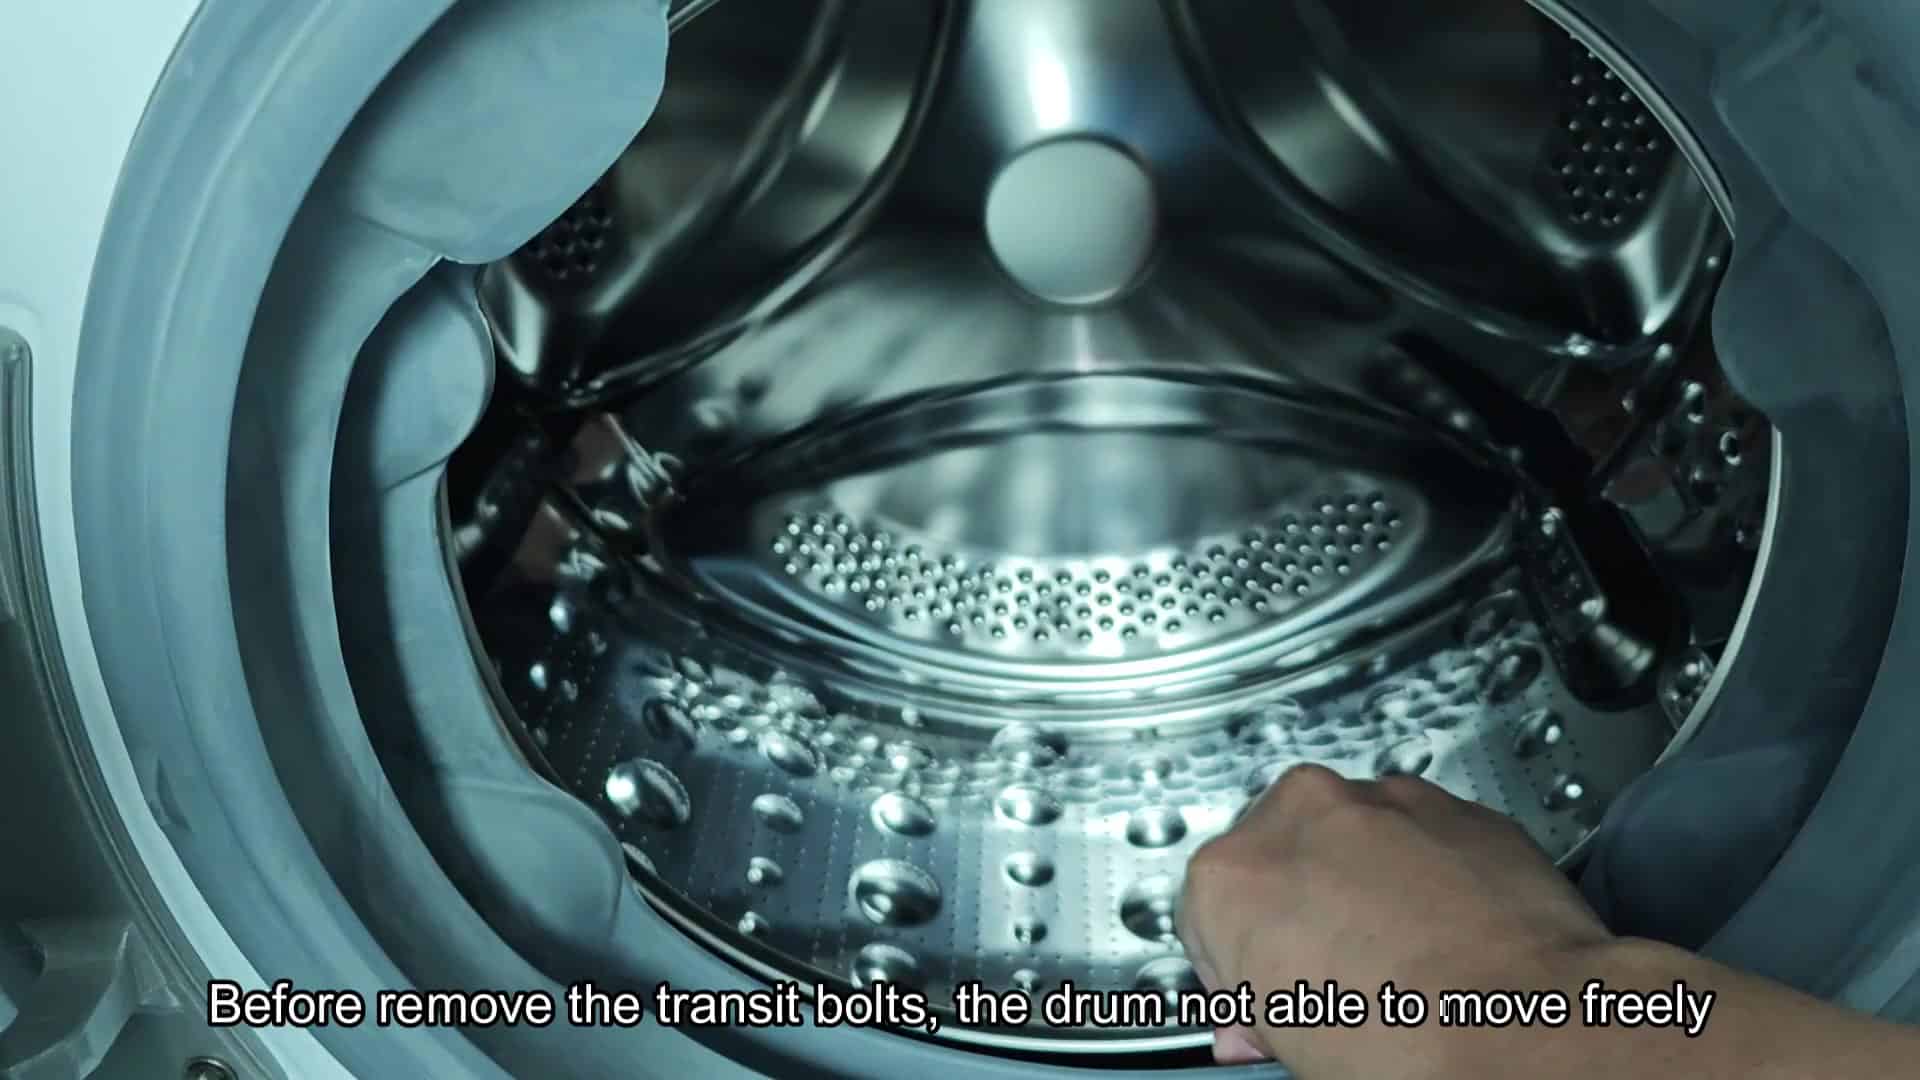
Next, reach in the machine and feel for drum motion. The washing machine’s suspension system are totally locked down, meaning that when you attempt to manually turn the drum by hand, it won’t move at all. It is rigid and feels very unnatural for a washing machine, and that doesn’t make any sense until you know what those bolts is doing.
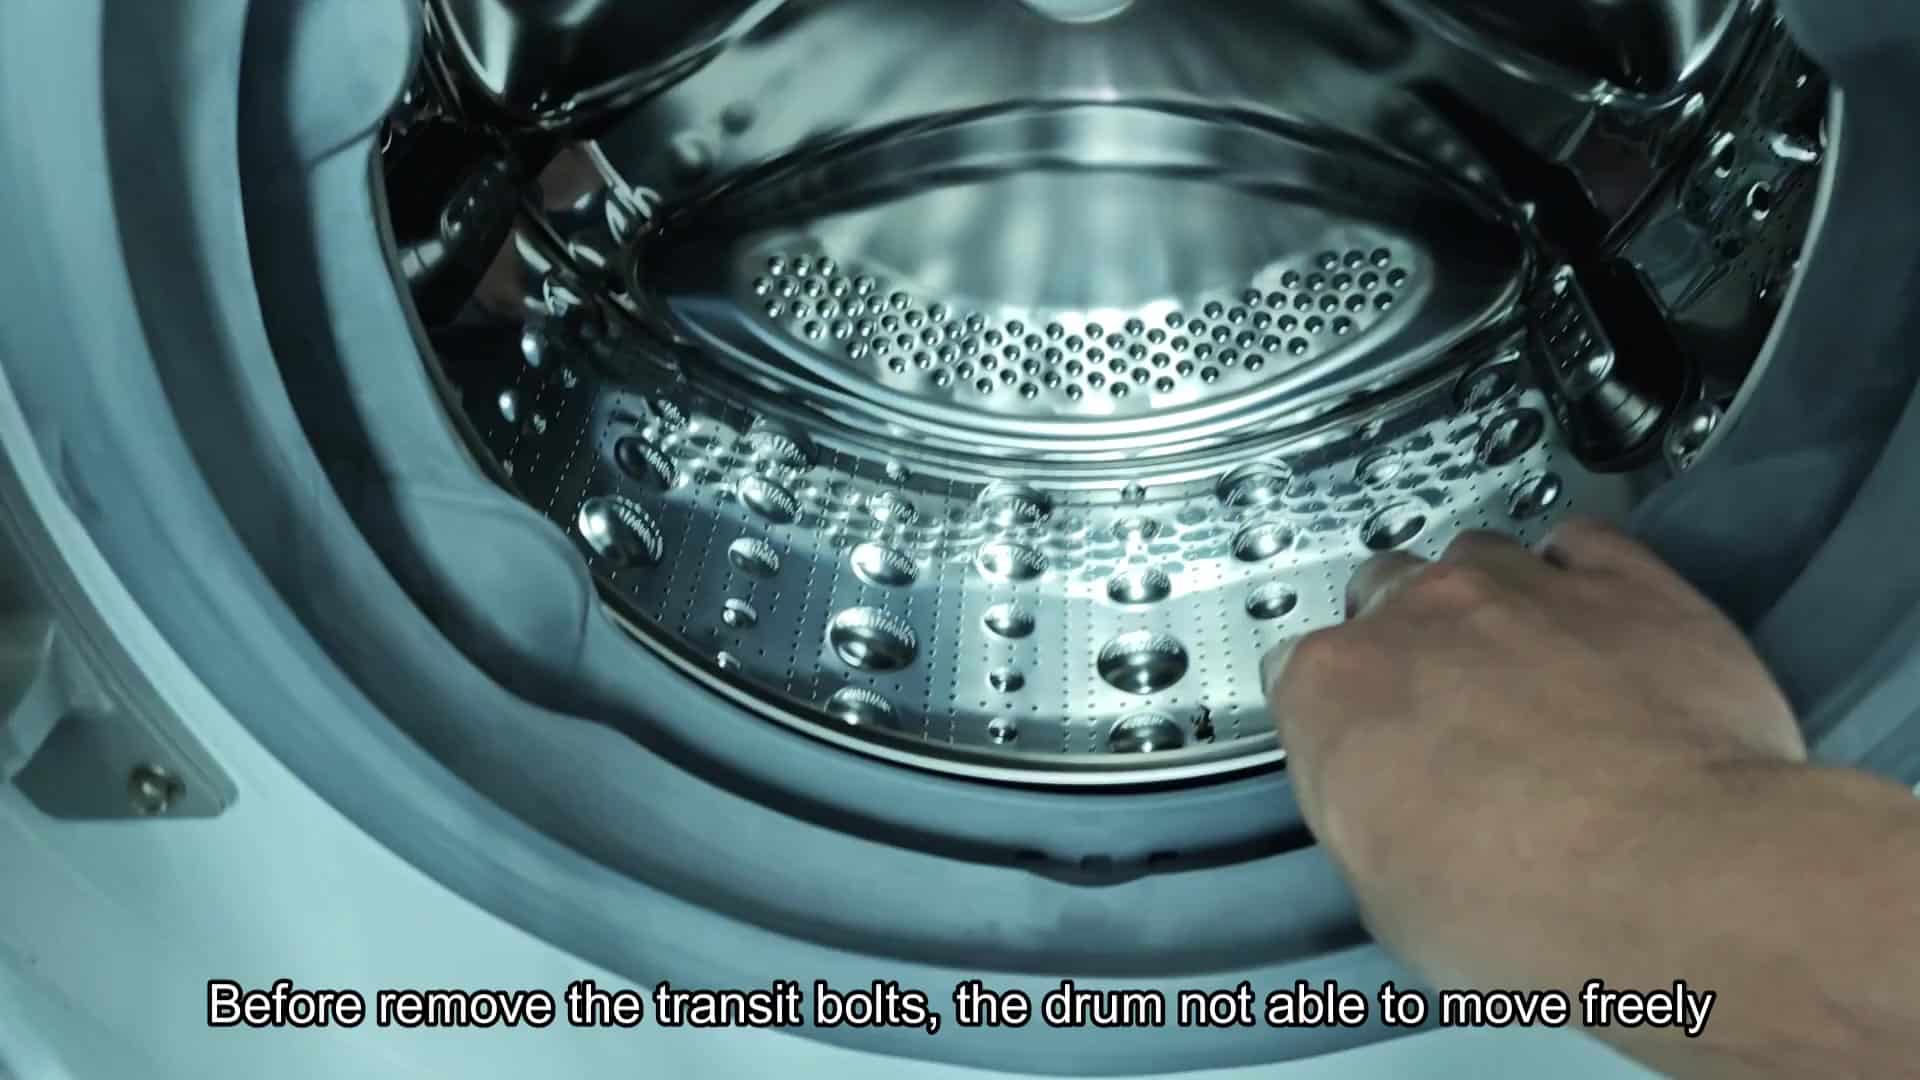
There is absolutely no play whatsoever on the bearings and when you touch it, the drum doesn’t move at all. That’s what the transit bolts do right? They holds that whole inner assembly in place. Because they hold those vibration dampeners down so tightly, the washer cannot move freely to work like it should of.
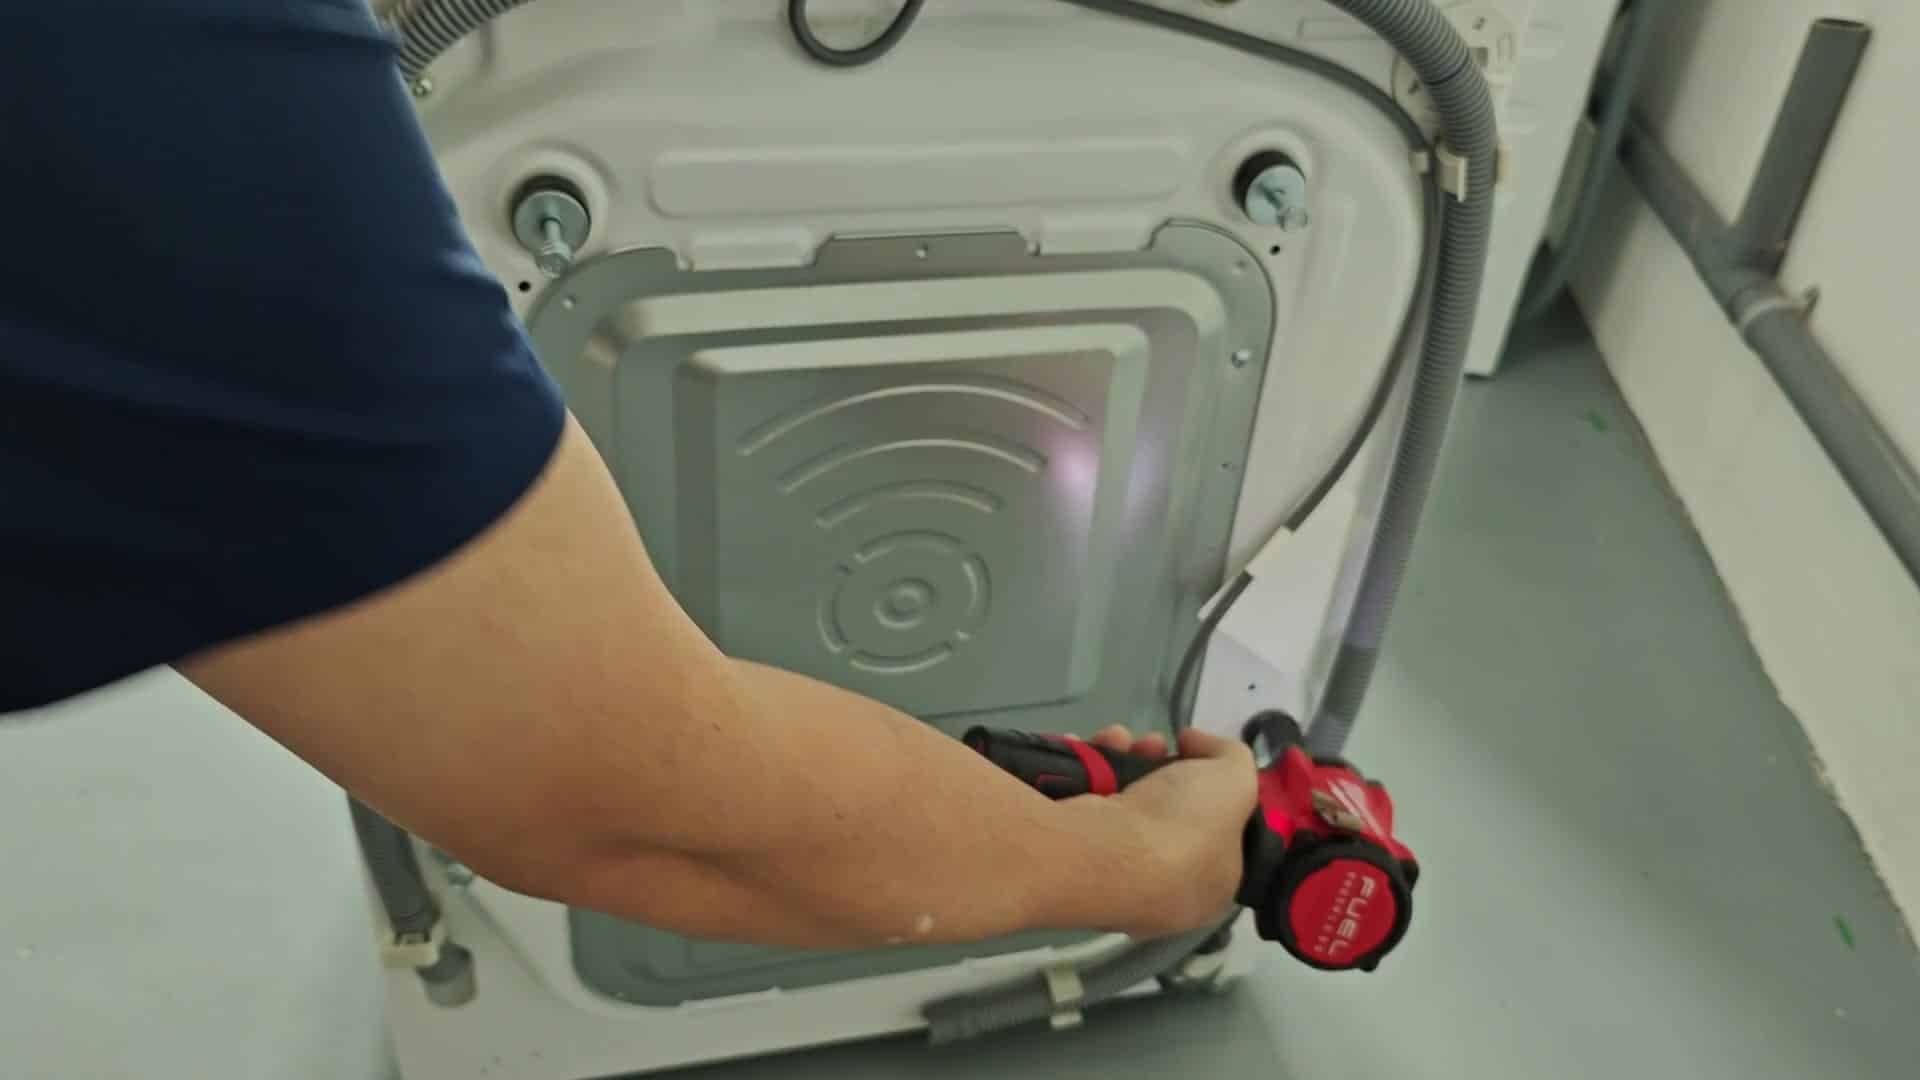
Then you head to the rear of the unit to address the hardware. The manufacturer tightened them down snugly so you pick up your wrench and begin to unscrew the bolts. Since they require a little force to loosen, a regular old hand wrench is perfect for this job as it allows you to take your time unscrewing without any rush.
Power tools? For some. But in the name of greater control I prefer to go the old-fashioned route: by hand. If you use a drill, you run the risk of stripping the threads; at least by hand you can feel when the thread start to give and back off to match. Why take chances with fragile appliance innards?
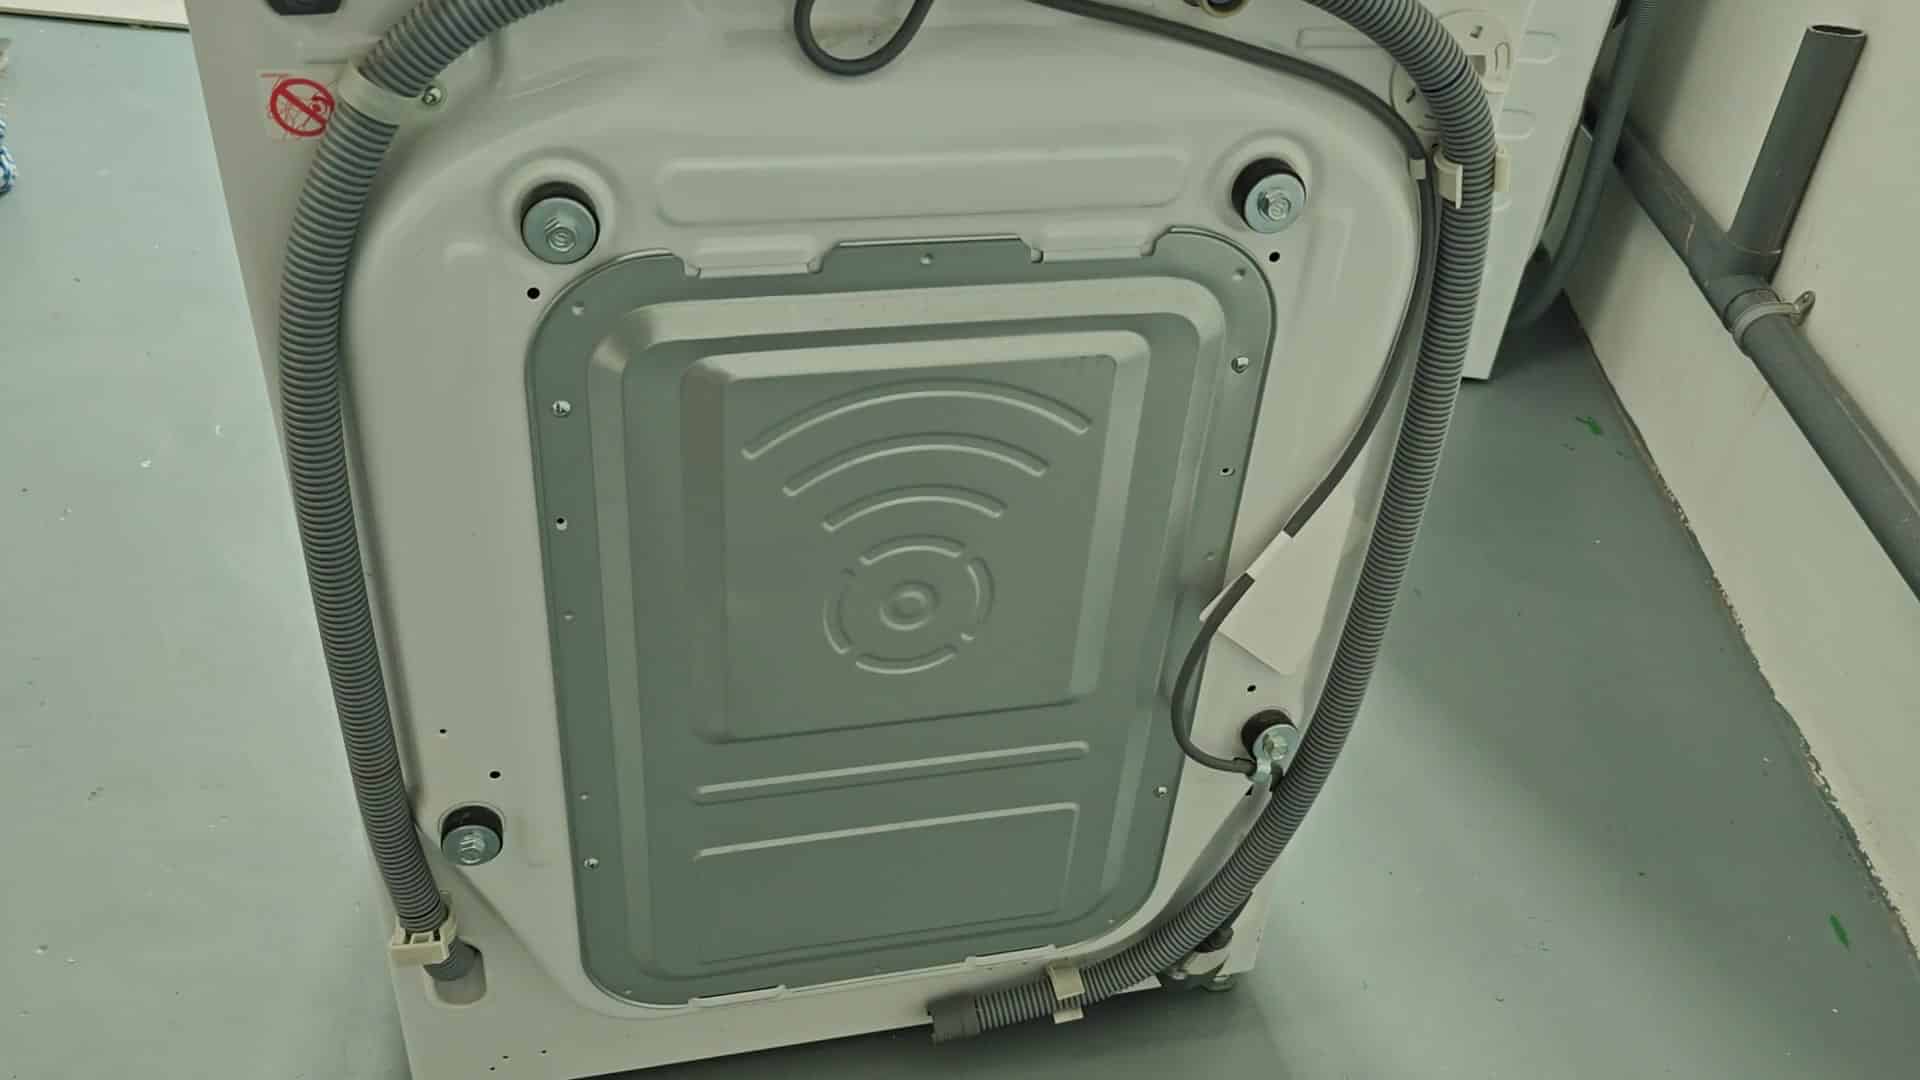
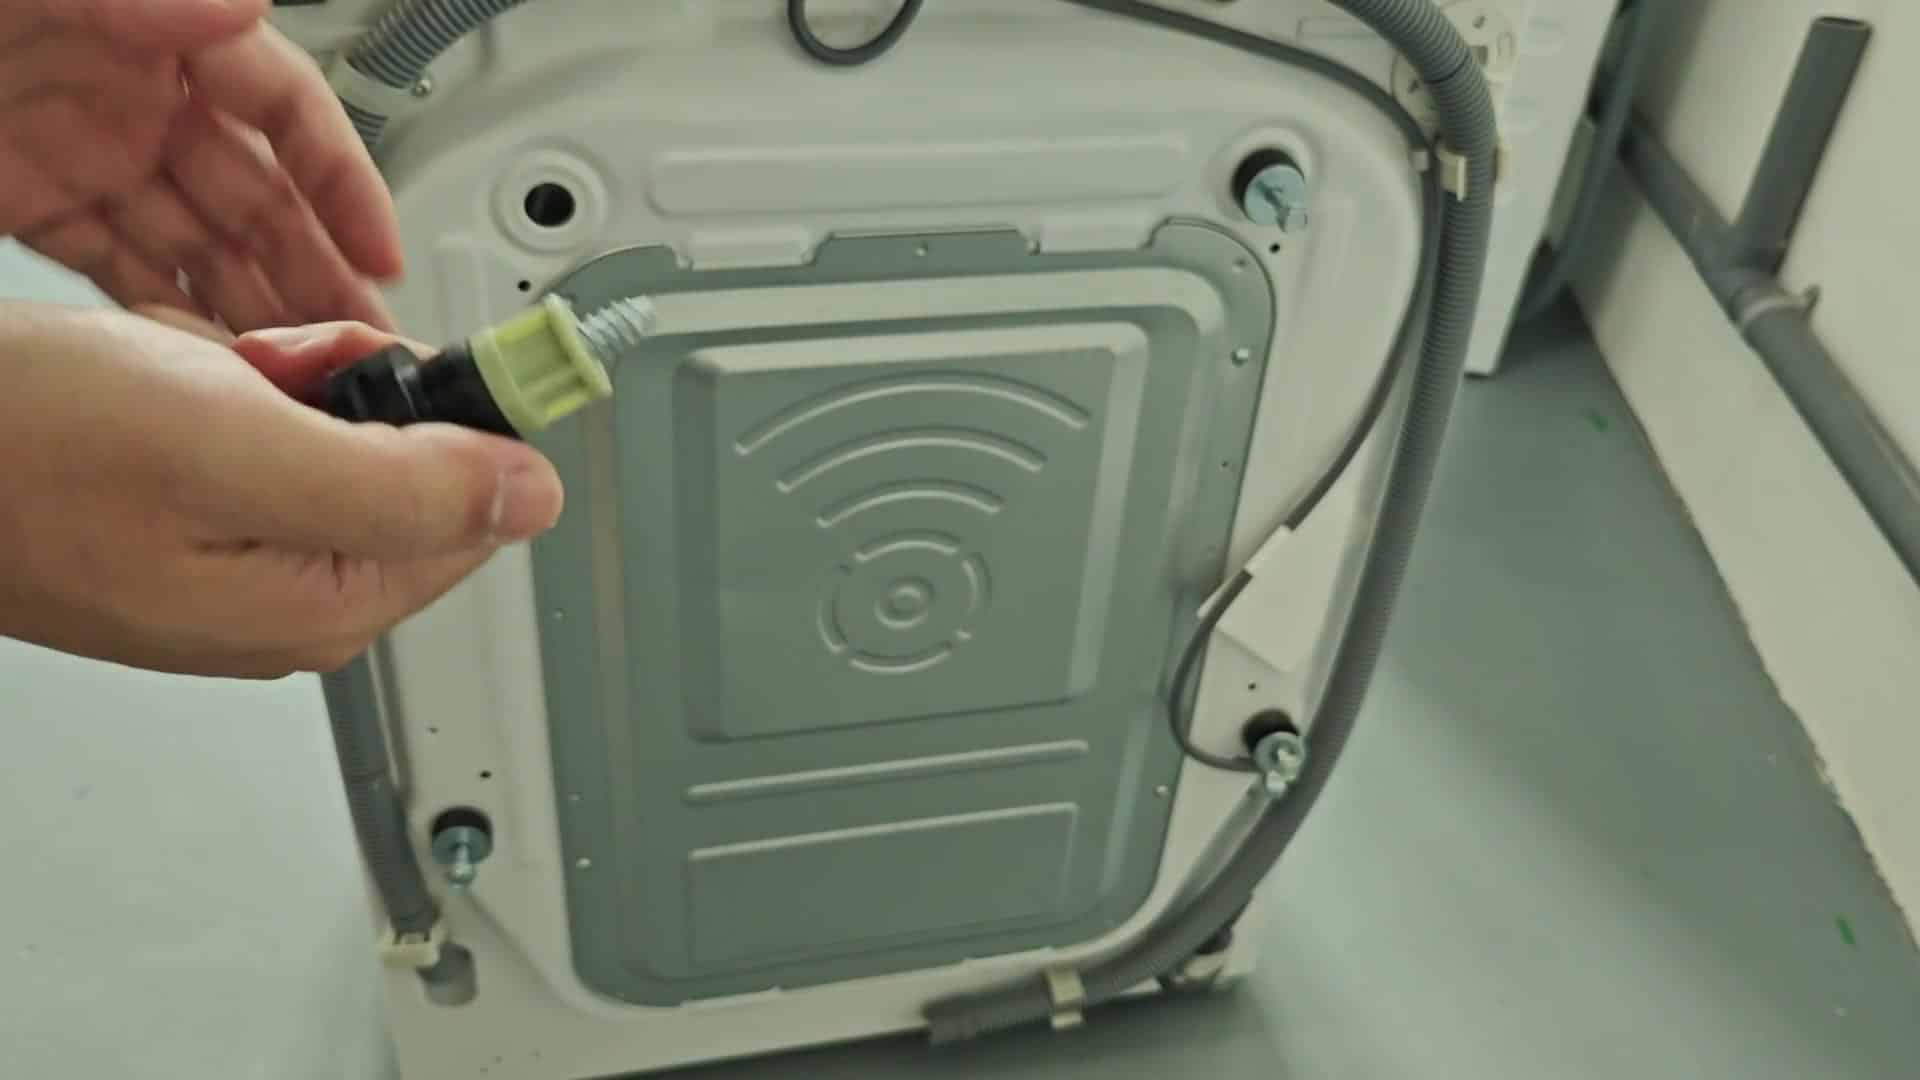
There are typically four bolts in all so it’s just a matter of working on each one at a time. They unscrew completely and you gently remove them to reveal long metal shafts topped off with some sort of plastic end. Taking a close look at the piece, it appear strong enough for transporting heavy loads.
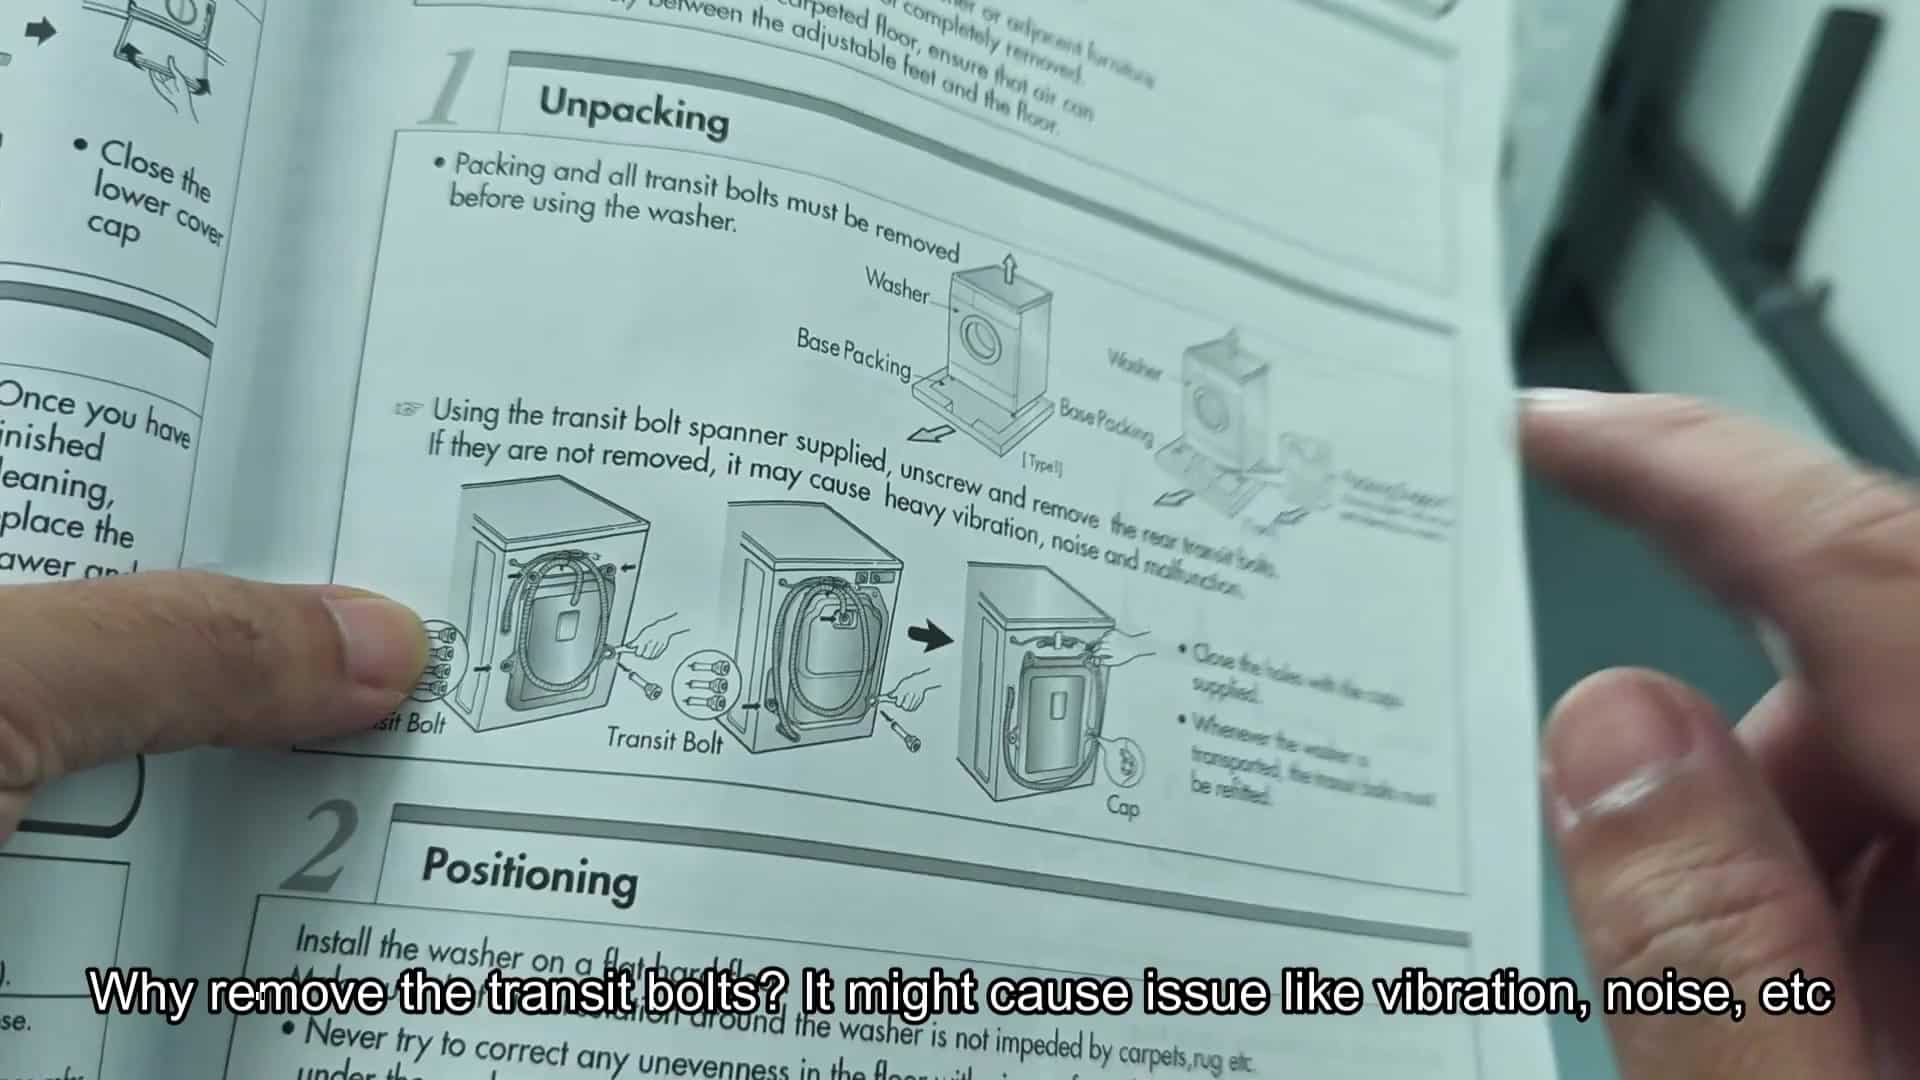
At this point, I pull out the instructions and get the context. It shows a picture with the bolts in place. It’s right there on the page in the unpacking part of book.
And it says that leaving them in might cause noise problems since vibration can be another big problem. That makes me feel better; I’m supposed to take them off.
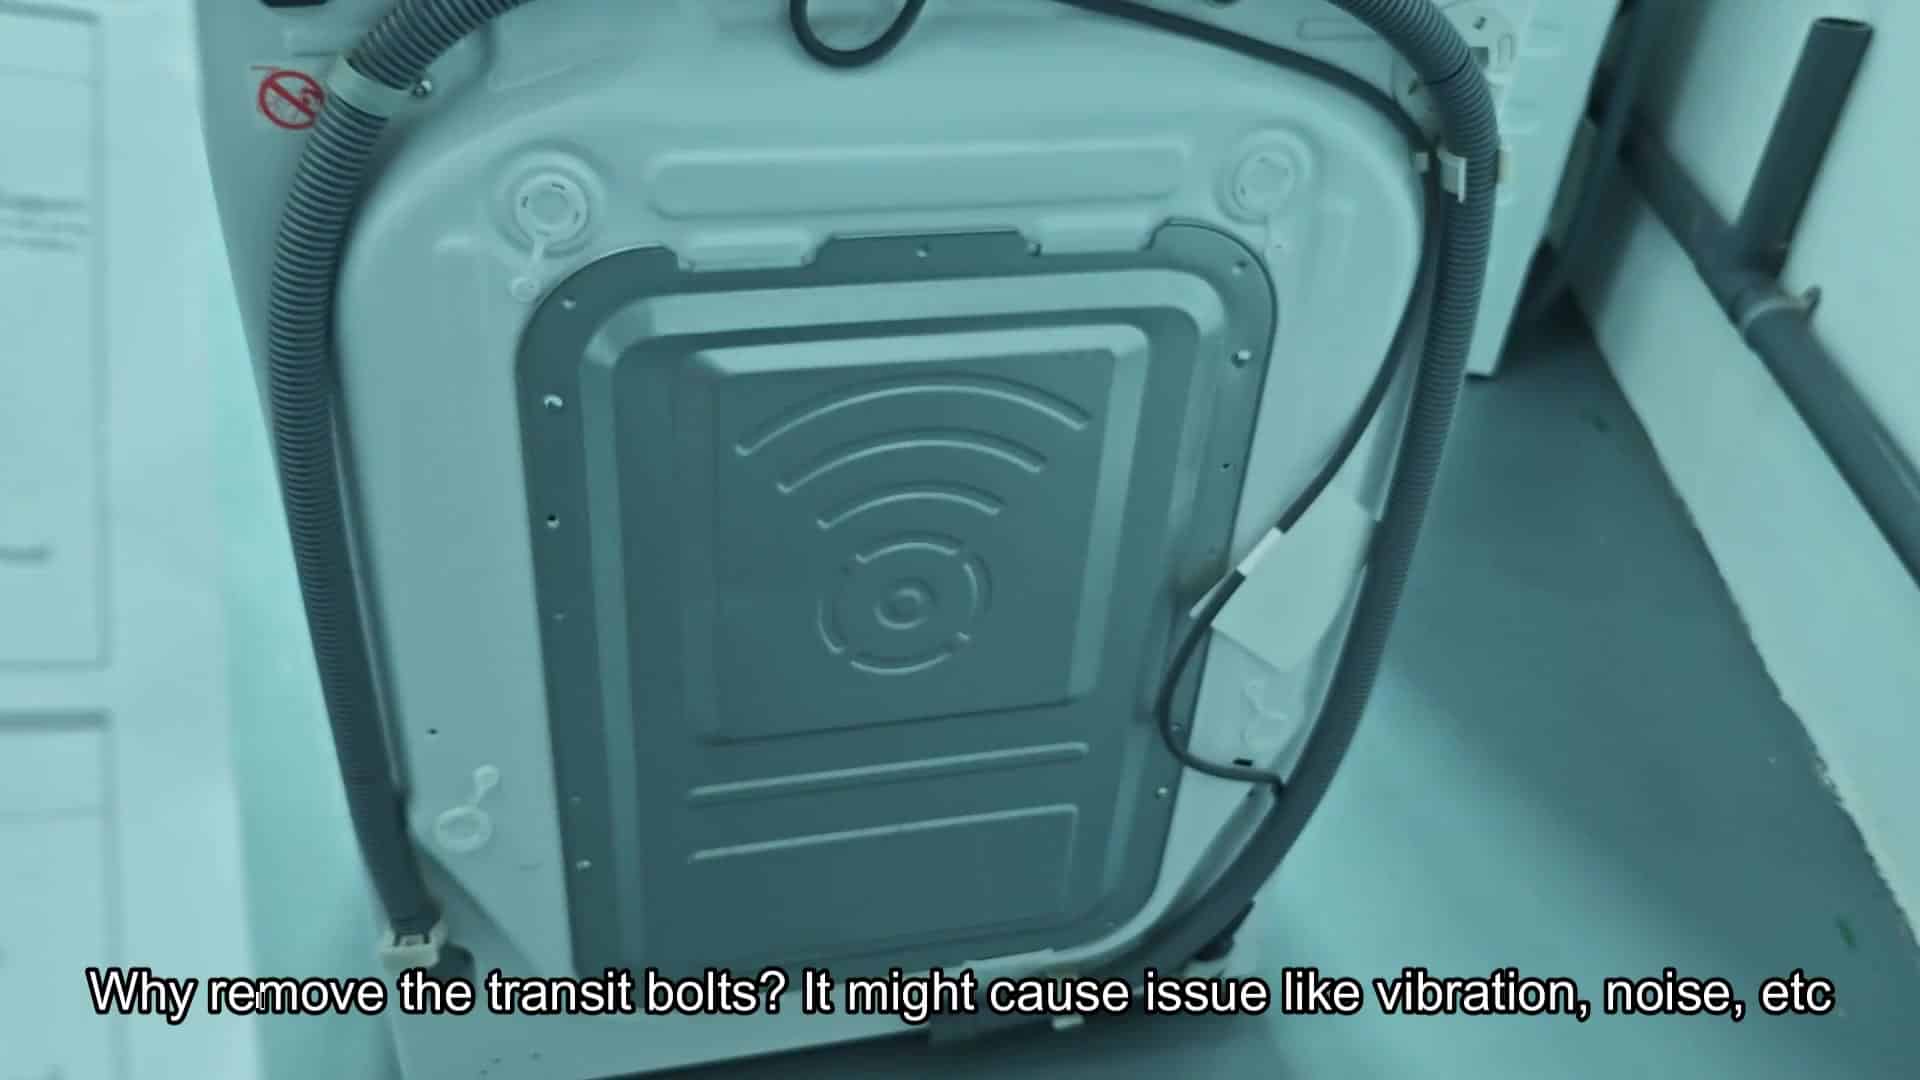
The caps are there too (in the diagrams up-close). See? They plug up the holes that the bolt removal created. And according to manual, these guys is supposed to be plugged into those spots EXACTLY. Not only does it look good on the back panel but it keeps all the dirt and dust away from inside the chassis. I can’t imagine skipping this. Bad move.
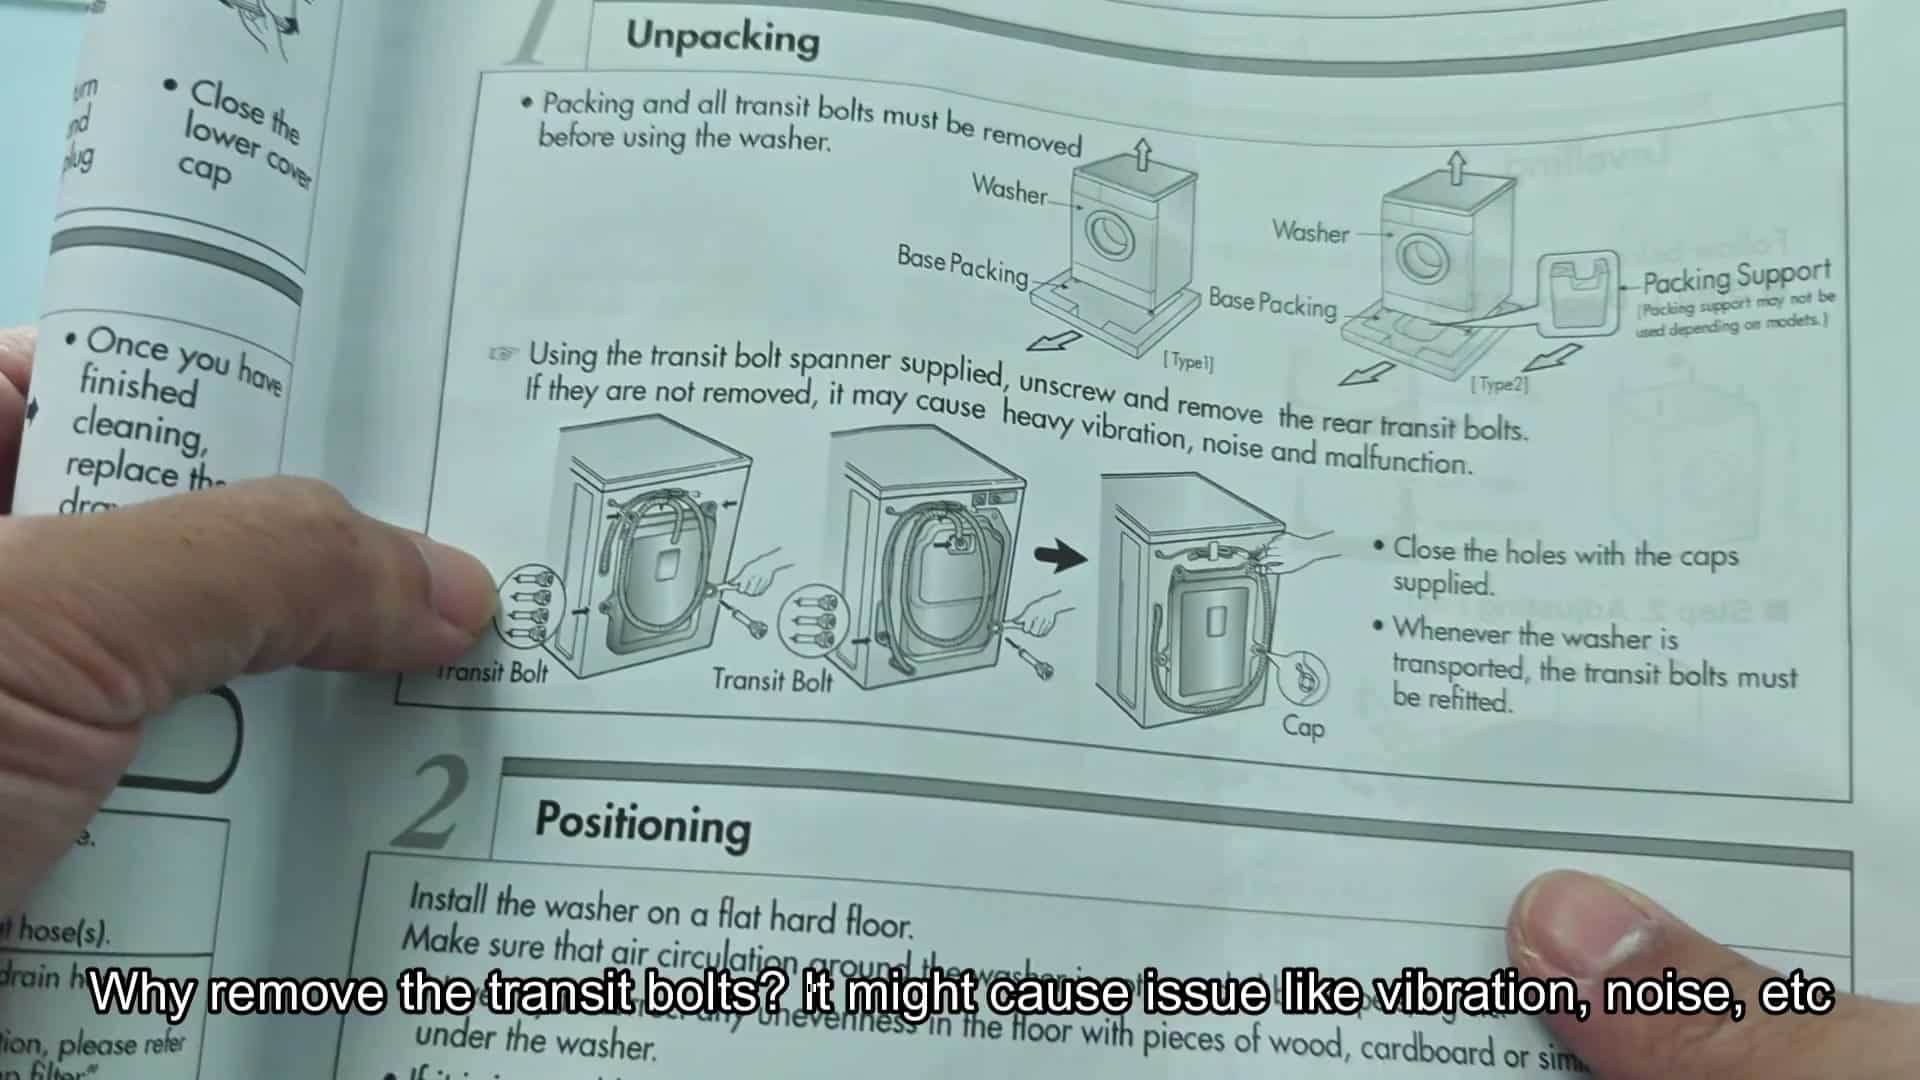
The booklet is a visual guide. Your fingers will literally trace the paths where it says to go and the illustrations indicates exactly where the spanners need to be inserted. Clear instructions mean that you won’t make any mistakes and everything makes sense as it happens.
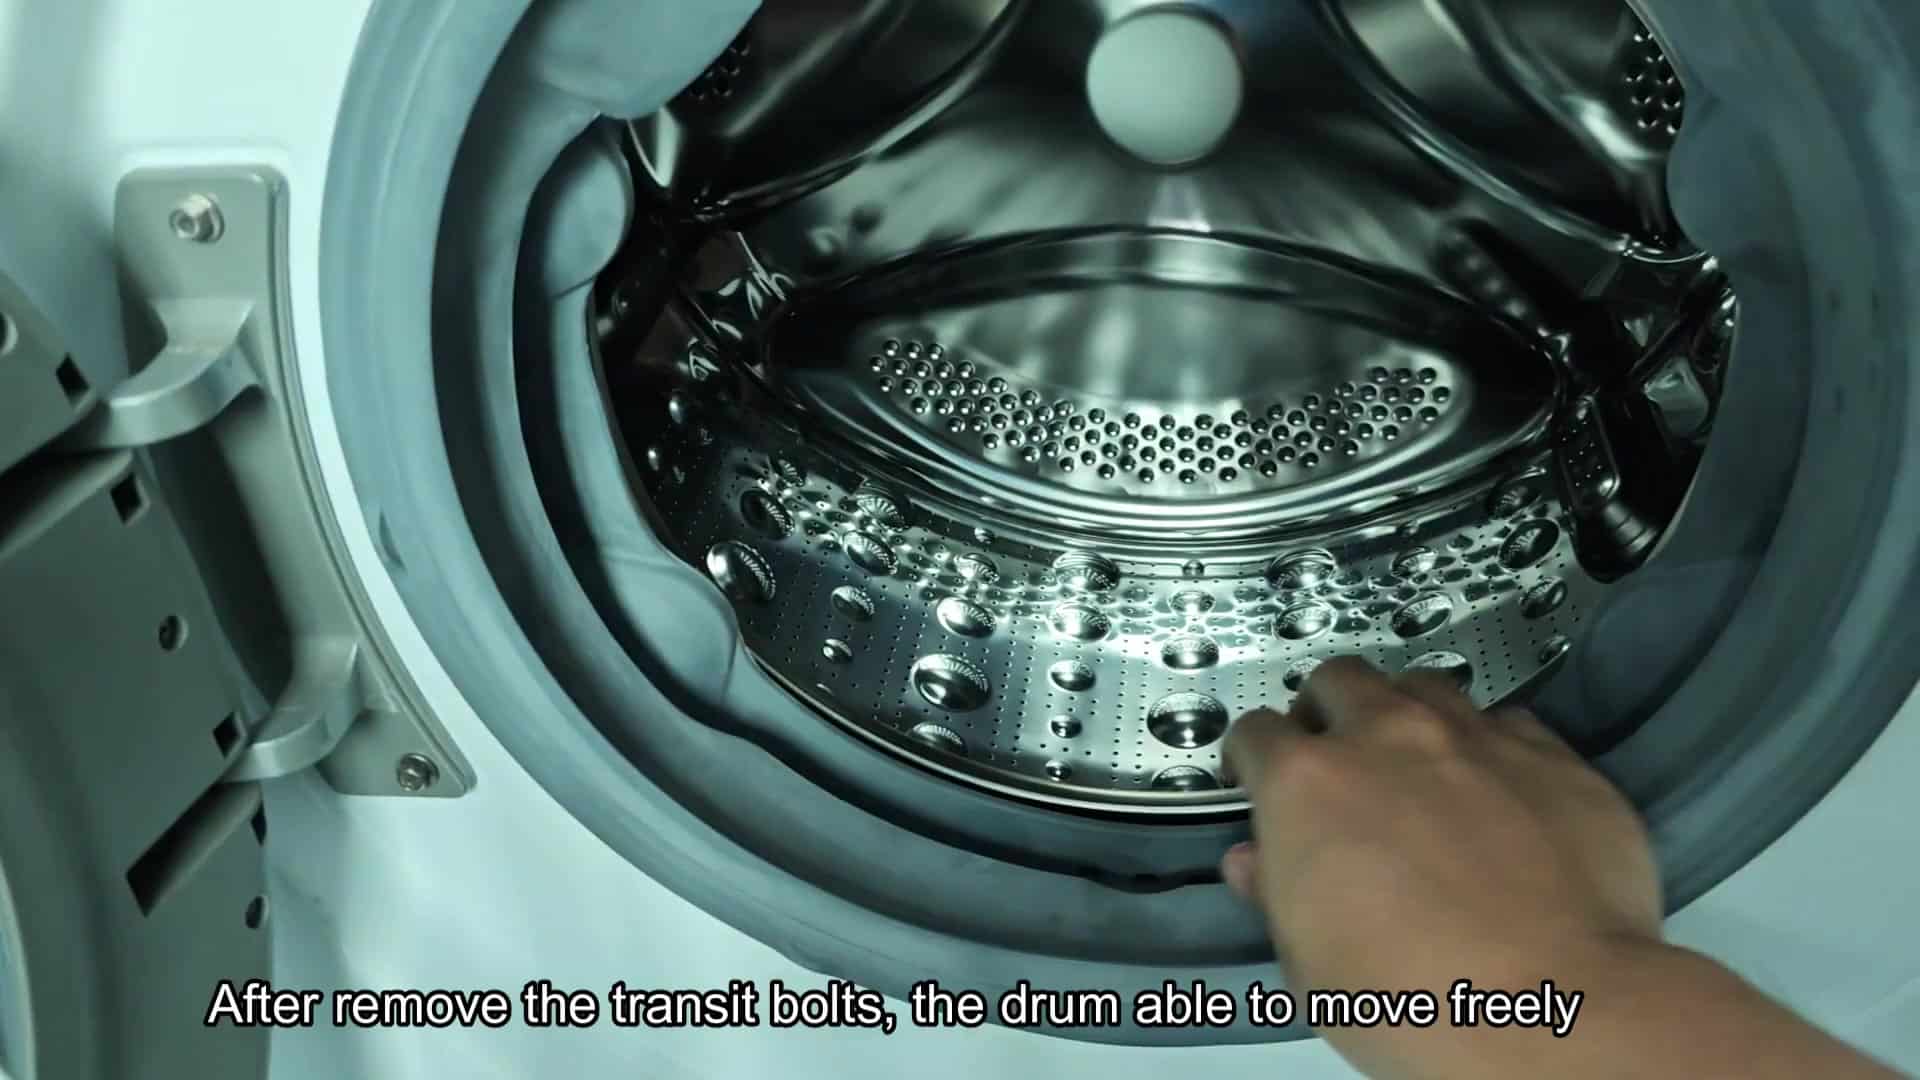
Now that there are no more bolts remaining you return to check the machine. Once more you reach in to the drum and it feels different; the cylinder spin freely. There’s nothing to stop your hand from moving it around, so the suspension springs is now activated. That is how it should work mechanically.
The drum will wiggle a bit. It’s supposed to; you pushed on it. The drum moves like that so the washer can even out the load. This lets the shock absorbers work properly. The inner tub is no longer stuck rigid; it can move freely again.