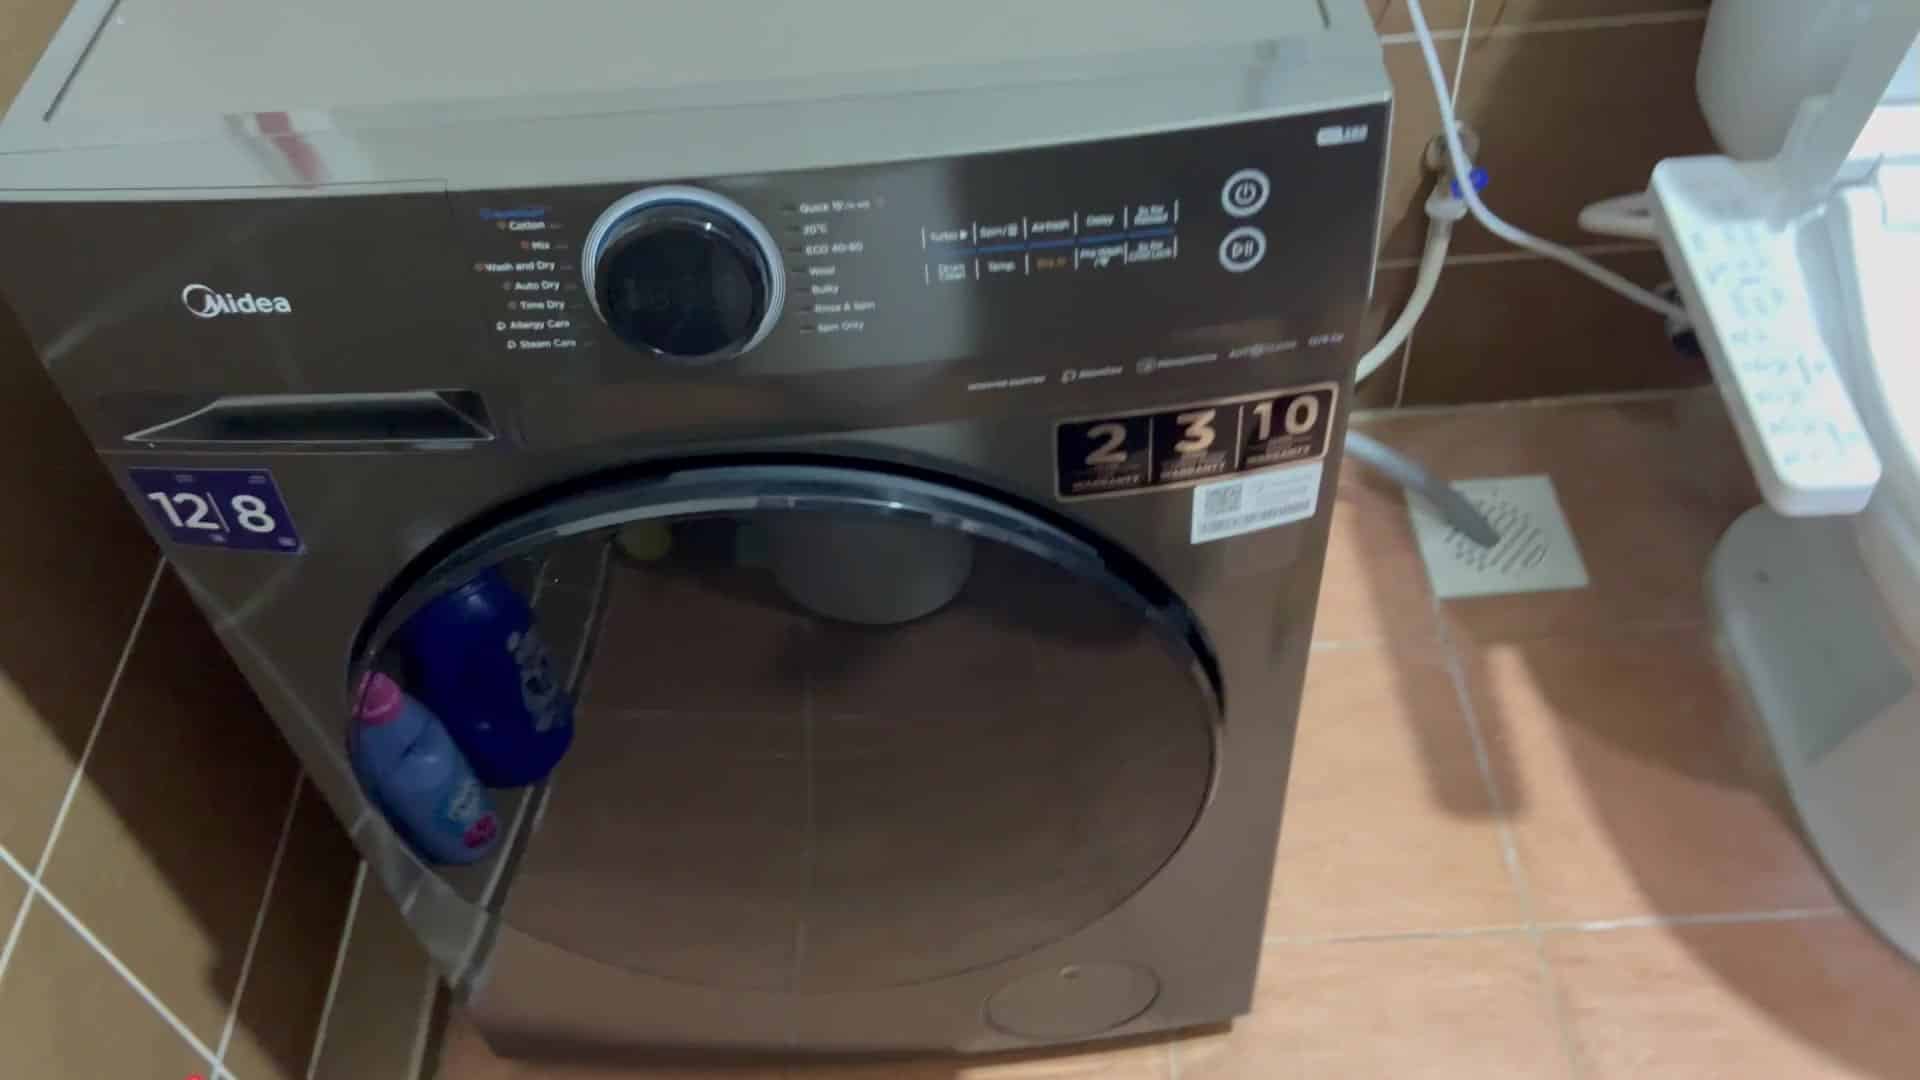
That’s when it happened. Water was in the drum. The machine didn’t spin. It just sat there full of sudsy water, refusing to drain until you did something about it.
So you hit restart. Nothing. A few minutes later, the display keep blinking its error code at you. Time to take matters into your own hands rather then calling a technician right away.
Unless you’re careful, dealing with water in appliances can be messy. All you want is to remove that water safely, without creating a massive puddle on the floor.
Accessing the Drain Filter Compartment
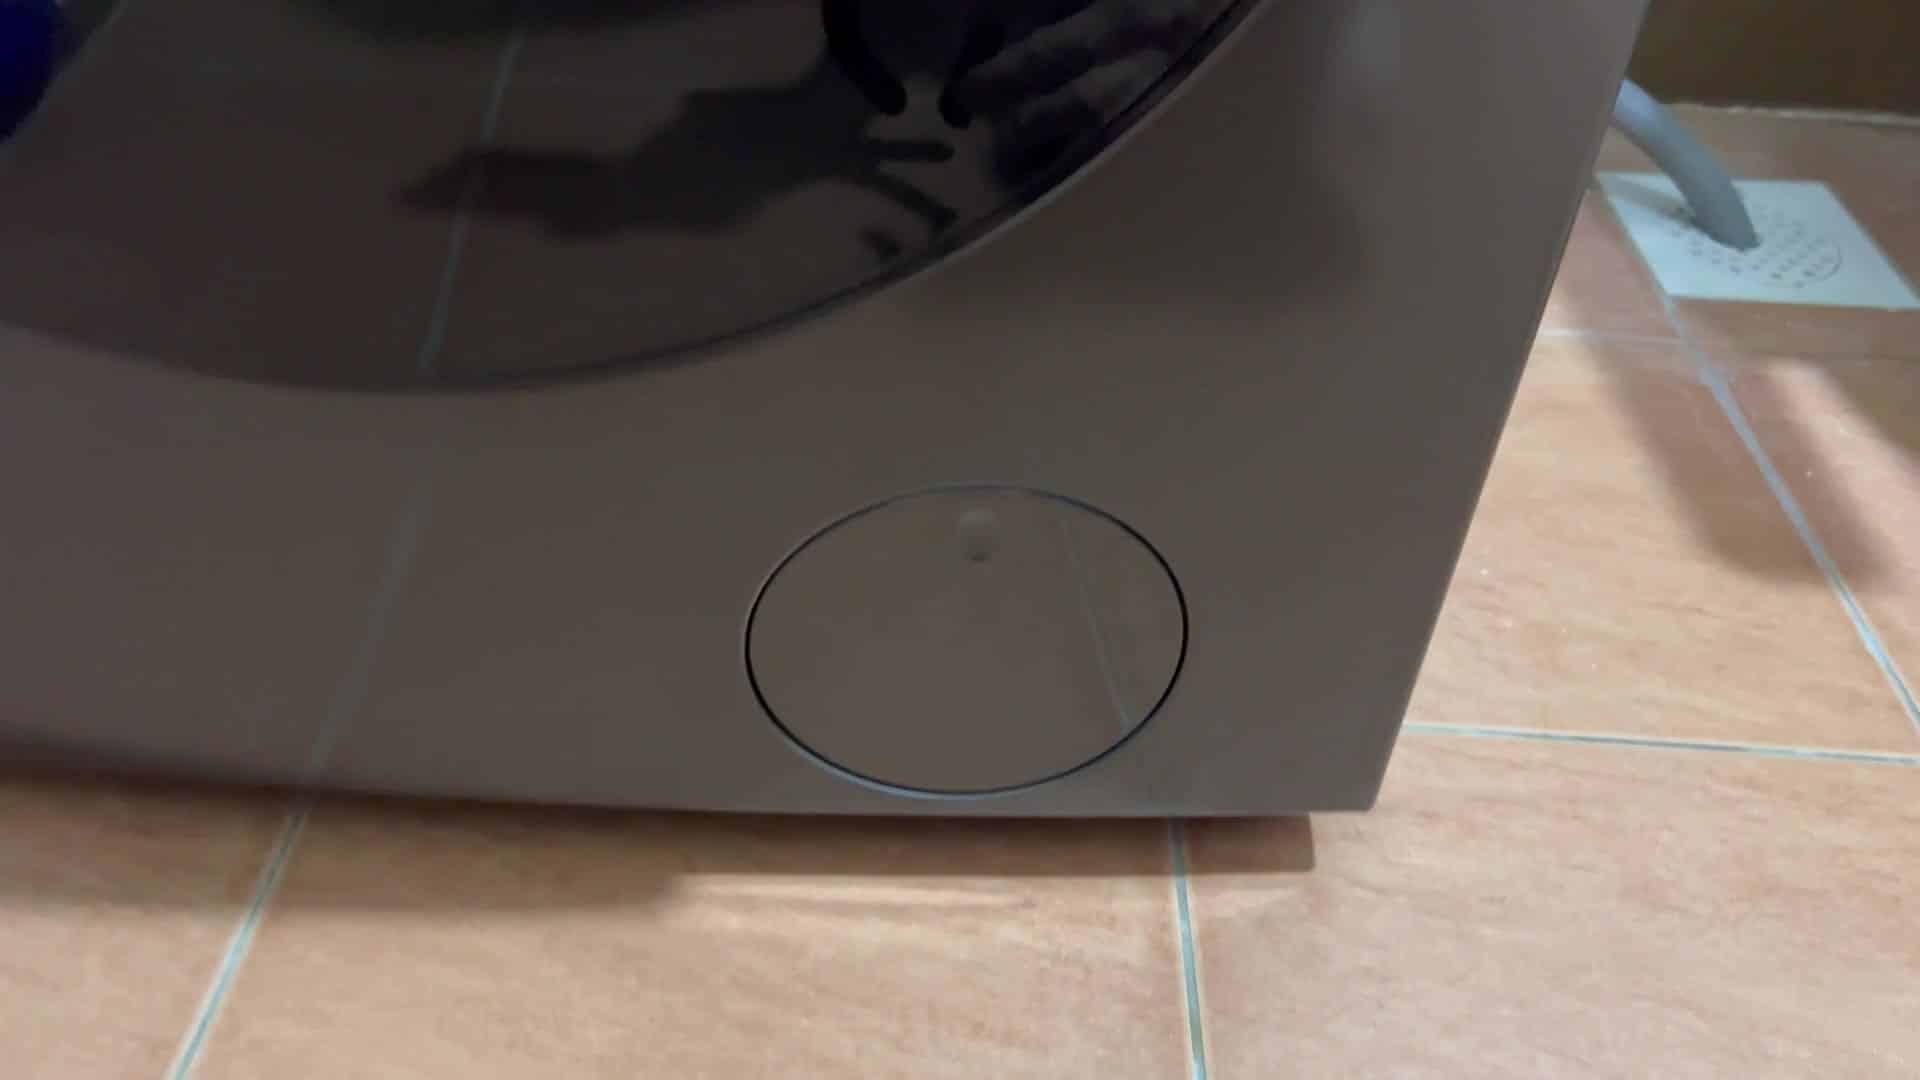
To get to the bottom front panel you need to move washer slightly. On the front of the machine there’s a little plastic cover in the lower right-hand corner. That is a special access point to get inside the machine for filter change and care of drain pump.
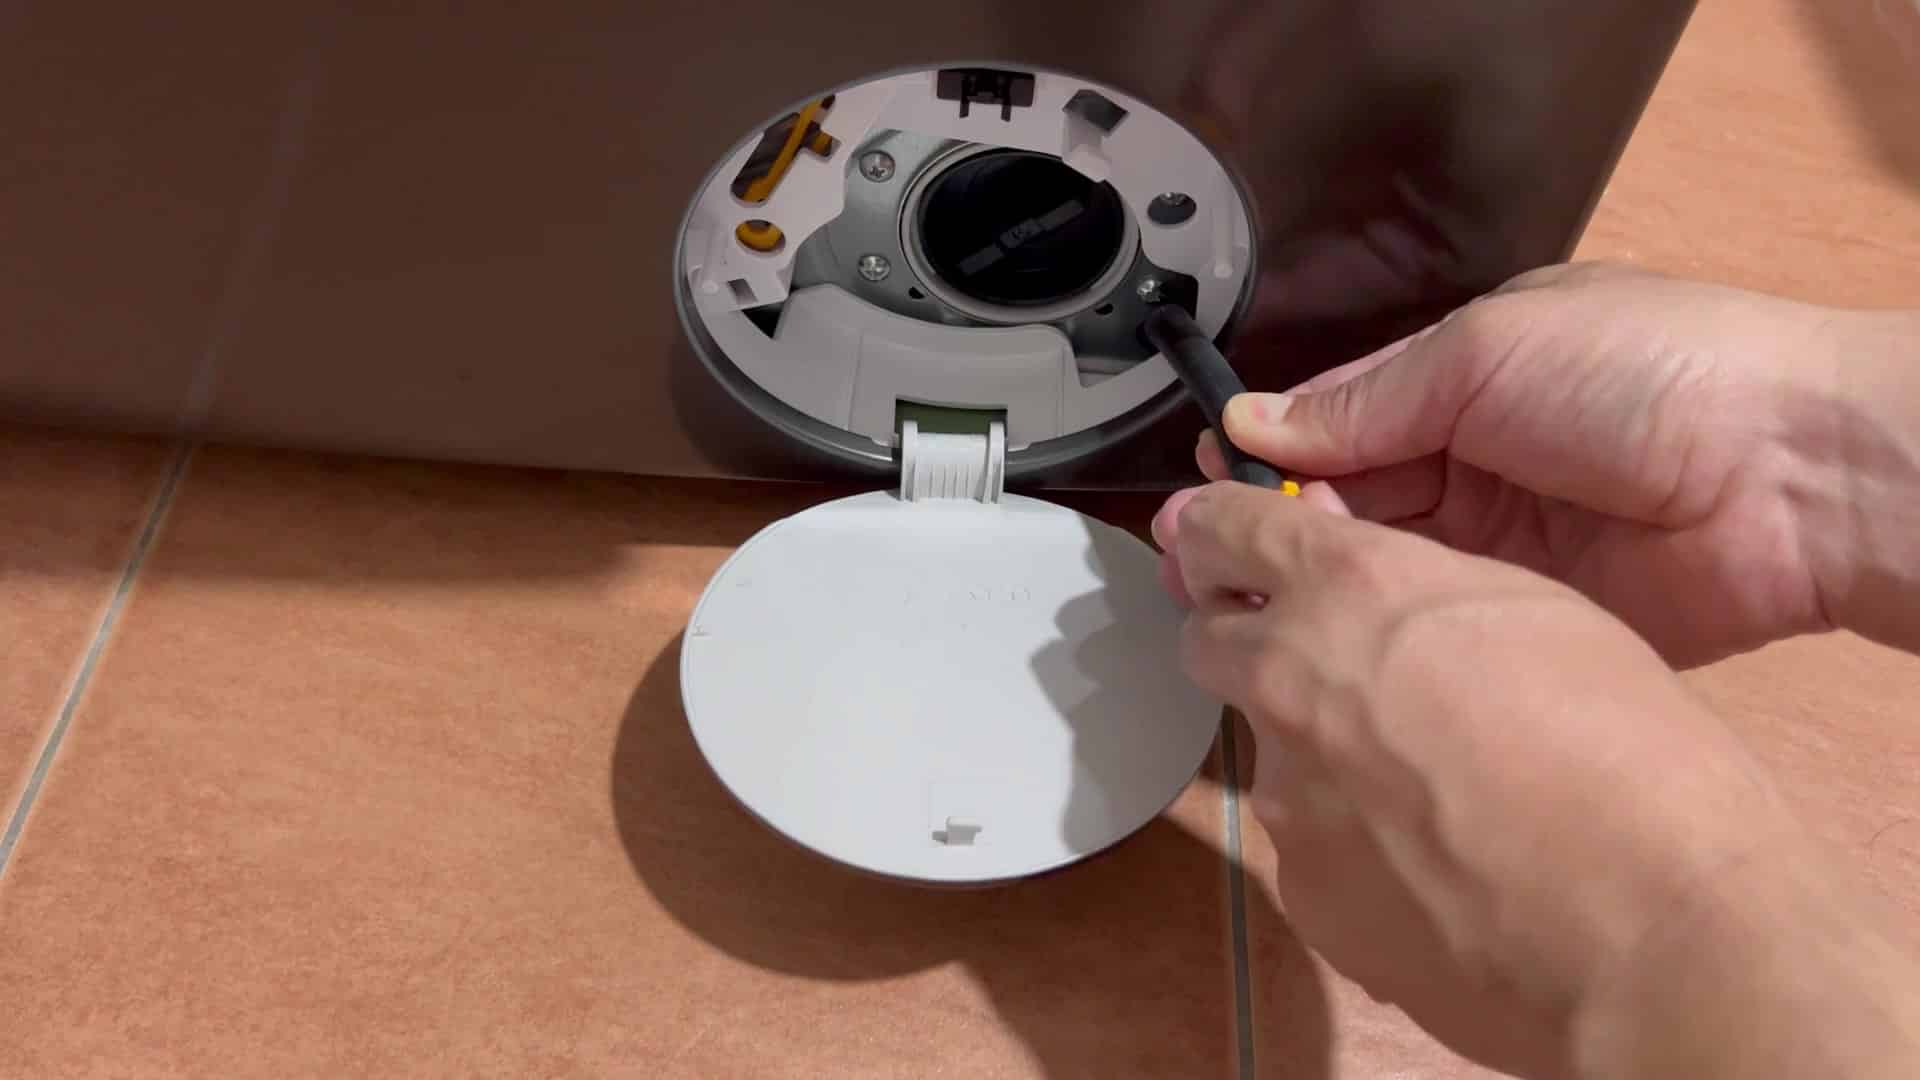
Push down in the middle of that round cover with your thumb. It’s a latch mechanism that clicks softly when pressed gently, then you pull open the door. That exposes what’s back there inside the machine. This will take only a few seconds. The black hose you are looking at in there is the drain hose. That’s the washer’s drain hose. And you notice that it sits low inside the compartment, almost on the floor. Normally when that thing are operating properly, it keeps the water inside.
The end of the hose has a little cap over it. You turn that cap counter clockwise and then very gently unscrew it. As soon as you take that seal off, water starts dripping out right away.
You’ve got a shallow container ready to recieve the water. If all you have available is a plastic bag, that’ll work too. Pointing the stream with the hose in your hand, you pour the water into the container. At first it’s pouring steadily, then slower and slower as the drum drain empty. It smells faintly like a mixture of fabric softener and old detergent.
Let it go completely dry, so there is not a drop of water anywhere near the pump area. This prevents it from getting smelly later on if even a little bit stay behind.
You caught most of it, so your floor stays relatively dry. But you didn’t really get wet and the floor isn’t that wet either. Now that you know where everything is and how things go together, filling up the drums seem simple. Now, when the hose has dried and the tub is empty, you know it’s time for the next part of the job. Now comes attaching thing again.
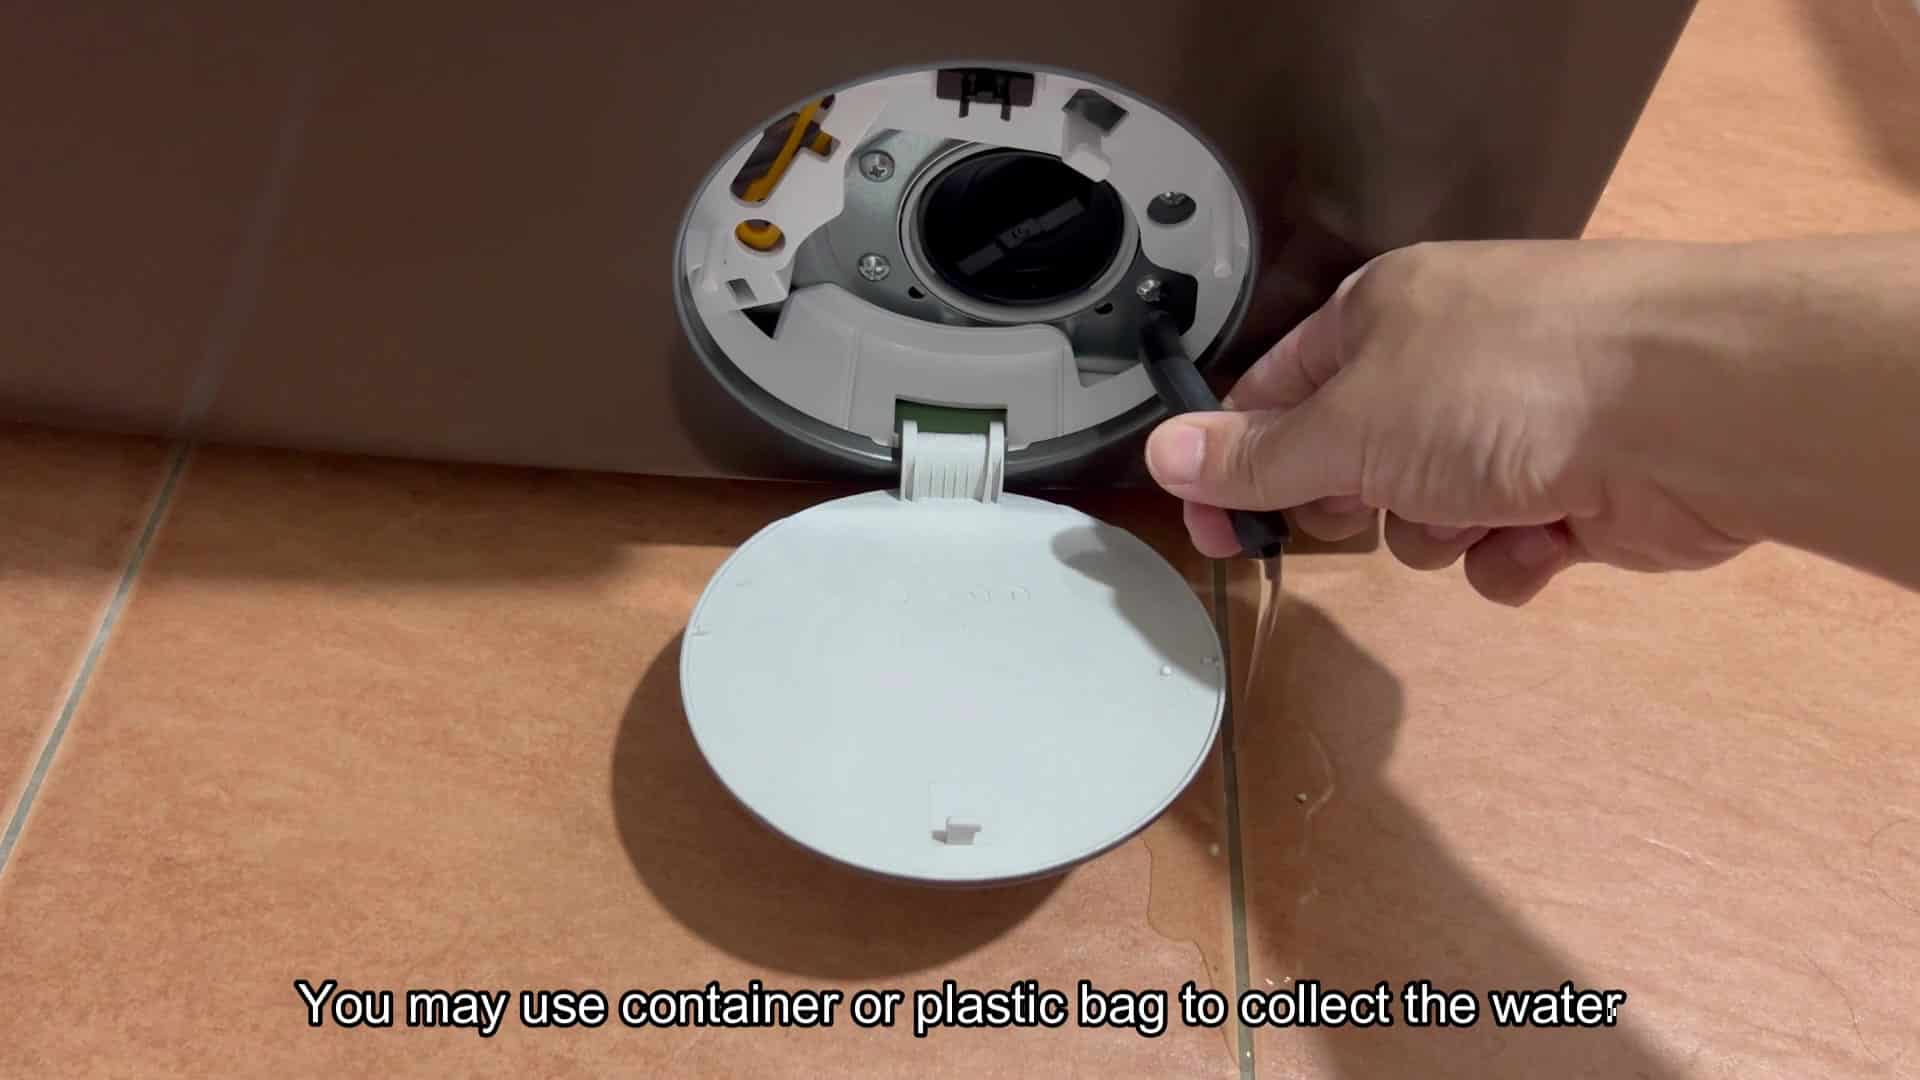
First, you fit the little cap you just pulled off into the open end of the hose. Then you screw it back on tightly. A good twist help keeps it tight to prevent leaks when the tub gets washed the next time. Tighten it down till it bites firmly on the thread. Close up the panel. Check to make sure everything is tight and secure. Is the cap flush against the end? Is the hose straight? Are you seeing any drip at the connection point?
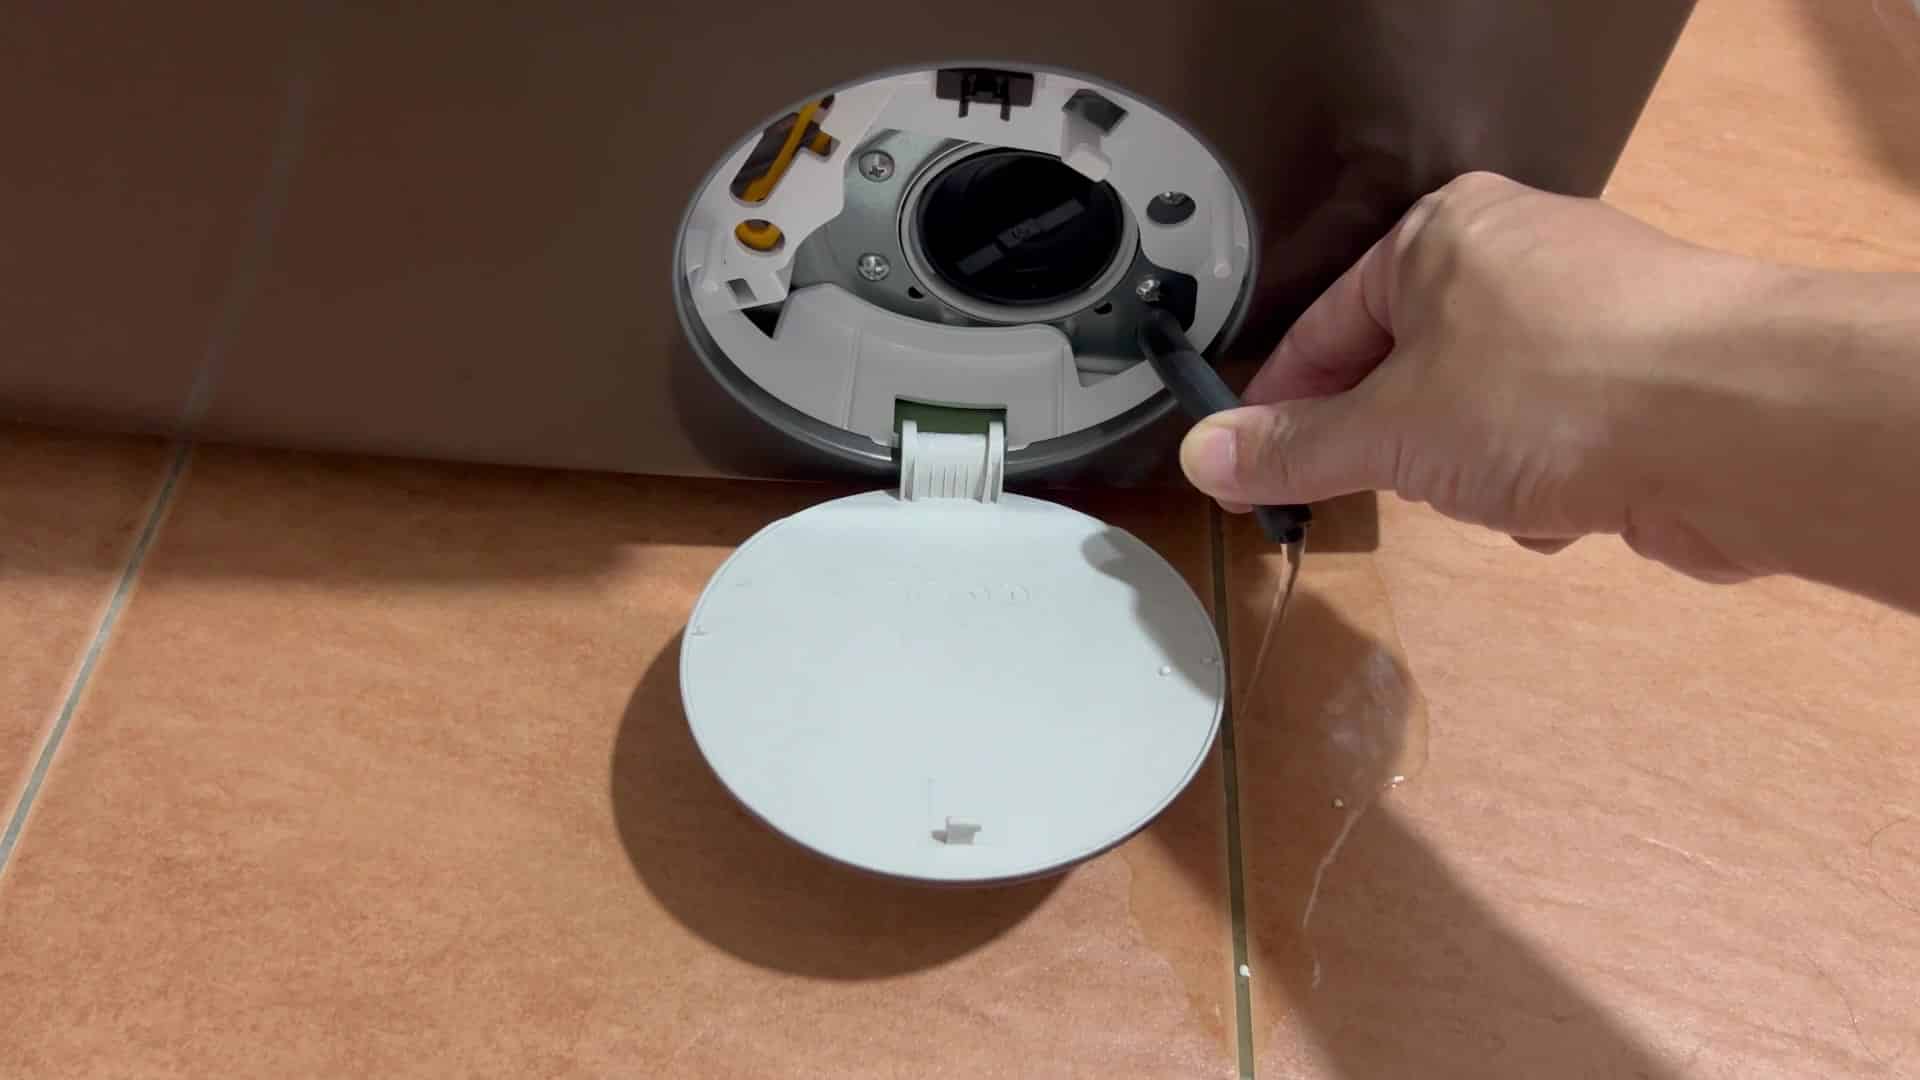
These are important things to check, as sometimes leaks occur slowly and can go undetected for days. If this machine spin on a wash cycle, you want to know your fix holds up to pressure. Inside, there’s no dirt or other debris visible, which may of been ejected along with the water. Time to shut the access door. Swing the round cover around back onto the front panel. When it is completely seated, it will click closed to let you know the latch is secure.
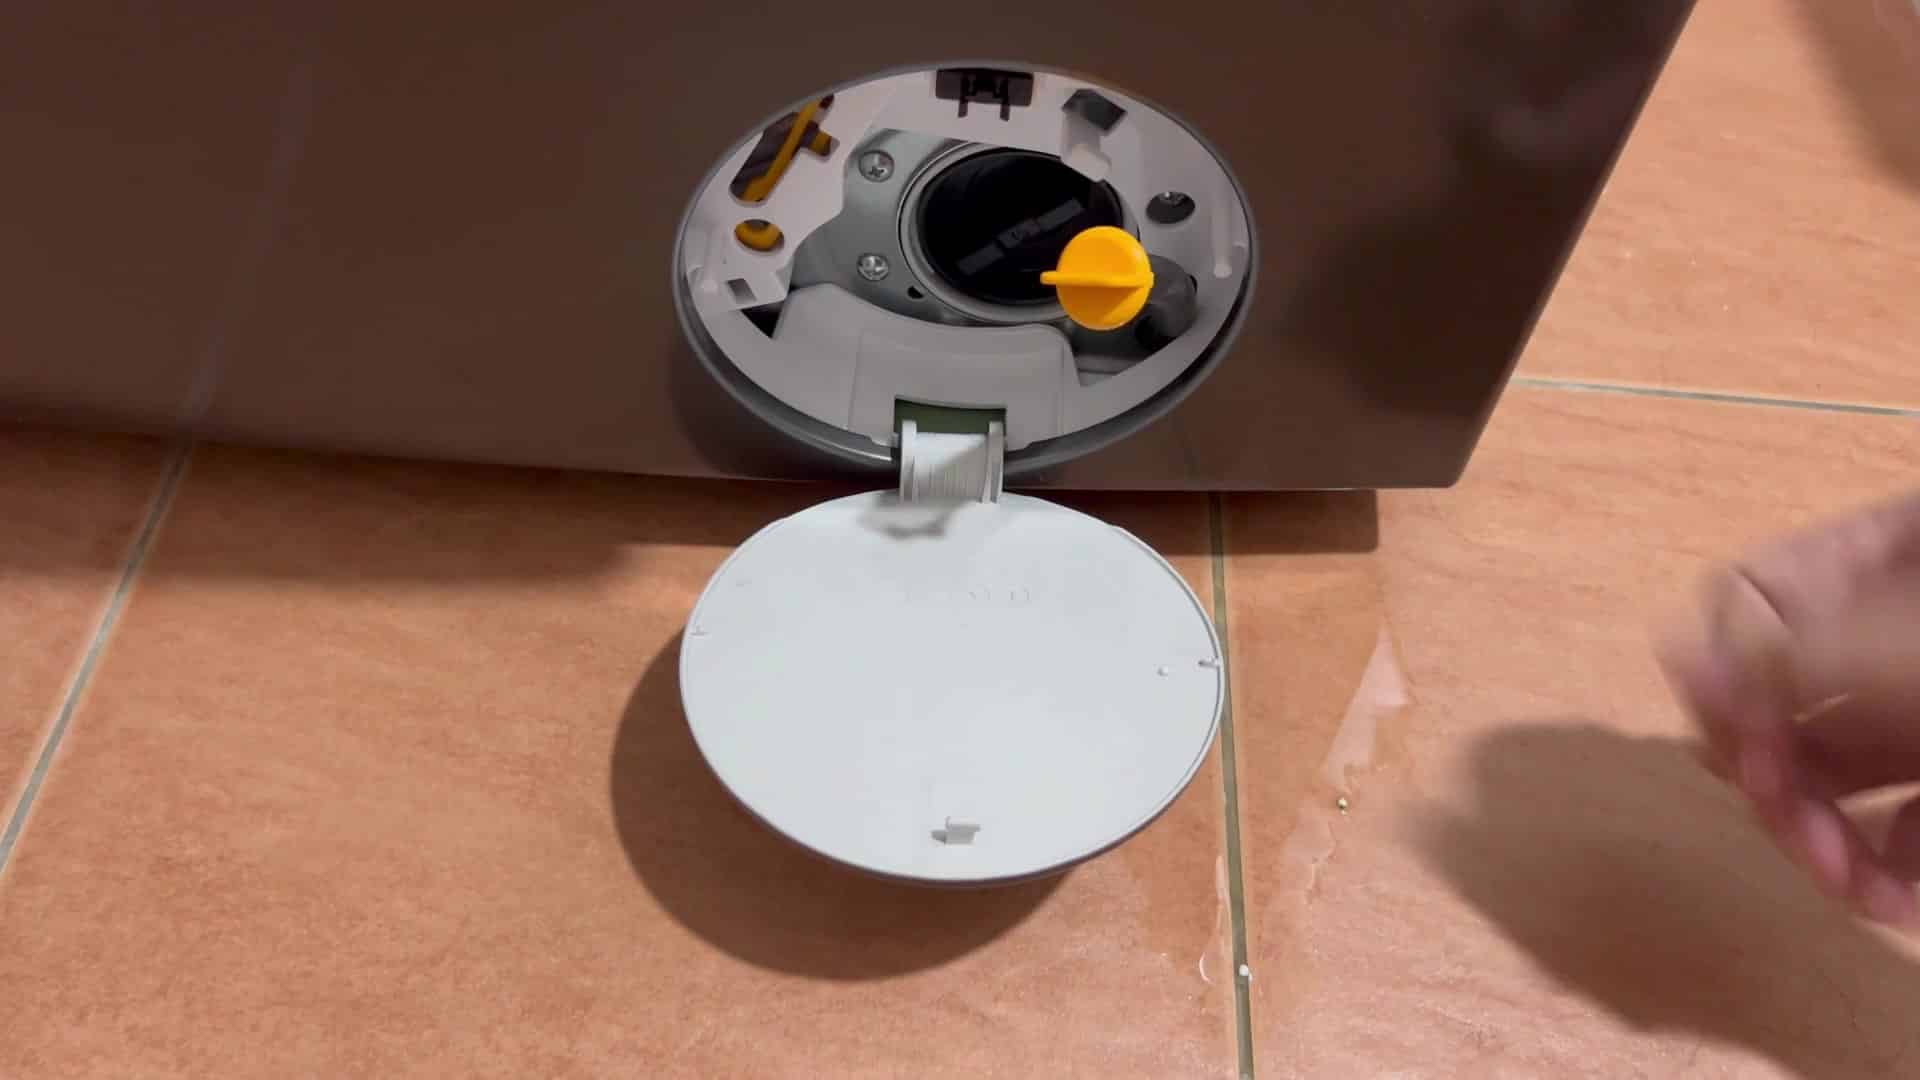
The panel should be snug but not rattling loose as the washer spin at high speeds. Give it a slight pull to make sure it’s secure. All good, now the washer look like it did before. Now, since the machine is empty and free of blockages, it’s time to start a new cycle, right? Pressing the power button turn on the control board. The screen lights up, showing all the typical wash program selections.
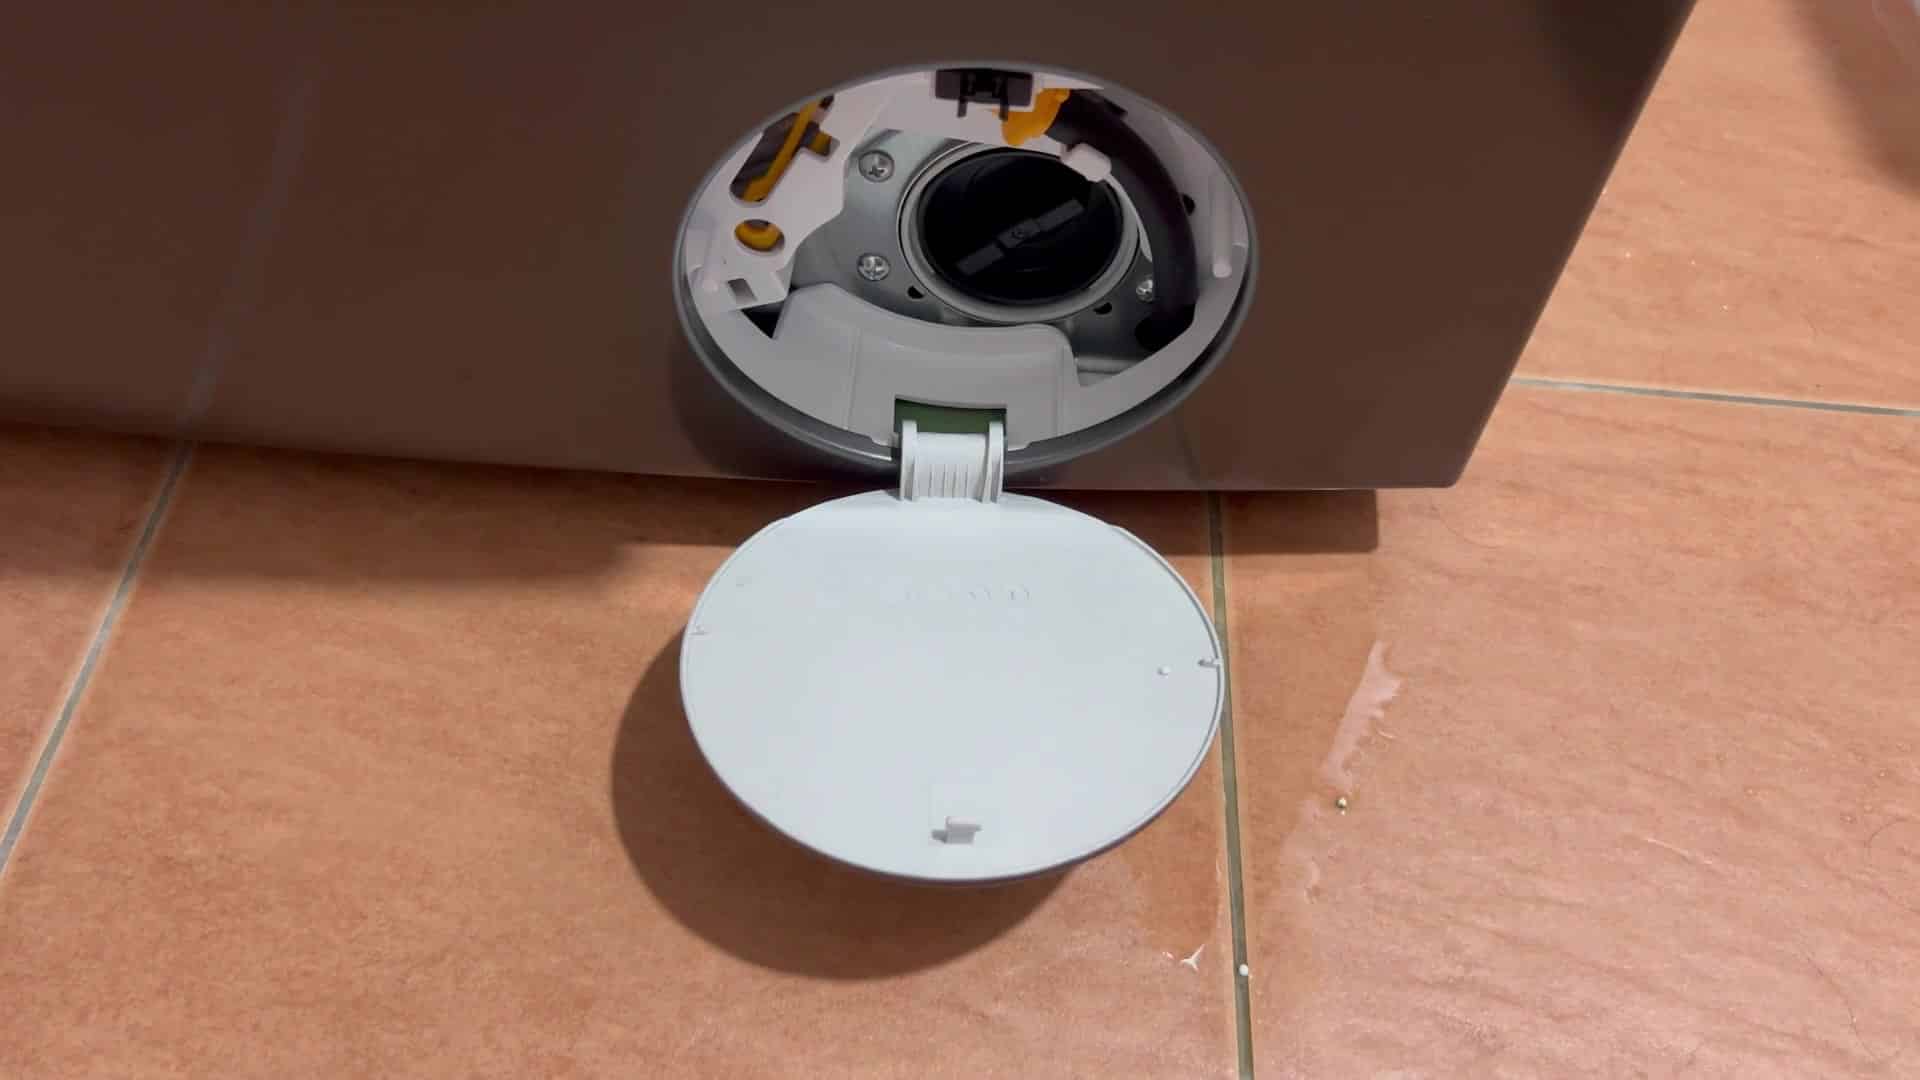
Since no water is obstructed at the hose or filter, it flows freely from the pump. Seeing just how easy it was to manualy drain the water makes you much more confident about your ability to tackle the problem yourself.