
Our Philips Hue dimmer switch quit taking commands from the buttons. Ugh, it was for our living room lights! The battery is most likely the culprit.
Each of these dimmers use a coin cell battery. Easy enough to fix, just take care with that plastic case.
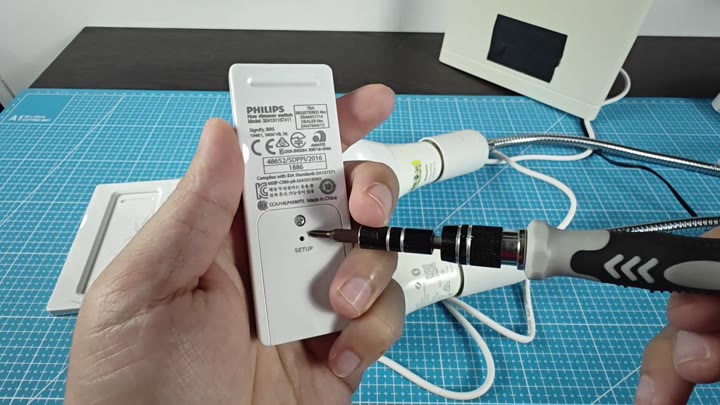
A little screw driver will do just fine. Push on a specific spot where the clips holds the back cover in place. Put the screwdriver right inside the side near the edge.
Replacing The Battery
Push hard but gently until it starts to feel snug. Once it’s snug enough, pull harder. Don’t worry, because if you’re gentle, the plastic won’t break off as it pops away from the base. Once that happens it comes free pretty easily and the whole thing pull off.
Inside, the layout is straight forward. You can see right into the battery area. Here’s the old battery that looks good and ready to be removed. Again use the screw driver to pop it out.
Be careful as the battery casing is pretty flimsy. Watch your fingernails because the metal casing is thin. Once it is loosened, the battery just comes right out and doesn’t want to fight you.
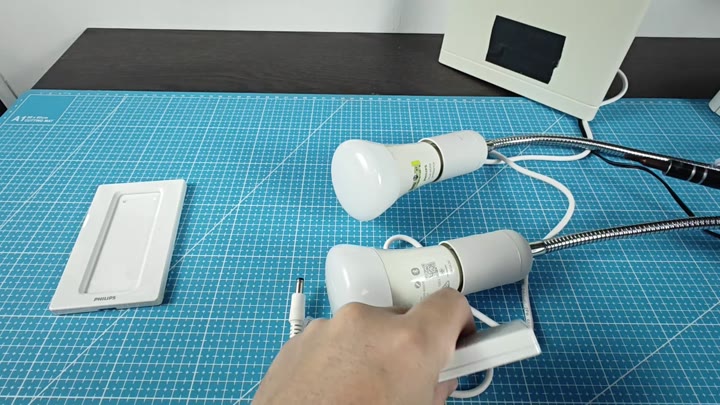
I am test fitting it without the back cover again. The back fits right on there snugly so we know the housing isn’t cracked. Whew; good thing since if you break the switch you has to buy a new one. But that’s expensive when all you need was just a new back cover.
No worries though, the original one does hold up nicely. It’s not all scratched up or worn looking. Plastic is white and stiff as ever.
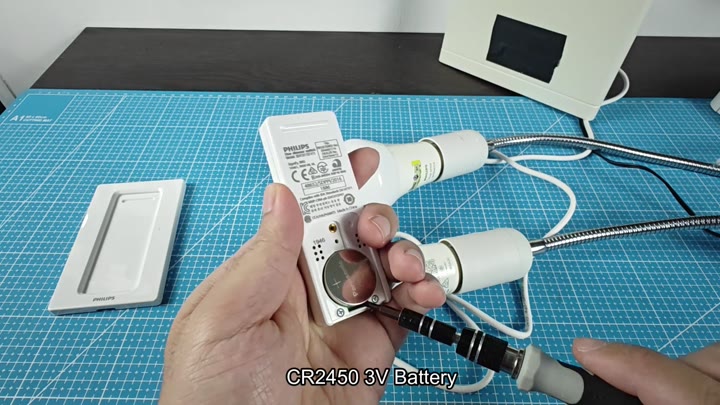
Prepare the new battery, which is a CR2450 model.
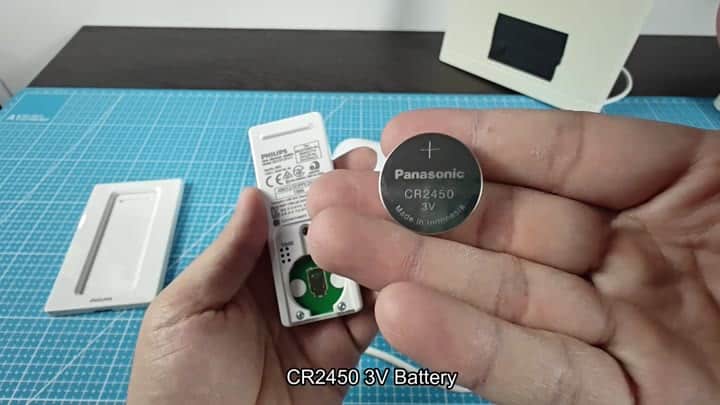
Now get out the new battery. It’s a CR2450 model. Same voltage as the old one. And the polarity markings are easy to see.
With the positive side up (that’s critical) slide in the new cell. You’ll hear it click into place. That lets you know that it’s seated properly and the contact points fits perfectly. No adjustments or wiggles is required.
This is a close up of the battery compartment. It shuts securely without force. Don’t bang on any solder points inside either, because that’s where all of the internal circuitry sit.
Keeping your hands dry and clean avoids static discharge which can be a nasty problem. No fancy tools needed except for that screwdriver.
You just need some patience and steady hands.
Slide the last piece of cover into place. Everything lines up perfectly. The seams is evenly spaced. The switch appears as good as new.
Press the buttons right away. They snap with a sharp click. The LED light blinks once to confirm. There’s no need for any pairing. It just works.
The light system is connected. And it remembered where you left off.
Lights are working in the living room
The dimmer is smooth.
The brightness level was adjusted correctly.
There will be no more dropouts or lags.
It feels solid to hold.
Weight is well distributed
Put it back onto the wall mount
It’s flush with the wall
It was fixed within minutes.
You saved money because you did it yourself
A replacement switch would cost more
The battery is a standard size (CR2450) and readily available from most stores. It’s not some proprietary thing; it’s an off the shelf battery that can be serviced easy.
You don’t have to wait for a special order, etc… Just stock up on one as a spare. Wireless devices will all sooner or later kill their batteries and it’s inevitable. Having a spare ready for the drawer means you’ll be ready when it does happen again.
All-in-all it’s been a nice experience and the device has stood-up to it well so far. It was accessible enough thanks to its design and they made it serviceable. Good on them.
Many manufacturers glue everything closed, which means we’re forced to replace rather than repair. But that wasn’t the case here.
Everything works again and I’m satisfied with the outcome. No need for physical switches anymore; lighting is as good as new. A simple fix, at a good price point, makes automation return to the home.
