
Before replacing your hardware, however, you’ll want to rule out any kind of software glitches… A hard reset will eliminate any minor connectivity issues or other power drain errors. The DualShock have a tiny reset button on its rear that you push with a thin tool. Easy enough, and that way you don’t unnecessarily tear things down only to discover everything’s just fine.
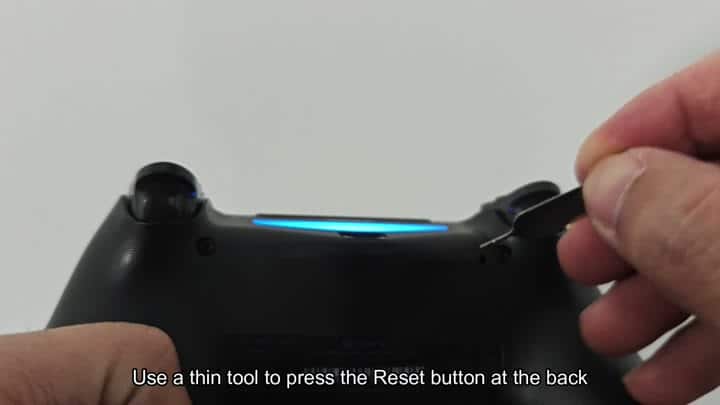
The action helps with that, too.
If the reset doesn’t solve your problem then it’s probably the internal battery. But instead of taking the whole thing apart, you’re only looking for something that require the covers off. You want to get into the battery area but don’t need to take out all the screws/ribbon cables inside the console. That way you keep it simple and reversible.
Testing and Replacing the Battery
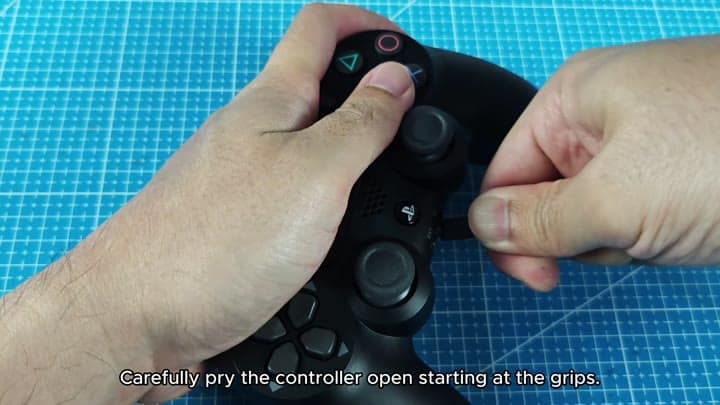
It’s not a big deal.
Start by prying the case apart at the grips, as this is your best leverage point for prying open the case with your plastic spudger. The plastic clips holds well and require some patience; go slow and don’t pull too hard or you’ll risk pulling the light-bar ribbon cable connecting the rear half of the shell to the front. That ribbon cable would of break off, ruining the lighting functionality in the controller, which would be annoying.
After removing the shell, there’s the little white connector that plugs into the 3.6V battery. That’s a tiny lithium-ion battery. You pull out your trusty multimeter and test the voltage of the original battery.
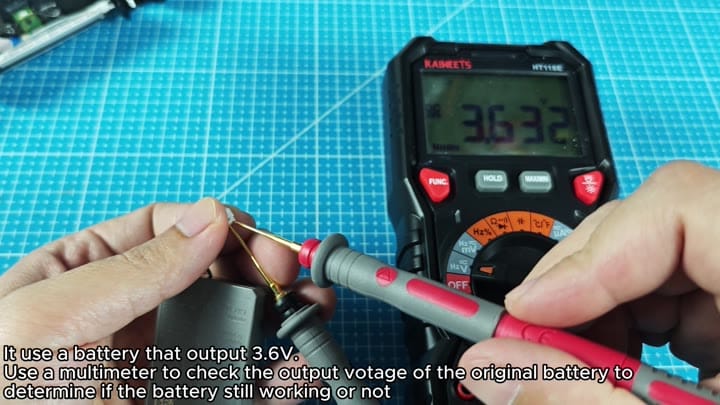
If it’s well under 3.6V, then you know that the cell was no longer capable of holding a charge. Then you replace it with the new one.
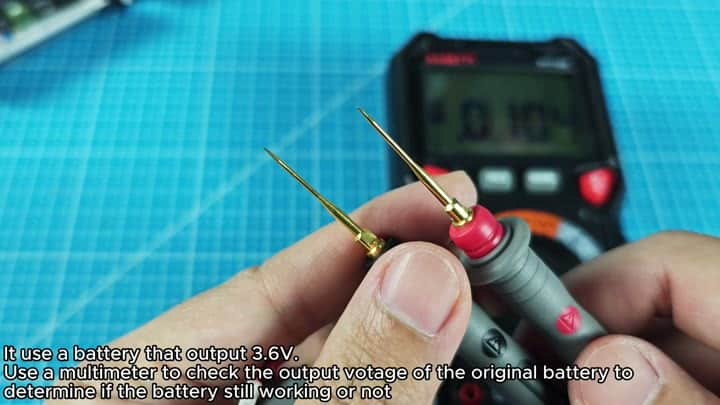
You use a multimeter to check the voltage of the original cell.
This step helps.
A good battery will be around the rated voltage on its label. Put the probes across the battery terminals and see what it say on the digital display. The number there tells you that the battery is dead and in need of replacement. You don’t have to guess; you just verify the data, which makes sense.
Now that you have your diagnosis, you order a suitable replacement battery. This time, you’re going for a 3.6V replacement.
When it arrives, you notice the new one matches the old, which means it fit perfectly into the snug enclosure. Next, disconnect the lifeless battery from the white socket. Time to put in the new one! Easy peasy, assuming you ordered the right voltage.
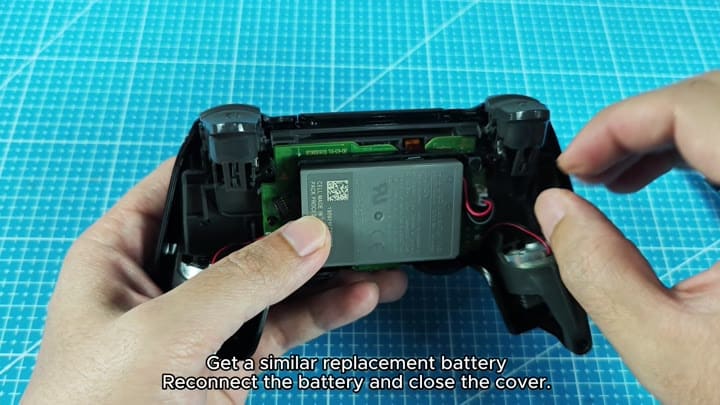
And that’s good enough
Plug your new battery in the white socket; it fits snugly which means it’ll deliver steady power. Confirm that it’s connected, and then snap the halves of the shell closed again. The clips engages and close off the case.
Verify that the light bar isn’t getting pinched when closing. Lock down the fit. Then hook up the controller to charge to be certain it’s charging correctly. When the lights blink or turn colors, you know the system accepted the new battery. The controller springs to life and it’s good to go.
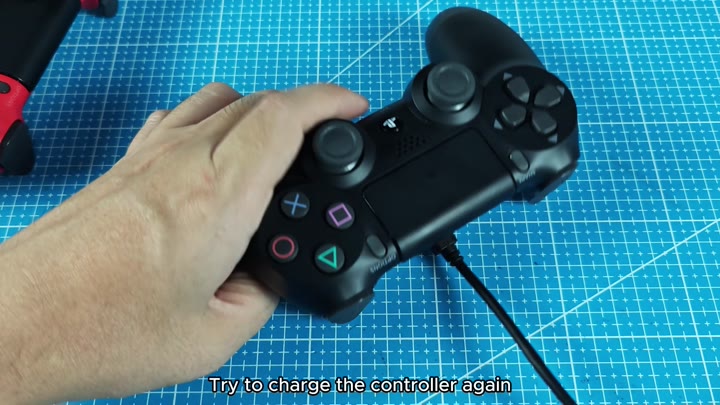
The swap gets the battery back to working condition, and actualy restores full functionality to the controller. You won’t need to troubleshoot anymore. You won’t spend any more time taking your entire system apart. It’s done much faster than you might think, making this entireley worth it.
