
Suddenly your PS4 controller‘s battery is dying super quickly. It used to last an entire game, but now it only makes it halfway through a round. That sucks, so you’re going to assume something’s wrong with your hardware.
Instead of just running out for a replacement, you can choose to diagnose the situation yourself.
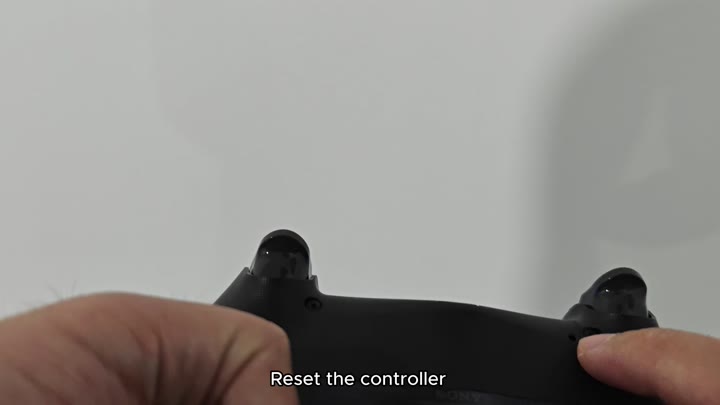
A good place to start is with a complete reboot of your electronics, they do seem to get confused at times. With the unit unplugged, you push and hold the little reset button inside the controller.
Diagnosing the Battery Issue
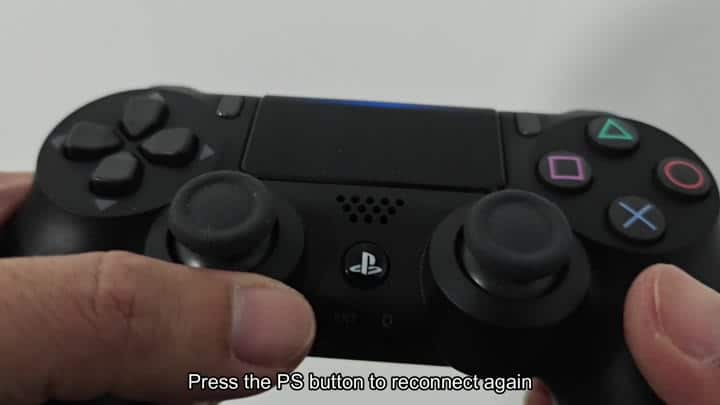
You can attempt to re-pair the controller with your PS4 by hitting that middle PlayStation button, reconnecting it to your console. But usually that doesn’t work. And then the battery starts draining quick anyway.
Maybe you’re thinking that the internal cell has just worn out. If it’s a lithium-ion battery (which is a 3.6-volt battery for this controller), then they does wear out with heavy usage over time. Is your battery totally dead? Or maybe you just need to check if it’s still holding a proper charge?
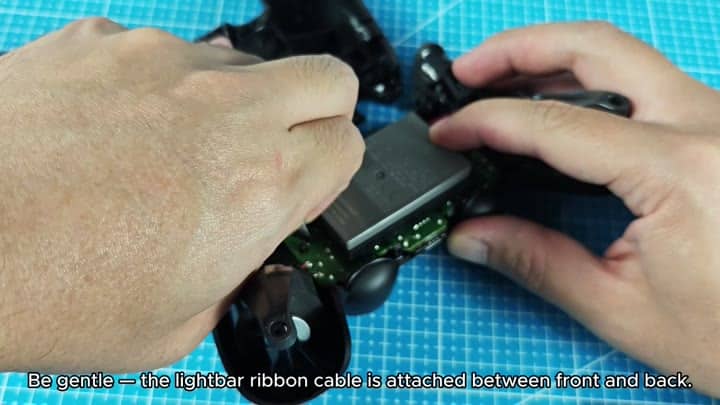
To do this, you carefuly pry the shell apart, starting at the grip area.
This requires gently prying the shell off at the grip area. Again, you don’t want to stress that light-bar ribbon cable connecting the two halves of the case, as doing so will permanently damage it. Once opened, you’ll find the white battery connector on the inside. Disconnect it from the mainboard.
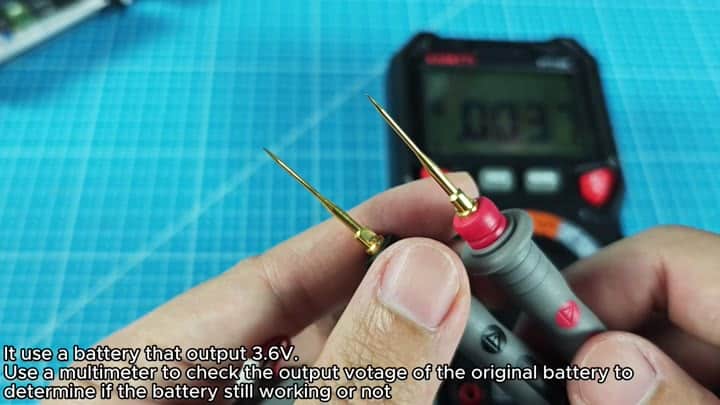
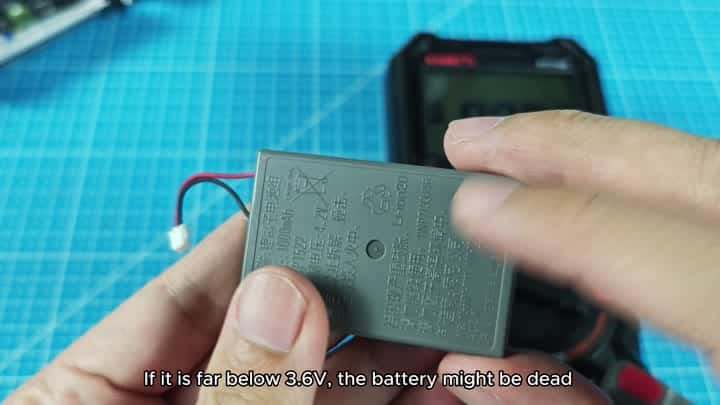
Remove the battery and test it with a multimeter for output voltage. You want the cell to measure near the rated voltage of that cell (a good cell should of do this). If it’s well below that level, then there may be something wrong with it and it won’t hold any charge.
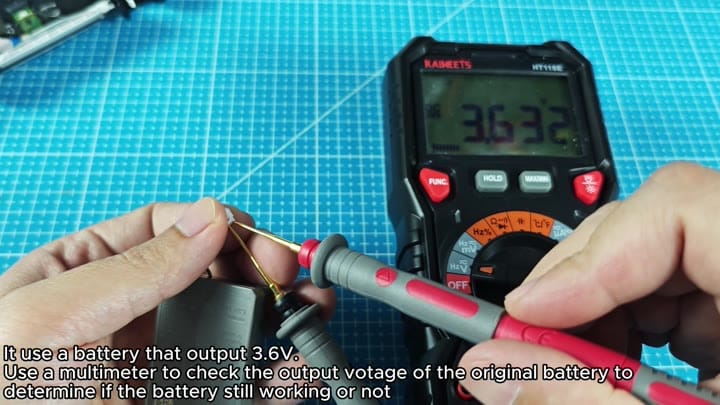
The meter reads way less than it should. For example, it is much lower than 3.6 volts in this case. This indicates that the old battery is not holding a charge very well, which would account for the repeated controller shut downs.
Next you get a new compatible battery (a regular lithium-ion cell that’s roughly the same spec). Then use the multimeter to check out the system by placing its probes against the charging contacts on the board inside the controller.
That reads something like 4.2 volts, and that checks out just fine… It means the charging circuitry is okay. So this problem was purely related to the old battery cell.
The voltage there is about 4.2 volts, which confirms the charging circuit is working fine.
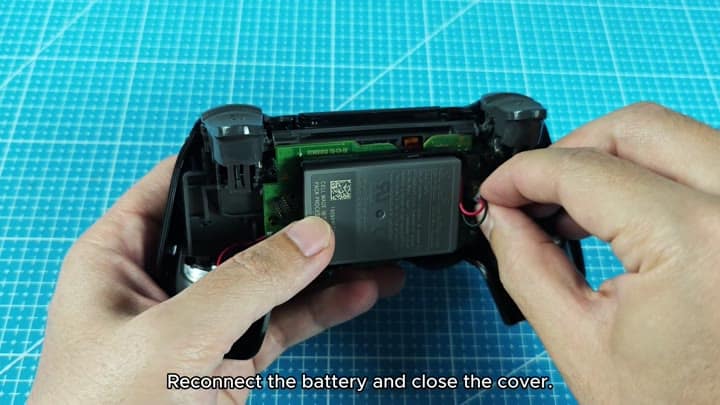
Snap it all back in. The shell is tight and secure. It looks as though you purchased it that way, with no gaps or anything out of place. Reconnect the new battery to the white connector, and it clicks into place securely. Then you snap the case back together. Reconnect the new battery to the white connector.
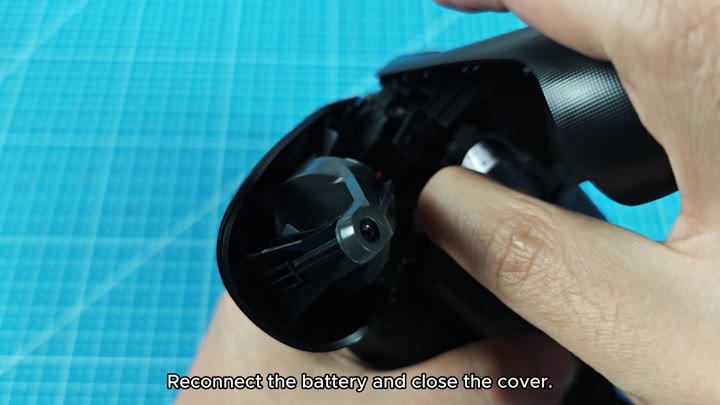
Easy peasy.
The shell fits snugly, and there is no gaps or loose parts.
Feels solid in your hands again. Then finally, you plug the controller into a charger to see if it’ll actualy hold a charge this time. The indicator light turns on showing that it’s getting power and you let it charge up fully.
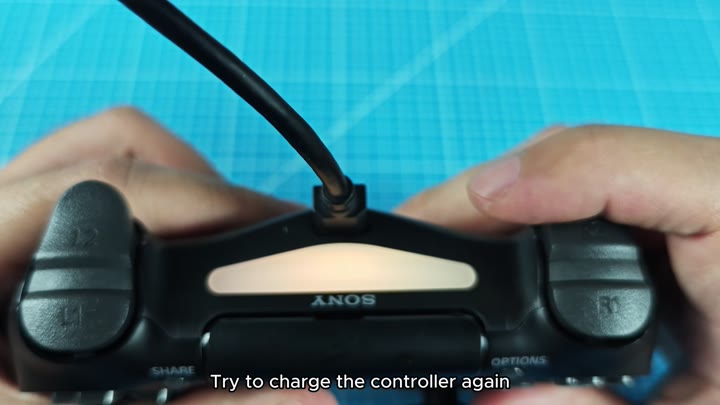
The controller charged up perfectly, and no more fast drain! Sometimes it’s just a weak battery. This fixed it pretty easly, which meant I didn’t have to go buy myself a new controller.
