
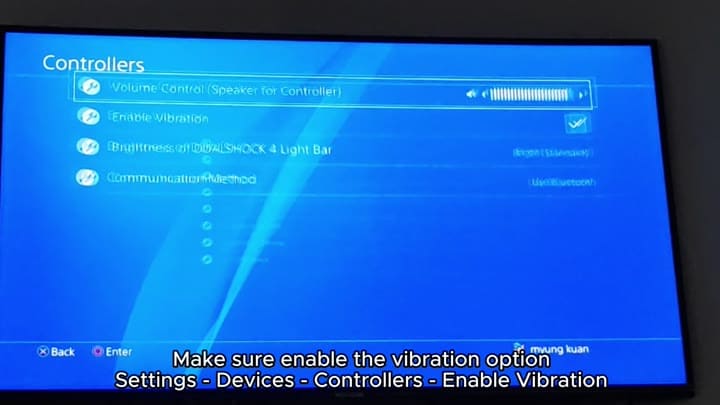
The DualShock controller isn’t rattling anymore, but where’s the software setting? Head over to your PlayStation console and open up the Settings menu. Select Devices > Controllers. Check the box next to Enable Vibration. That wasn’t turned off in your preferences, either… It was already on in your case.
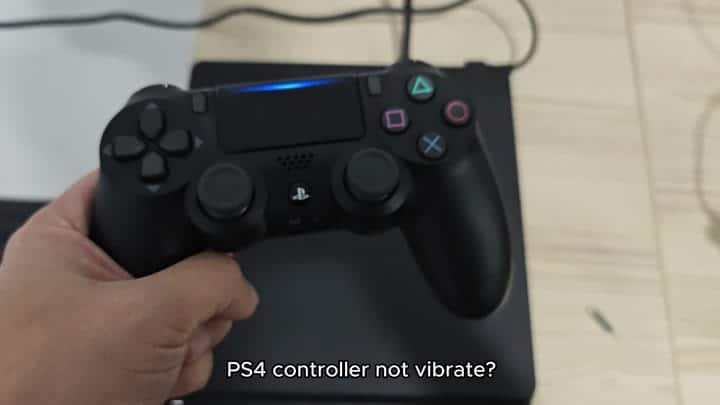
The settings check out, so you proceed with some more advanced troubleshooting.
Testing the Internal Motors
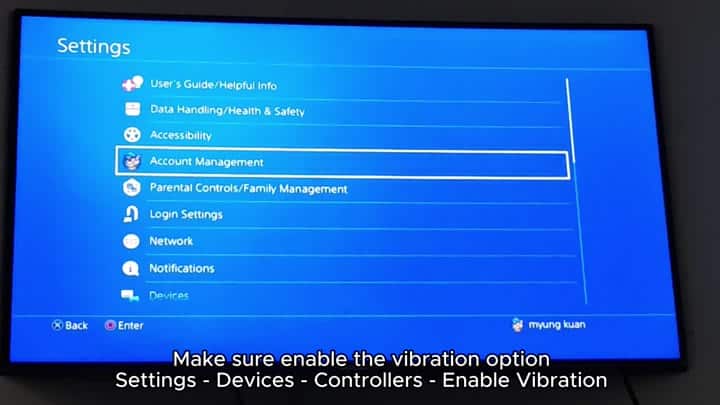
You move on to harder troubleshooting steps because the settings is correct.
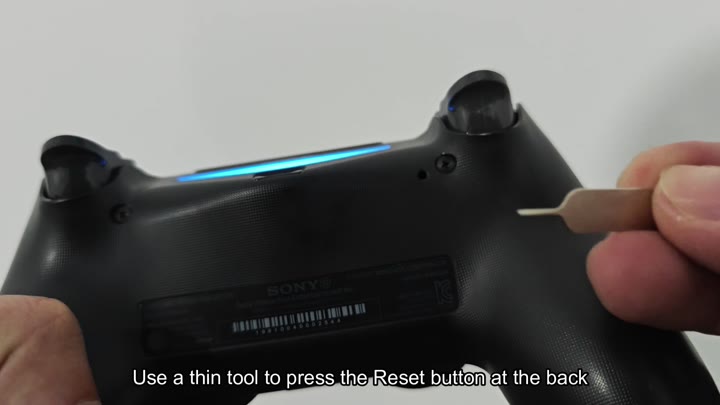
To reset the unit and remove any temporary logic issues from its firmware, you might of want to give it a go.
The controller has this little hole in the back that hides a reset button. Insert some kind of thin tool, push the button within and hold for a few seconds.
Nope, didn’t revive the vibe. The reset fails and you figure something’s wrong with the guts inside there.
Next, you need to remove the case so you can check out what’s inside. To do this, you begin to pry the front and back halves of the shell apart by using the grips.
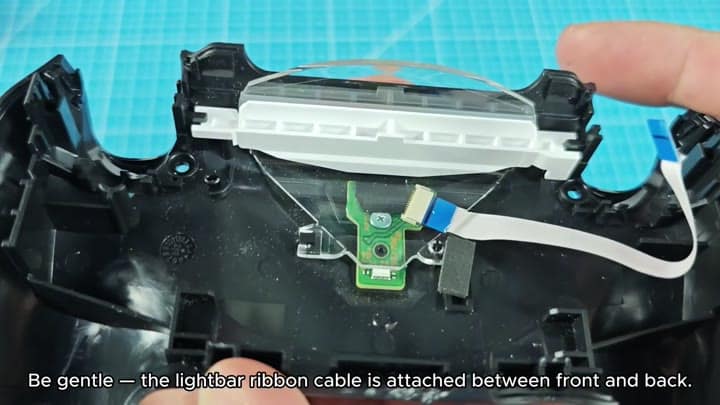
The light bar connect these two sections via a ribbon cable. This is where you don’t want to stress the cable since it’s pretty fragile.
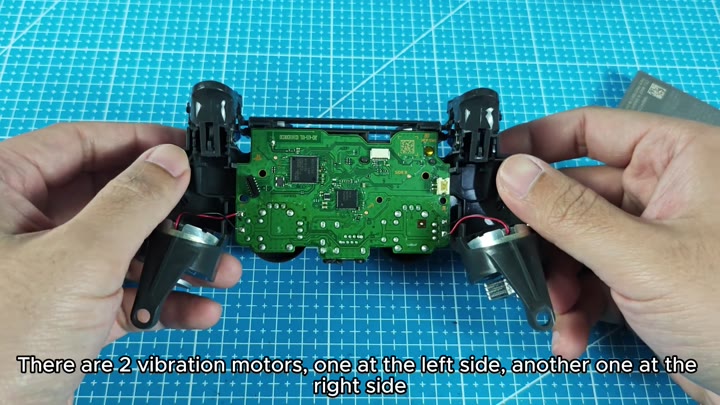
After getting the shell separated, you’ll find the internals laid out in front of you, exposing the circuit board and all its components. Next, you unplug the touch pad connector to have easier access to the motors. Inside the controller are two vibration motor.
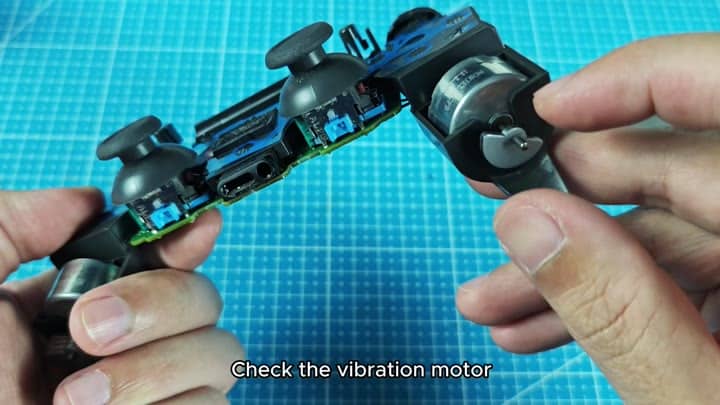
Put one on the left and the other on the right.
And they’re where that rumble feedback come from.
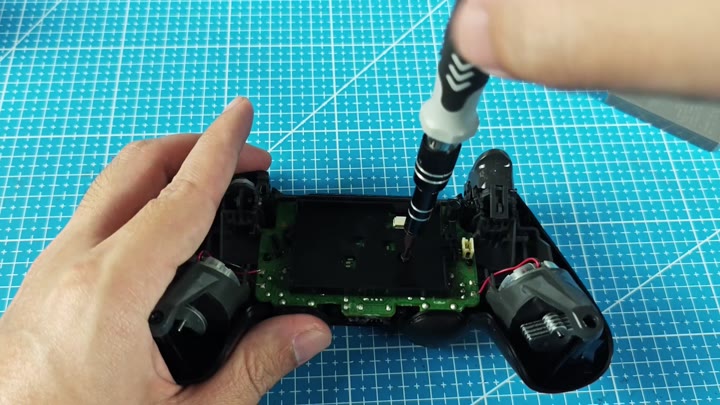
And that’s where it goes south. Either one do not work. And you look at each of them in close detail.
There are no apparent signs of burn marks or damage. Yet appearances can be deceiving. Visual inspection doesn’t count. It has to spin, right?
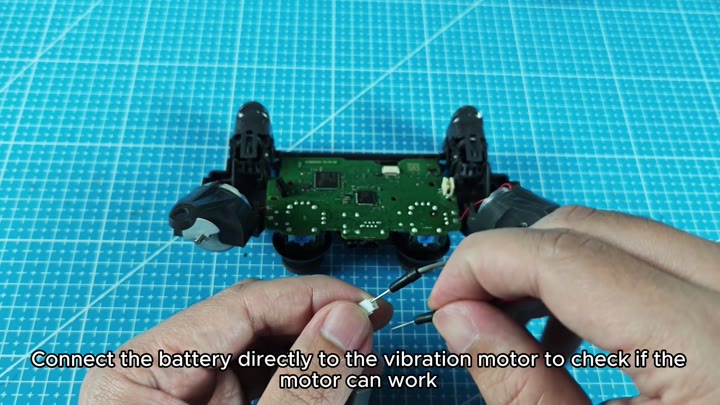
A vibration motor is removed and you test it to see if it still works. A battery is connected straight to the terminals of the motor. No need for the main board on the controller at all.
With direct power applied to the motor, if the motor turns over, it is good. And if it doesn’t turn, well then it must be dead.
We look closely at the motor. Nothing moves. So now we know where the problem lies. The motor is bad because the board couldn’t make it spin.
This really only leaves one option: replace the motor. Resetting it didn’t help. Tweaking the software didn’t help. The hardware just wasn’t up to snuff anymore.
Because motors aren’t that expensive, you order a new one. If you’re careful with the ribbon cable, the repair is straightforward.
Swap out the motor. The controller wakes up again. It’s rumbling like new. You saved yourself some cash because you didn’t have to buy a whole new controller.
