
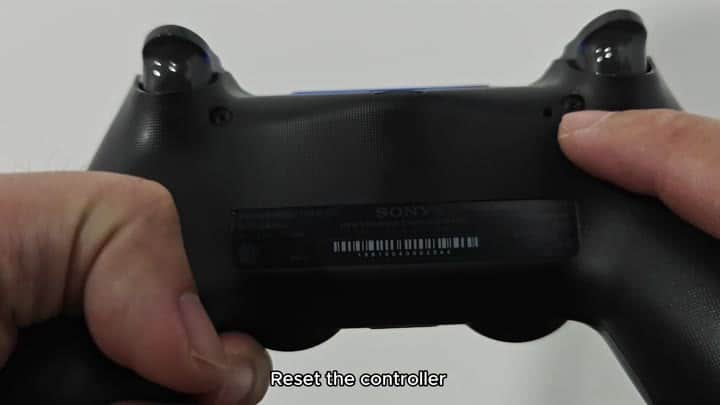
The first thing to do if you’re having any kind of issue with your controller hardware is try a complete reset on that hardware. Clearing error states is the first step for any electronics issue.
You should first attempt a full reset of the controller hardware.
Diagnosing the Battery Issue
If the reset doesn’t work, verify your power source. Plug the controller into a regular cable, using a USB wall charger, then wait half an hour.
Why so long? Because the internal cell has to have time to recognize voltage. Don’t assume it will boot within a single minute… That’s not how it works; it takes time to soak.
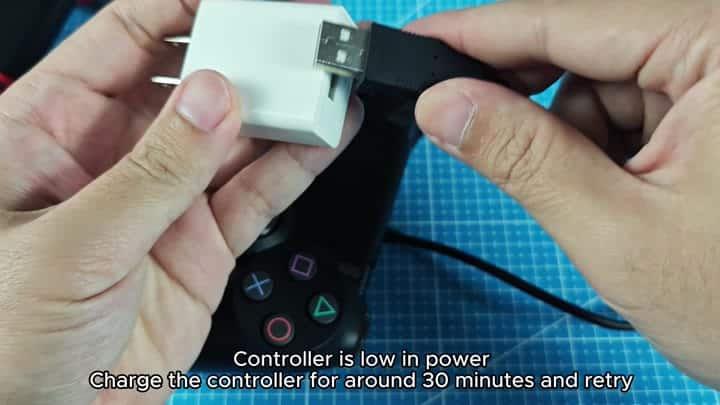
The battery will be the culprit if your controller doesn’t turn on after a half hour while it’s been plugged in. The charging circuit might function but a dead battery won’t allow it to start.
To check this out you’ll need to take the controller apart. Carefully pry the two halves of the controller shell away from each other at the grips.
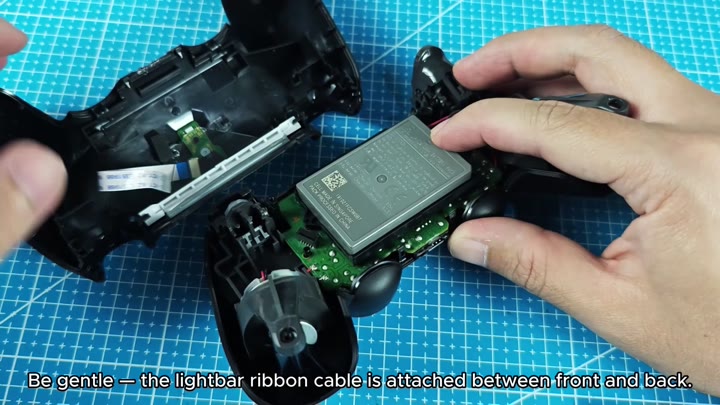
You must handle the device with care because a light-bar ribbon cable runs between the shells. You should avoid yanking too hard so that the cable does not tear.
The light-bar ribbon cable connects the two shells. So be careful when handling it. Do not pull it too roughly or risk tearing the cable.
After separating the shells, you get a glimpse at what’s inside. Here we have the rectangular battery labeled with its serial number and the green circuit board in the center.
You should locate the white connector and detach the battery from the board.
Find that white connector and unplug the battery from the board. Use your multimeter to test for voltage coming out of the stock battery.
It’s rated as a 3.6 volt device, but your reading may show significantly lower. That means you have a dead cell in the battery and it won’t take or hold a charge anymore.
Test the charger circuit before replacing the battery. Plug the controller into a power source even without the battery connected.
You should use multimeter probes to measure voltage at the charging contact points where the connector was removed.
To test this, use your multimeter probes to measure the voltage at the charging contact points where the connector was removed. If it’s reading about 4.2 volts on the screen, the problem lies with the battery and not the cable or board itself. This means that everything is functioning properly when it comes to charging.
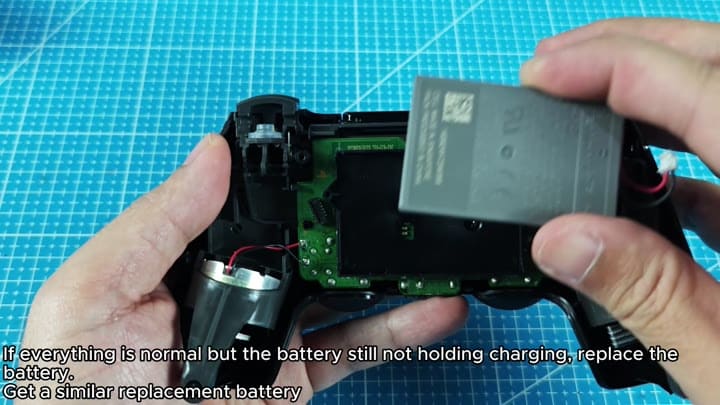
Next, replace the battery with one like the stock one. It was a 3.6-volt battery in this case.
Again, the new compatible replacement should be snug and secure in place; just make sure everything is nice and tight before snapping the two controller halves back together. Just be patient lining up those clips; it’s easier to put back together than apart.
You should take your time aligning the clips because reassembly is easier than disassembly.
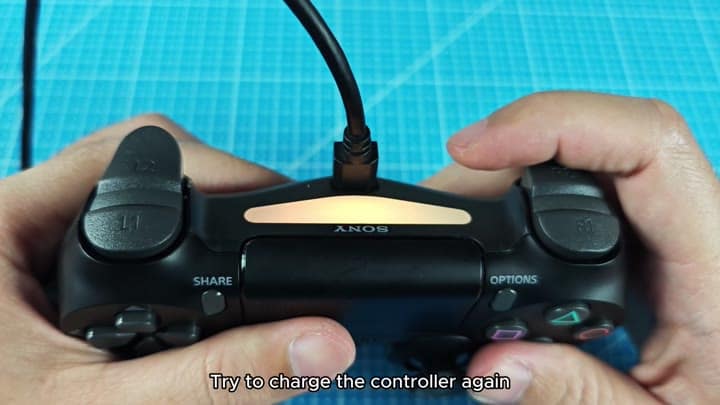
Now it’s time to plug that sucker in and see if your fix worked. If the new battery is getting power, a small orange light bar will glow.
This brings the controller back to full functionality as the battery was the sole reason it wasn’t working.
A few things were easy to rule out, such as loose cables. Those don’t happen often, so you didn’t bother testing for that.
Voltage measurement helped eliminate guesswork and point you in the right direction, towards a dead cell. Resetting and charging it didn’t work. But replacing the hardware did the trick. Game on.
