
To take apart the Renpho massage gun, simply remove the attachment head. It’s easy to do with a pop of the black hexagon piece, which then exposes the silver and black body. Set that down on your work mat. There are no tricks here, as it’s a simple release mechanism. Now, move onto step 2.
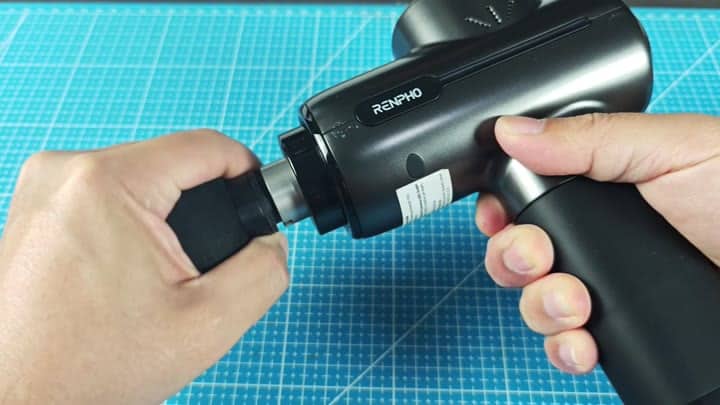
The casing feels solid. You like that it has a good casing and you could run your finger along the seam where the handle meets the motor housing. It even had the brand name stamped out on top of it.
Internal Components and Build Quality
And you know what? You want those screws covered up by some sort of cover. Fasteners are something you want to look at but not mess with the threads in case you have to get inside.
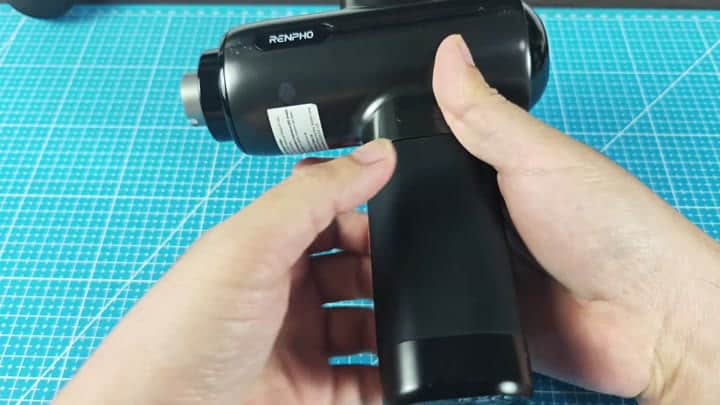
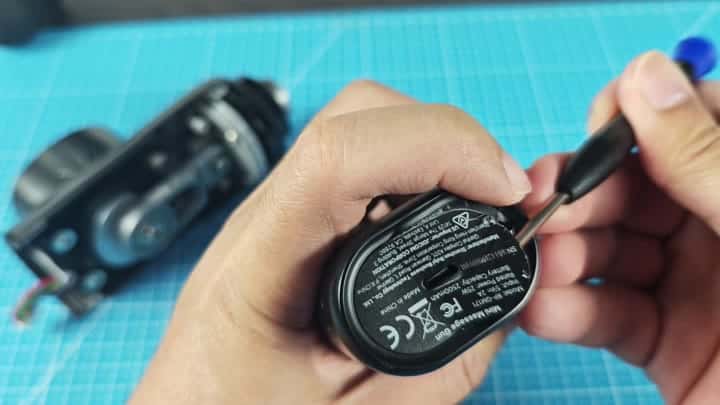
A closer look at the bottom and there’s a very small screw head you can see. You gently unscrew it with your trusty little screwdriver, and, lo and behold! It pops right out without much effort at all.
Many manufacturers builds their devices so they won’t come apart easly.
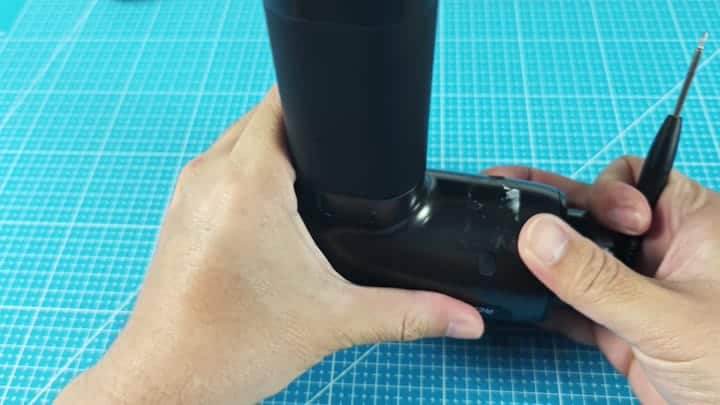
In this step, you use a little tool to break them apart. They snap together with the black casing and you go around the edges breaking it loose. It’s strong but will come free eventually.
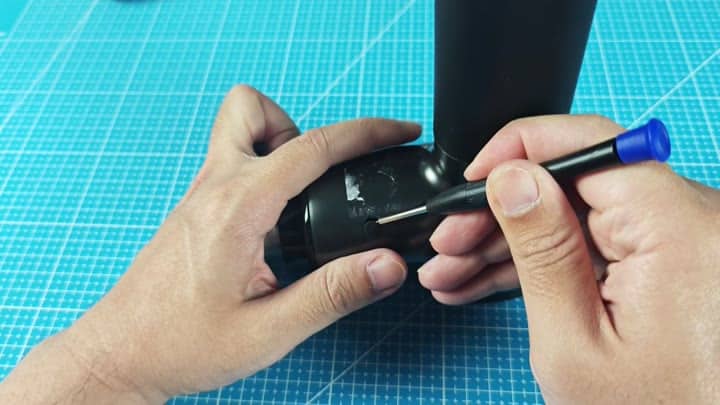
The black casing snaps apart, and you work your way around the perimeter. Patience is a virtue that doesn’t get damaged. They start to separate. And then show you what was inside of there.
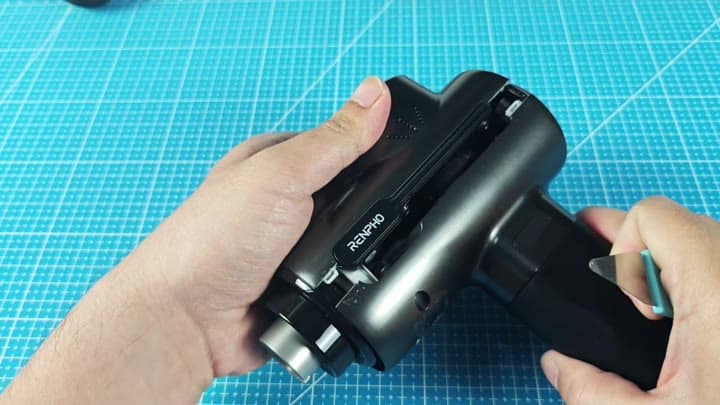
Once you get it open, you can see what’s inside. It has a nice clean layout. Wires run neatly to capacitors, and all of that stuff is tucked away on a green circuit board in the middle.
Beneath the electrical components you have metal gears and other mechanical parts. It’s actualy quite clean inside. No tangles of wires or sloppy solder jobs here.
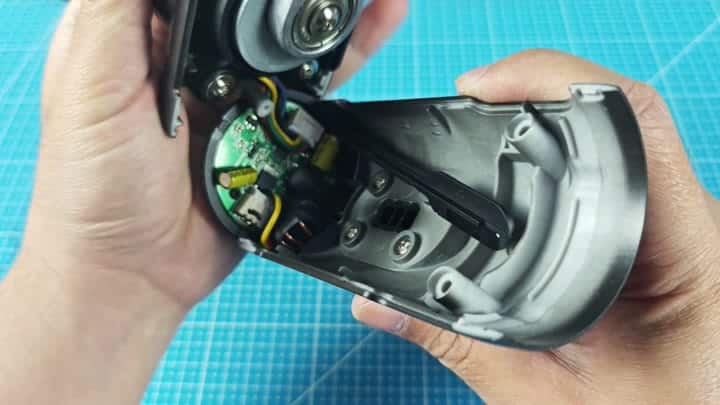
The organization of components make it easier to see the quality of the build.
You leave it open and read the label on the back. There’s the model number and the manufacturer (Shenzhen ZOZOM Technology). Some specs in plain English say it has a 2500 mAh battery capacity. The input is “DC 5V at 2A” and the rated power is “25W”. That tells you what you need to know, which is why it has this amount of run time.
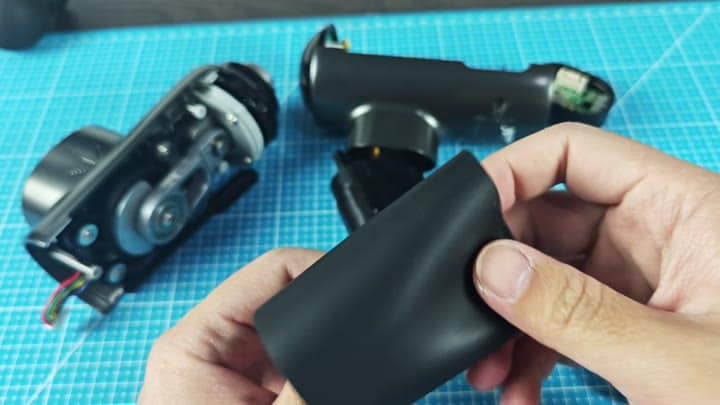
Then you pull off the battery module; this is a black rectangular piece. It’s attached with a little plug. You just gently unplug that and the device gets lighter. That’s where all the juice for the motor sits, and it appears to be well held in its place.
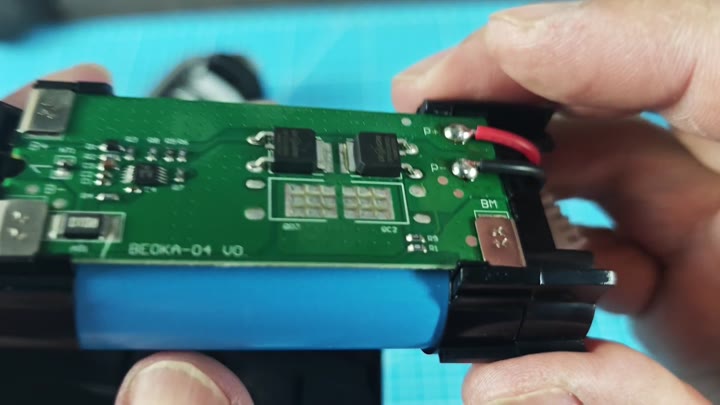
When you pull out the battery you isolate the logic board. It’s a green PCB with only two large black chips on the top of it. The terminals at the bottom connects to the battery with some red and black wire.
Everything appears well soldered and there doesn’t seem to be any shielded wiring. There isn’t anything too fancy here, just straight forward control logic. The wires follow the positive and negative battery terminals up to the switch then over to the motor.
Taking it apart reveals how simple it is. It’s not glued together, just held in place by screws and clips. If something goes wrong, you can repair it. Swap out a broken board or a failed gear. No special adhesives required.
Most inexpensive electronics these days is throwaways. Not this one. And that makes it worth keeping because it’s also fixable.
