
Get the Reolink app (from the store’s Utilities section). It doesn’t matter what version you get, it simply needs to be installed and running. Using that app, configure your Argus camera.
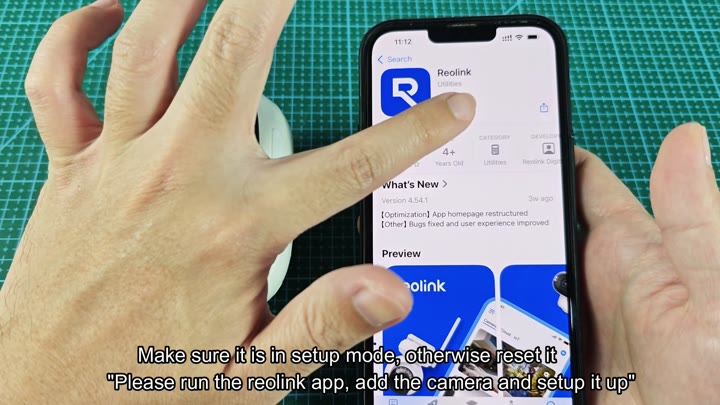
You open the app to configure the Argus camera.
Connecting your device to Wi-Fi
First up is checking the camera status. For proper pairing, the device should be in setup mode.
To do this, you’ll find a reset button on the bottom of the device and use a small plastic tool to depress it. Keep holding the button until the camera reset to its original settings.
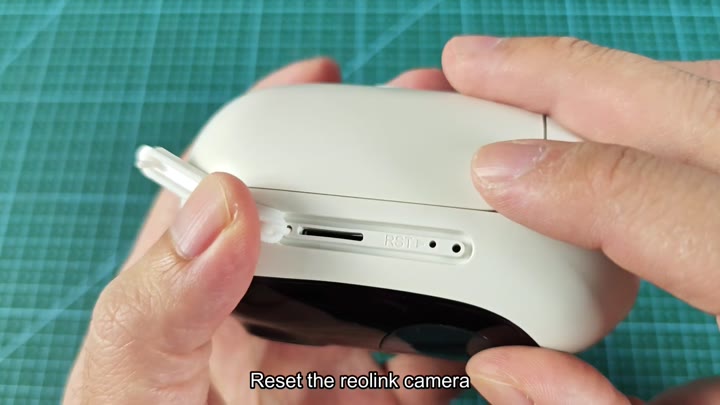
You hold the button down until the camera respond, which forces it back to factory defaults.
It’s really quite easy.
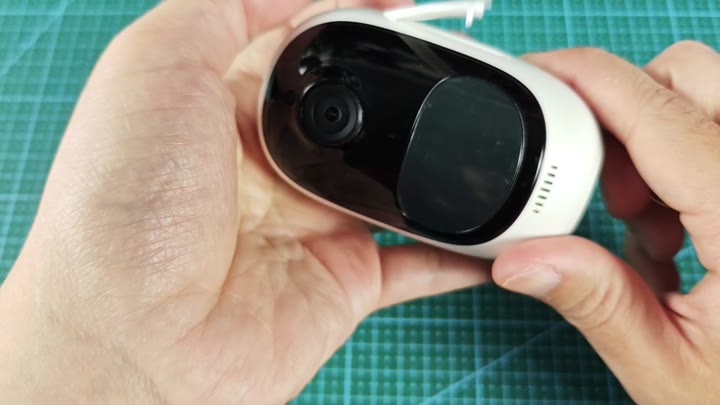
Take a close look at the device; it’s white and black, with what appears to be your typical security camera: A big lens on the face of the thing, plus another little sensor panel off to one side.”
The design is simple, not fancy; it is a straightforward oval shape.
On your phone, open the app, and then tap on the add device option. It’ll tell you that it wants you to scan a QR code. That’s typically on the device itself, or on the SIM card slot.
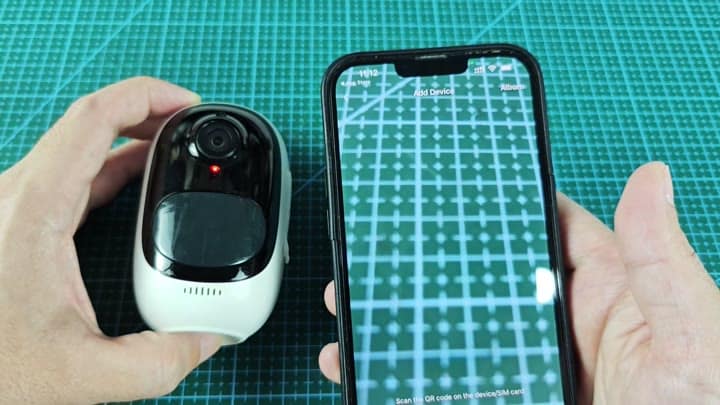
The screen instructs you to scan a QR code, which is usually located on the device itself or on the SIM card slot.
That begins the pairing handshake, which you can start by scanning the code.
To do so, you pick up your phone and point it at the camera base with the printed QR code. It’s quick for the phone to focus in on it, and the app instantly knows what you’re pointing at. The status bar show a strong Wi-Fi signal, which means it has a solid connection.
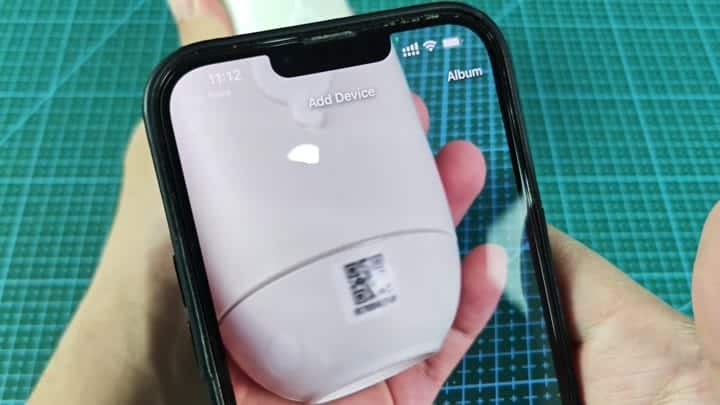
Now you get to the part where you actualy pair with Wi-Fi. At this point the camera is on and has a red LED light. It’s just waiting for you to tell it what to do.
Then it tells you to turn your phone towards the camera and scan the QR code that appears on your phone’s screen.
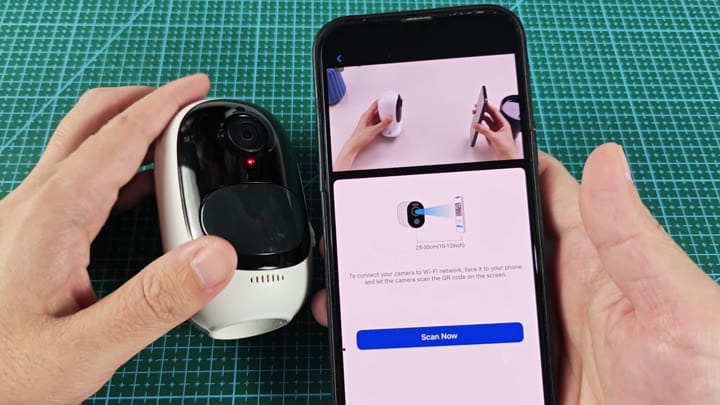
Then it passes along all of your Wi-Fi information to the gadget.
At this stage, you maintain the same distance as before. According to the app, you should of be holding the camera and phone roughly a quarter to half a foot away.
Because the camera must have a clear view of the phone’s display, you’ll need to adjust your hands so they’re within that span. Next, you’ll point the lens toward your screen, where it will capture the information. Your phone displays a success message letting you know the scan was a perfect success.
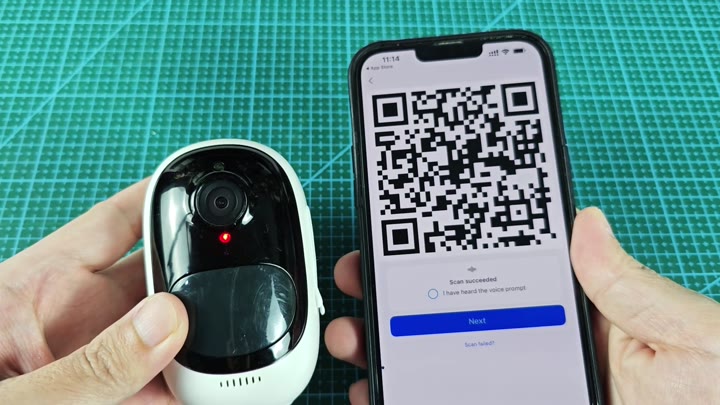
A success message appears on your phone, confirming the scan worked perfectly.
Then you go to the next thing.
You get an email confirming your camera has been found and can be accessed. On the camera itself, the LED light turns blue from red. That means it’s connected over Wi-Fi.
From there, you’re prompted to input a password into the app, which also wants to confirm that you typed correctly. You use the same password in each field and confirm character matches. The password strength indicator tells me it’s weak, good enough for testing.
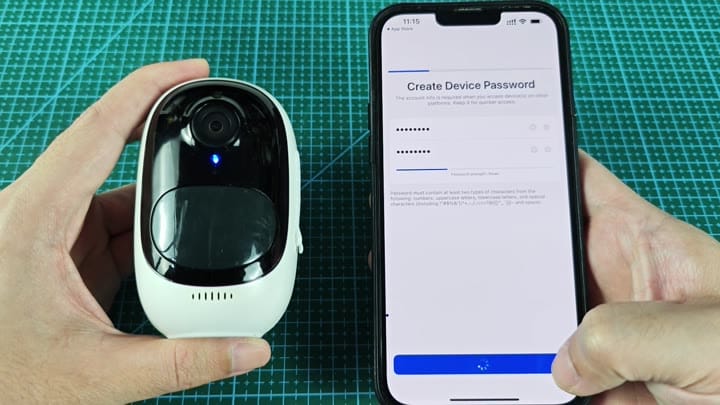
Hit the next button. The screen loads for a second with a loading spinner. Then you’re presented with a device name screen which is divided by where you are (Living Room, Front Door etc). Since this is going to be used in that way, you choose Porch for your device.
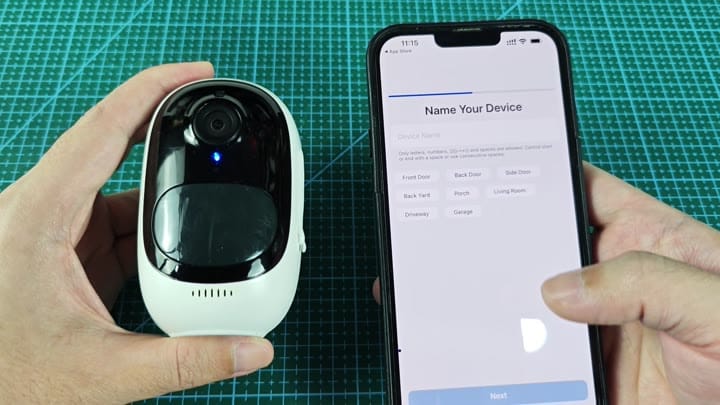
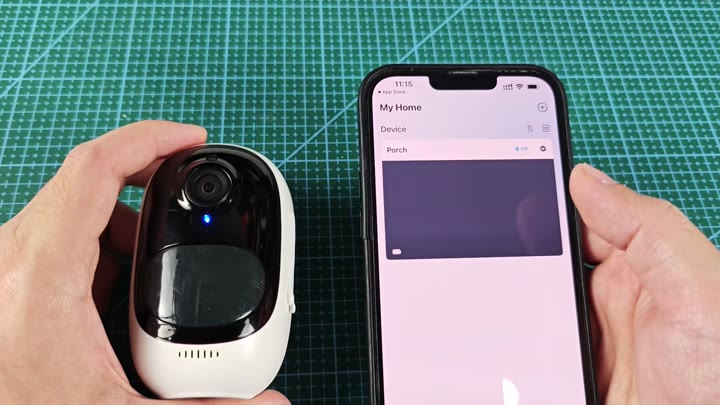
You do one more check around the house. You glance at the phone’s home screen. There it is, Porch listed in the app. It’s 11:15 and you’re sure that everything is hooked up correctly.
The video feed hasn’t loaded yet, but most likely the stream has only just begun to initialize.
And there you have it
