
The fix for the third-gen AirPods is as simple as resetting them using a specific sequence. It’s easy to do, and it shouldn’t take more than a few seconds. Chances are your connection problems will be solved right away.
Just make sure to note down the steps to avoid forgetting what to do when. All the signs you’re looking for are in the LEDS. No additional apps required; you just need to follow lights.
The light starts as white, and then it switches to an amber color.
Resetting Your AirPods Step by Step
First, open up the case. Both earbuds should be snugly in place. Also, ensure that lid is fully open and does not close over the hinge. The button won’t function correctly if the lid is shut.
Hold the case steady with your left hand. That’s important because it stabilizes the device while you’re pressing down. On the reverse side of the case sits reset button. It’s small and round, and you have to find it before you can continue. If you’re in a hurry, it can be easy to overlook. Take some time and locate it.
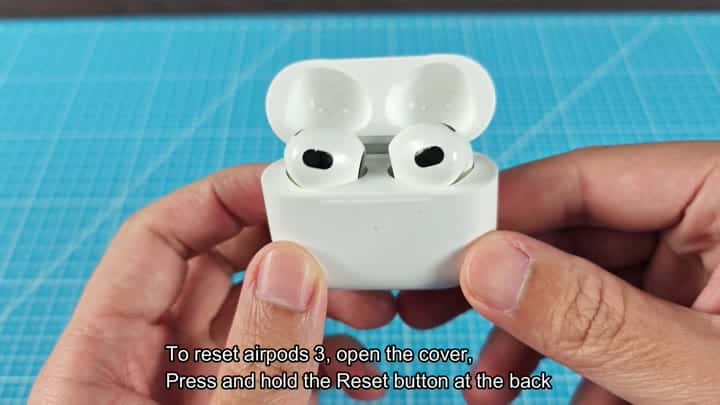
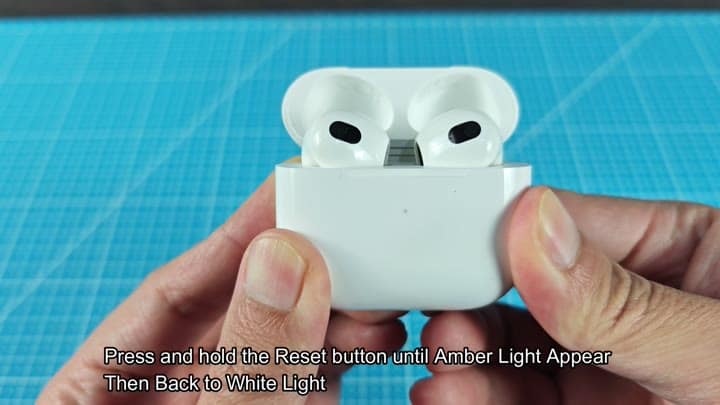
Hold it down hard. Hold it right there. Don’t release until you see the light turn another color. When it’s white, it’ll turn amber. Amber flash.
That amber flash indicates it’s wiping all of the old settings off of the thing. Continue to hold it down during this process. If you release prematurely, you’ve just wasted your time.
Amber means it’s resetting to factory defaults. Wait for it to change colors again. Don’t stop it here.
Then the amber light goes away. It returns to solid white instead. That’s your cue that the AirPods has reset themselves, the white light indicates they’re available once again. Here’s where you want to let go of the button.
At this stage, the AirPods is in the middle of their internal reset sequence. Keep an eye on the LED: When it becomes solid white, they’re good to reconnect.
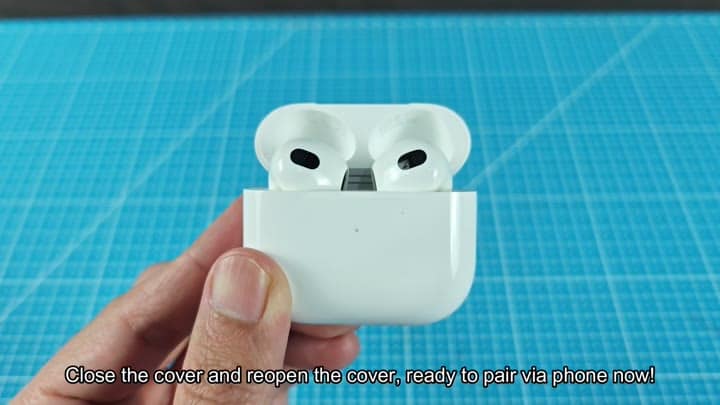
Next, close the charging case. Closing the lid completes the reset process. Let it sit for a second or two.
Close the lid completely, then open it back up. There… It’s good to go. The earbuds will show up on your phone like they’re brand-new. No need to remove them from Bluetooth settings beforehand. That happens during the reset.
As soon as they’re visible in your phone, they’ll pop right up. From there, you can get going ASAP. You won’t have to wait around anymore. Everything sounds just as it did when new. The Bluetooth stays connected for the rest of your test run.
The devices aren’t that difficult to reset. All you have to do is be patient with the lights. It’s a lot simpler than you think. Within minutes, you’ll get back on track and all connectivity problems should be resolved.
For pairing errors, this is the perfect solution. It’s a solid fix. And it’s far easier then resetting them from scratch through iOS. That’s a far slower process, and it’s also more tedious. Doing it straight from the hardware itself is quicker. So it fixes the main issue and saves you tons of time.
What’s neat about the design here is how simple it is. Apple realy made this very easy to do. It removes a lot of user error from equation.
Next time something like this happens, you’ll know what to do. There’s nothing tricky or confusing about the steps. It makes total sense. Follow the lights’ cues, and you’re good to go.
Overall, it’s quite the smart system. Now the AirPods feel as good as new. There is no lag. Music plays smoothly. You see results immediately. You could of used your AirPods without any hassles. Problem solved.
