
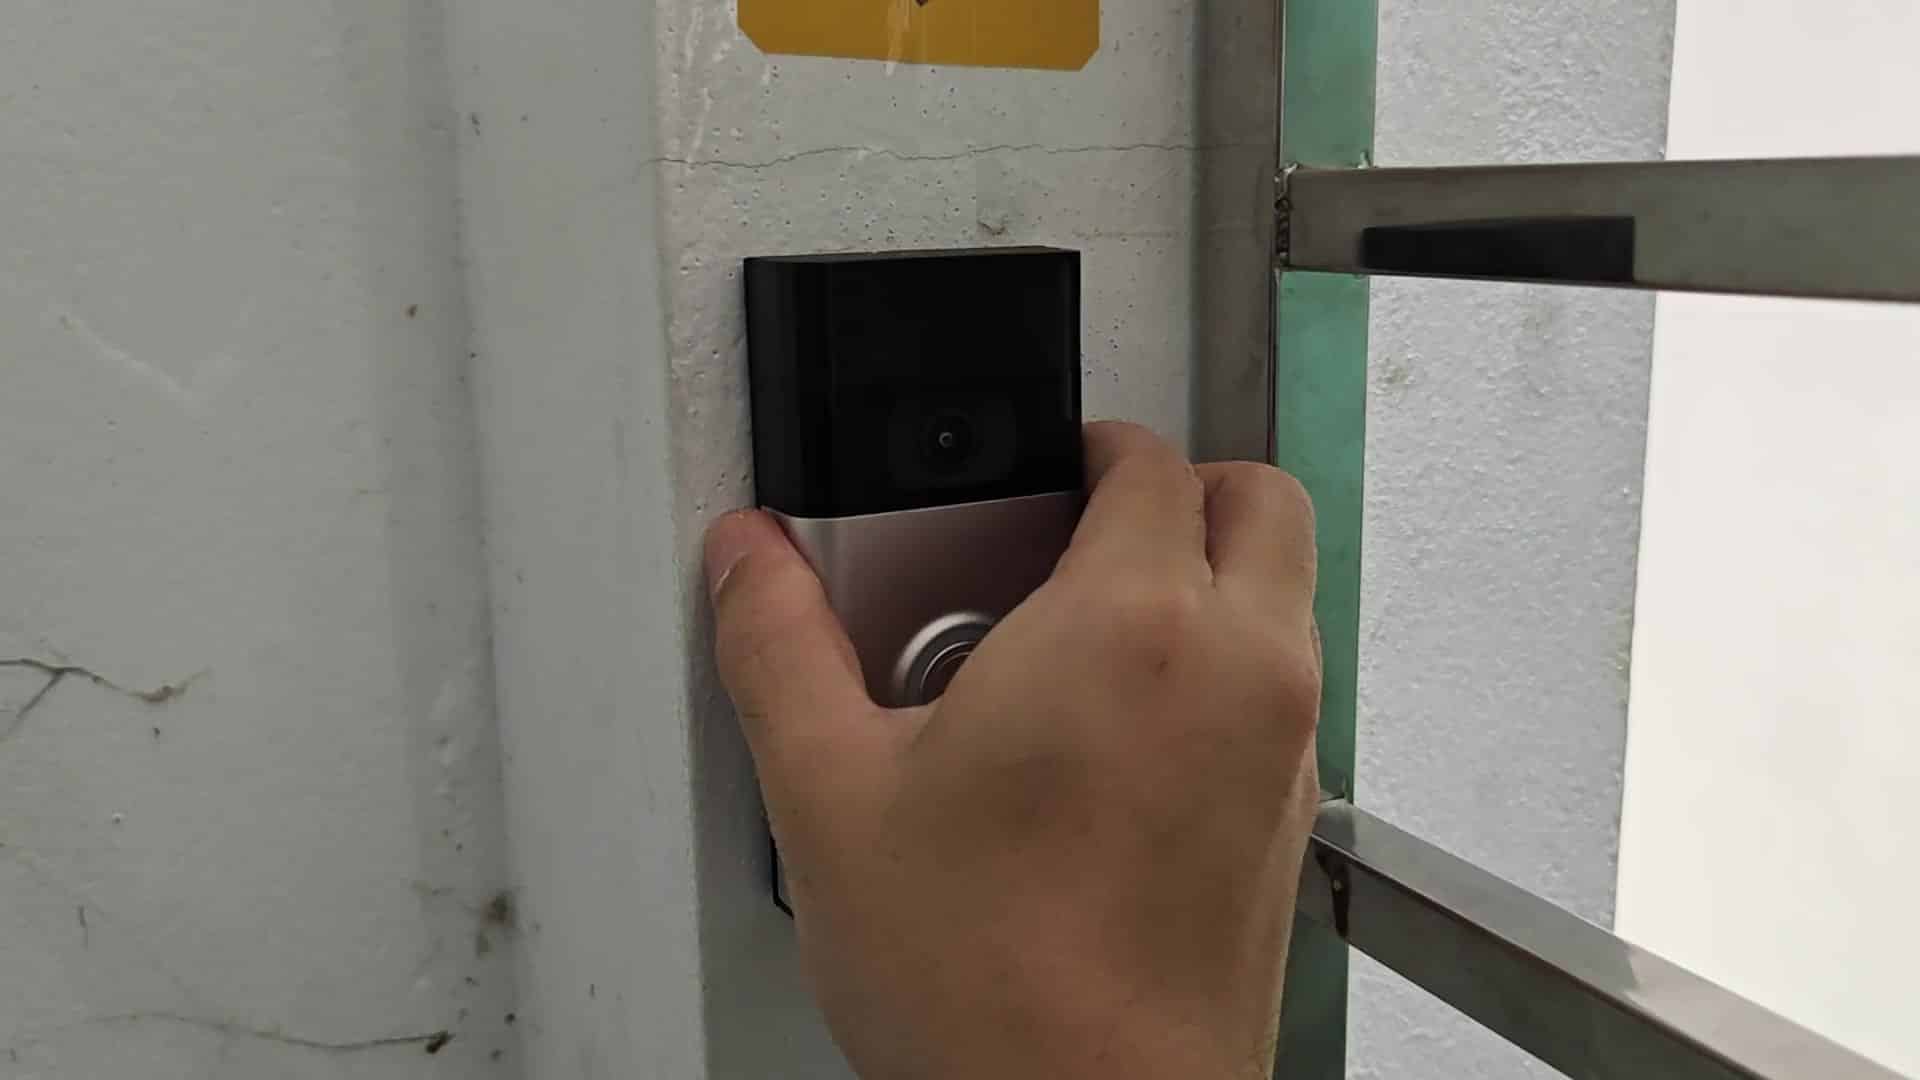
When you get a Ring Doorbell 2, typically you’re either trying to charge it up or maintain it. It’s hanging from your wall in a nice snug way; there to capture video of whatever happen outside your front door. There’s a blue light showing that it’s on and working as intended.
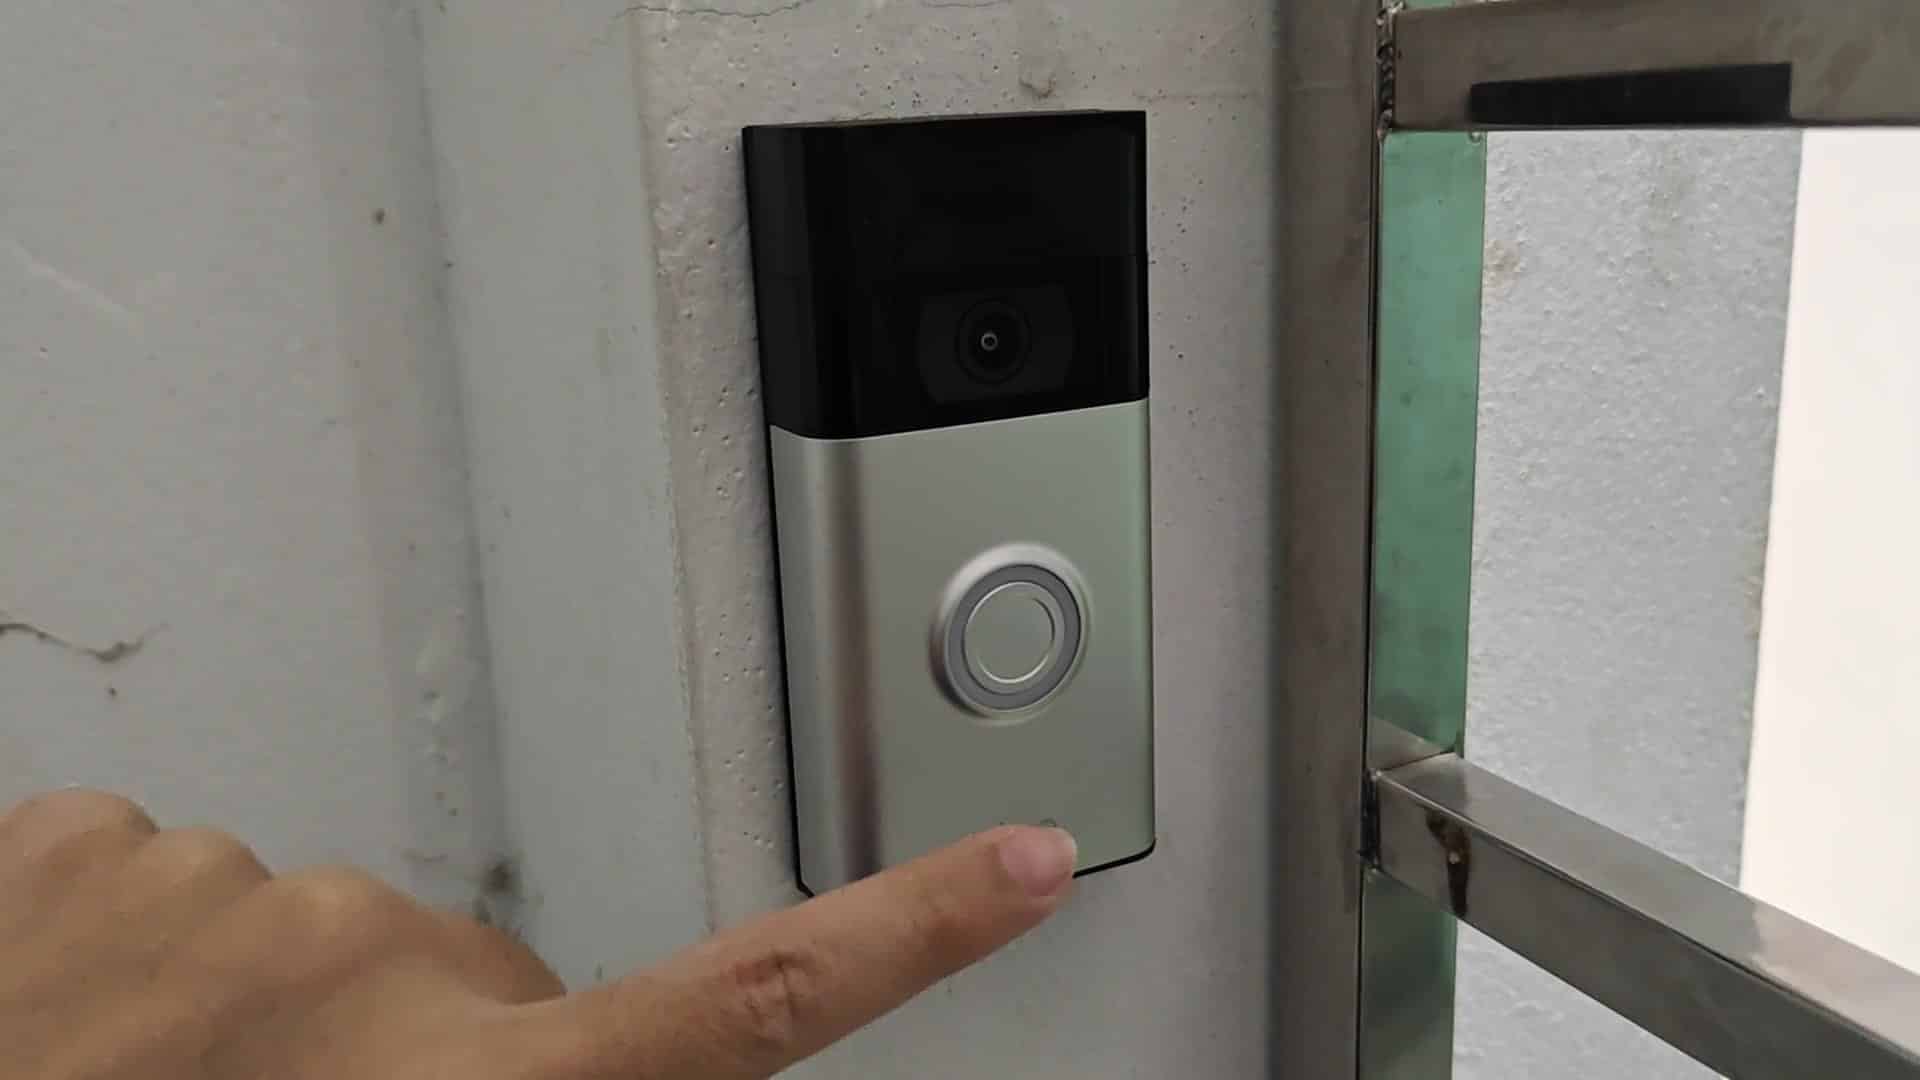
If you assumed you had to pry it loose, you’d be wrong. Removing it couldn’t be easier. Once you understand where to look, its simple enough. At the absolute bottom of the device is its security features. Look closely on underside of doorbell. Two tiny security screws secures the doorbell to the mount.
Inspecting The Back Panel Details
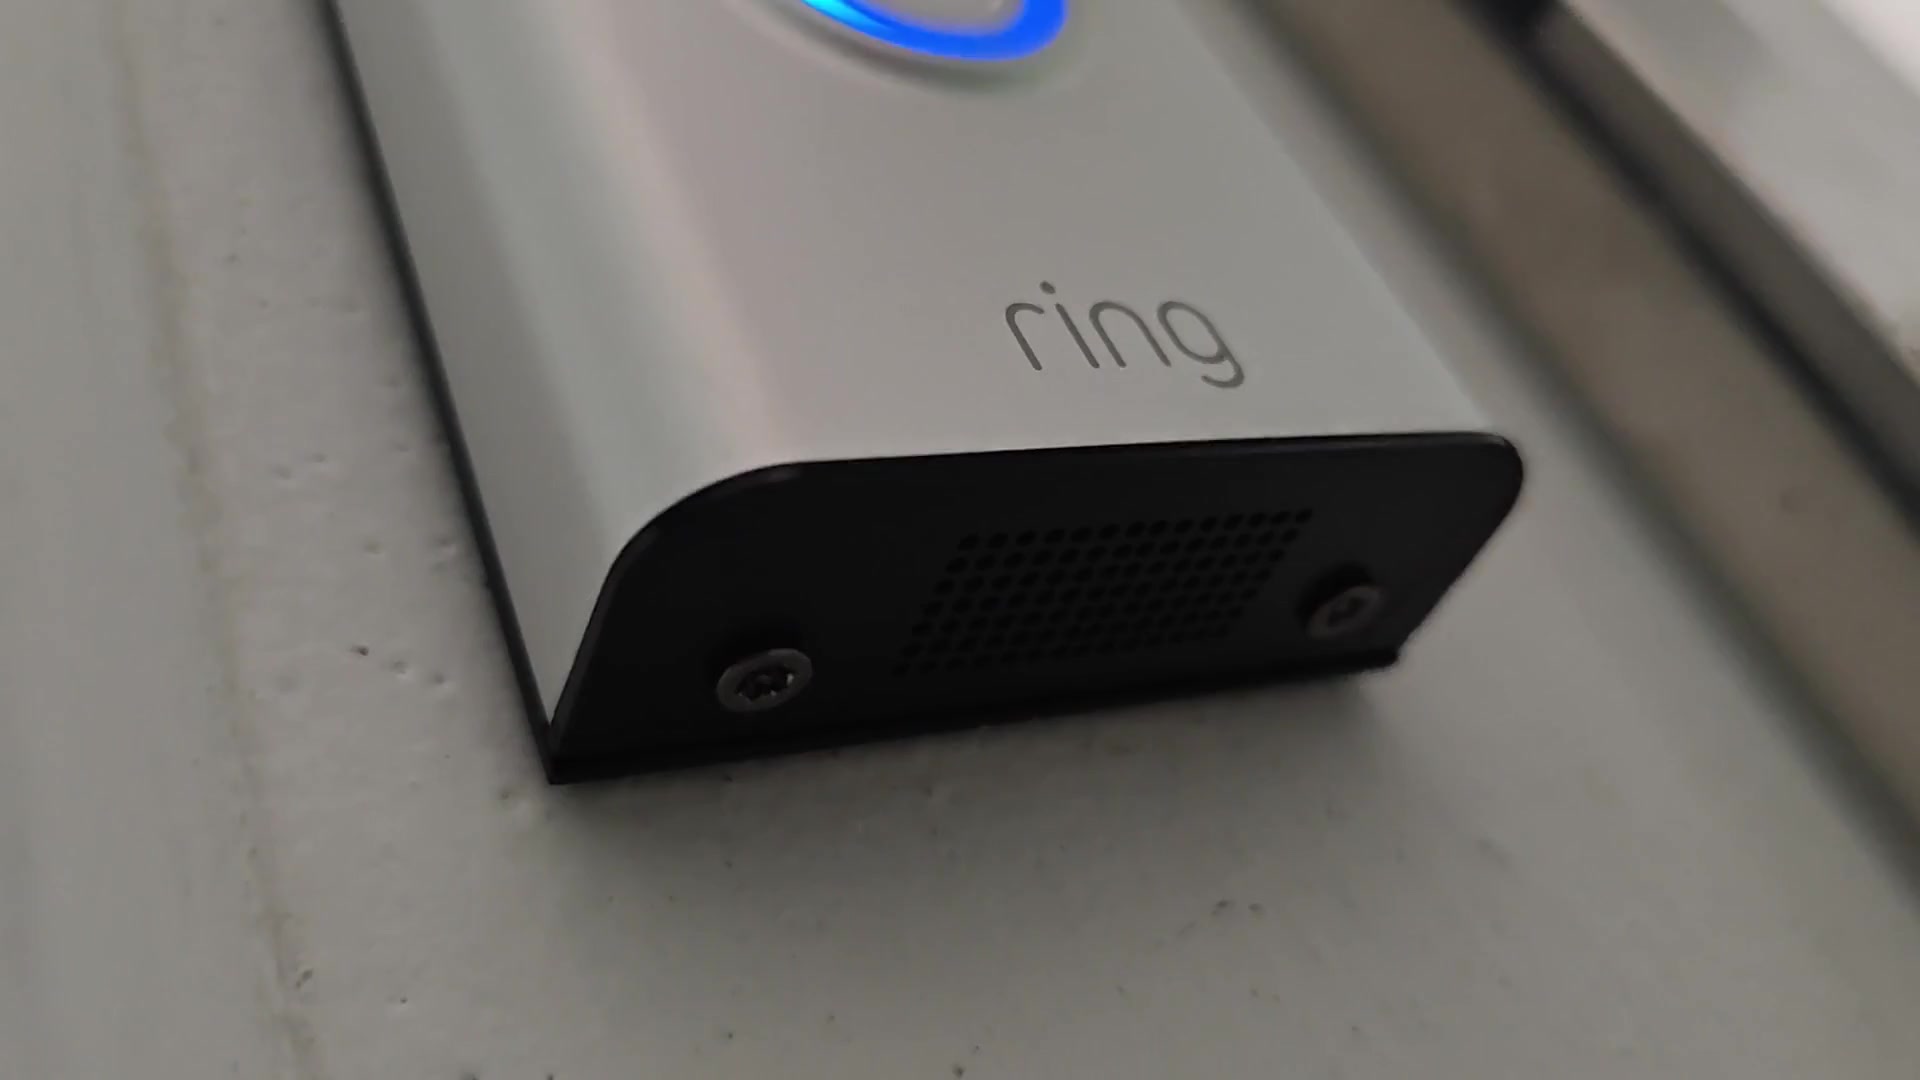
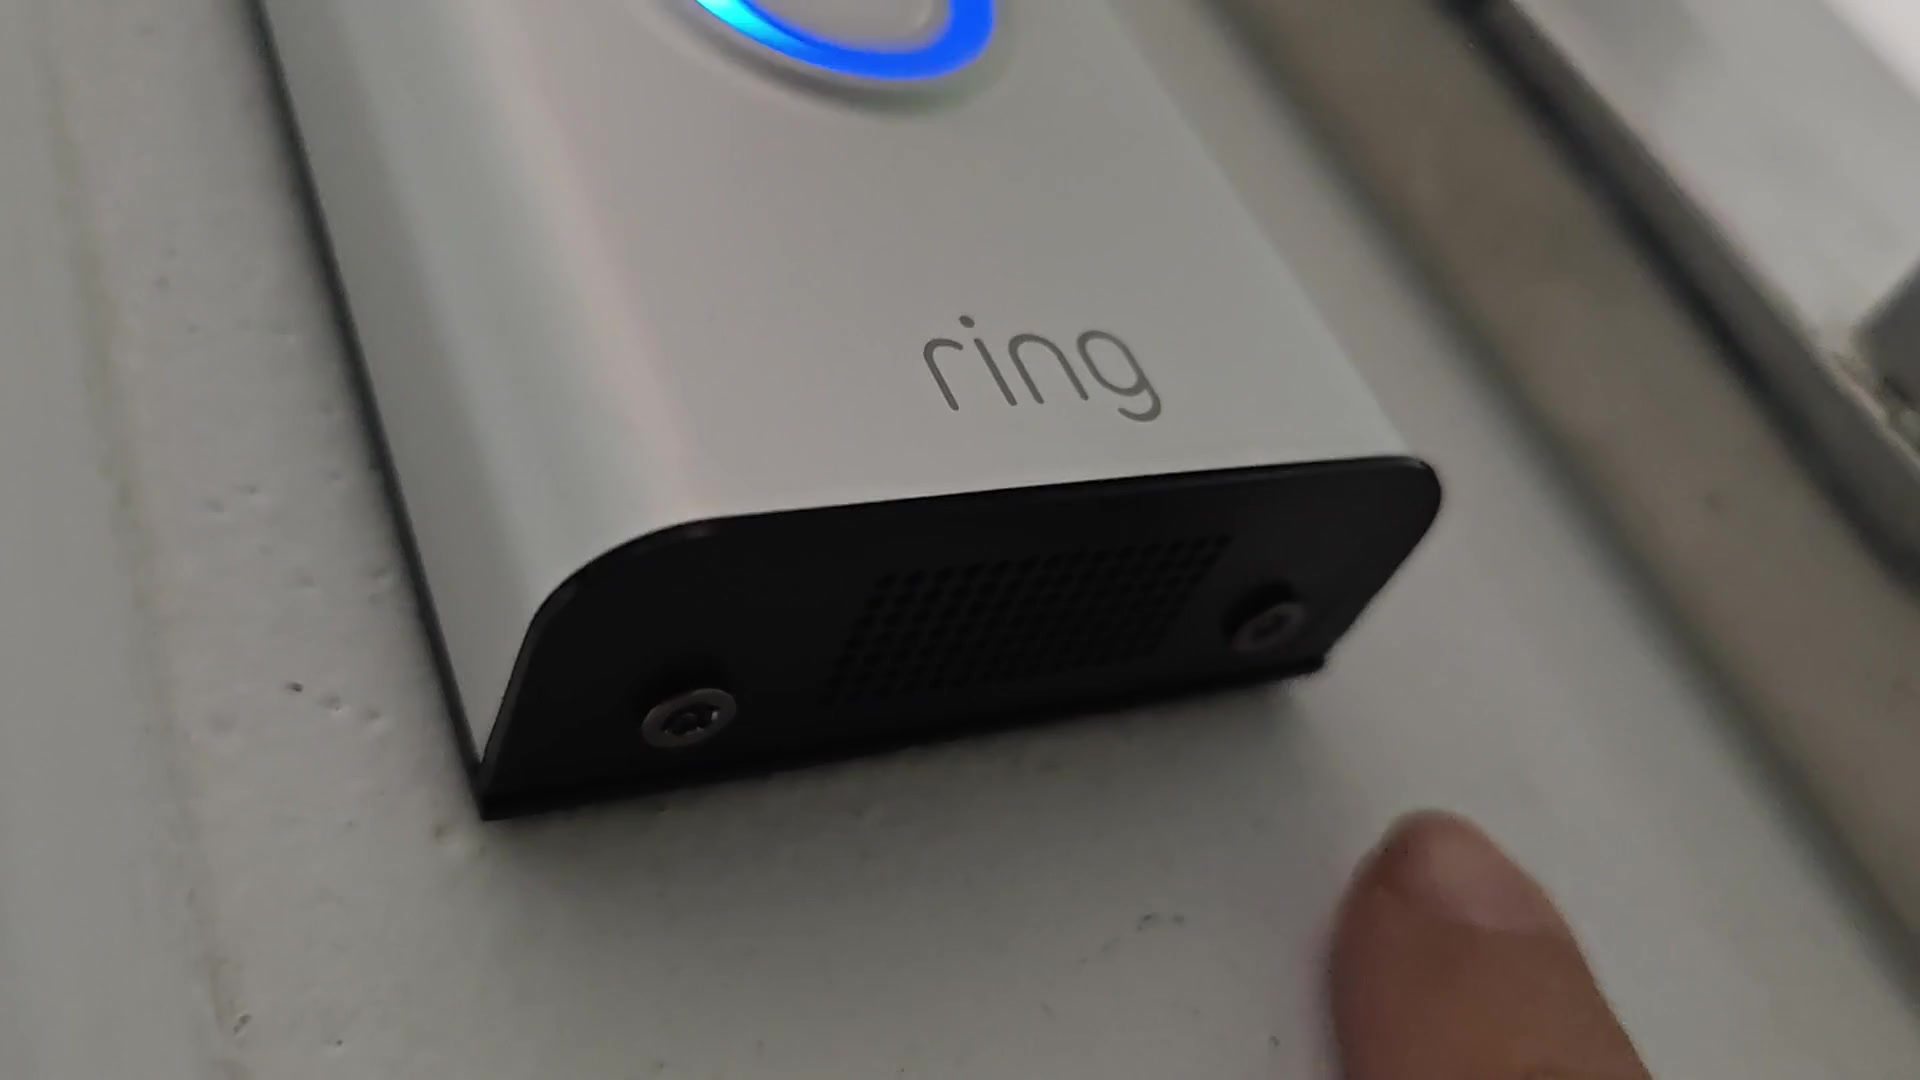
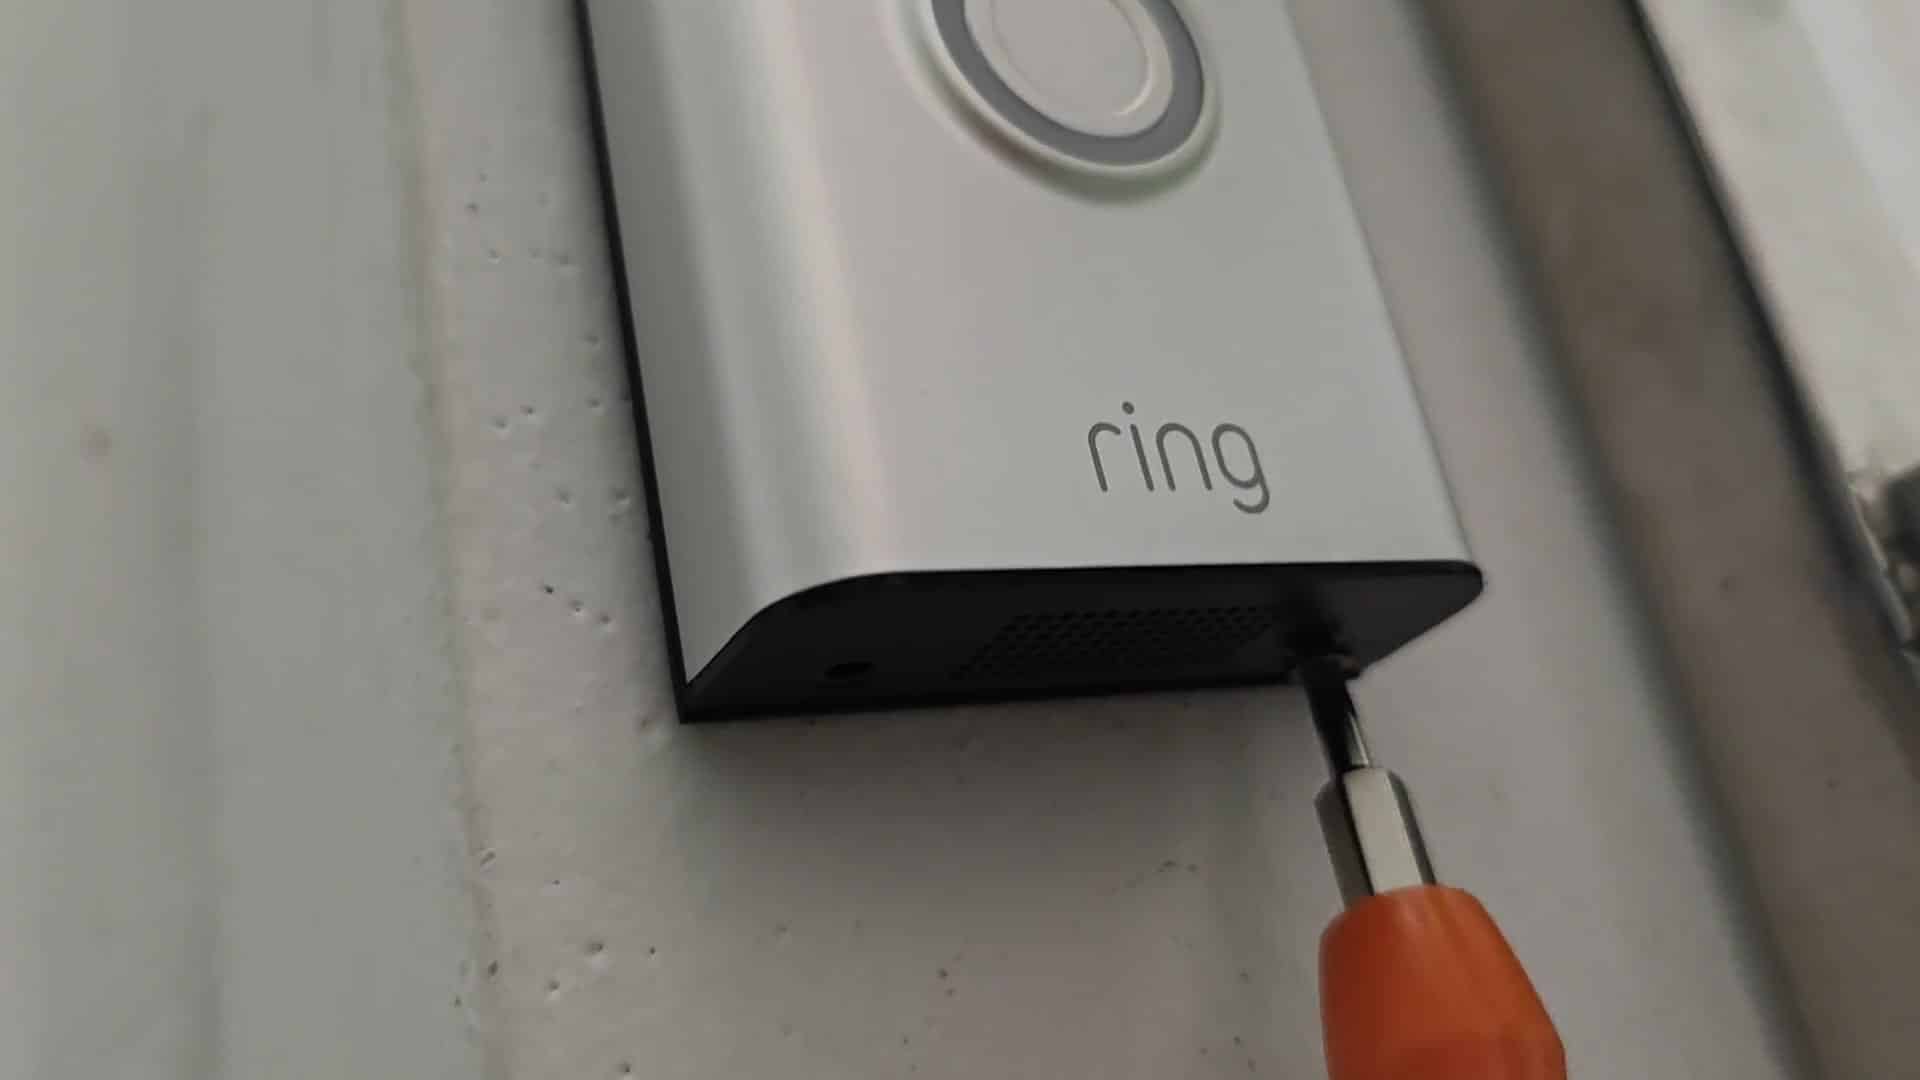
From upright standing, they’re not immediately apparent. Crouch down and get close or lean in to see them better. Tools are important! These aren’t normal screws and your standard screwdrivers won’t fit these fasteners. Get yourself a Torx screwdriver (like this) from the Ring folks so you have the exact tool you need to get job done.
The screwdriver head fits snugly in the screw heads and won’t slip. If it slips, you’ll strip them out and no one want that. Save yourself some time and frustration with proper bit. The very first step is remove the first security screw on the bottom of the unit. Next, remove the second one. Be sure to get both all the way out before continuing. If they’re only a little bit screwed in, you won’t be able to remove the unit.
Carefully set the screws down where they won’t be lost. Little screws has a tendency to vanish quickly if not watched closely. With the two screws removed, you can now remove the unit from the mount. Just pull the Ring Doorbell directly off of the plate. There is no resistance at all, as it just pulls right off. You don’t have to force it or try to wiggle it. It fits tight but also releases easly.
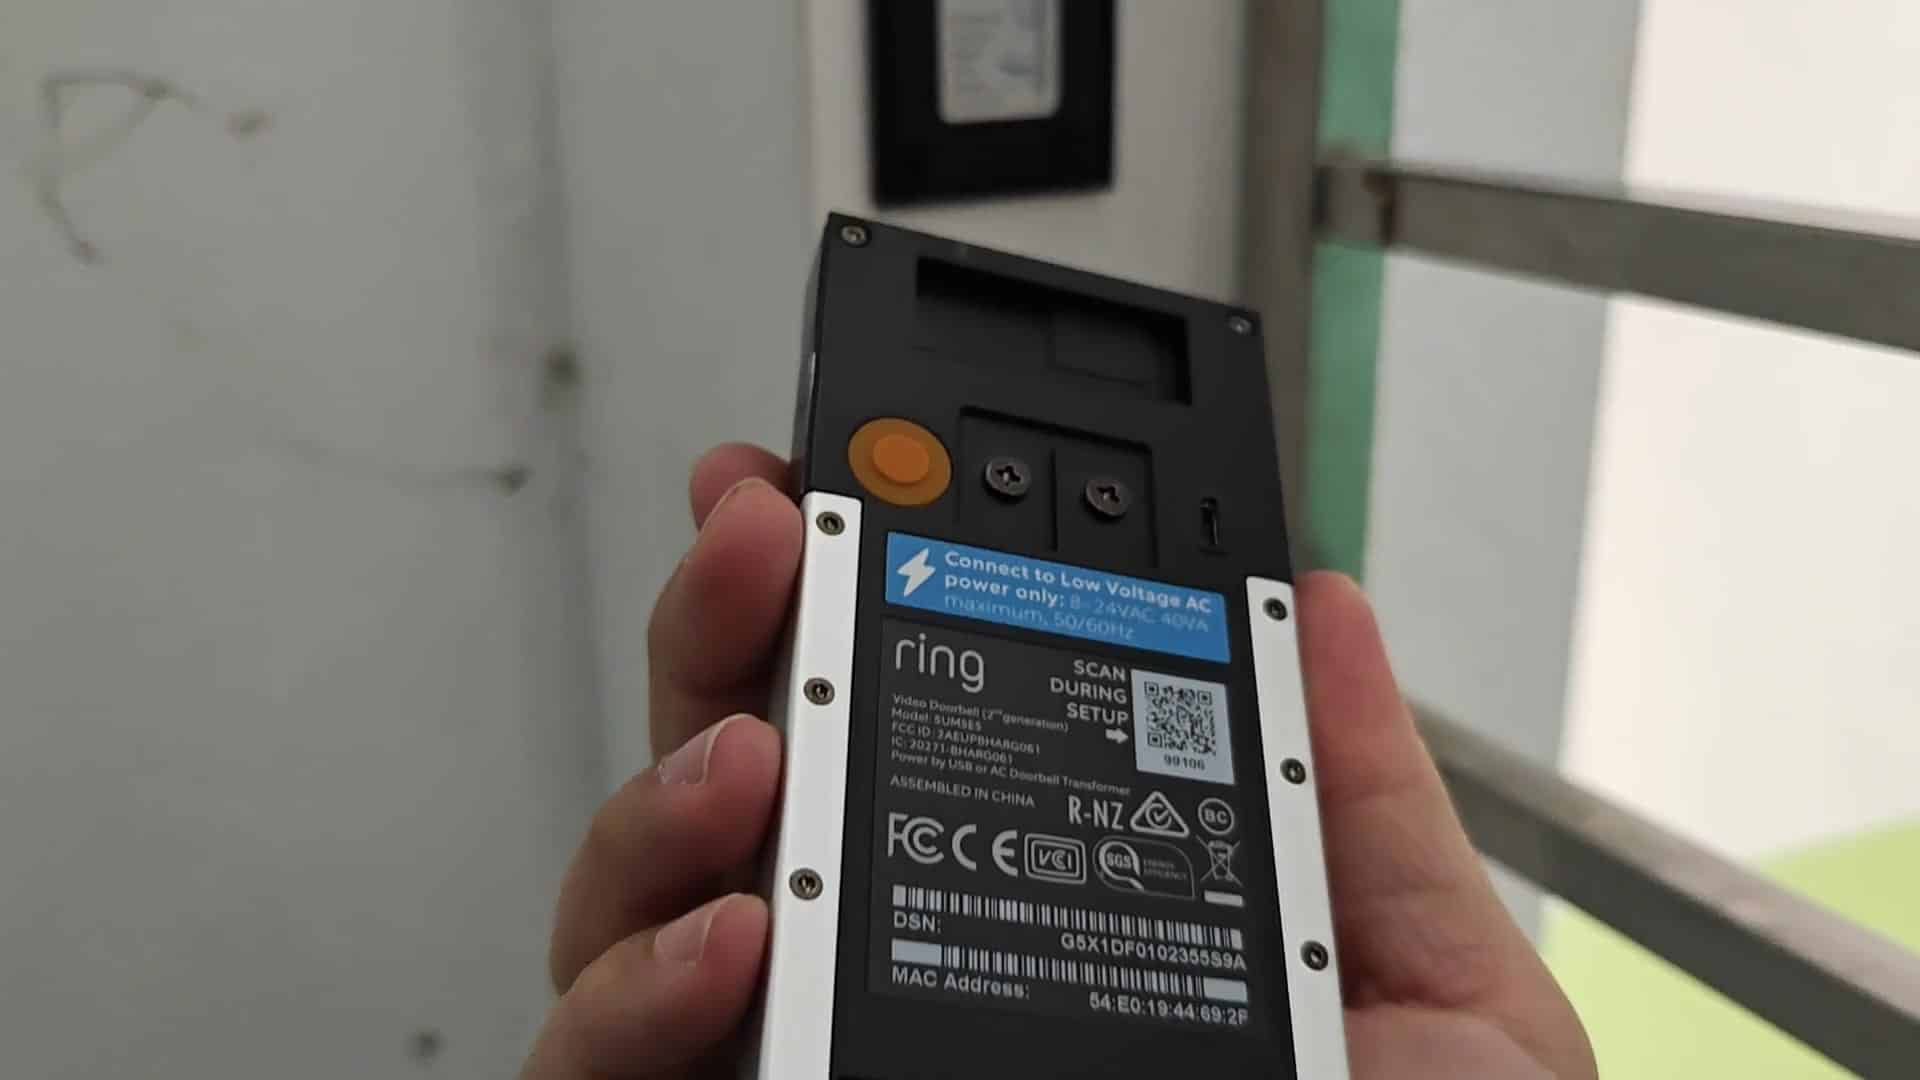
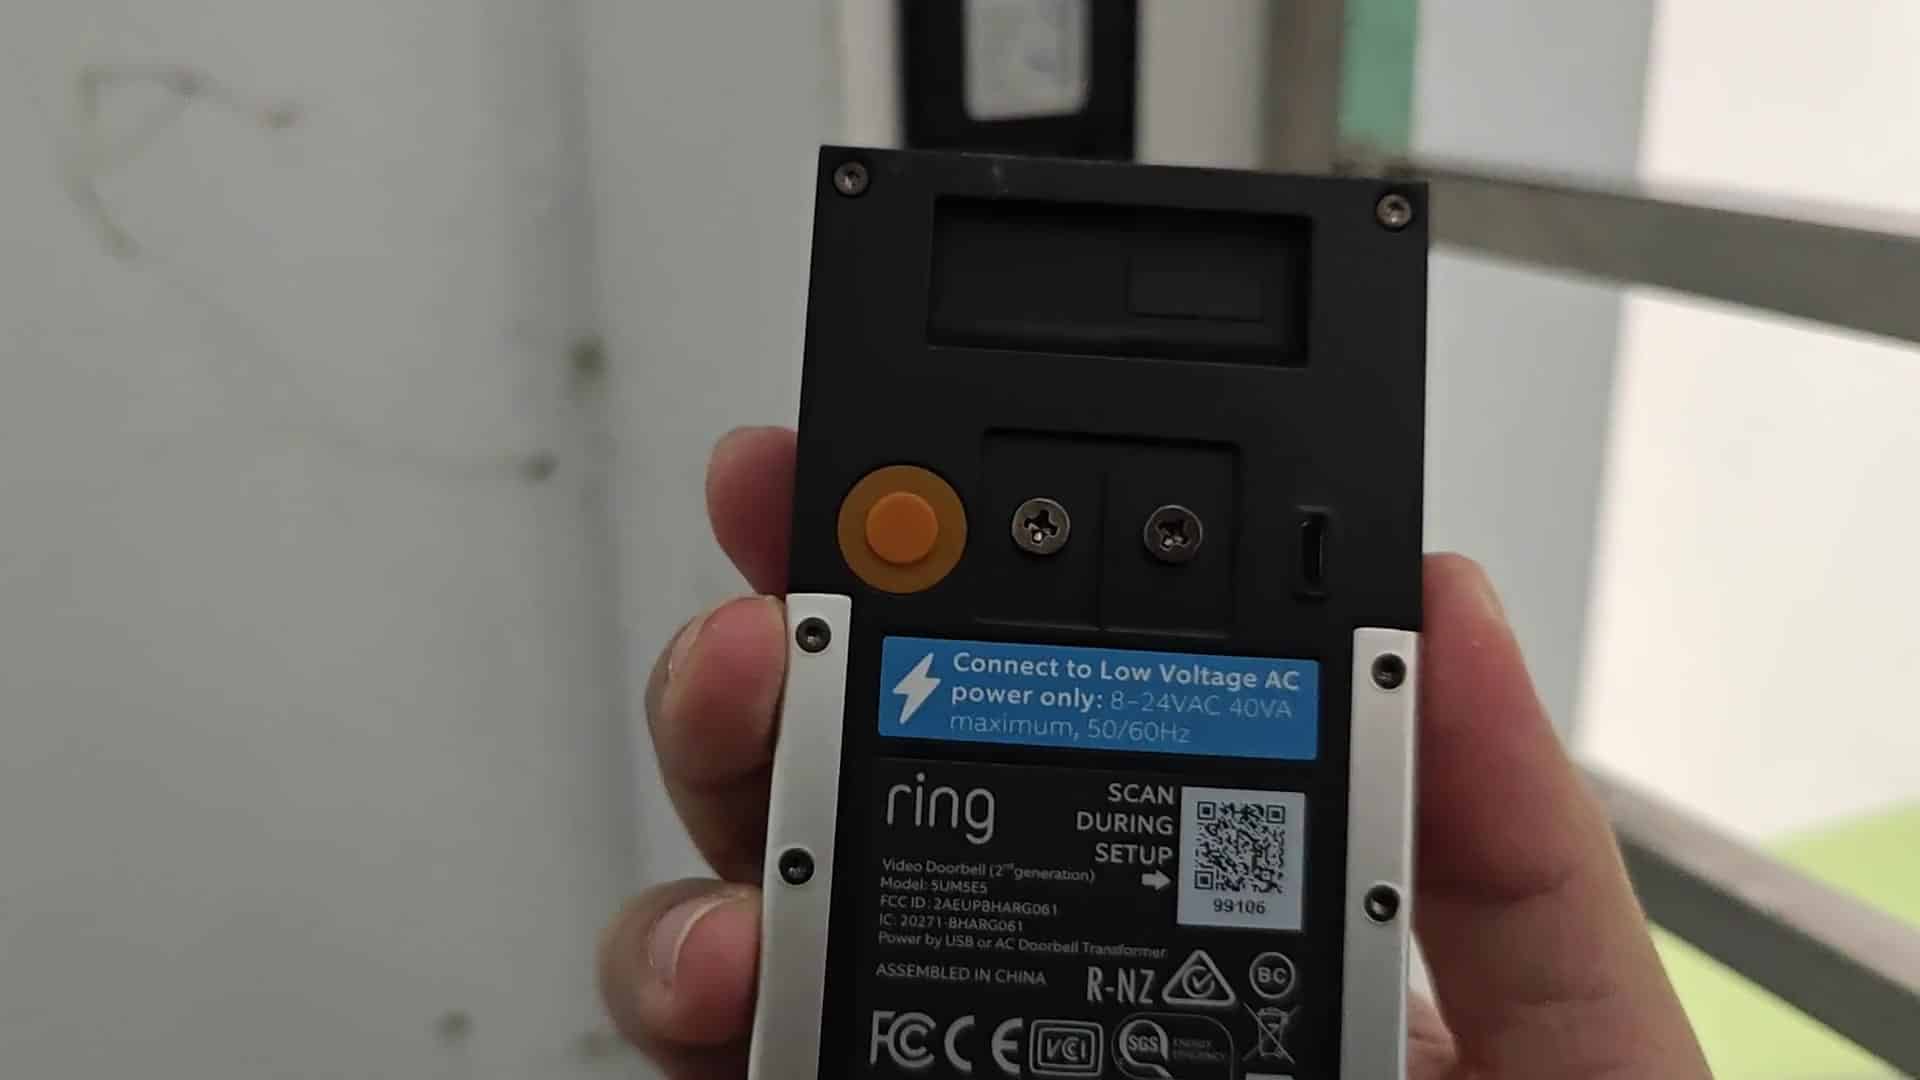
If you pick it up, you’ll see it’s got a back panel. And on that back panel is a label with some key set-up details. There’s also a big QR code on that label.
If you ever want to change something or get it set up again, just pull out your phone and scan the code. Apparently it says to scan at set up so it works even better. That way you have all of the info right on the unit. It is handy. There’s another bit more to look at as well: the specs for the power on the back. It says that it can only connects to low voltage AC power. More specifically, it needs 8, 24VAC (maximum 40VA). The frequency must be either 50 or 60Hz.
That’s important stuff if you’re going to have it connected via wire. Write these numbers down just in case you’ll need them later. To charge the battery, remove the doorbell to reach it. This comes in handy if you notice that your unit has been running low. And the entire process is under five minutes.
It’s not complicated. Just follow basic steps. No special technical skills are required to manage this one. You should of just take your time and be gentle with the screws.
Once removed from wall, maintaining becomes a snap. It is easy to inspect contacts and clean the lens. Note that you don’t see the blue indicator light anymore because it is disconnected from mount.
Contacts is well separated from the mounting bracket and everything is nicely disconnected. Reinstalling simply requires reversing these steps. It is simple and effectivly.
