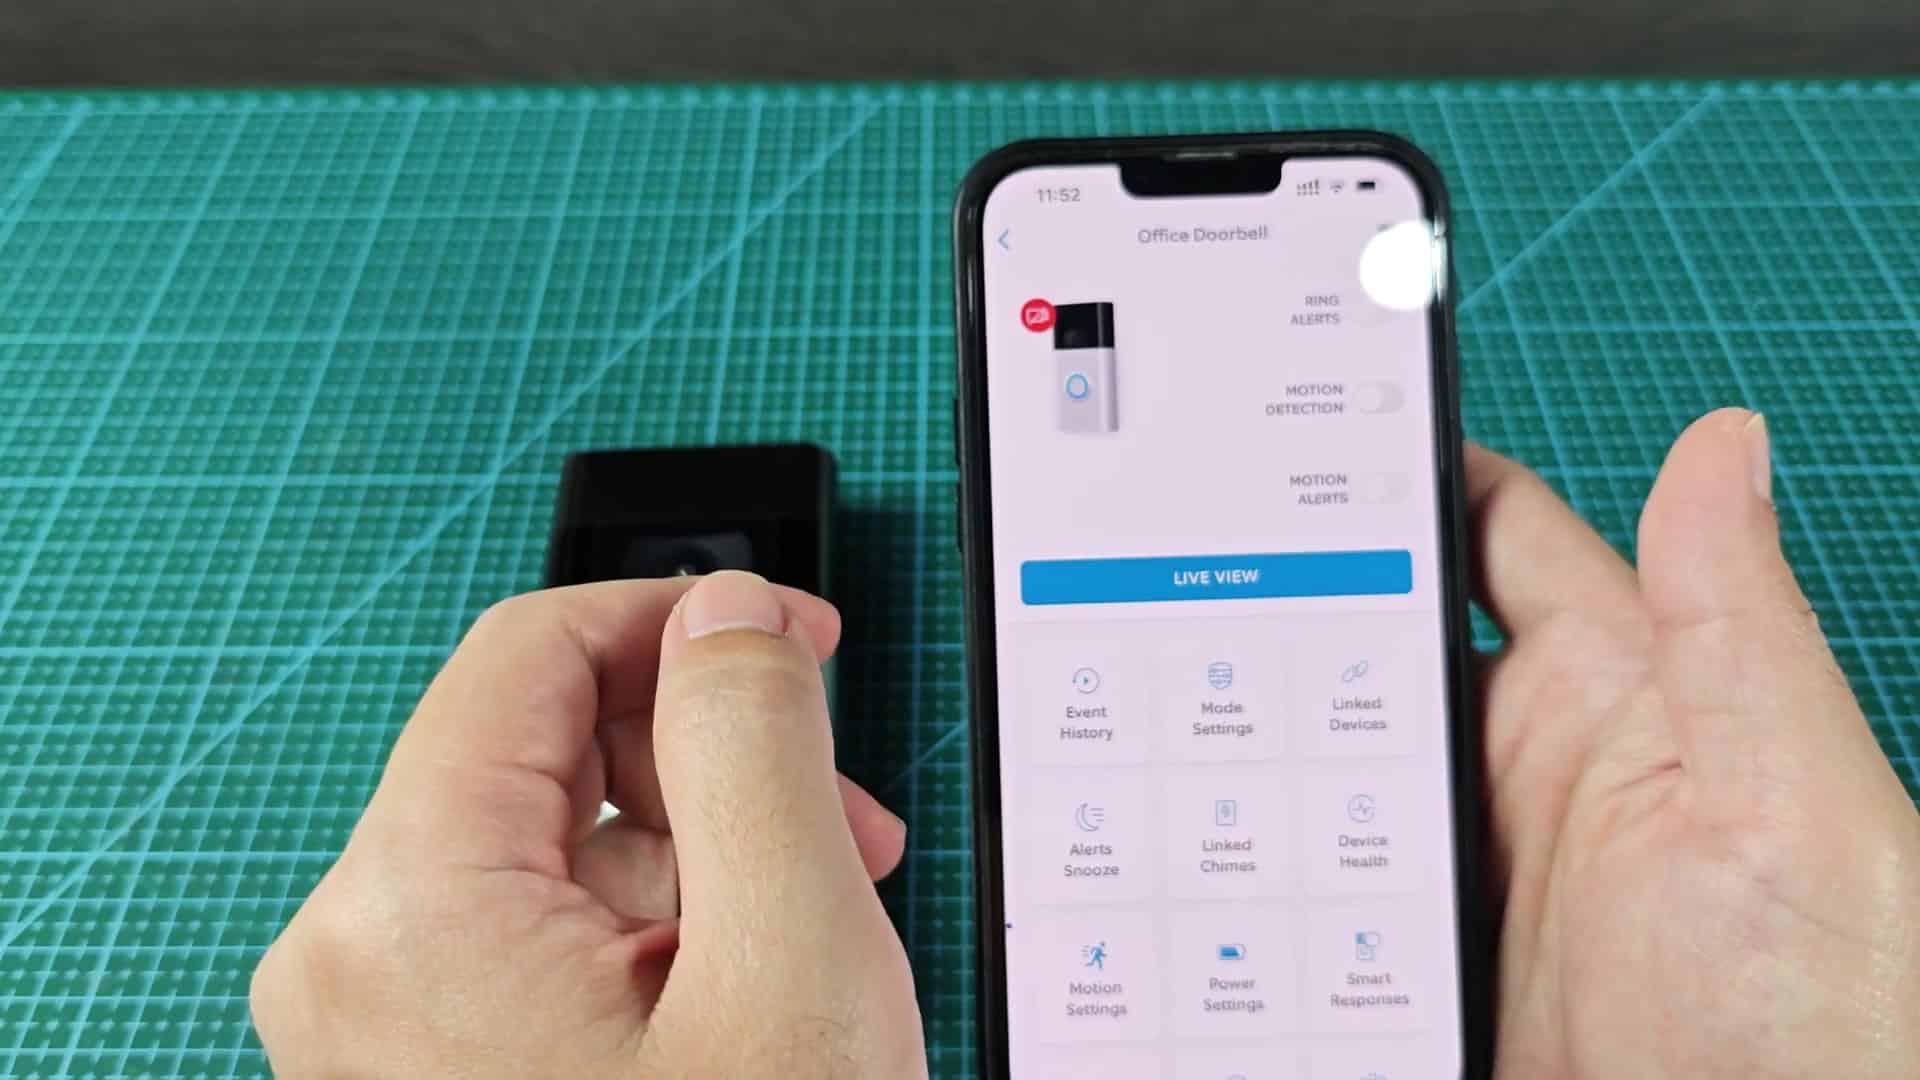
Setting up your Ring doorbell with a new wi-fi network could not be easier. In fact, it’s easier than messing around in your router settings.
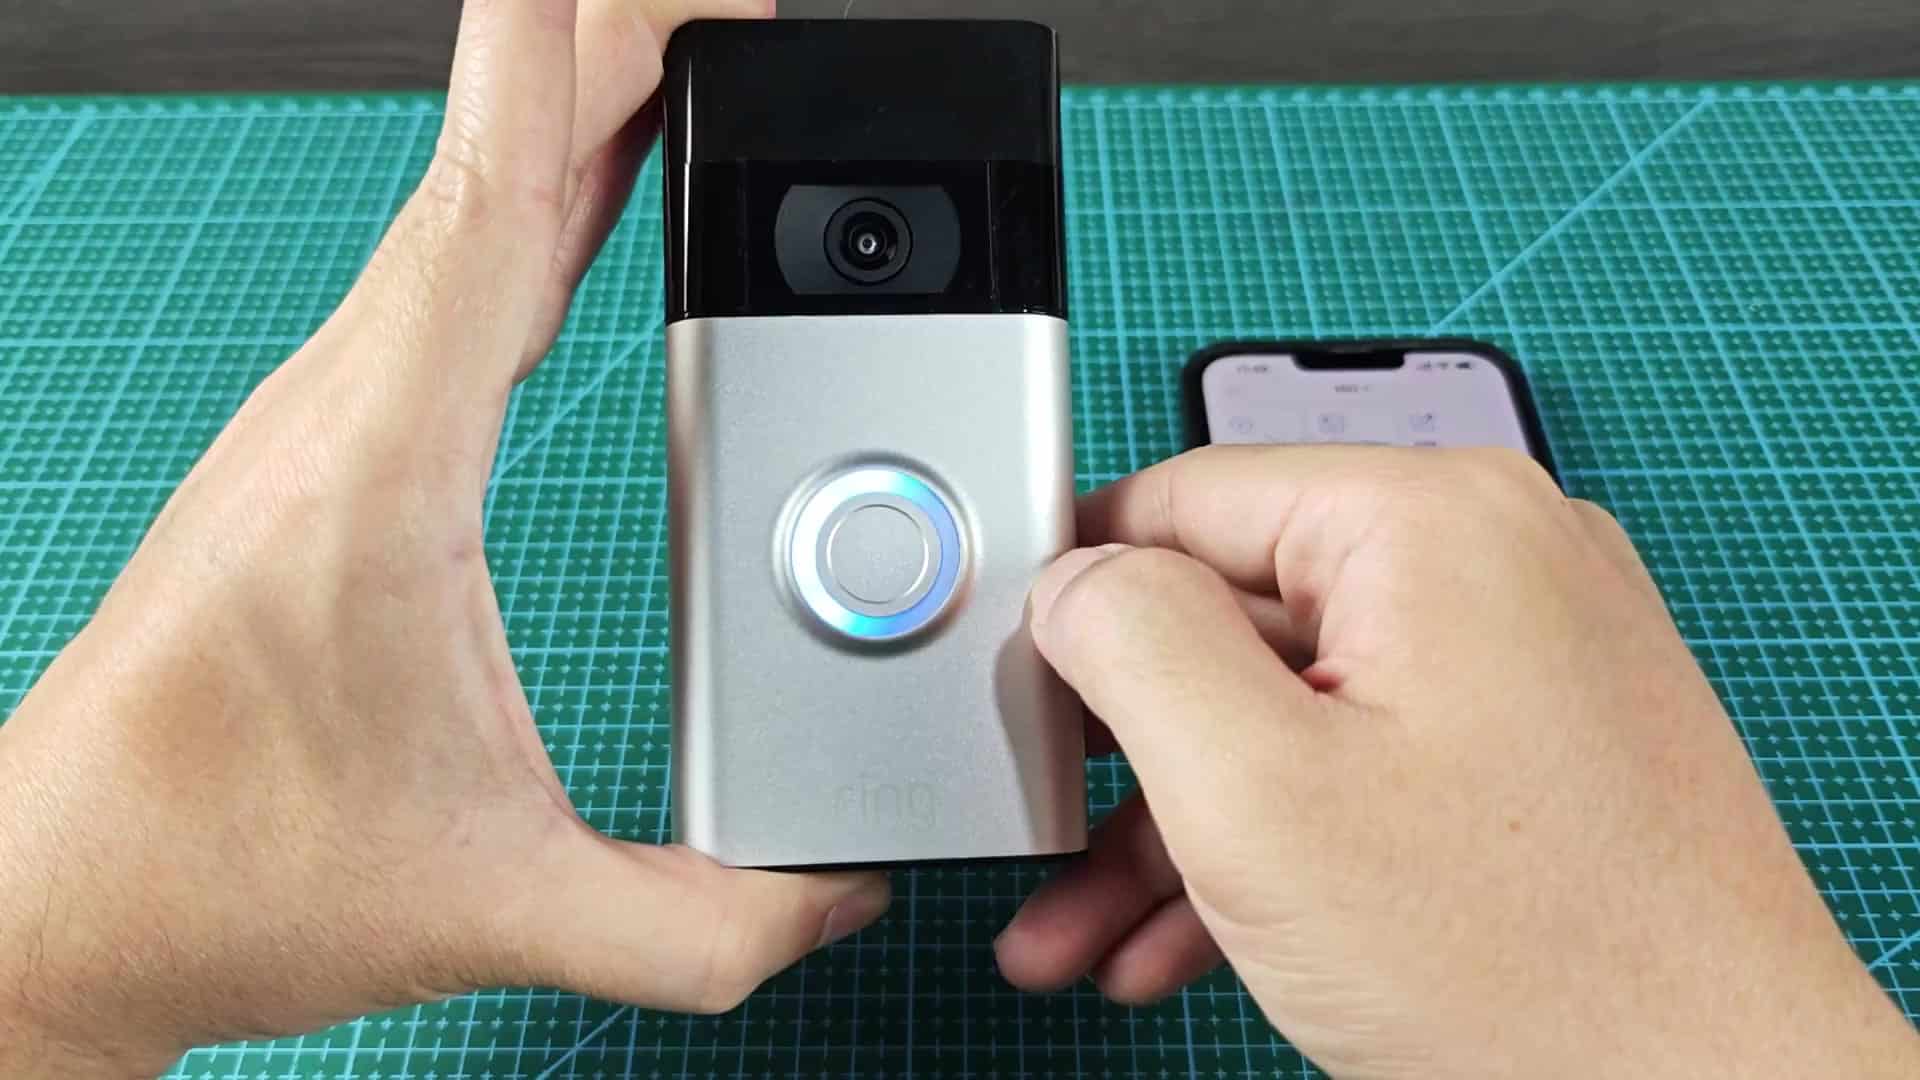
First, you need to reset the hardware which means it will listen out for your phone. To do that, press the orange button on the back of the unit. The device will instantly enter set-up mode, shown by the spinning white light. Open up the Ring app on your phone once that light starts spinning around. It’s not a complicated interface for even new user. Head over to devices page related to your doorbell.
Verifying Connection and Status
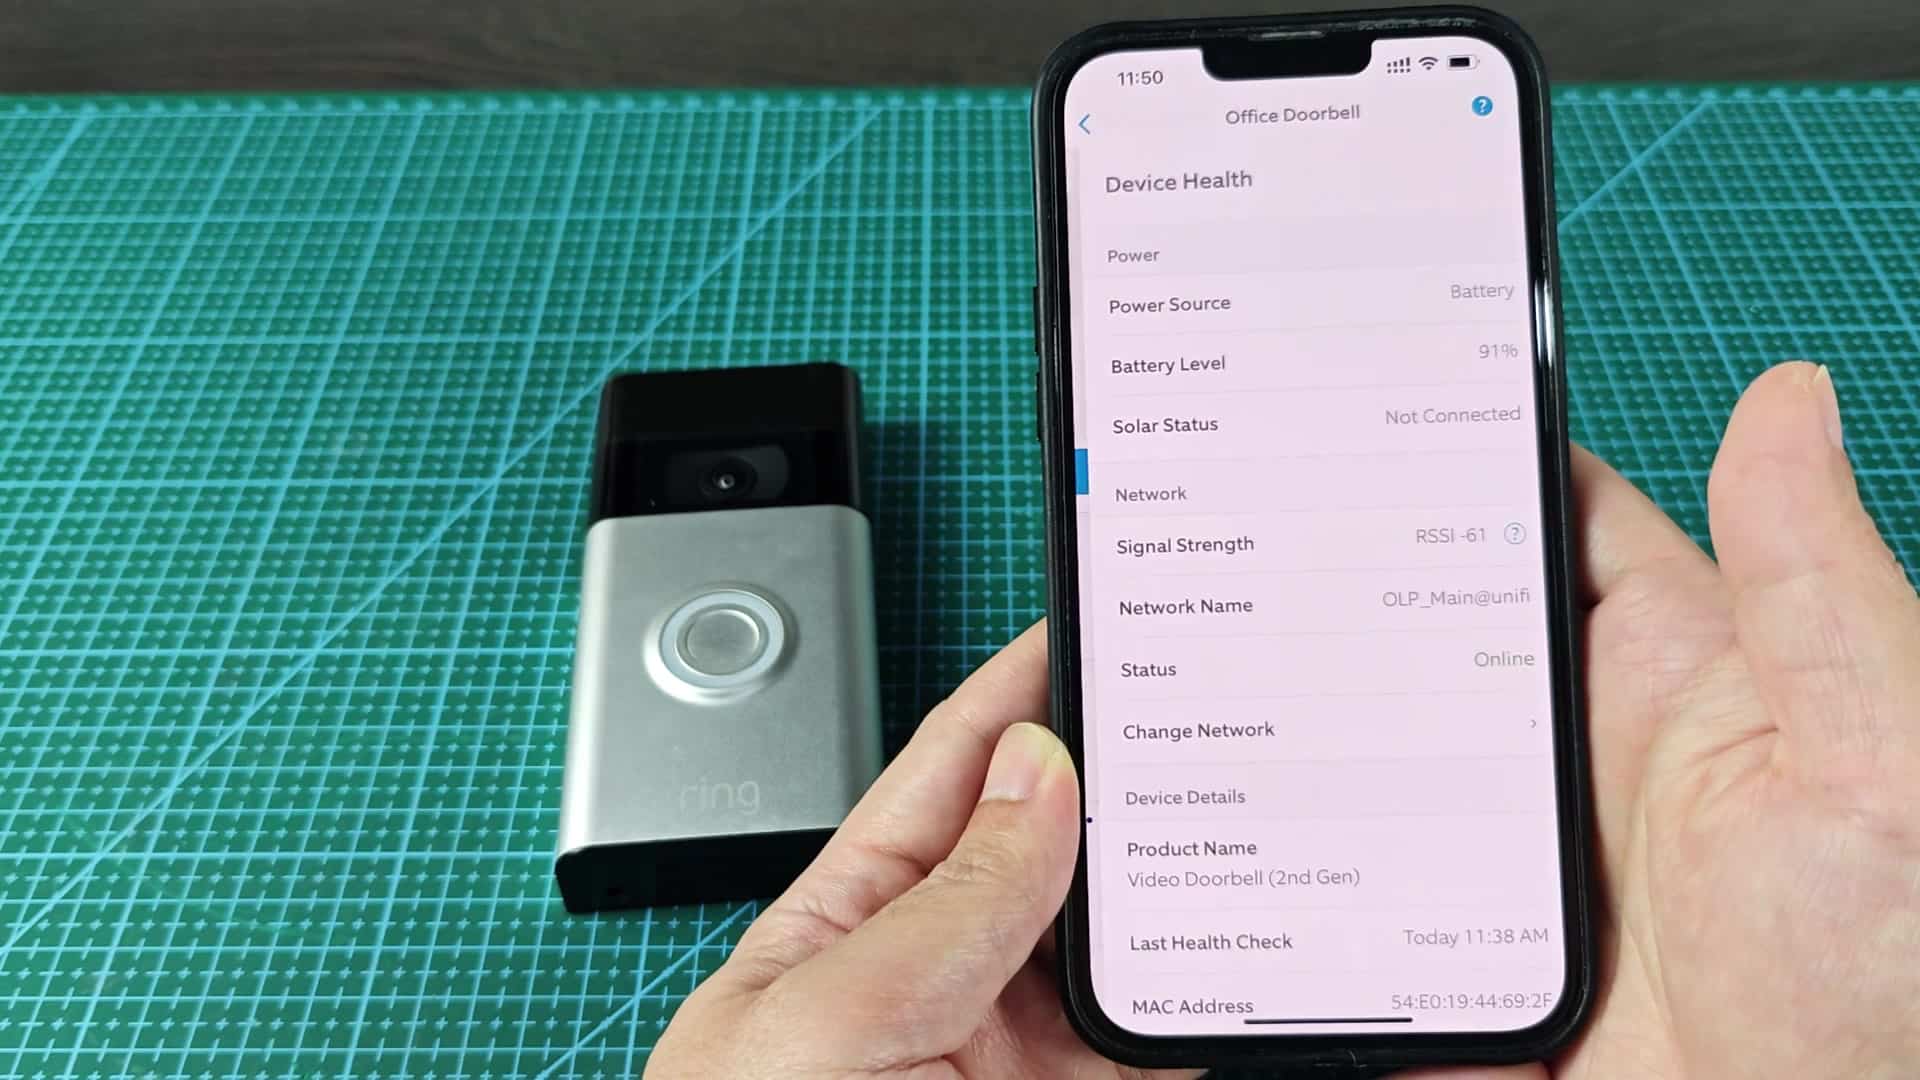
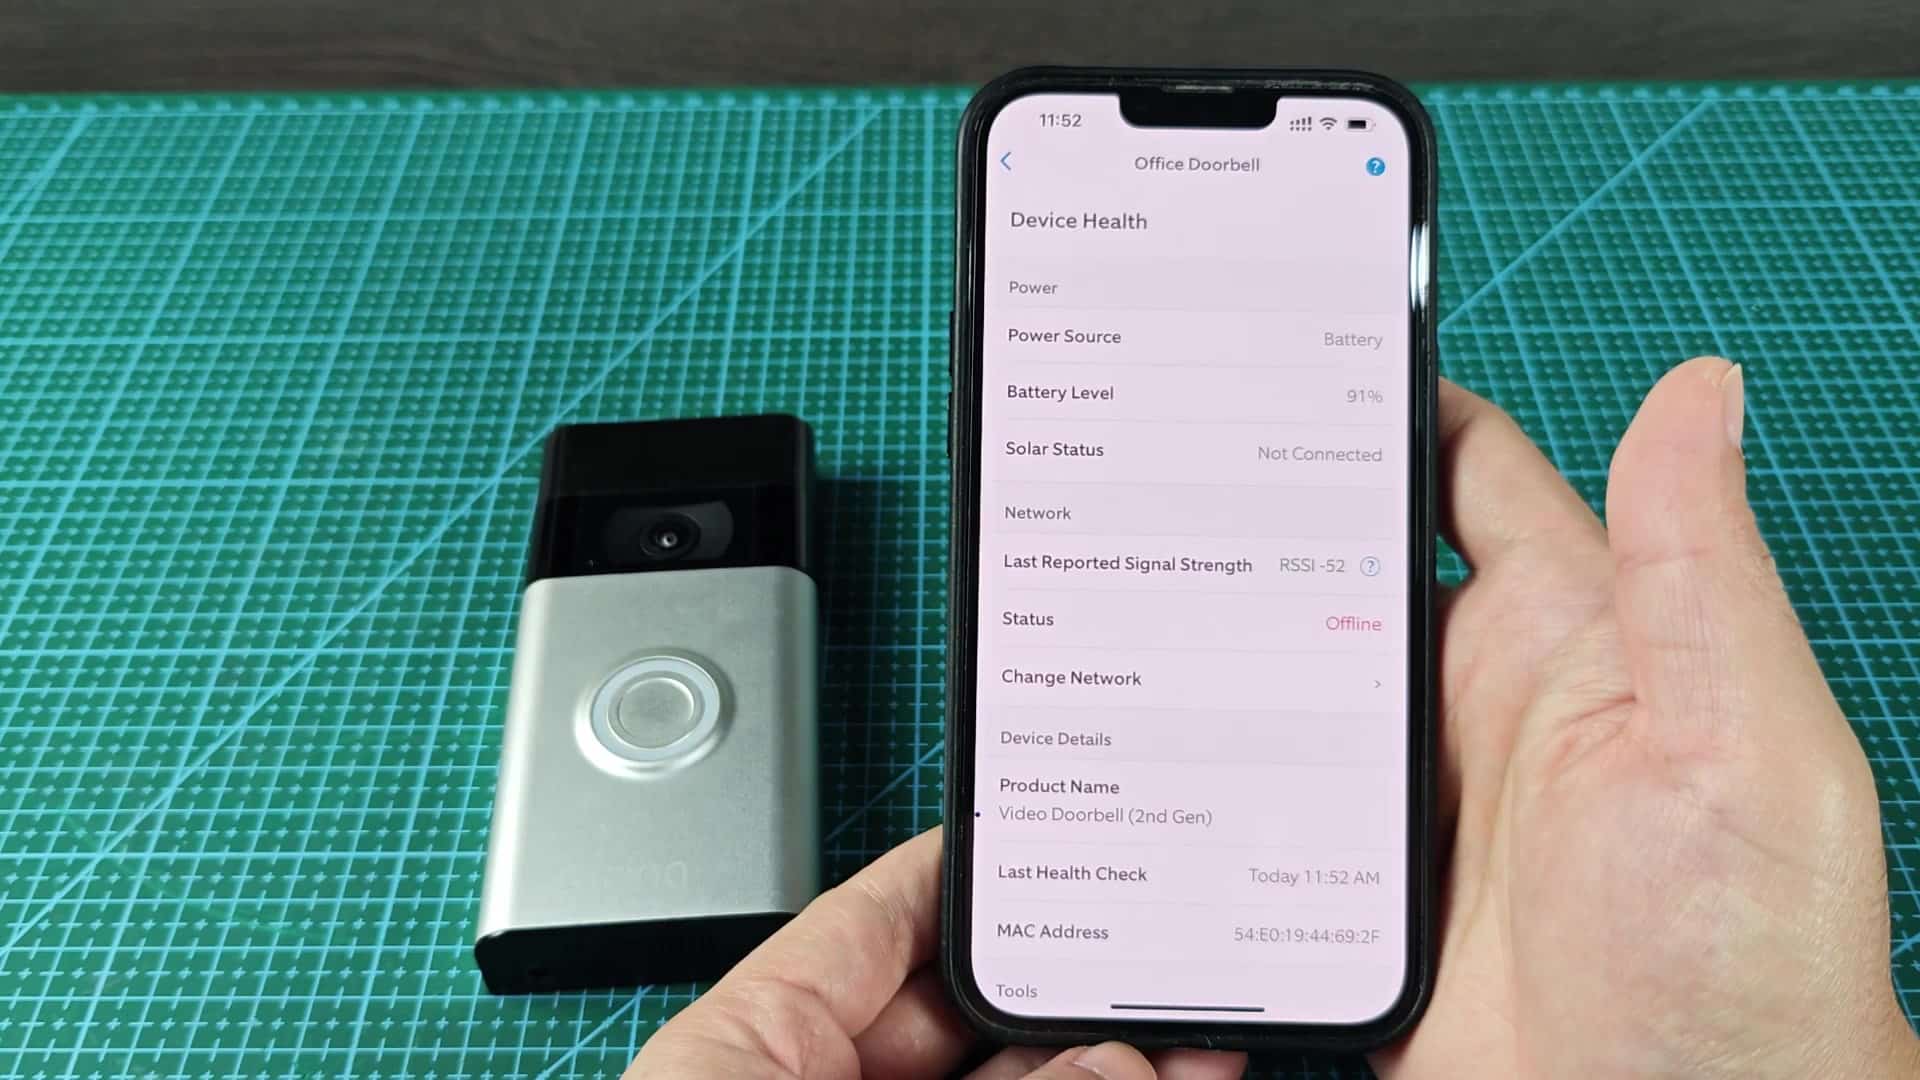
From there, tap Device Health. You’ll be taken to a screen where you can view some current stats. You can see the battery level and signal strength details here. It provide a look at the hardware performance at this moment in time. In my case, it display that it had decent signal bars and was online. That was good to know prior to beginning the change. Back inside that health menu, tap on the Change Network option. Hit that button and you’re off to the races.
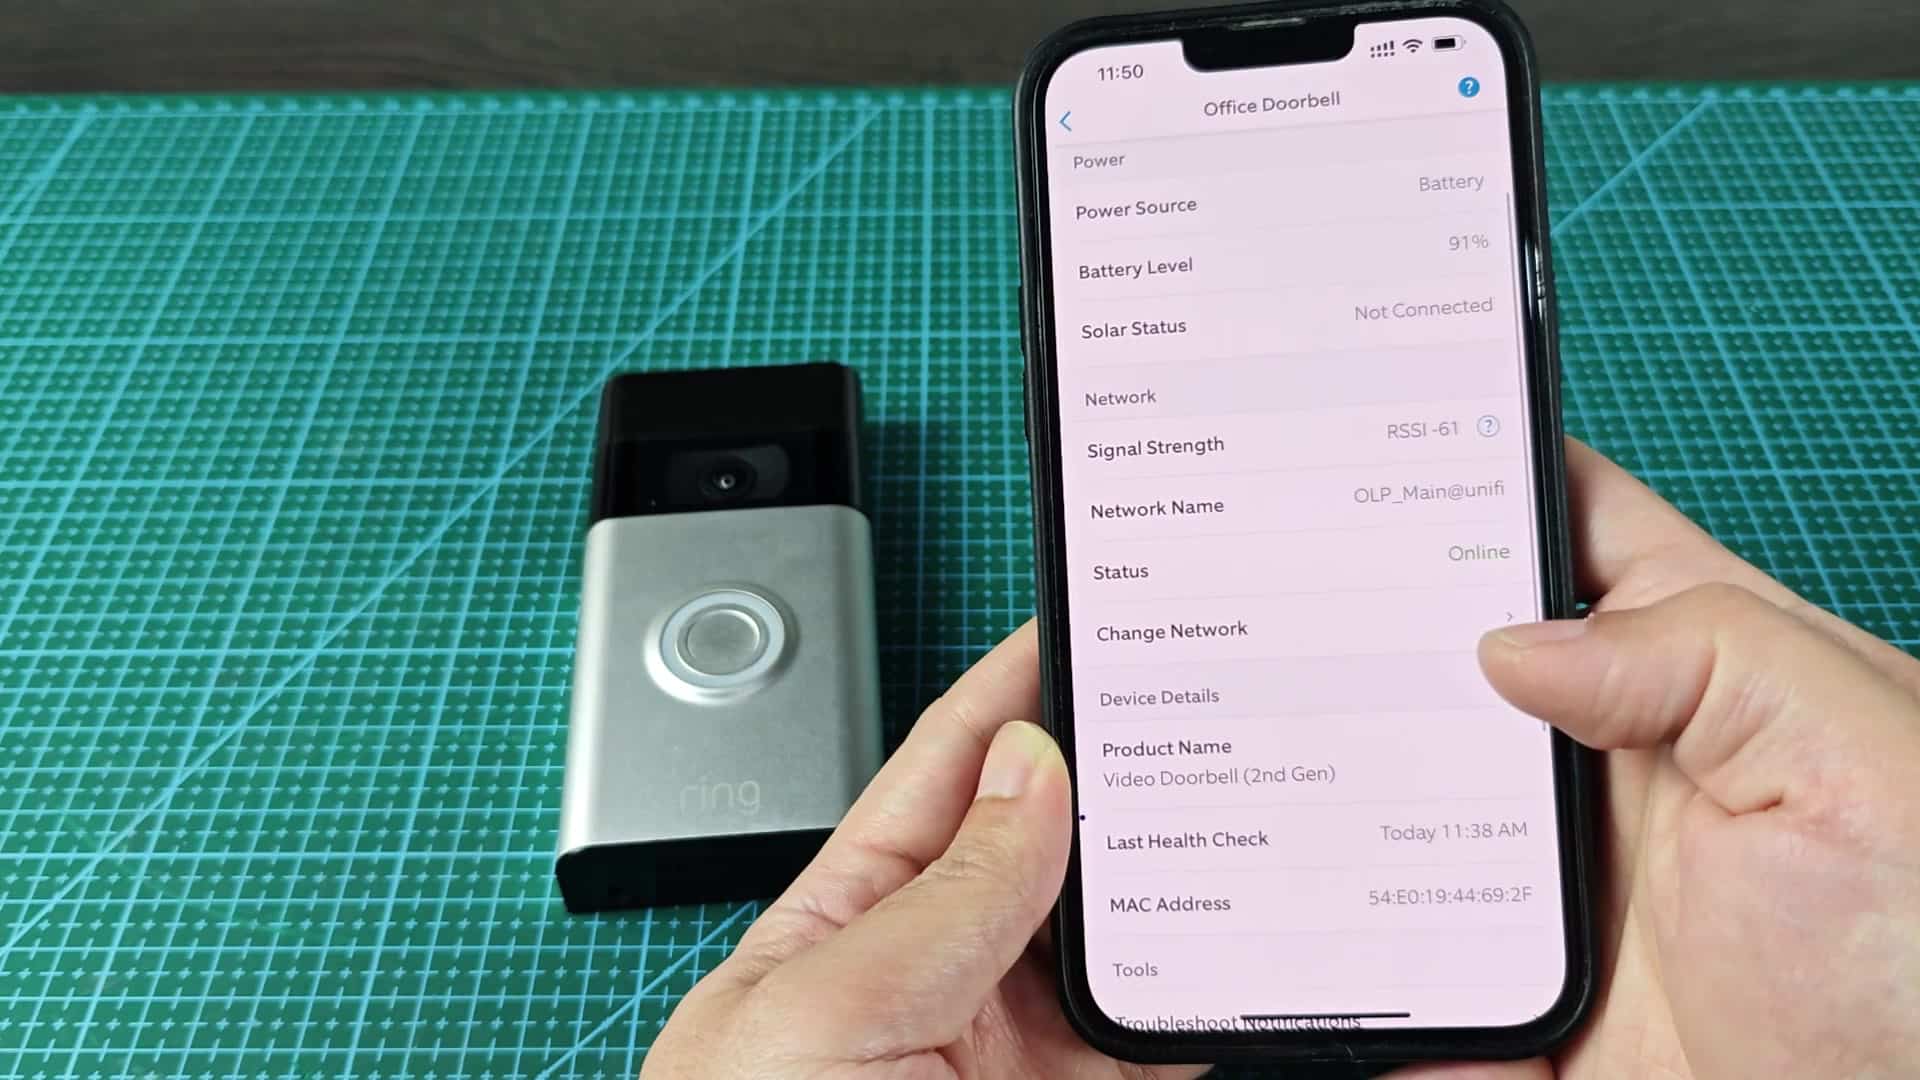
You’ll get a popup with some warnings regarding temporarily losing connectivity. It note your device is going to disconnect and reconnect again. That’s standard procedure when switching networks. Hit the Change Wi-Fi Network button. Then the app will ask if you’re sure you want to do this. Tap Got it and we’re back at the horses and water, as they say. Next up? Well, next up would of be… Continue. Do you have your phone close to the actual device? Yeah, it’s going to ask that. Makes sense: sending a signal directly from the phone. Confirm you’re literally next to the doorbell.
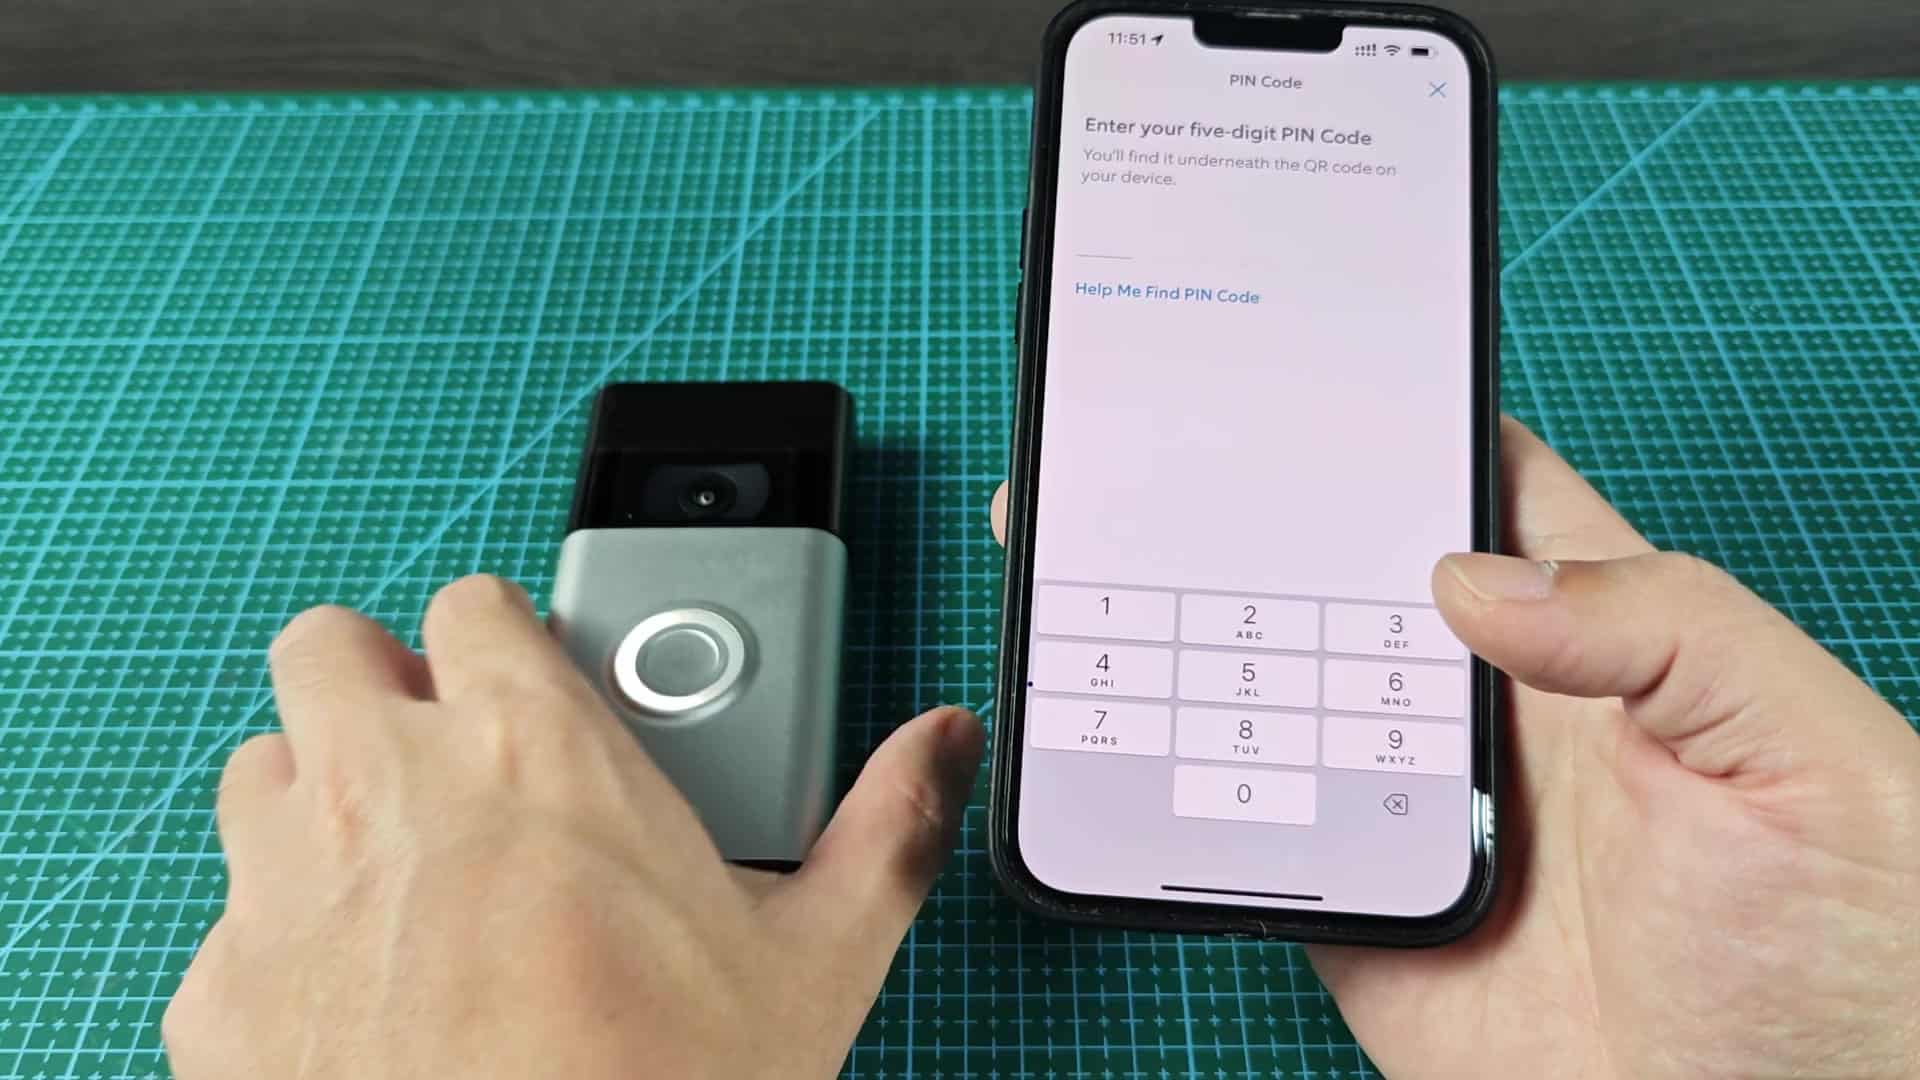
Then it looks for the spinning white light on the device. It confirms the device is waiting for some new credentials. And my doorbell remained in that setup mode state. Here, there seems to be a nice smoothness between the device and the app. There was no lags or errors in this check. You’ll see another keypad pop up where it asks for your five-digit PIN. On your phone screen is another code you need to enter on the doorbell. That’s there as an added layer of security so other people, like neighbors, can’t steal your setup process. Be careful not to mess up when entering the numbers.
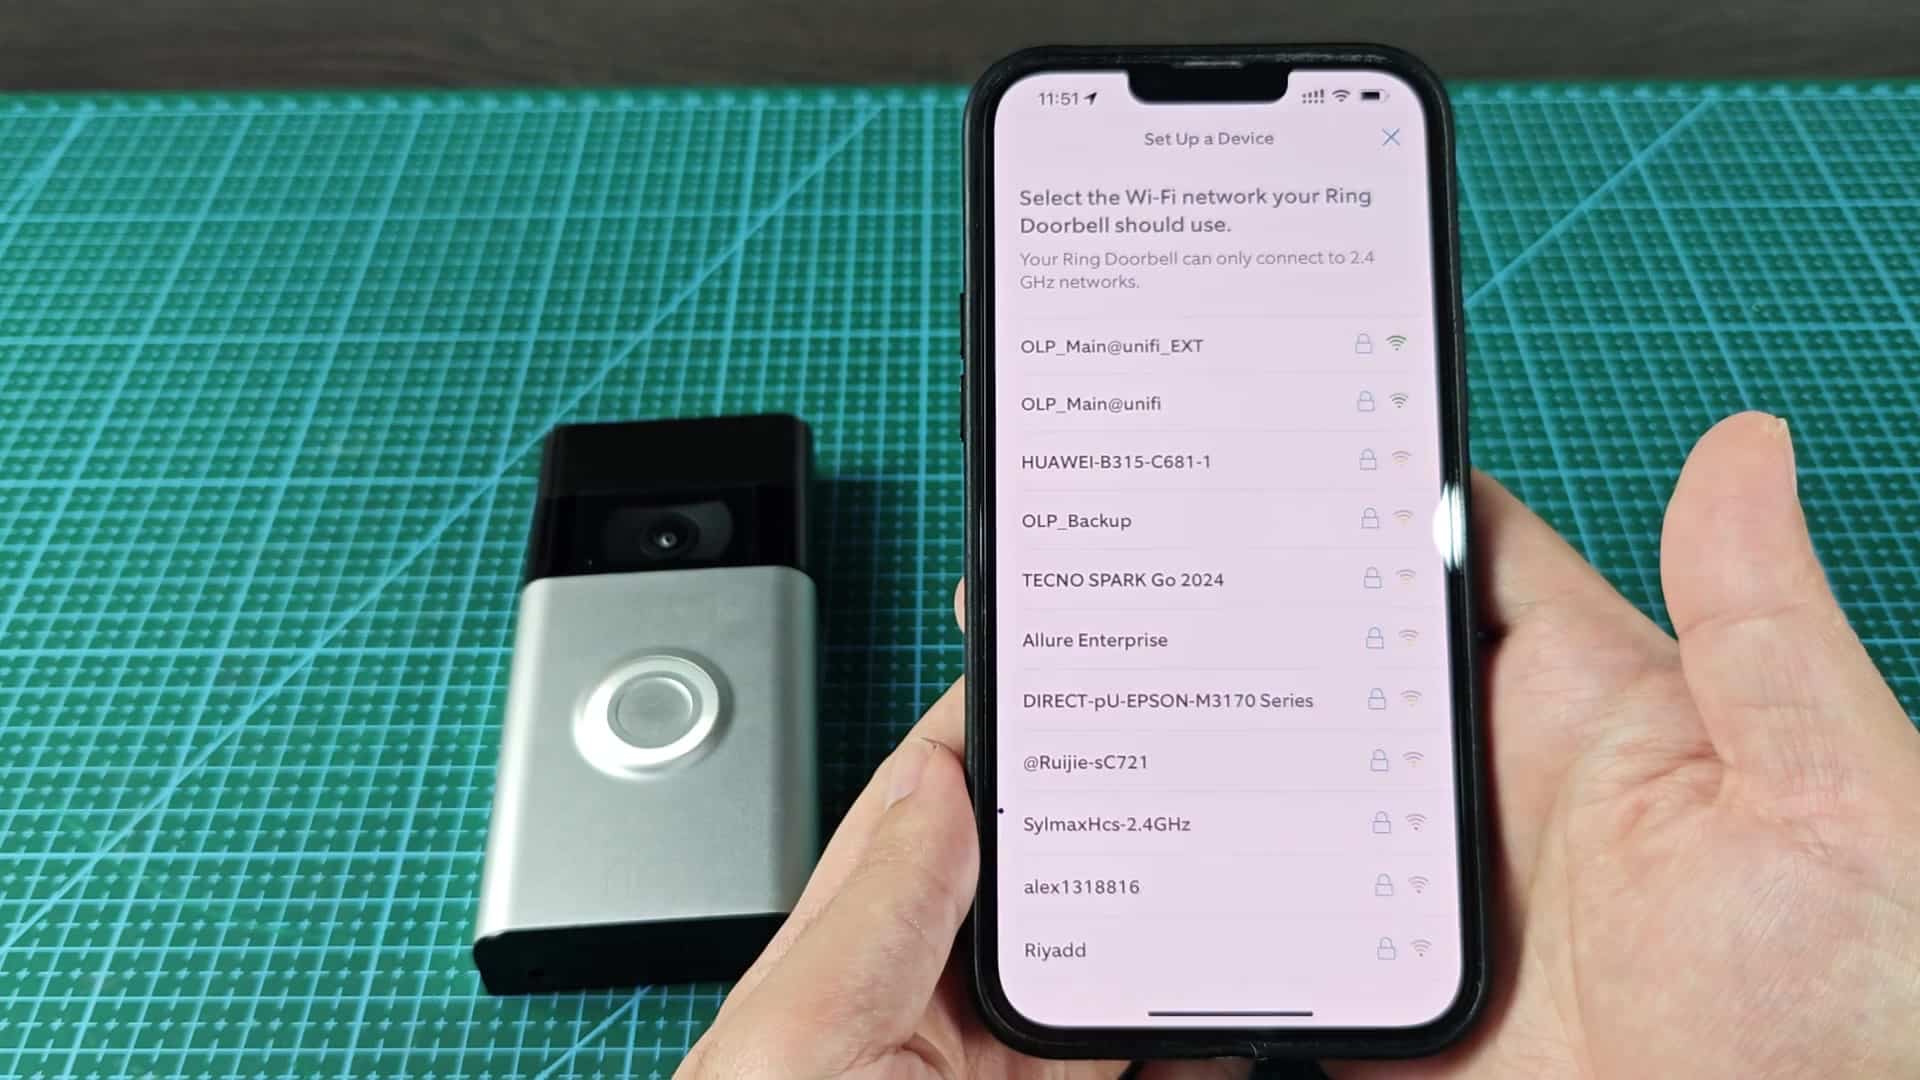
Once that’s done, the app will prompt you to choose the new Wi-Fi network. It shows you all available networks near your phone. Just make sure you’re selecting the right SSID from that list. Note that your Ring Doorbell can only connect to 2.4 GHz networks. The next step is realy when things start to connect. Your screen will show a little progress bar that displays what’s happening. It reads “Connecting Ring Doorbell to your network name.”
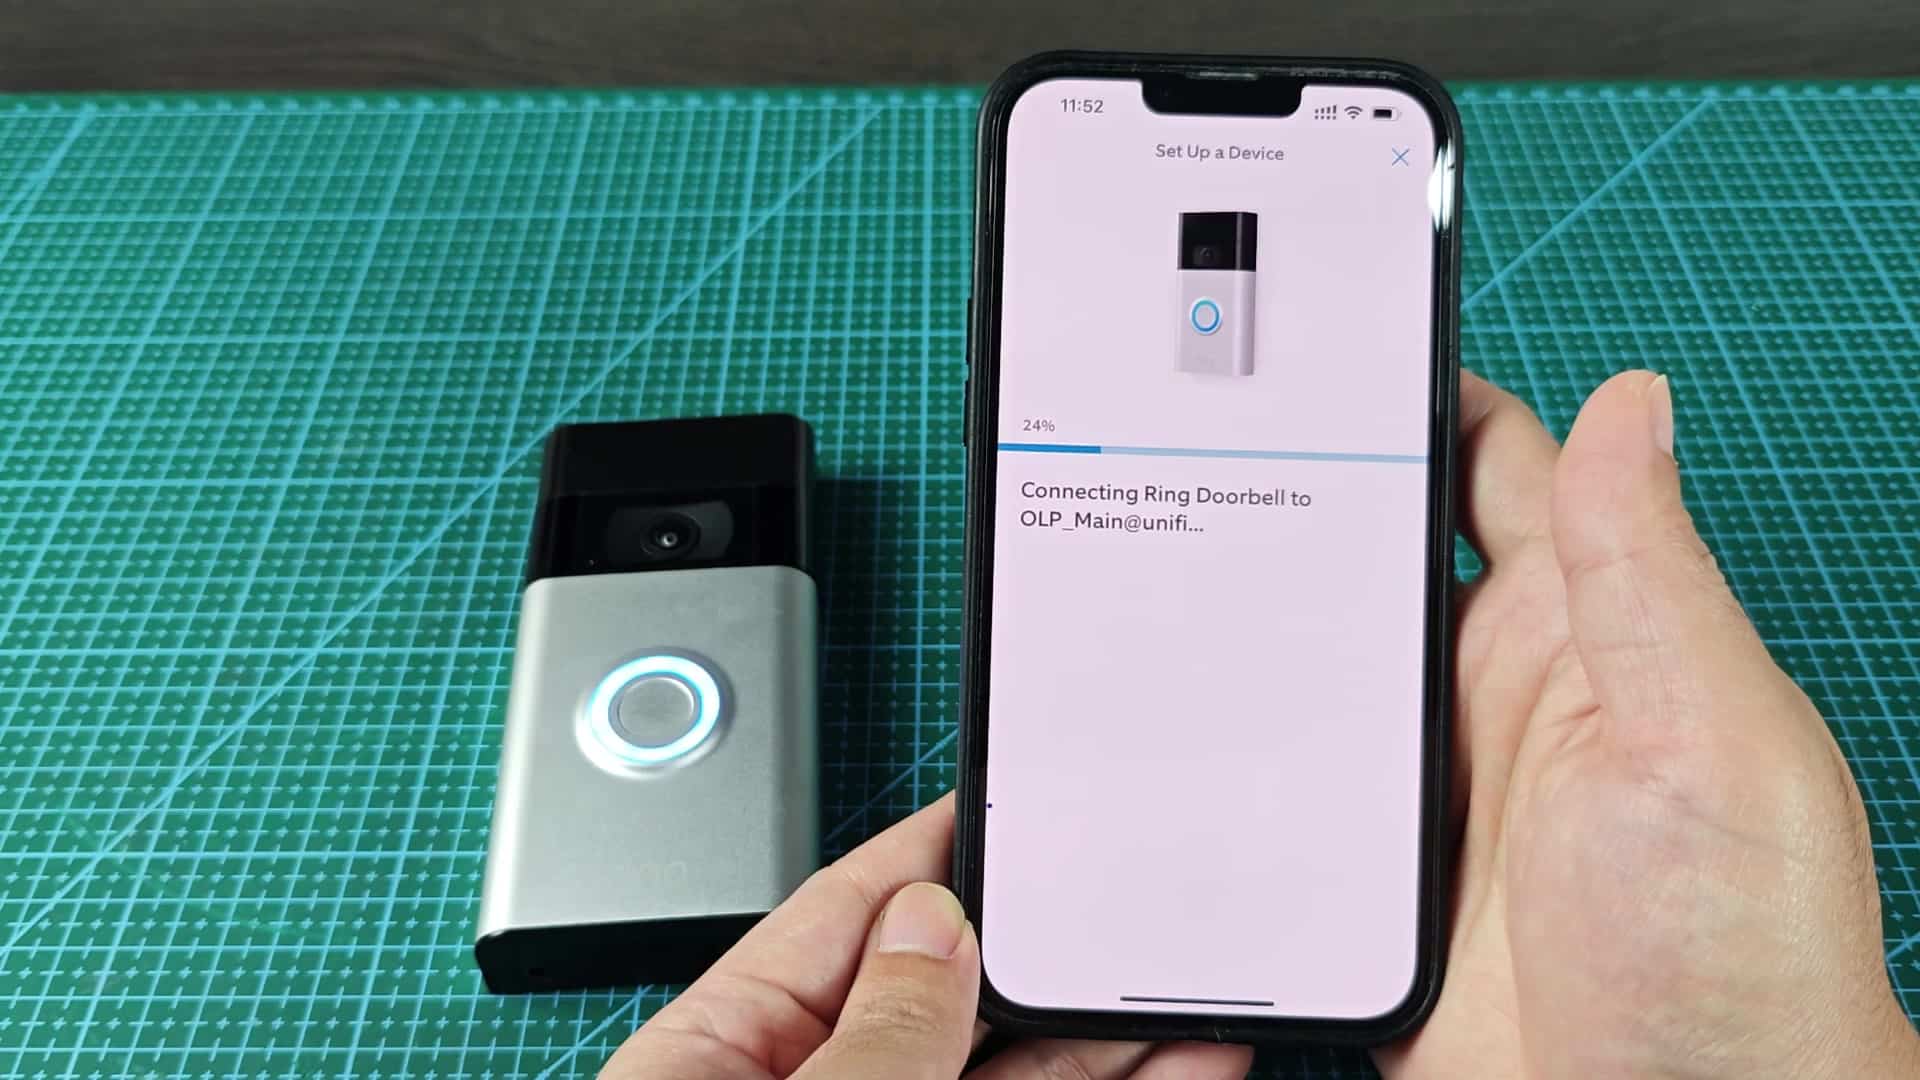
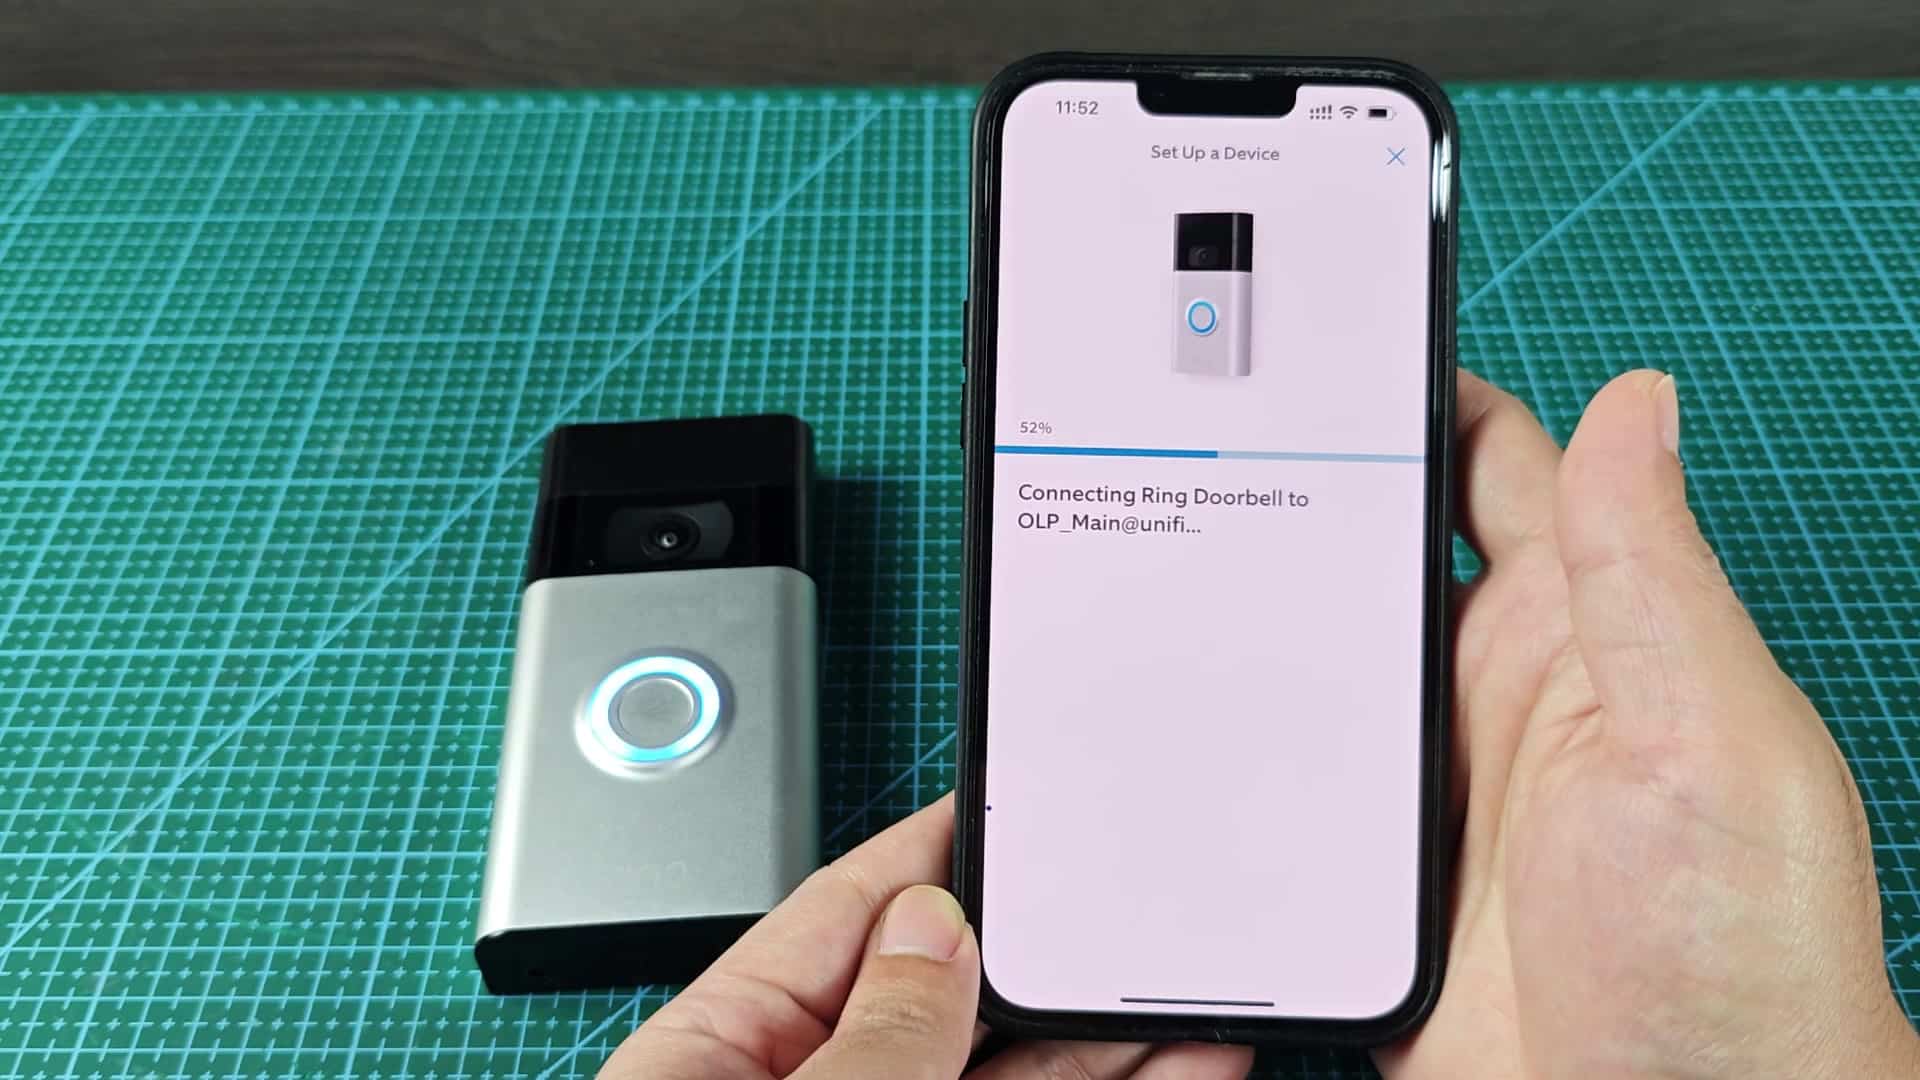
Slowly and surely the percentage starts to rise. It is still pretty sluggish at 45 percent. All of a sudden it speeds up and the rest of the way are quick as well. It is one hundred percent connected. The doorbell is now part of the new network. No muss, no fuss, and the app confirms that the switch has been made. From now on, your Ring Doorbell will be sending/receiving data via the new Wi-Fi network.
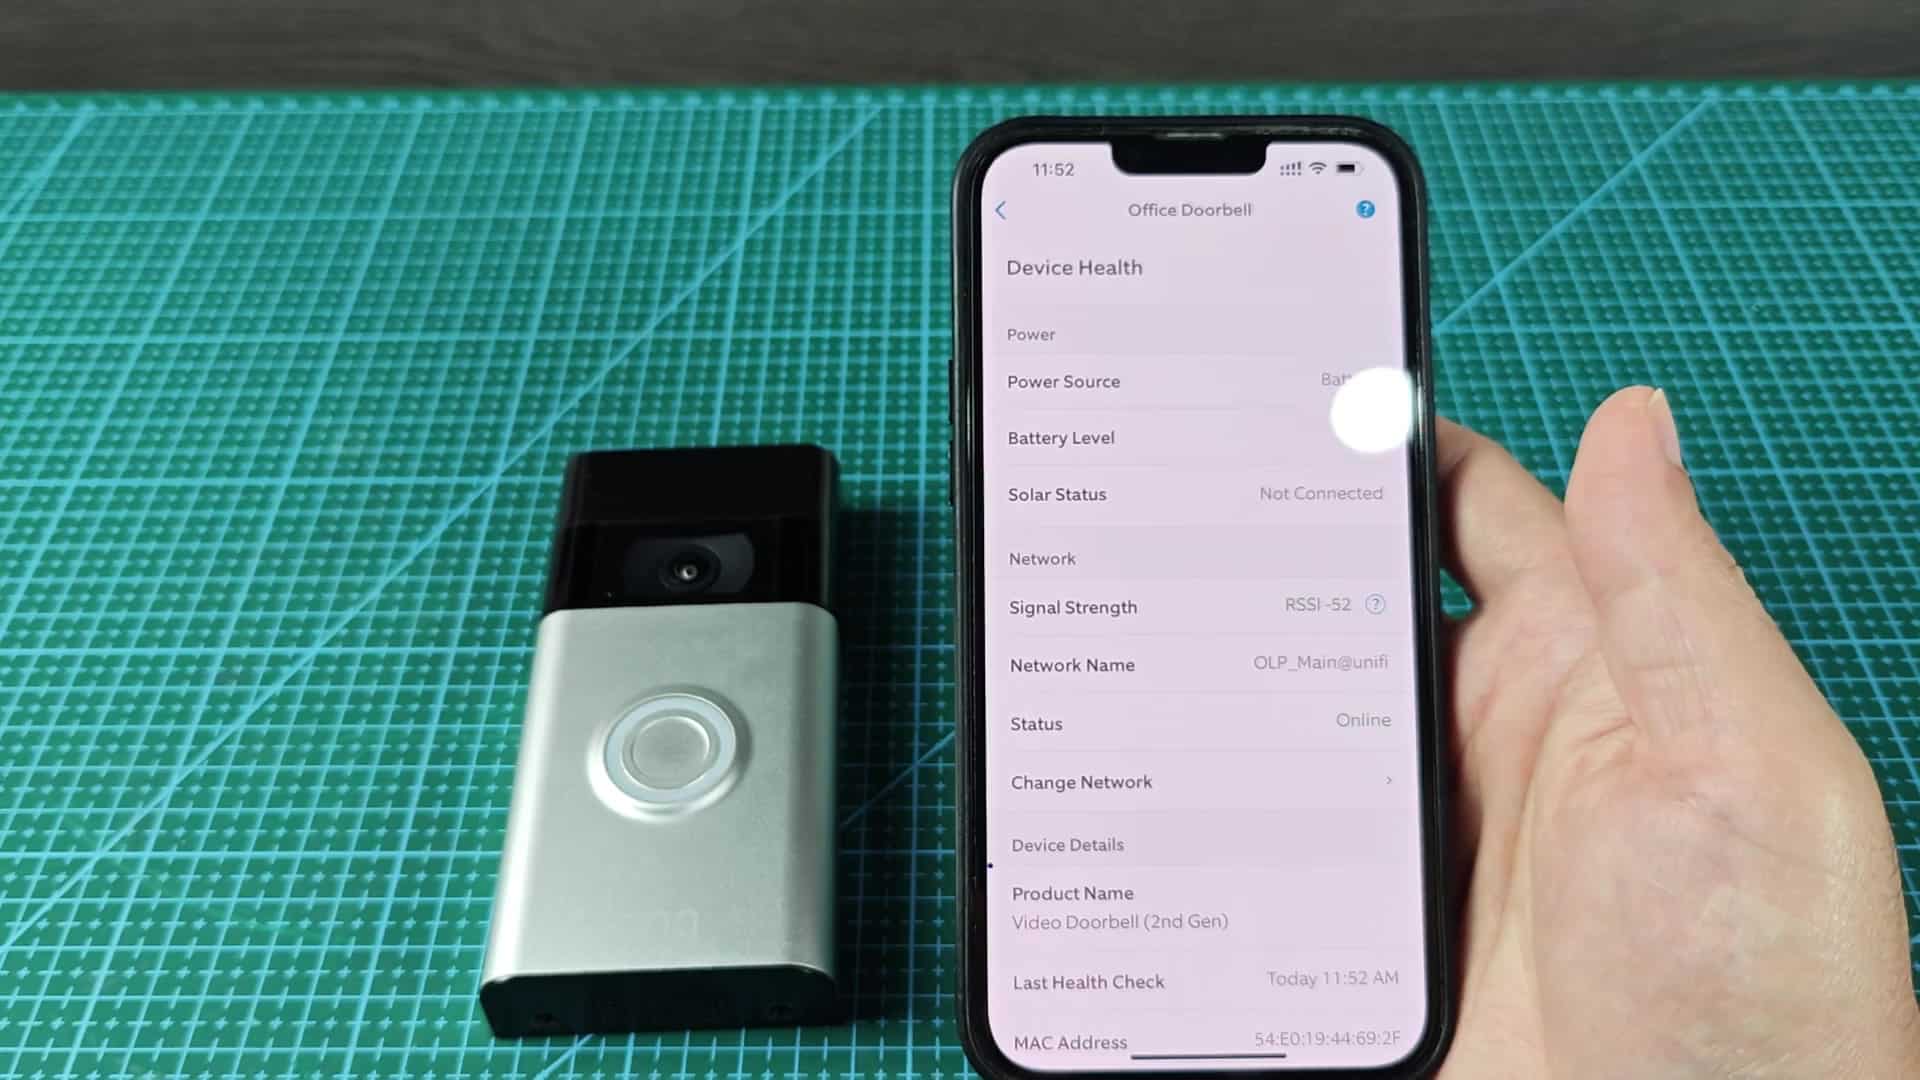
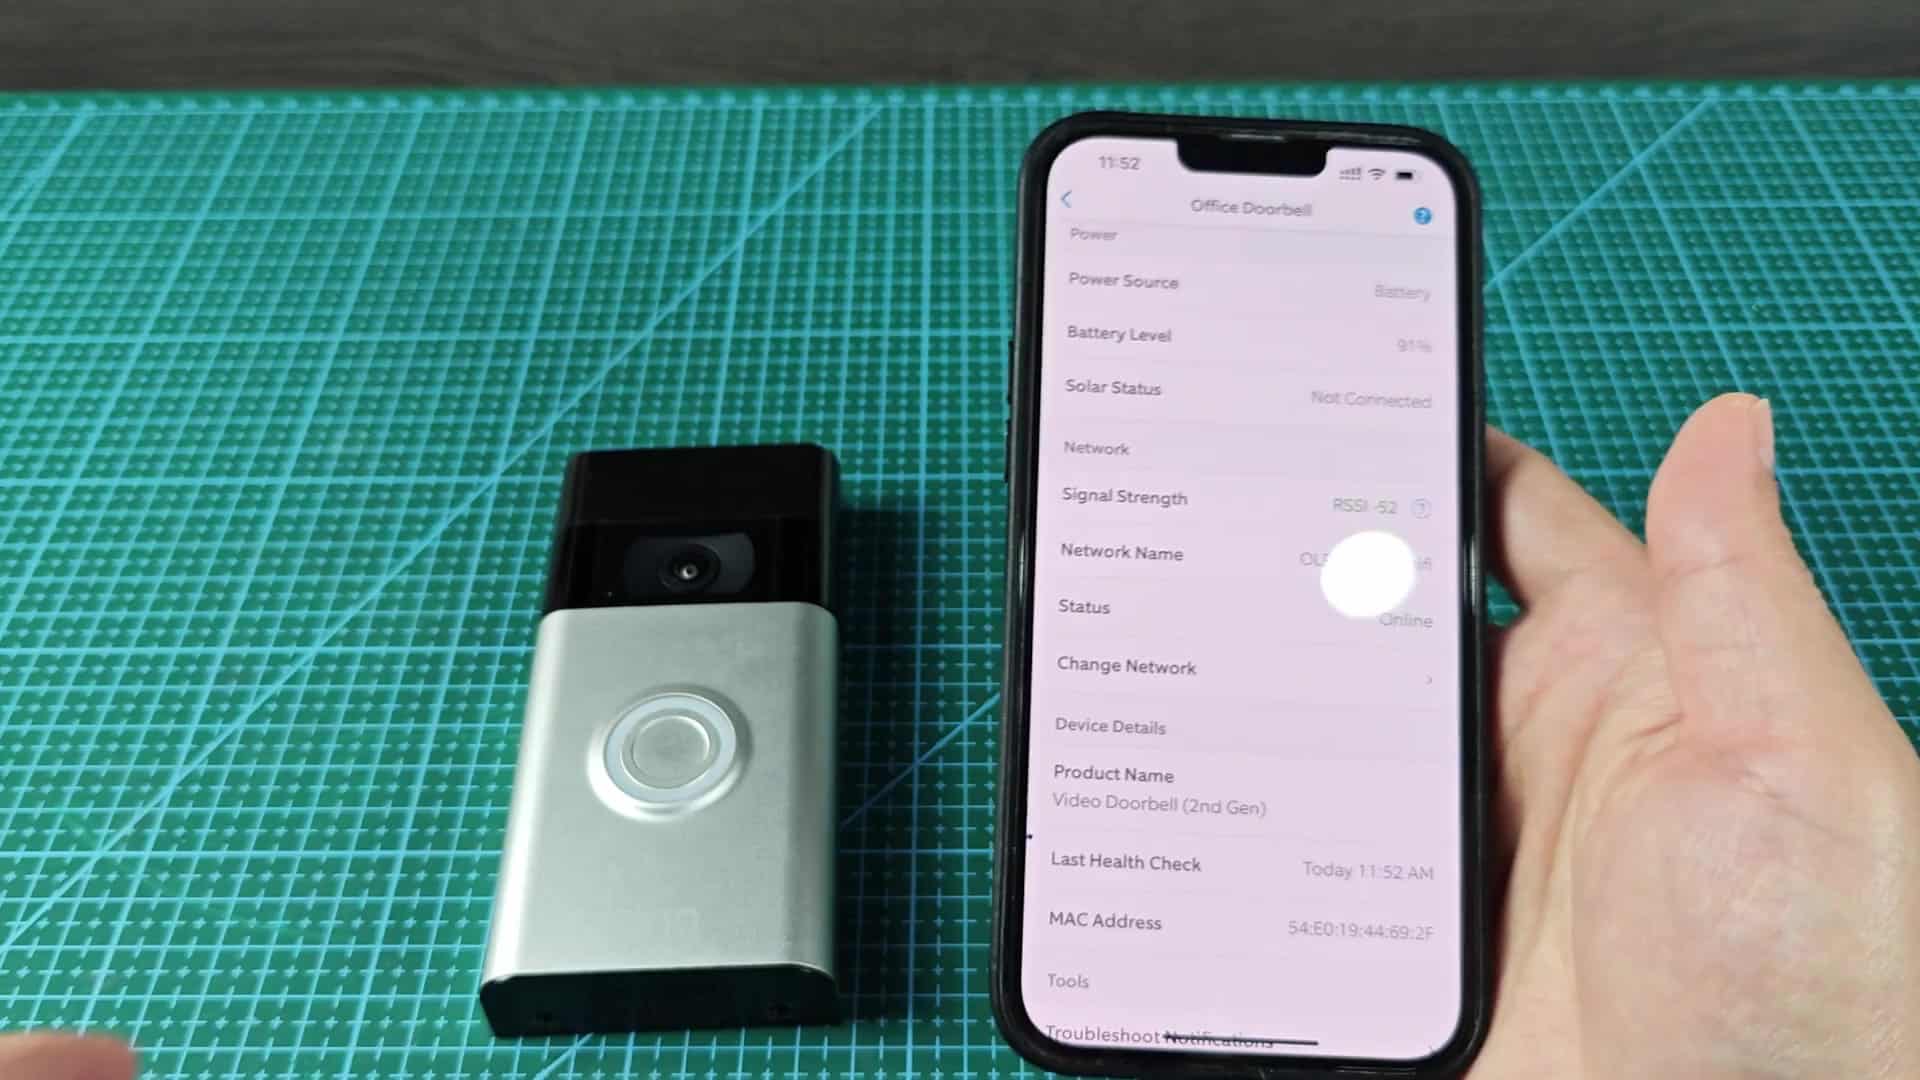
Again, visit the Device Health page to make sure it’s all looking good. It was showing Online with the new network name displayed. RSSI minus fifty-two was the signal strength, which didn’t change much. Battery levels didn’t change either, remaining stable. And solar status still said Not Connected (as I should expect from my configuration). After the switch, it was all completely normal. Tap that button and live view is there right away. Recent motion alerts appear in event history.
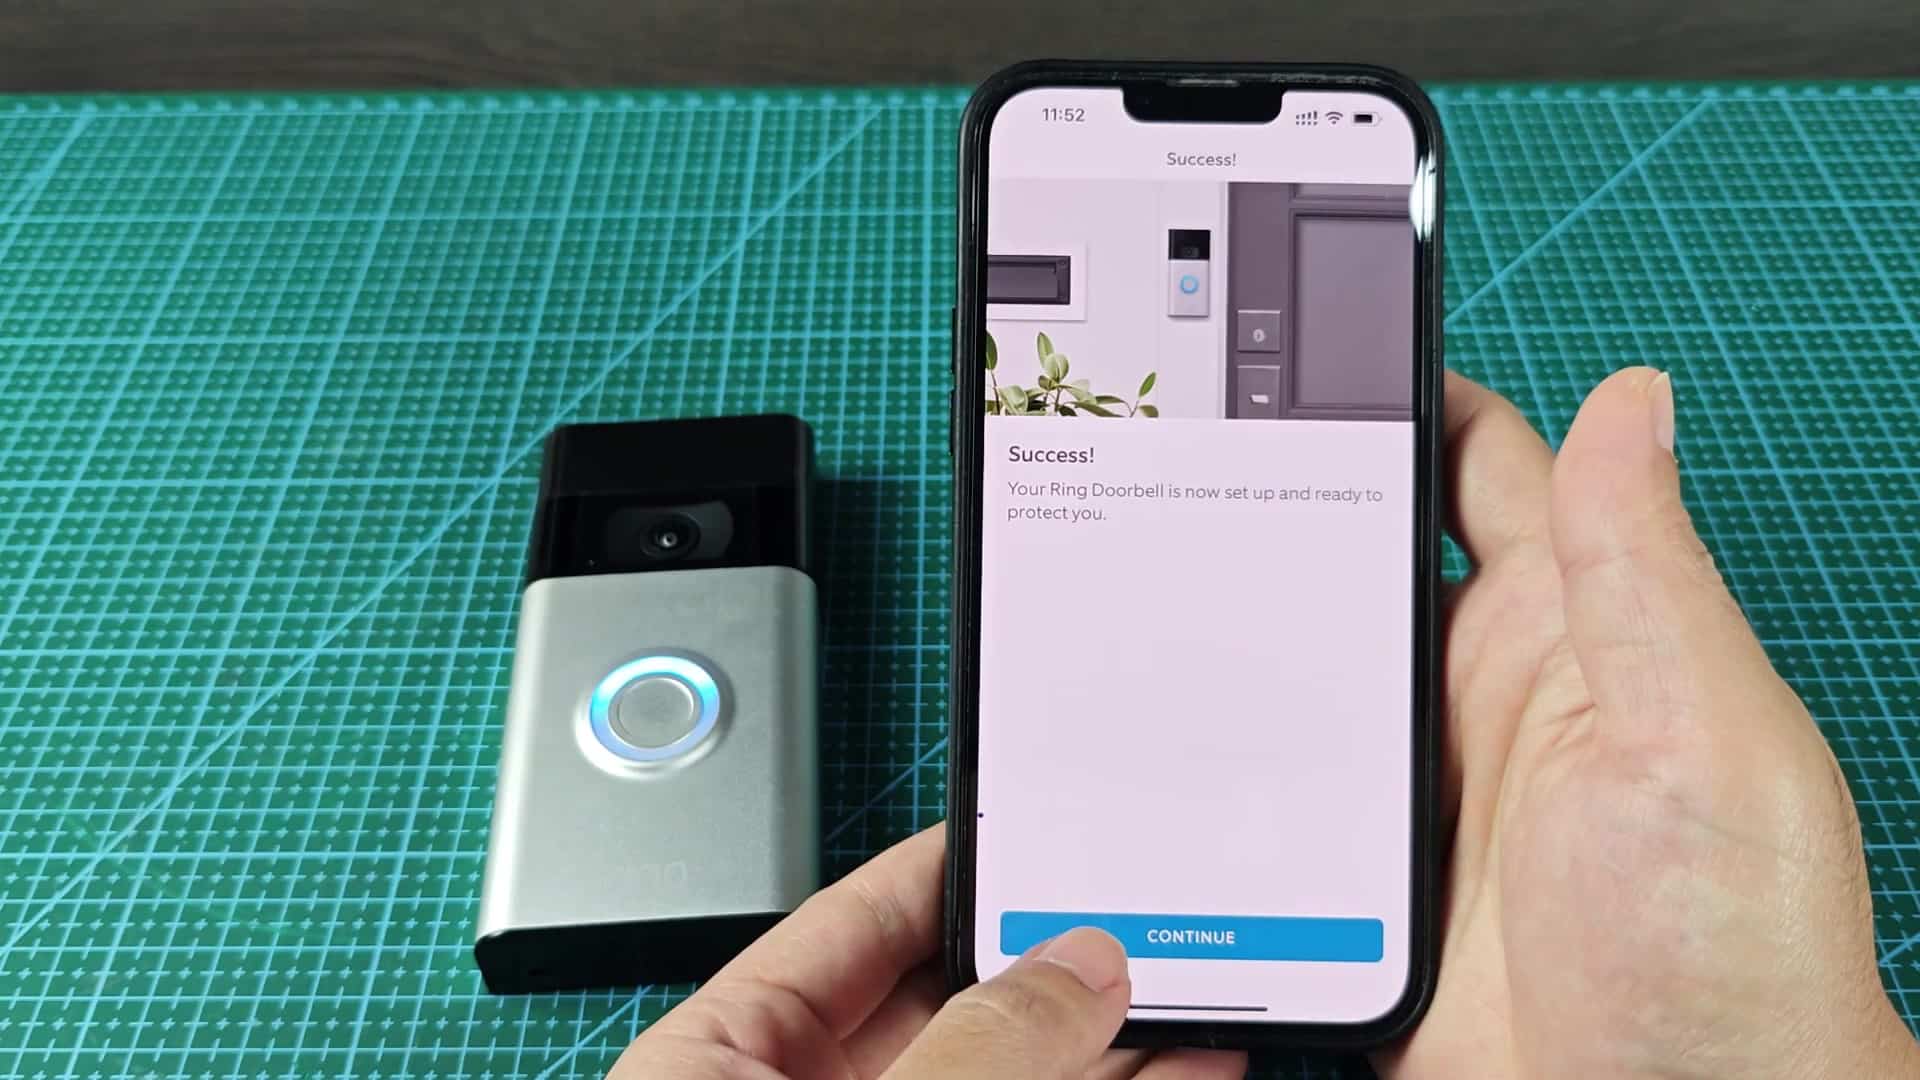
All of your linked device remained set up just as they were. No messing around with zone or other preference configurations at all. In short: The switchover went smoothly from one router to the other. Easy-peasy and solved my problem of having a stronger signal. The last checks in the final details showed that I did this correctly. The MAC address and product name remained unchanged. The only thing that changed was the network name field which reflected the update. The timestamp of the last health check refreshed with the current time. This was proof it was talking once more.
Leave it hanging up there on the wall and rest easy knowing it works. There was no need for additional tweaks. Basic operation were sufficient for me.