
Unboxing the Roku Streaming Stick 4K is simple enough. It’s small and has a HDMI plug to insert into your TV. It has “Roku” written on it. It also includes details like the model number (3800X), the serial number, and the manufacturer, Roku.
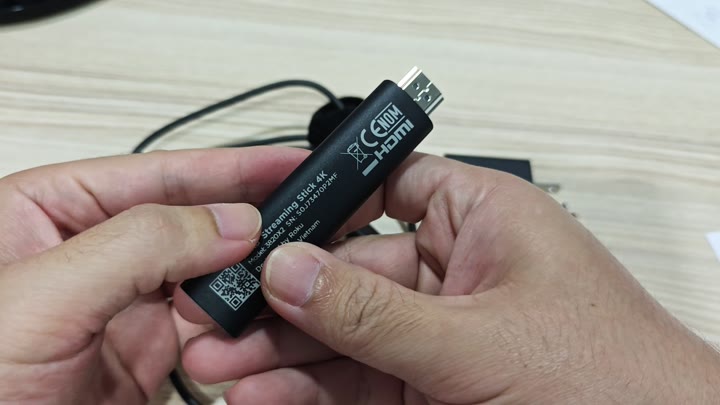
This is the model number you verify against to make sure you have the right hardware to play 4K.
Connecting To Wi-Fi
Now what? Where do you get the power from? If you’ve got a portable charger laying around or even just a micro-USB charging cable, you’re covered there.
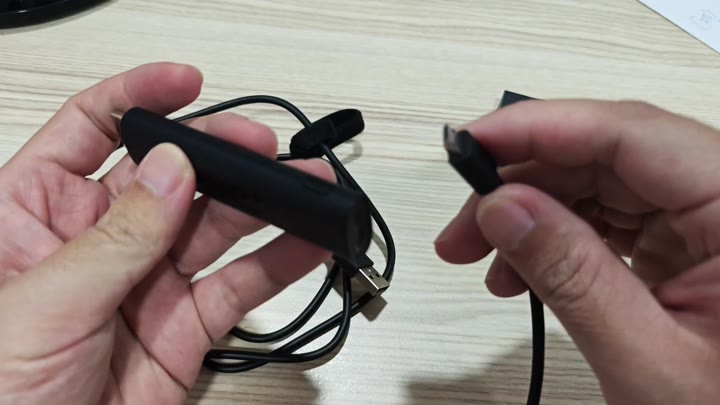
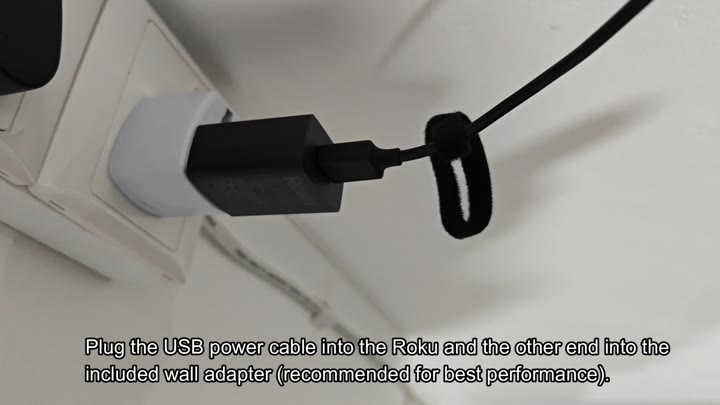
But it’s easier if you just use the Roku stick with its recommended setup. Plug one end of the USB power cable into the stick itself. The other end goes in the wall adapter that came in the box. This keeps the stick powered all the time for best performance. Use the velcro strap to keep things neat by sticking it right next to the port on your tv.
First, pair the remote control with the streaming stick.
To begin the pairing process, simply hold down the Home button and Back button simultaneously. After pressing those buttons, your remote will pair with the device.
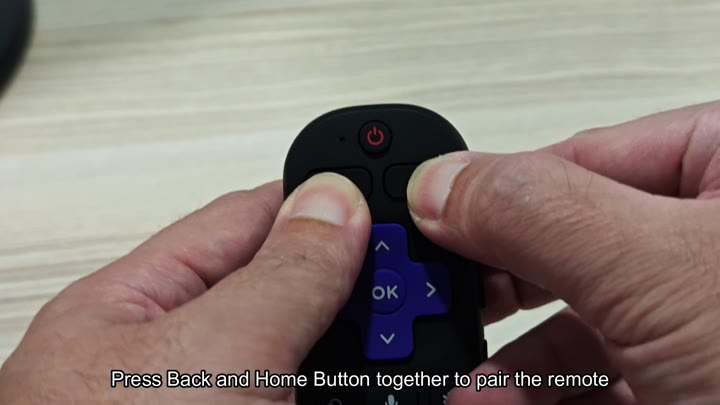
To pair the remote, press the Back button and the Home button at the same time.
If you need to regain control of the system, it’s a simple fix.
After pairing with the remote, you gets connected to the internet. Next, the Roku interface prompts you for which network to use. From there, you pick the name of your Wi-Fi connection off the list.
Then the system automatically checks both the internet and wireless connections. Wait as it confirms that the internet connection is made and the signal strength is verified.
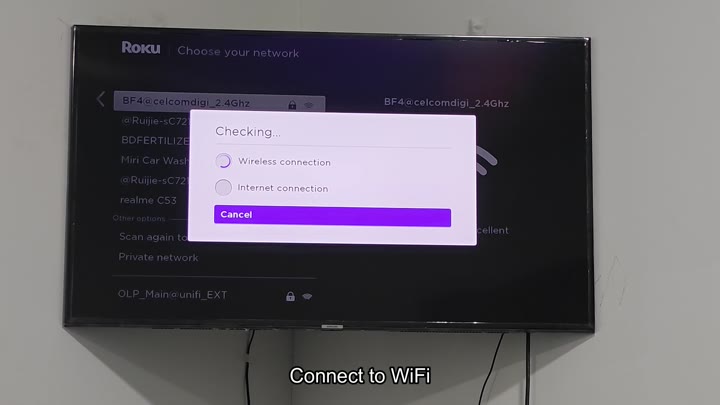
To use it, you need to have an internet connection to enable the player and load your channels.
When connected, the device prompts you with questions regarding your HDMI settings. It wants to know if you’re streaming in 4K HDR or using an HDCP-enabled TV so you can get the highest quality picture possible.
So you check out the options, 4K at 60 frames per second, 4K HDR, etc. Select the former, since that gives you both a high-resolution display and smooth motion.
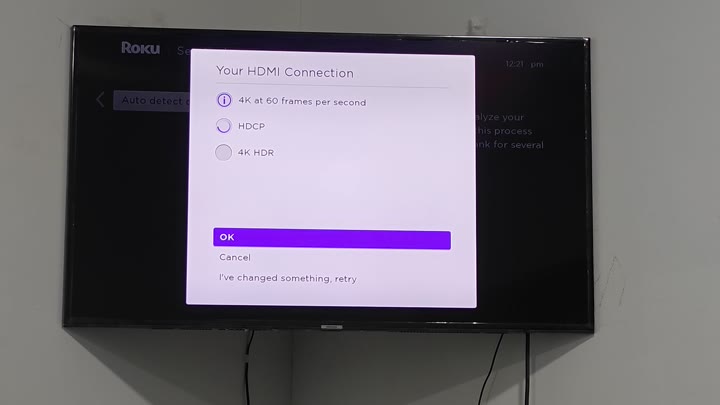
Pressing OK confirms your decision.
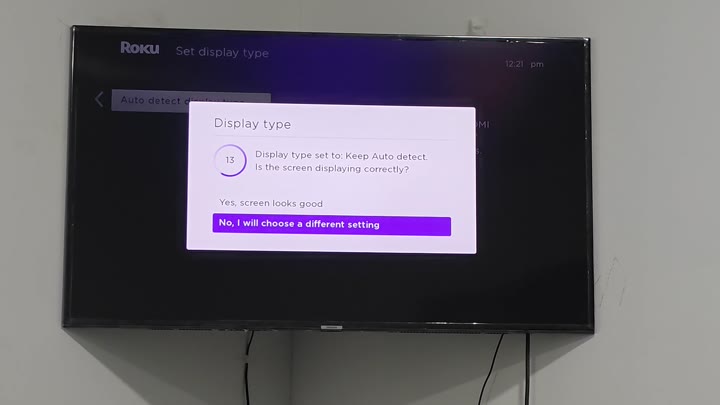
After configuring the video output you let the system auto-detect what kind of display you’re using. It then prompts you with a pop up asking if it displays correctly.
So you check the screen on your TV. You verify that the image appears sharp and confirm the screen looks good. That way you know it’s matching the capabilities of your television so you don’t have to adjust anything more different than the display settings.
To turn it on, you’ll either need to sign in with an existing Roku account (if you have one) or sign up for a new one. You enter your email address into the provided field to create or log into an account.
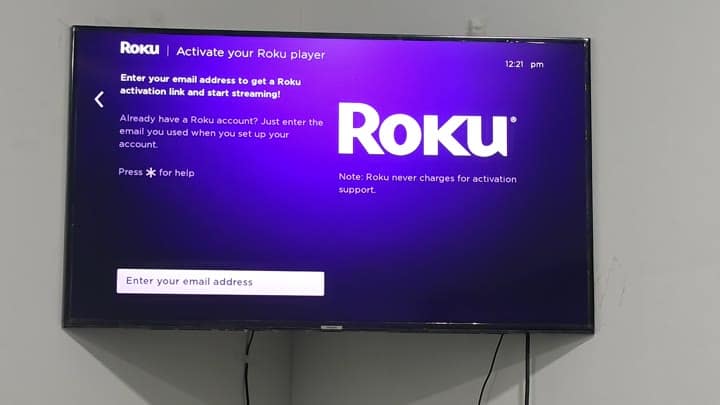
Type in your email address here. Roku will then generate an activation link and shoot it over to that email address. There’s no charge, Roku doesn’t charge for activation assistance of any kind.
Hit “submit,” and await the confirmation message. From there, your Roku hardware is linked to your own personal Roku account.
The device begins updating channels while you wait for the email.
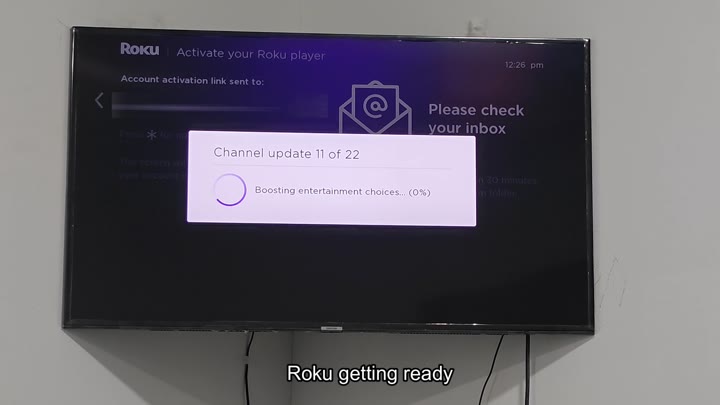
While you’re waiting on that email, the device start updating channels. As it goes down the list of updates, a progress bar appears showing that it’s boosting your entertainment options.
Channel update 11 of 22 now says the system is setting up your collection of streaming services and apps. You open up your inbox and see there’s an activation link, so you click it, verifying your account information.
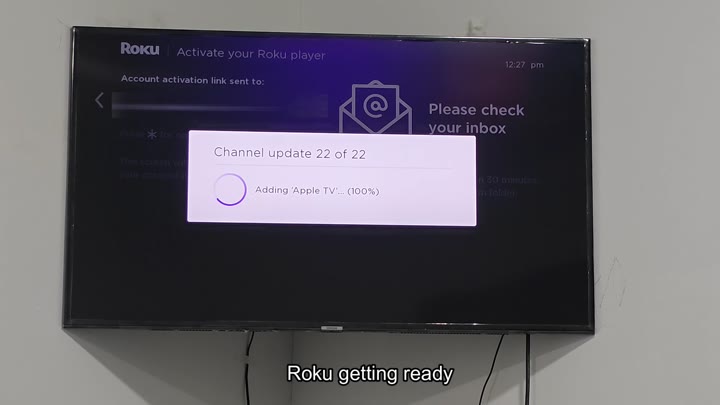
Finally, you complete the channel updates. Channel update 22 of 22 is complete.
The process installs the Apple TV app on your home screen. And now it’s done: 100%. Everything is completely set up. You go back to the home screen, your new apps loads without a hitch and it’s all smooth sailing from here.
There’s nothing left to do but plug it in; you’ve got yourself a 4K streaming machine now.
From unboxing to channel upgrades, everything made sense. It connected and configured itself; all you need to do is sit back and watch TV. It should of been a much more luxurius process, but it works. The device works better then I expected. You can even find better furnitures to put in front of it.
