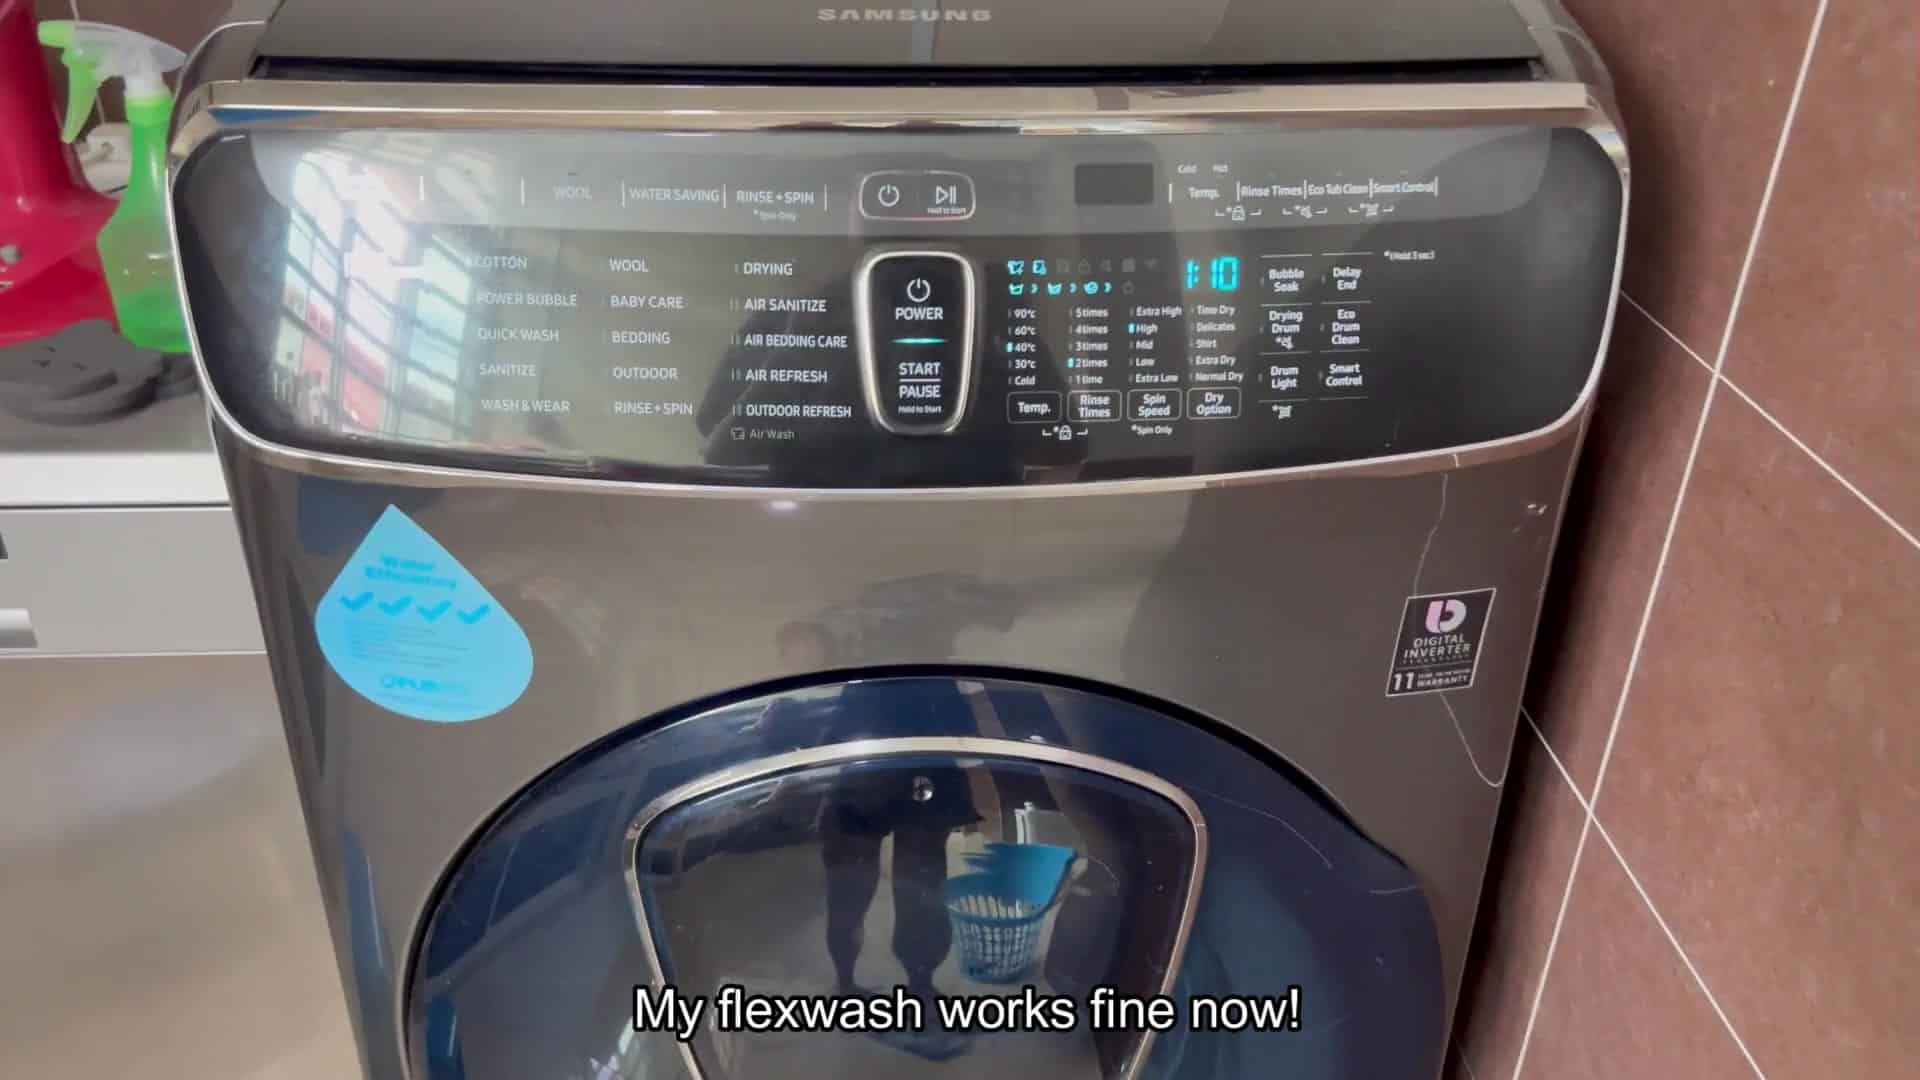
Occasionally, your Samsung FlexWash washer decide to just shut down mid-cycle for no apparent reason.
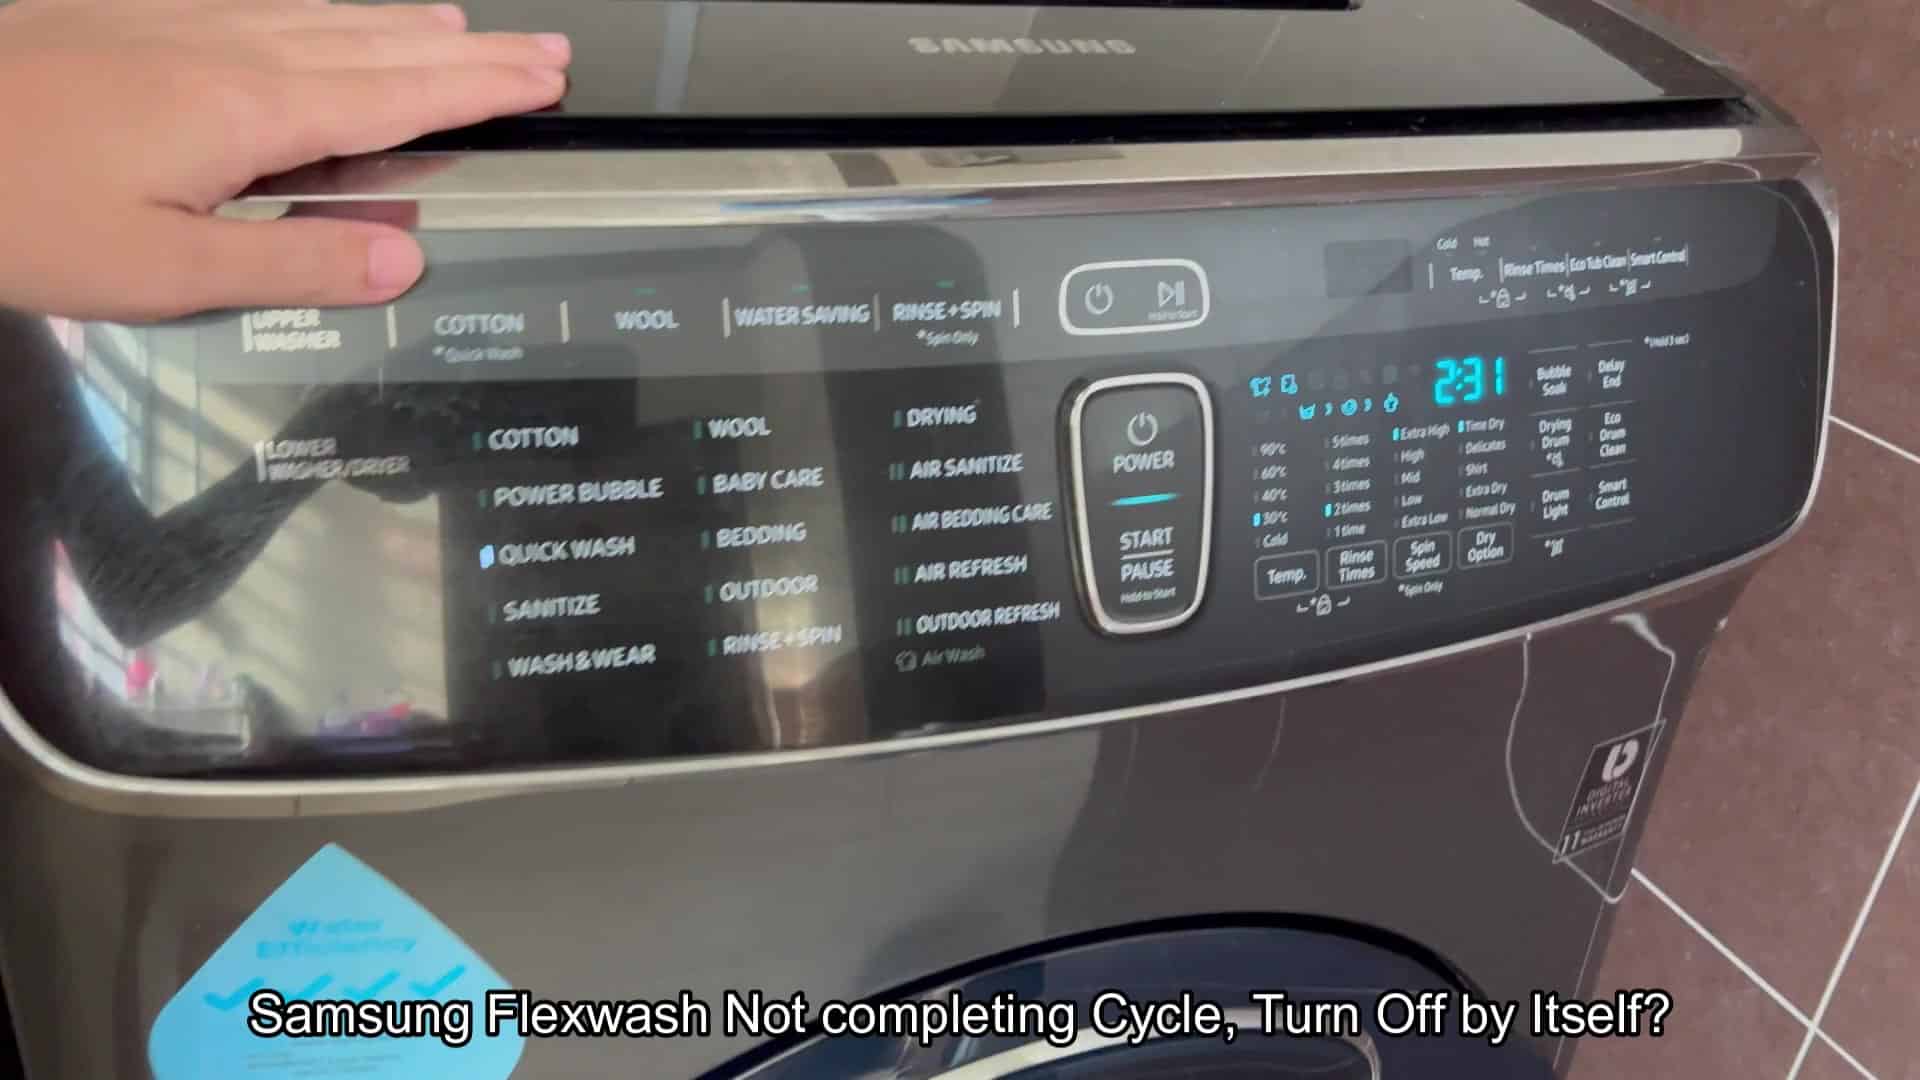
The machine just stops washing and powers itself off, it doesn’t even finish its current cycle. Your washer screen doesnt show any sign of an issue. What gives?
Replacing the Faulty Component
You’ll notice this happens out of nowhere which seems weird…so you think that some internal component must be malfunctioning.
You might do a little digging around and discover that the cause goes all the way back to a failed power module or main PCB. This is the part of washer responsible for distributing electricity throughout the wash system. When it fail, the washer will shut down abruptly but not throw any particular error code on its panel. It’s a case where something inside the washer itself (not on the display) has gone bad and needs diagnosis by removing the cover.
The power module and main PCB is located in the back bottom of the washer. To access them you would have to remove the back panel of the appliance. When they are exposed you will see control board assembly that you can inspect. On first glance they appear standard. They are standard components with a typical layout for the circuitry. A closer look might show some indication of physical damage to one particular board.
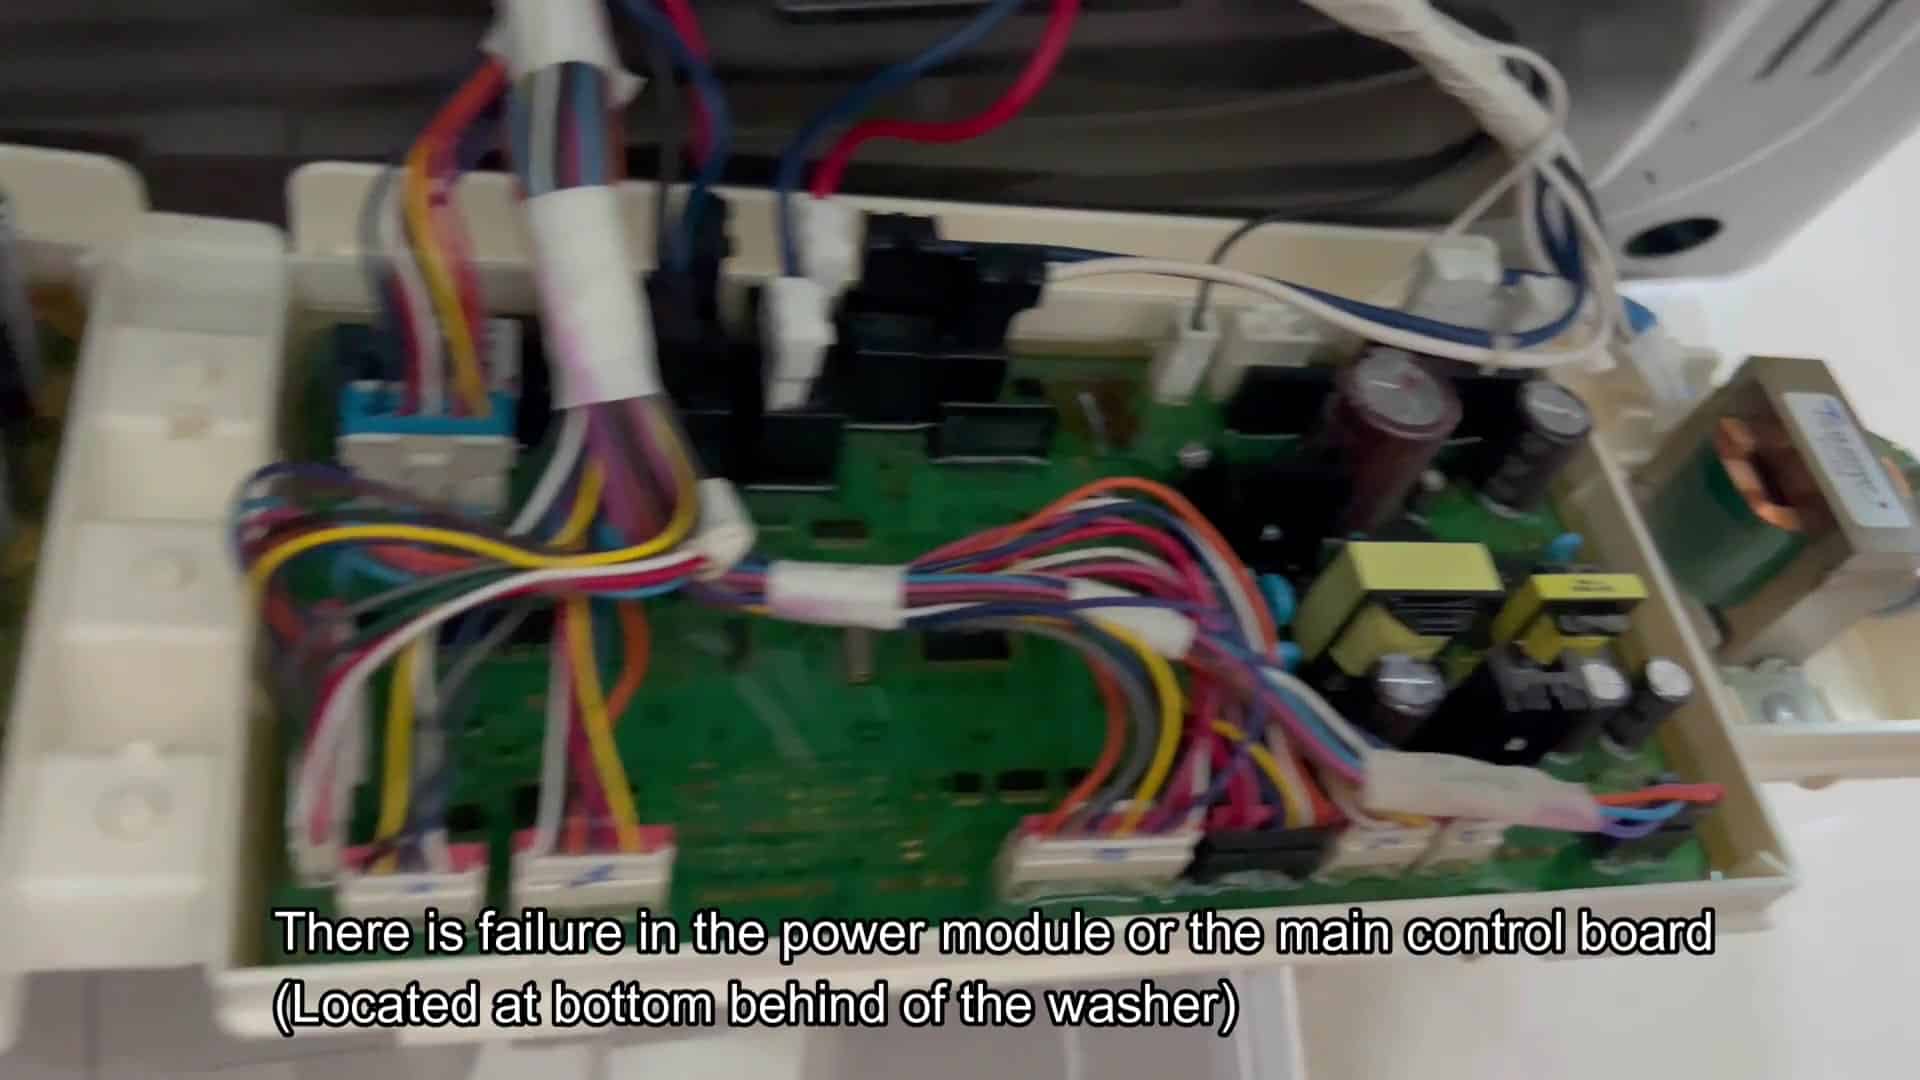
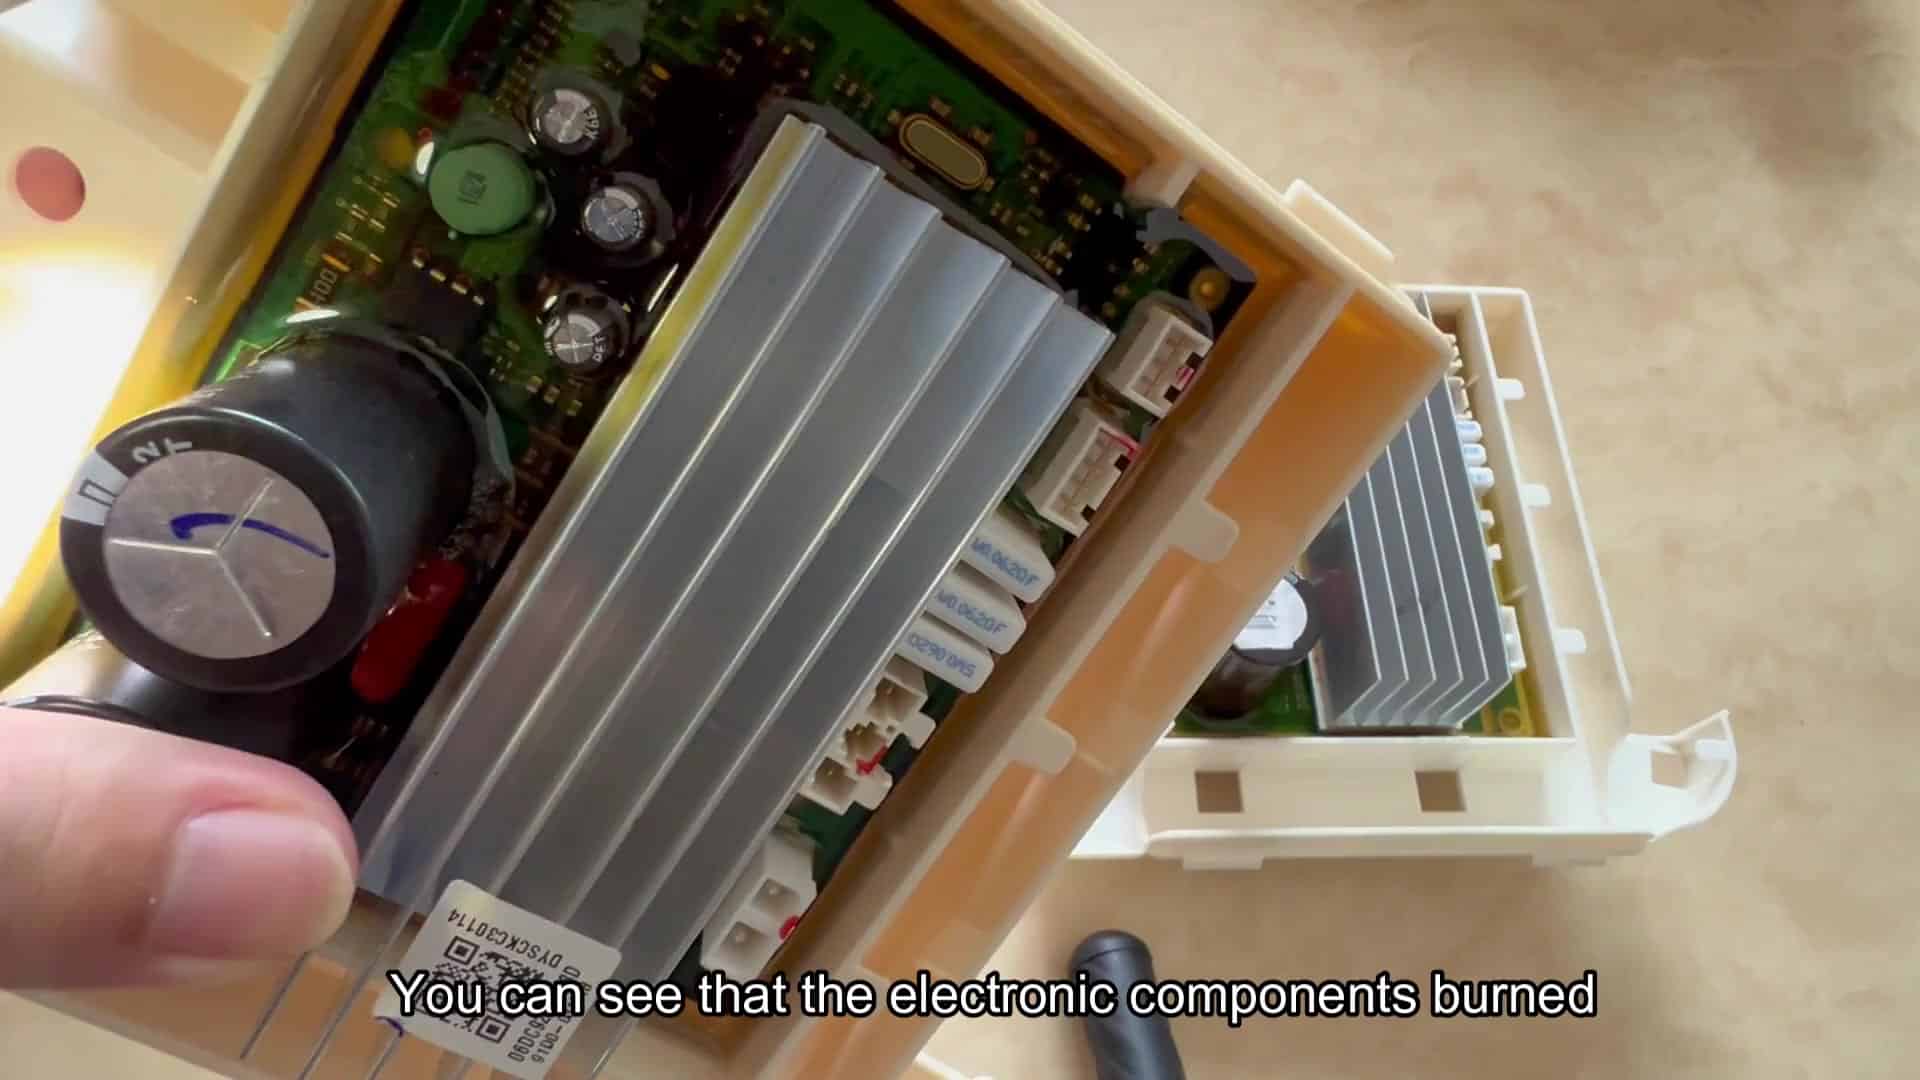
However, the problem could just be the power module itself. If you look closely at that circuit board, you can see burn marks on it.
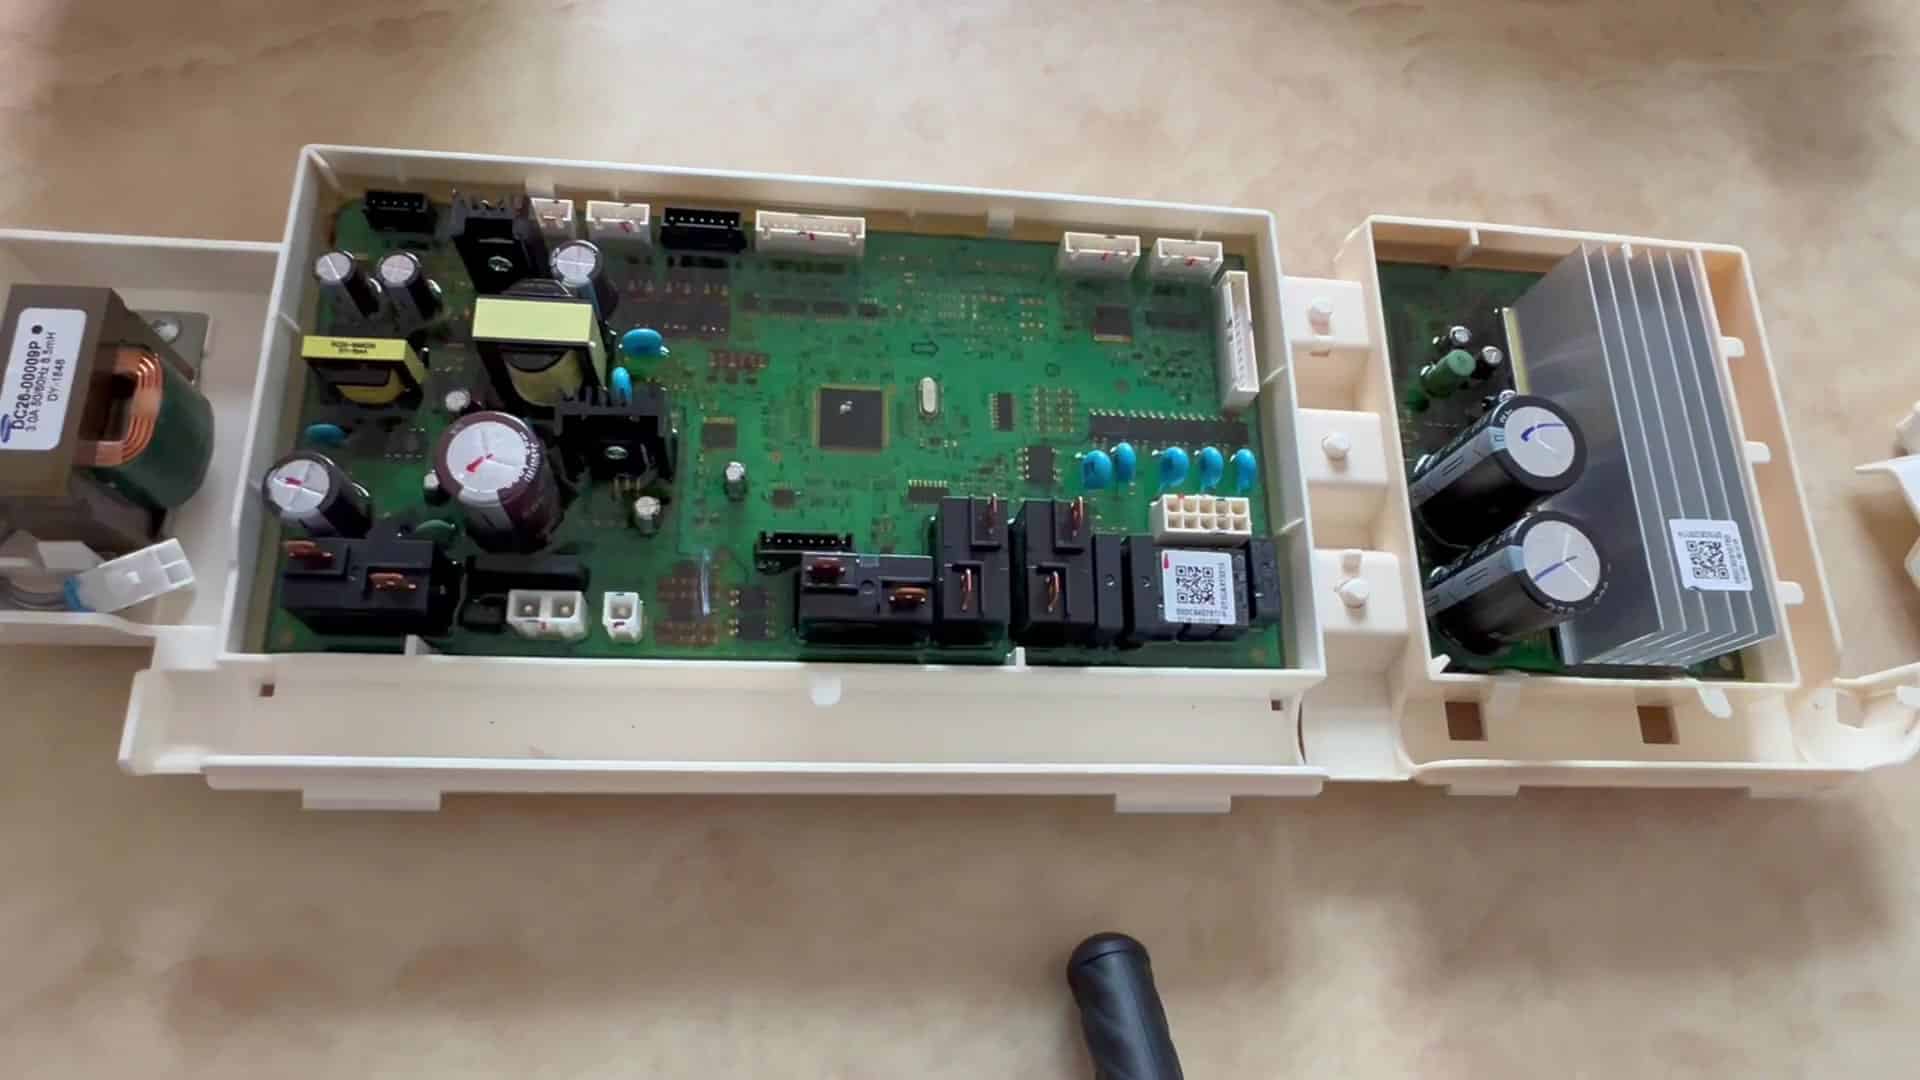
Obviously, the electrical components has been subjected to excessive heat and scorched. This isn’t good. You’ll notice a sign of an electrical issue with the power module here as well. In other words, the power module have suffered an electrical stress failure. This causes your washer not to function but there is no digital error indicated on the display.
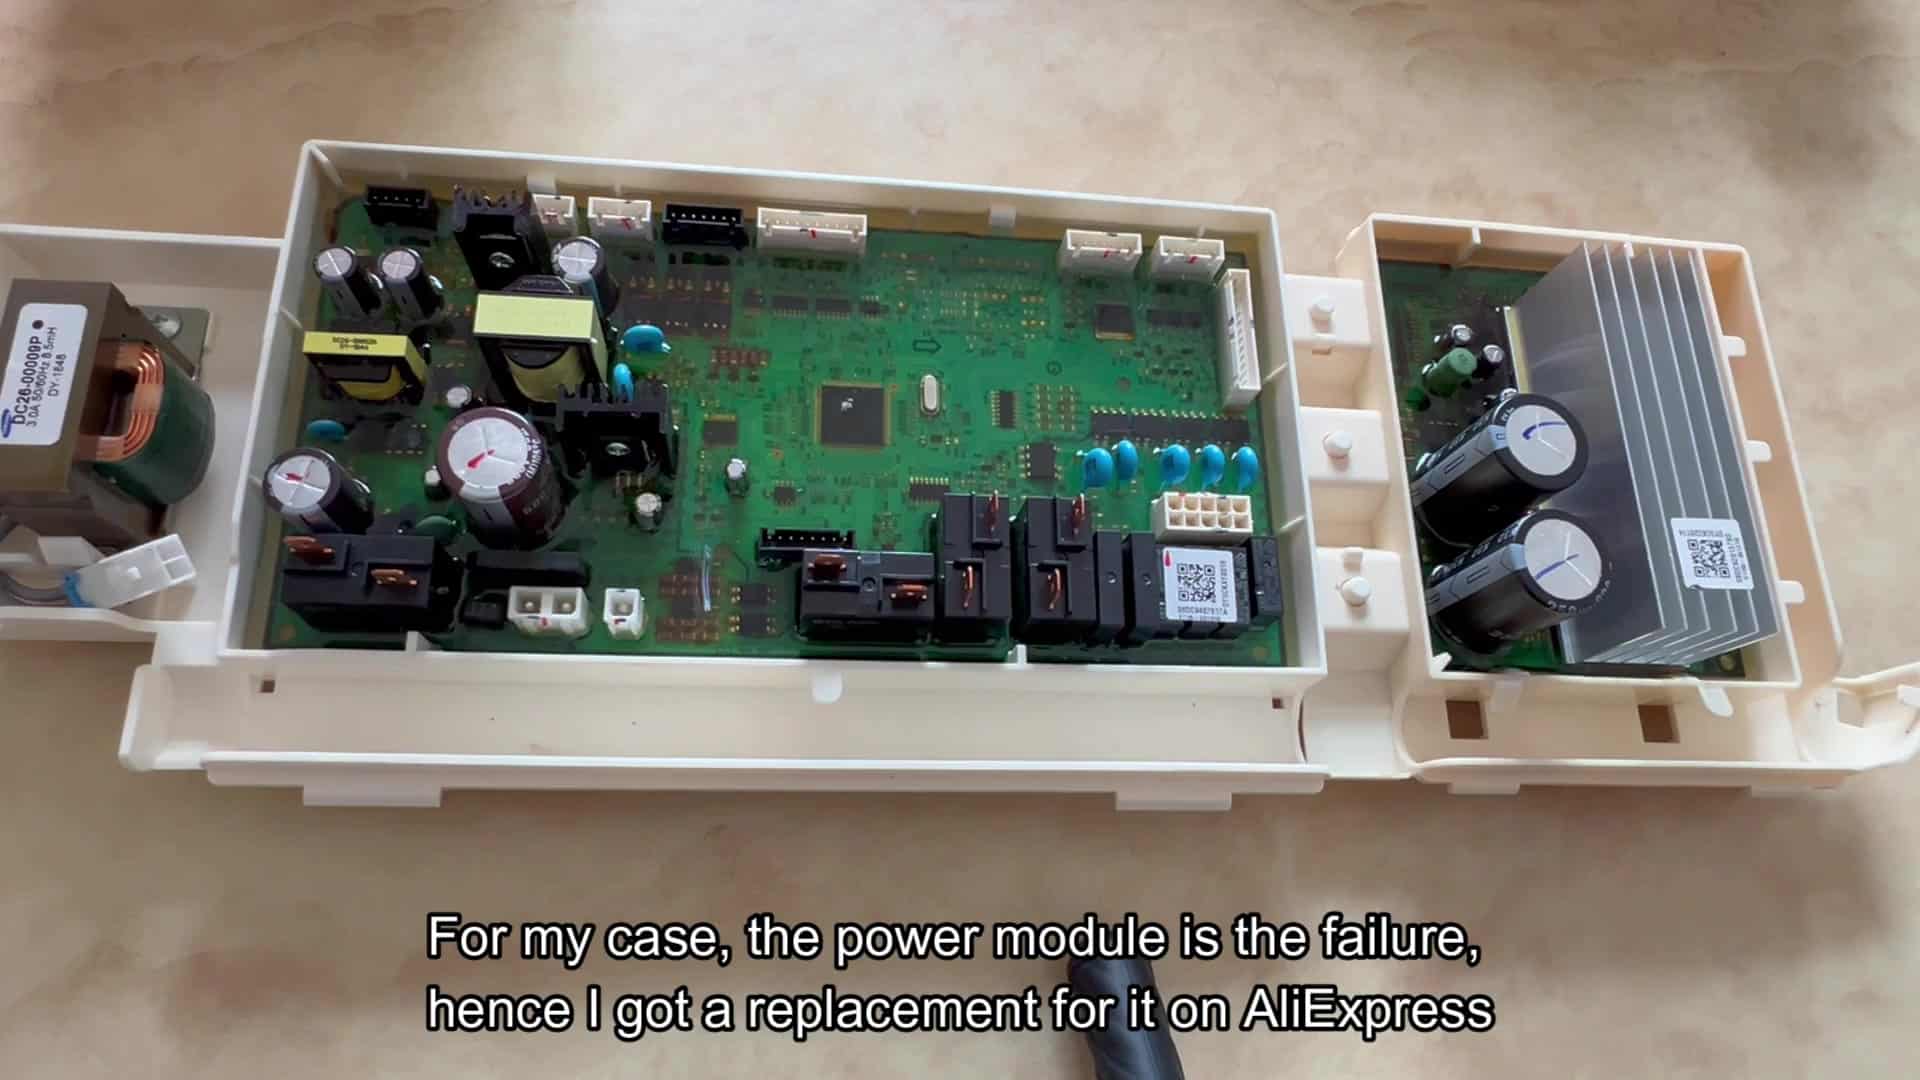
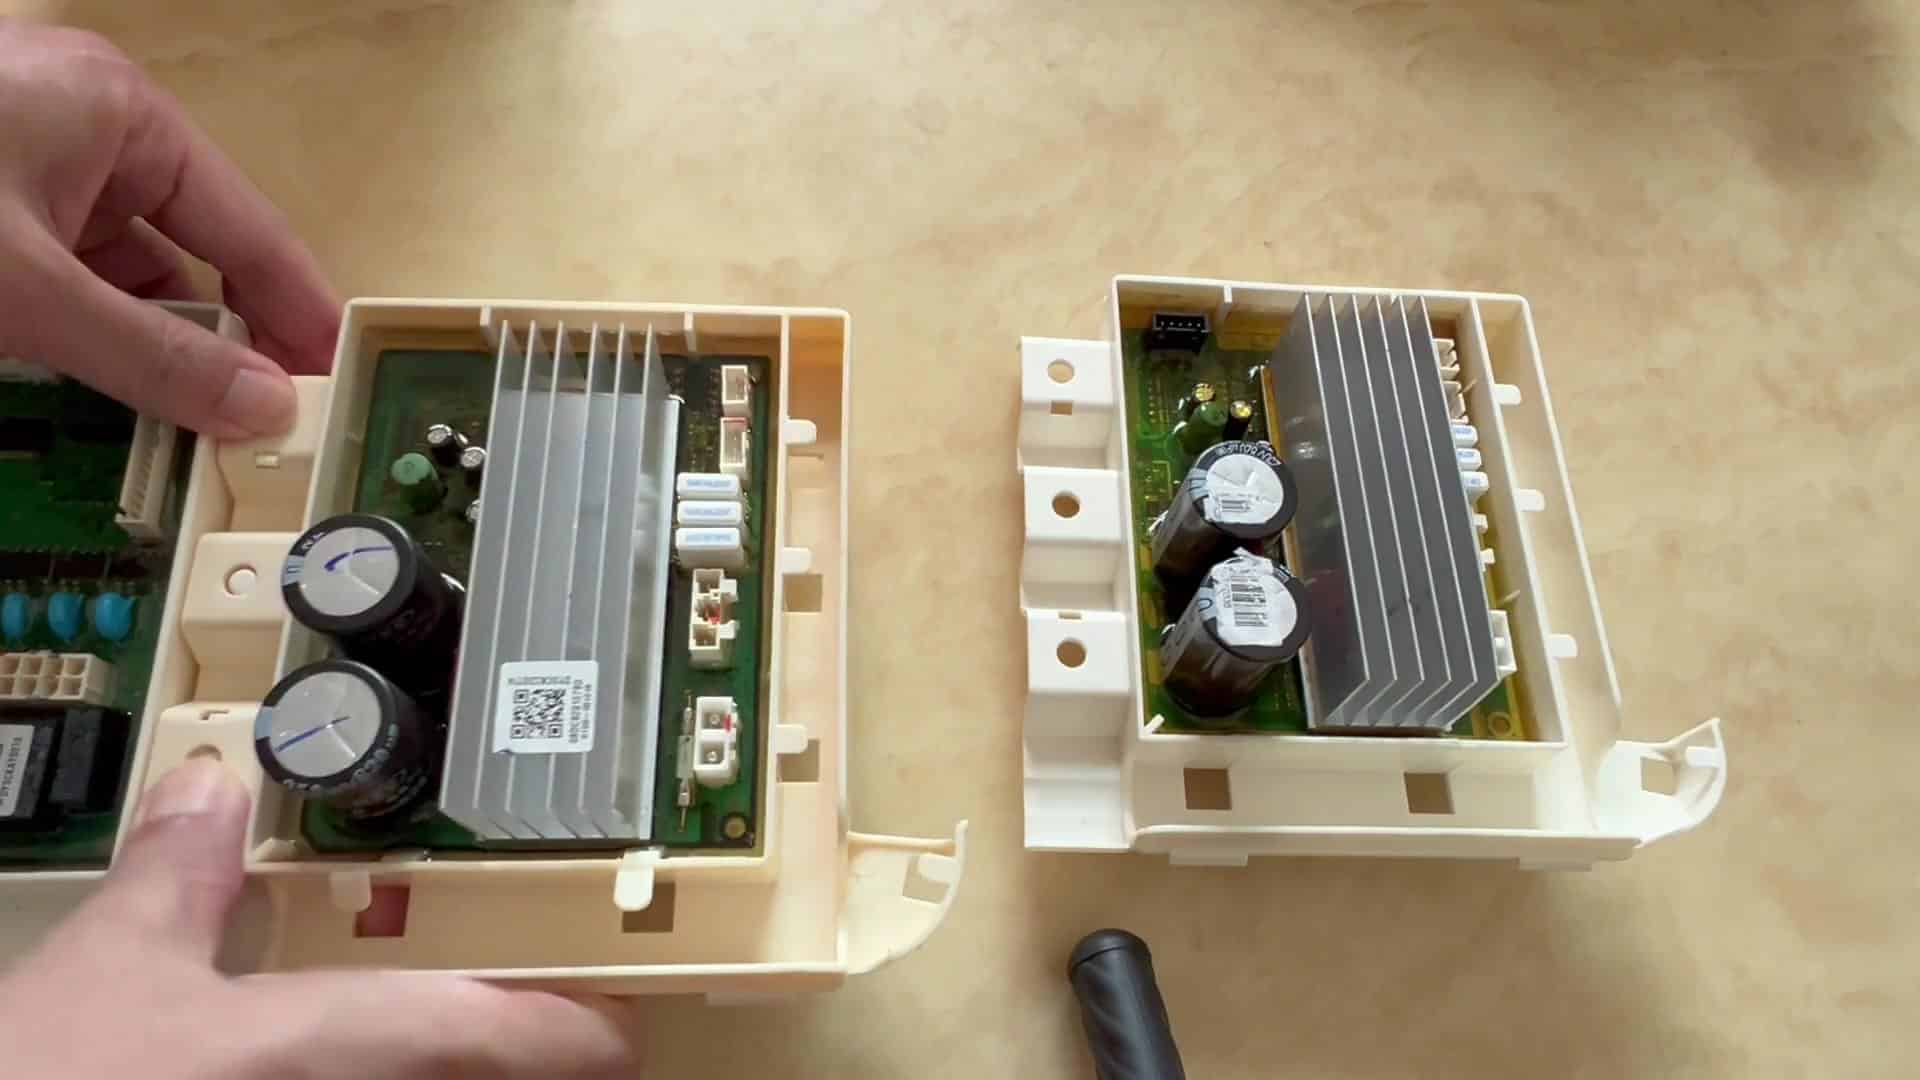
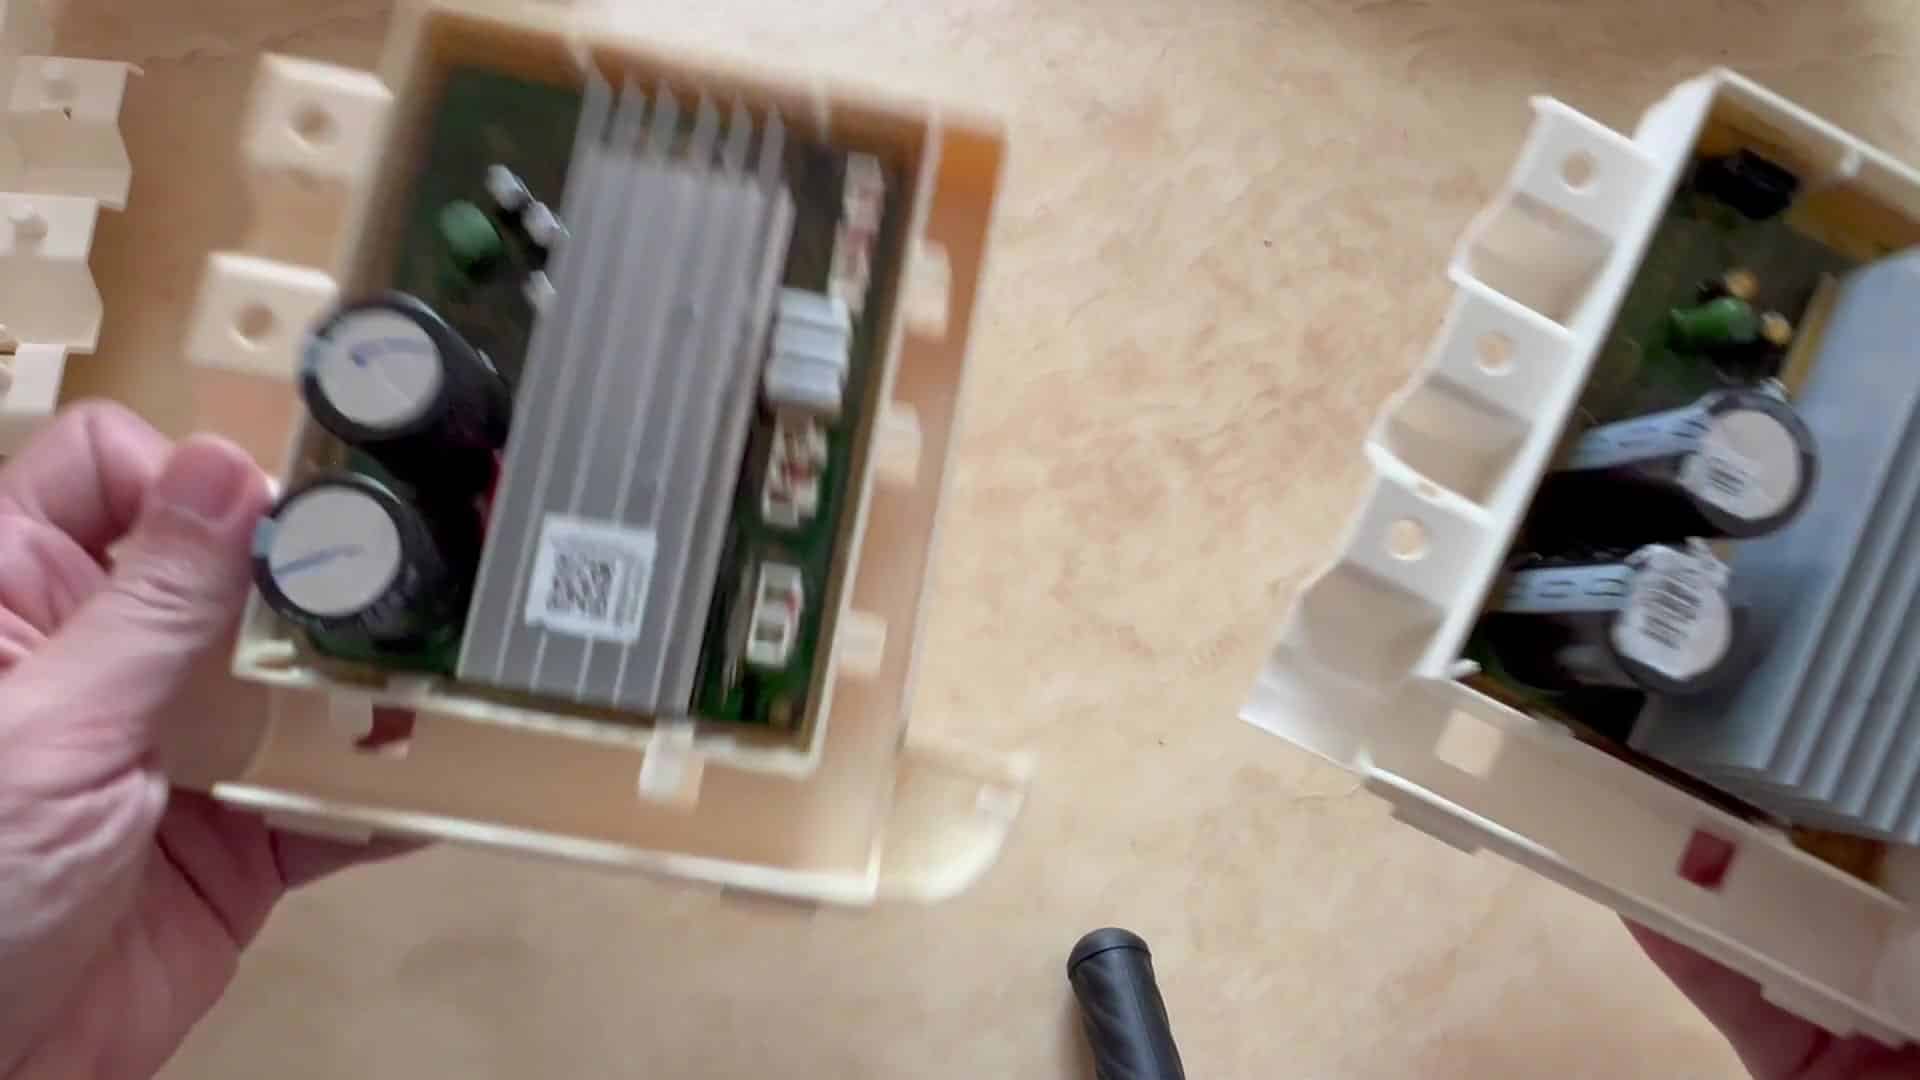
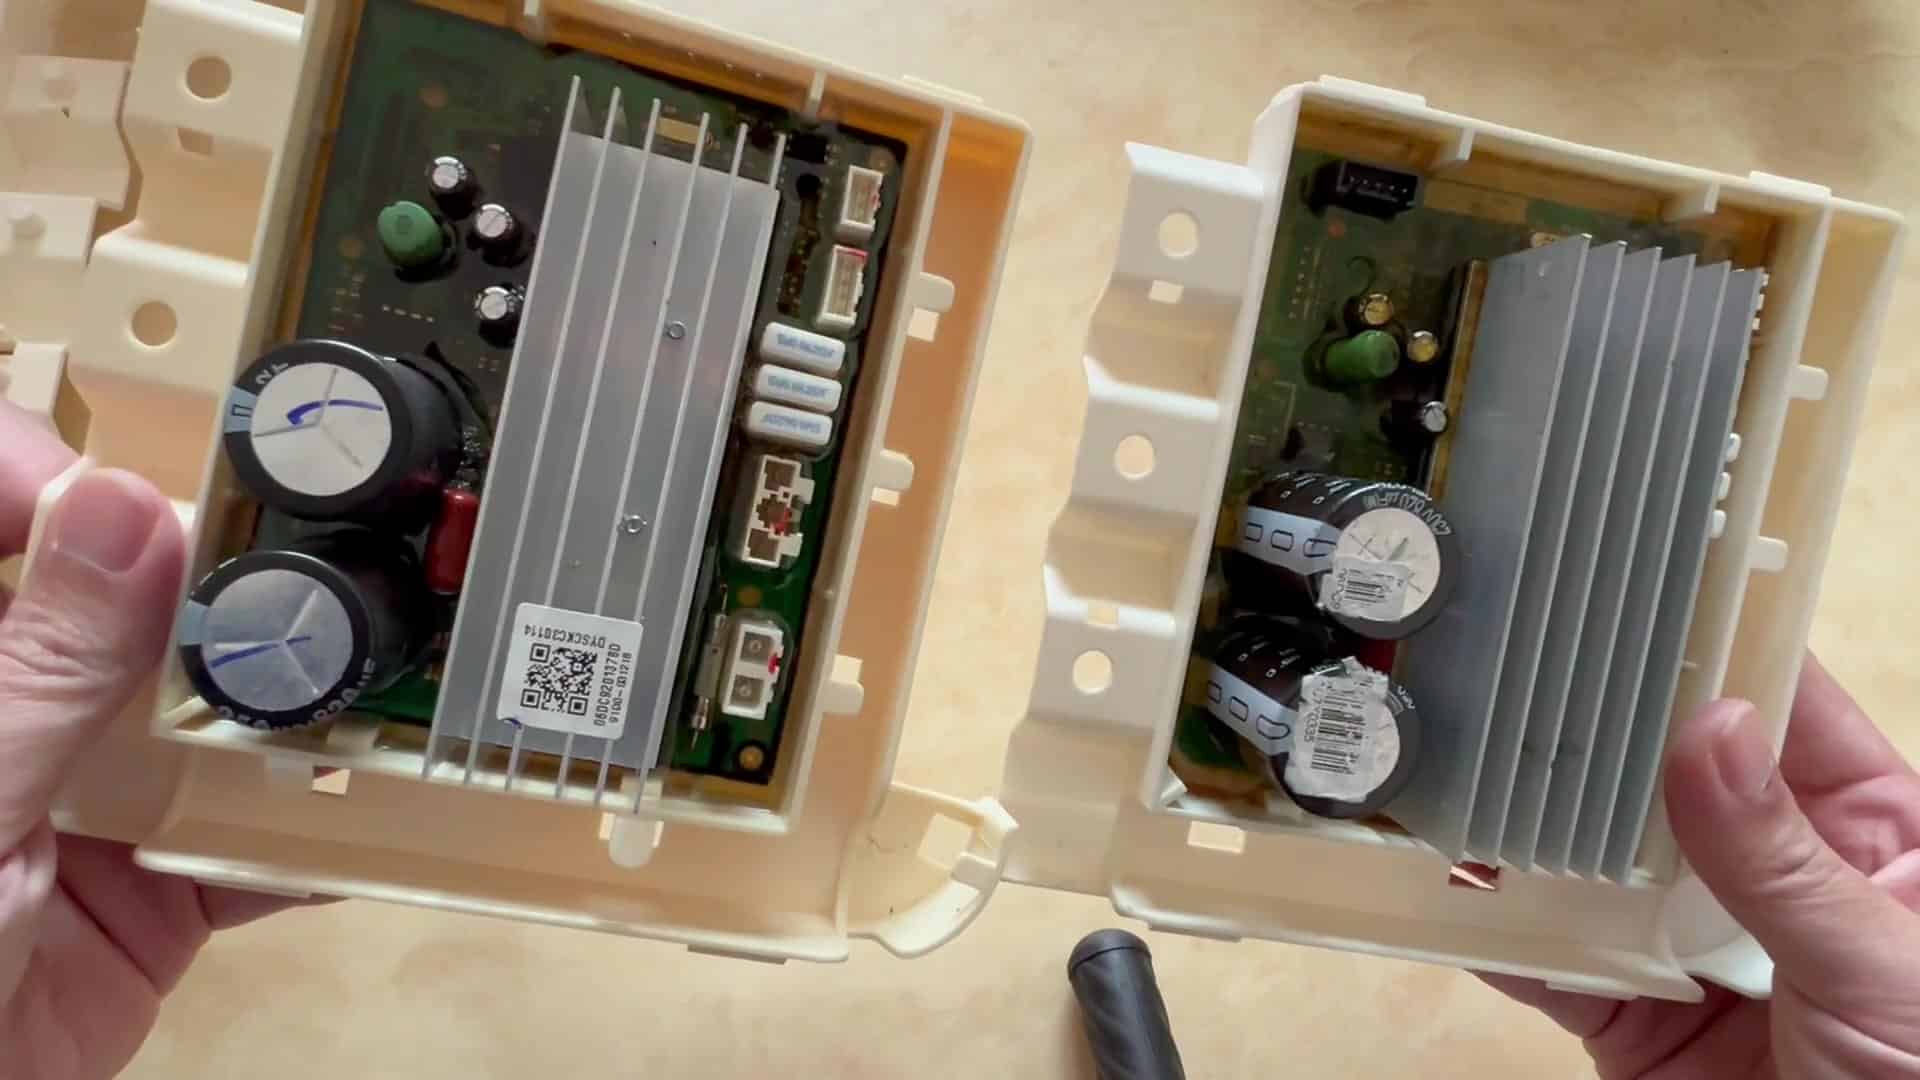
For reference, I took a before picture of the old board next to one of the replacements. You can see how burnt the traces are on the original board compared to the clean condition of the new board. Notice also the discolored heat sink/capacitor assembly. It’s clear why this board needed to be replaced. There was no way I could safely or reliably repair the burnt traces.
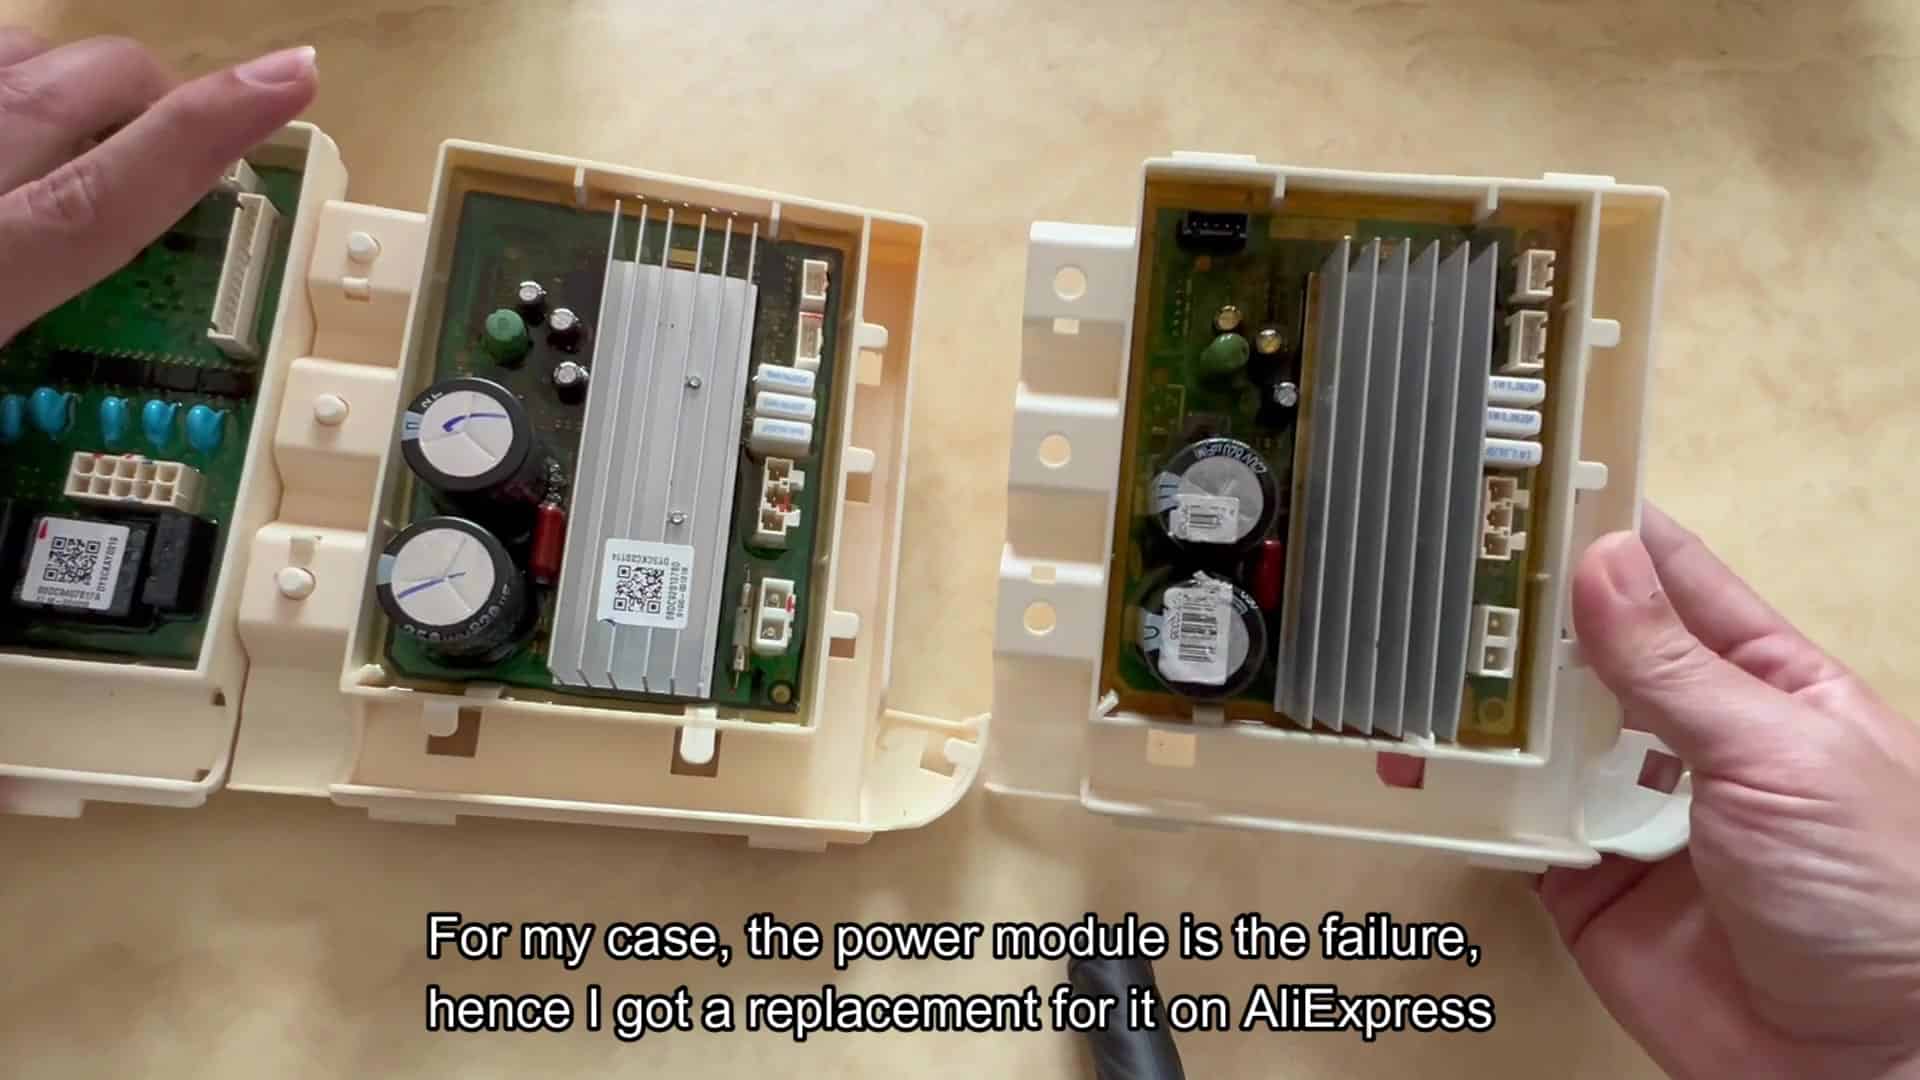
The solution? Order a new power module. To do this, you’ll need to go online and order a part (I got mine at an online store, much cheaper then buying from Samsung). It ships out and arrives just fine. All connectors is there and the new module should be in good shape. Just take your time when removing the old wiring harness. Everything else goes together easily once you’ve replaced the module and put back panel back on.
When you look at this board, it’s pretty clear what happened. There are burn marks around the big capacitors as well as where they mounts the heatsink. All of these burns are due to some type of voltage spike or short circuit. You can’t really clean or repair this kind of damage. All you can do is replace the whole module.
A side-by-side view of the two boards with their respective modules held in place makes it obvious which one suffered a setback. The old one has scars where it failed and the new one is pristine. It appears to be structurally sound and all solder points is new. Now you know you found the right damaged component. The next step is to proceed with installation.
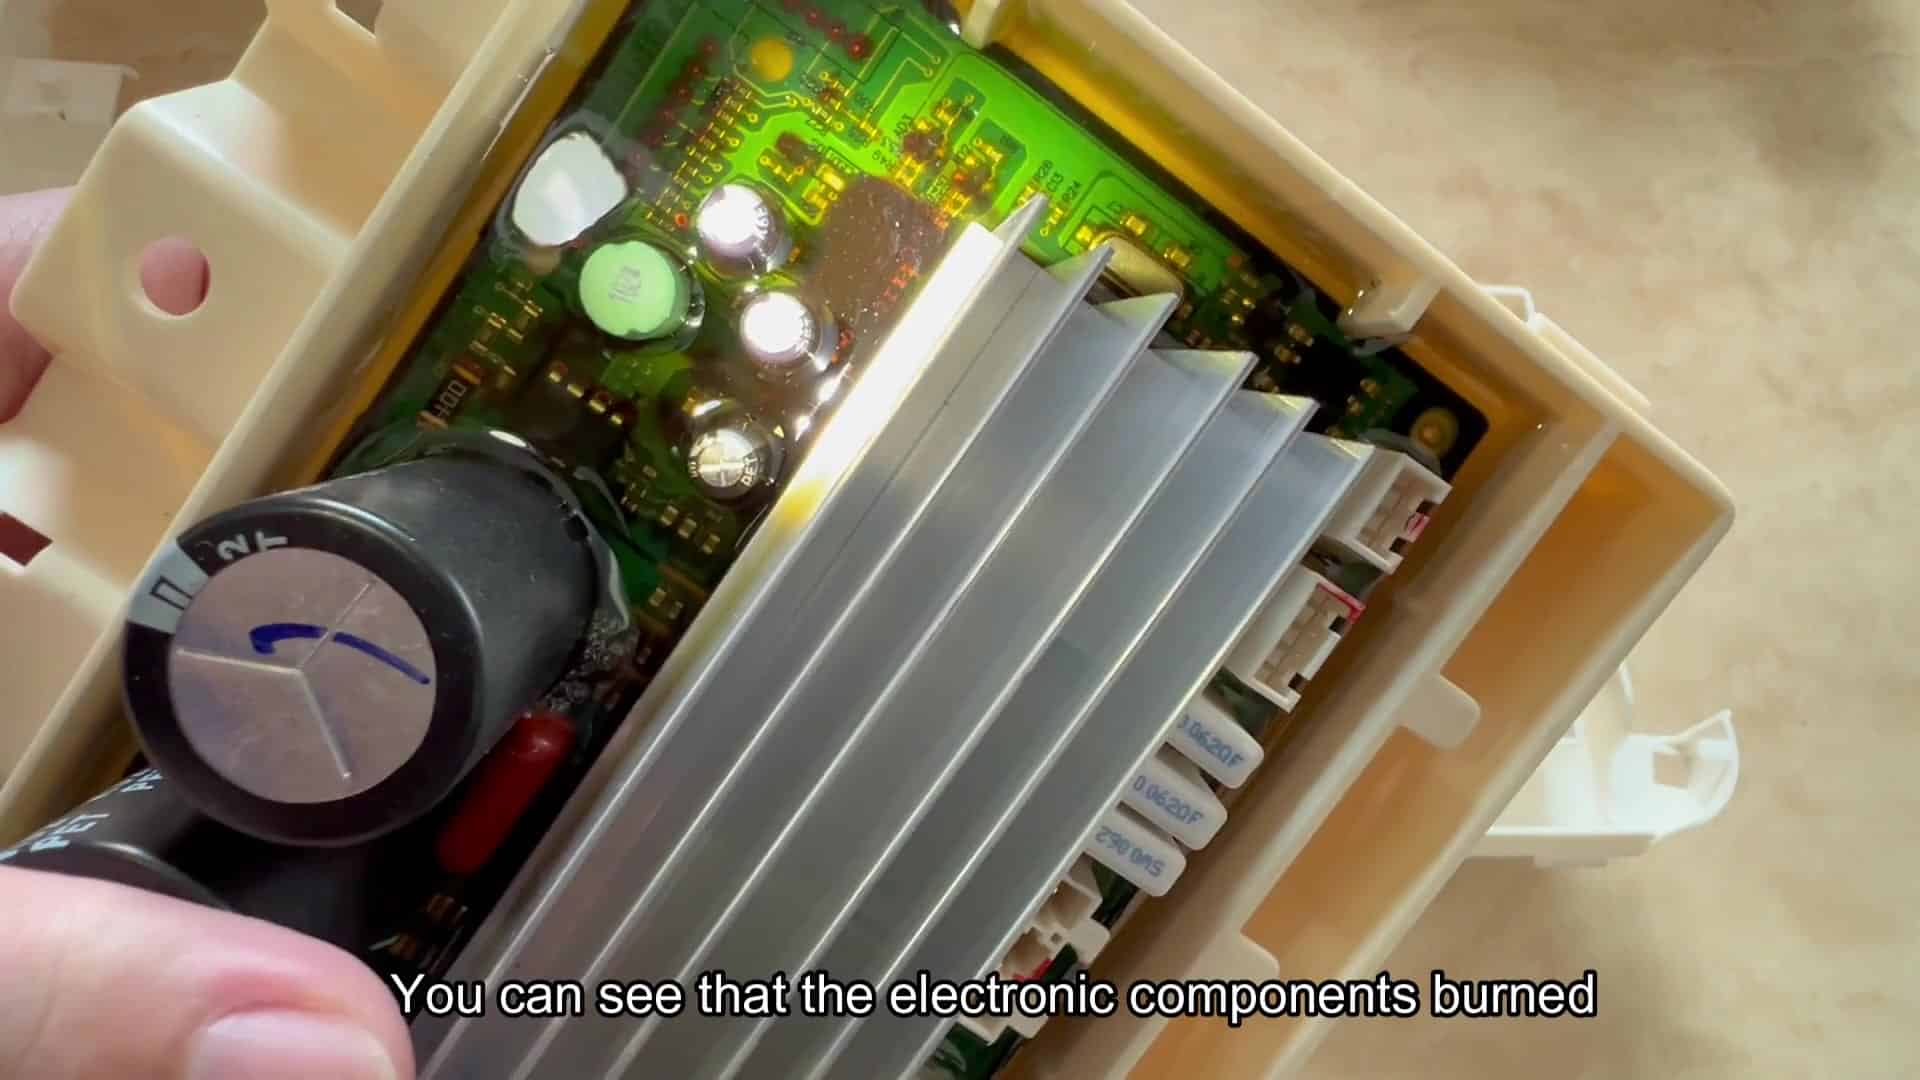
If you look closely at the control module housing, it’s just plain old white plastic. All of the electronics that make things happen live on the green PCB located within. The small connectors are well labeled so you can wire them correctly to each motor and sensor. When putting back together, it’s important to make sure everything seats completely. You don’t want any loose connector as that can create problems down the road too.
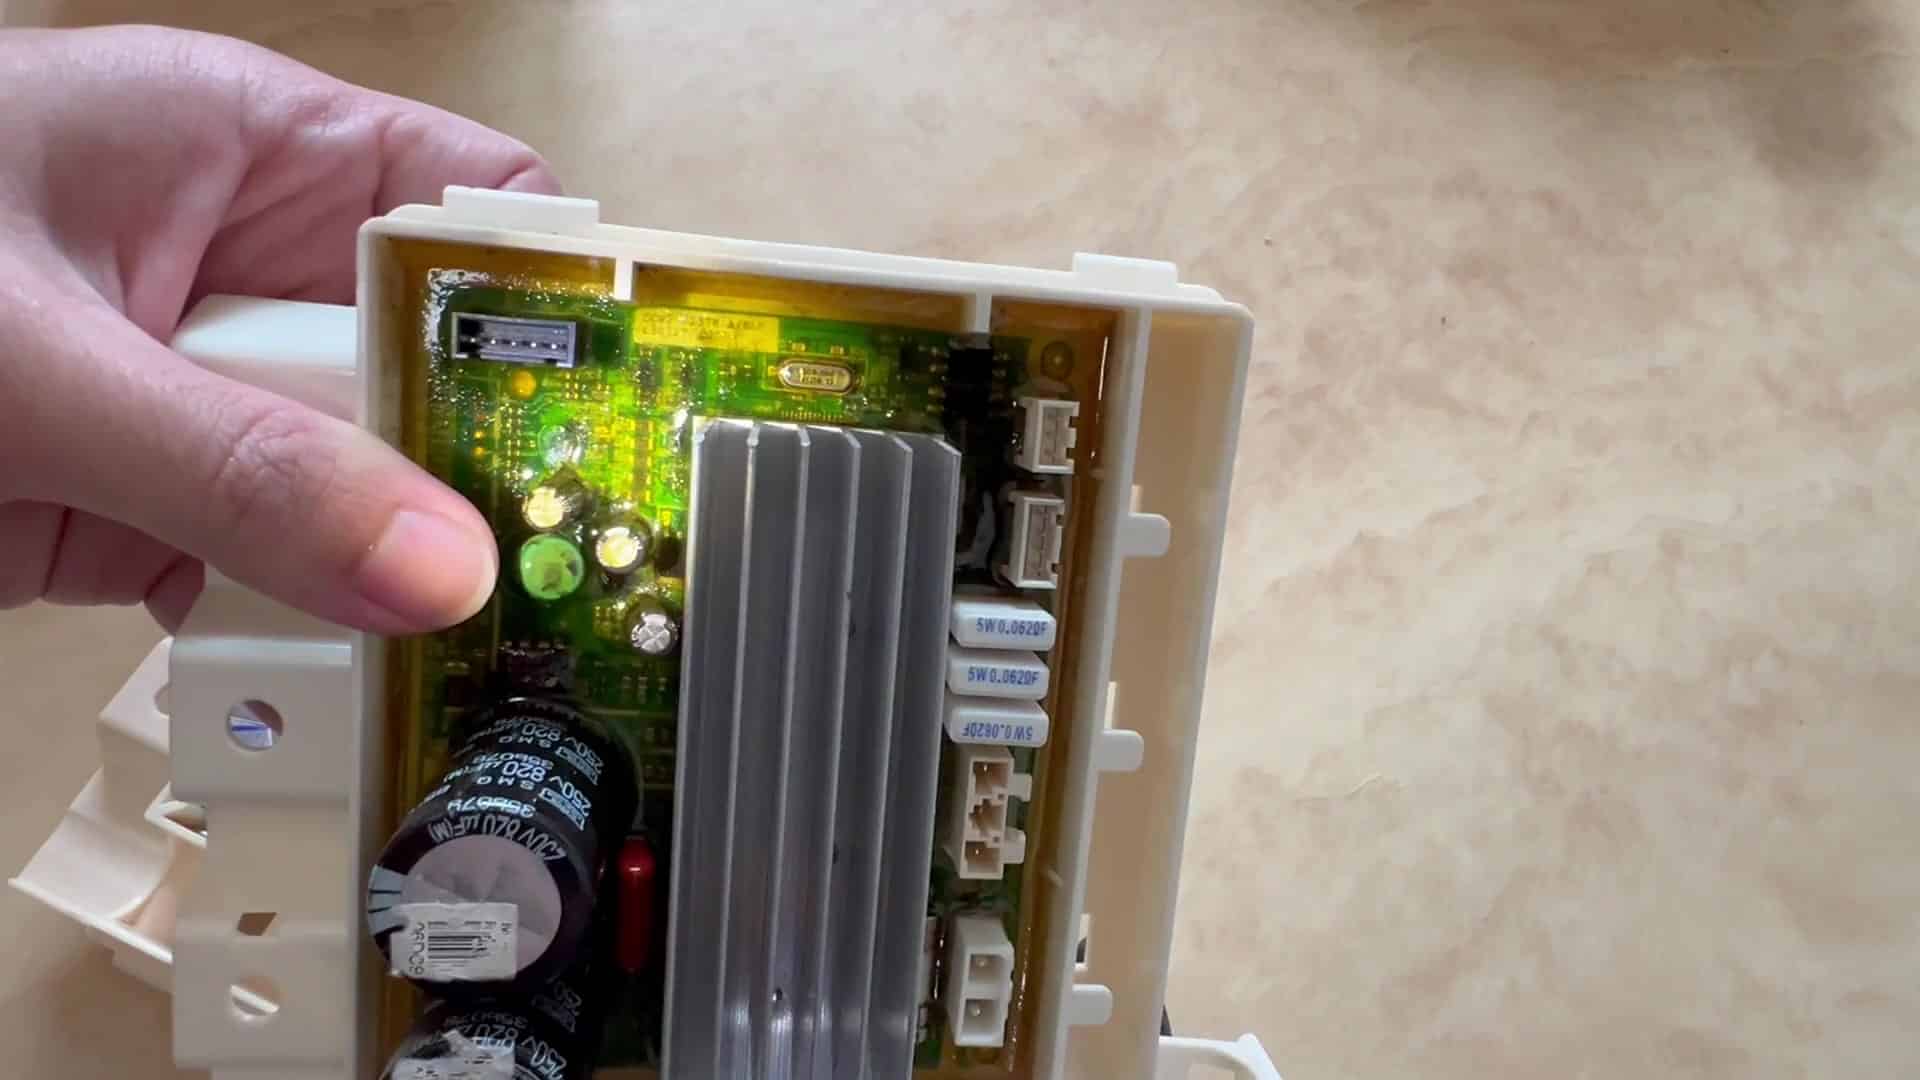
To install, simply reattach the appropriate wiring to the new module. All connectors has their specific position on the circuit board where they attach securely. Ensure each plug snaps tightly into place in its spot. A good contact free of any arcing is only ensured by double checking your connections. Taking care now saves you time and keeps it working well.
Remove the old power module and replace it with a new one making sure that all your wires are connected properly. Tuck it all back into place behind the rear panel which will now cover up everything inside. Snug fit everywhere. Make sure no loose wires is hanging out. Looks like nothing happened on the outside of the washer. Time to turn her back on to see if the solution to the mystery shutdown works.
After replacing, you can continue using your FlexWash just like it was never broken. No more error messages, no more halting in the middle of a cycle. Your washer starts and ends each load perfectly as intended. All-in-all, this repair brings your laundry process back to normal.