
Let’s get started. You open up the Tapo app and now you’d like to add another camera without having to do any more work. It all seems pretty easy since it uses interface you’re already familiar with.
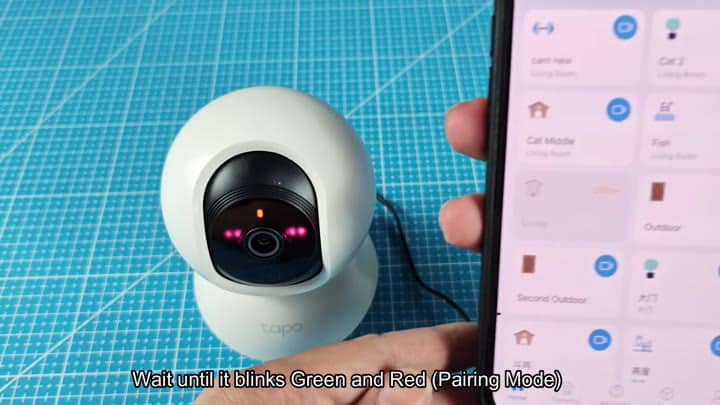
You tap the Plus button on main screen, and you select Add Device from the menu. You choose Camera next. The app searches for nearby devices after that selection.
Completing the Camera Setup
From the main screen, you tap the Plus button and then choose Add Device from the menu. Next you choose Camera. Then the app start searching for available devices.
Before your camera will appear in the list, however, you need to place your second camera in setup mode. To do this, indicator light will blink red and green to show it’s ready.
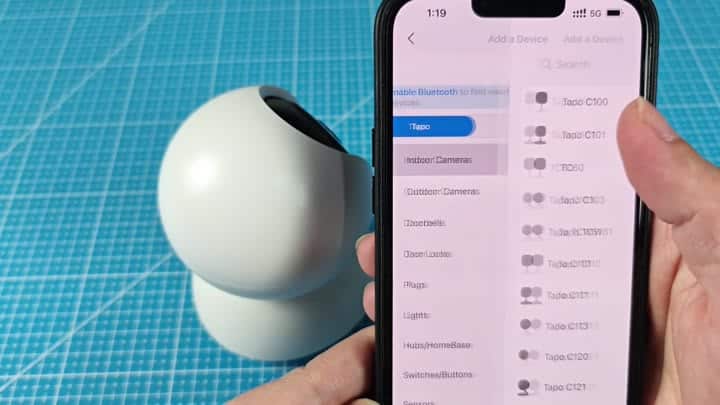
As you can see, those are configuration colors, meaning unit is waiting for you to set it up. The system actualy auto-pairs and doesn’t require a bunch of pairing code.
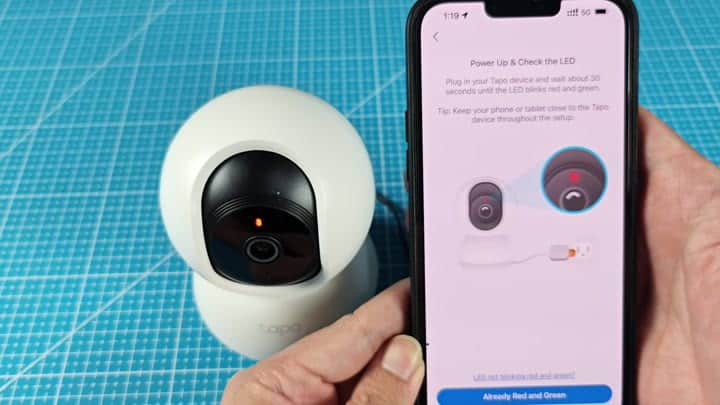
You’ll go through the exact same process you went through when setting up the first camera. No secret menu items, nothing special on second camera. You goes through network connectivity and power checks exactly as you did previously. That’s a welcome consistency; other than that it would of get annoying.
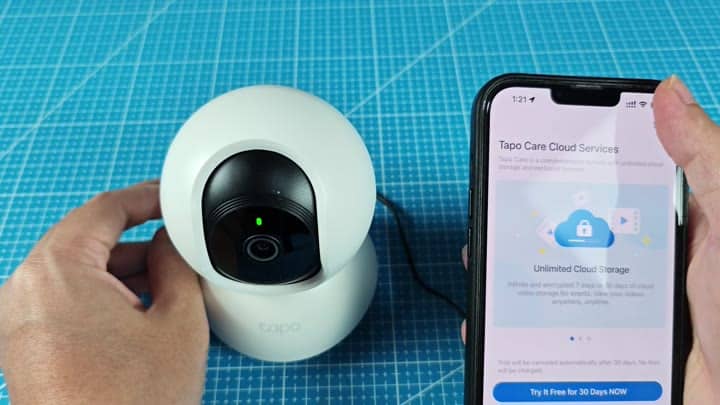
Setting up is fast, it connects to Wi-Fi without much fuss and once configuration is done, you can test the video stream immediately.
Since you’ve set this up before on one of your cameras, there’s no learning curve whatsoever for second one. It take only minutes to duplicate what you did the first time around; no more fiddling, no more wasting time.
Soon enough, you’ll have several view from the app.
