
Setting up your Tapo camera on WiFi could not be simpler. It’s almost as easy as changing the network and you’ll get the hang of it in no time without any real hassle at all.
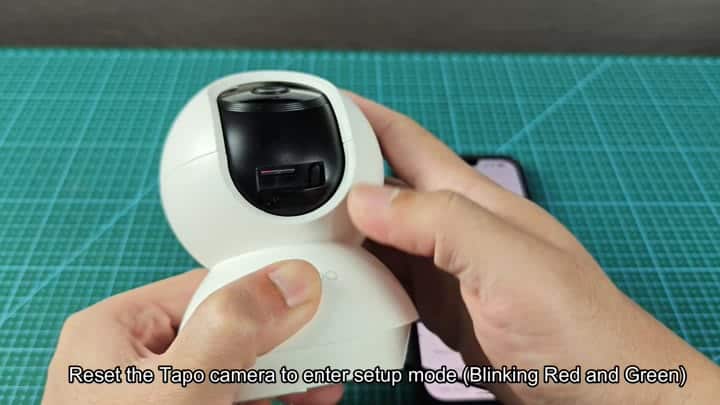
The first thing to do, though, is set the device back to its factory state. Hold down the button on the base unit and it will enter setup mode, indicated by LED beginning to flash both green and red.
Changing Your Network Later
Next, open the Tapo app from your phone. On the main page, tap “Add Device.” You will see a list of available models… Choose the one that matches your camera.
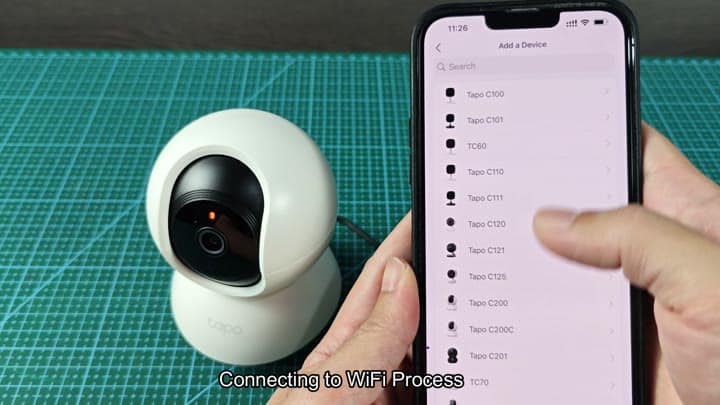
It then brings up a prompt asking for you to link using your phone’s settings. It seems odd at first since it want you to disconnect from your home WiFi.
But you end up going into your list of networks and find the Tapo_Cam signal that pops up as one of the available ones.
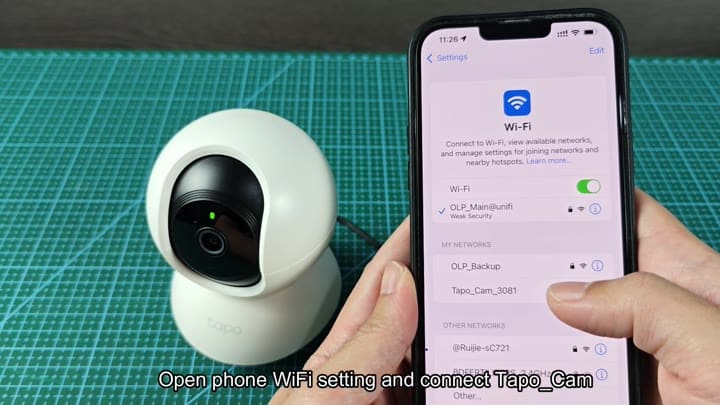
Without connecting to the Tapo_Cam signal, you won’t be able to connect and continue with setup.
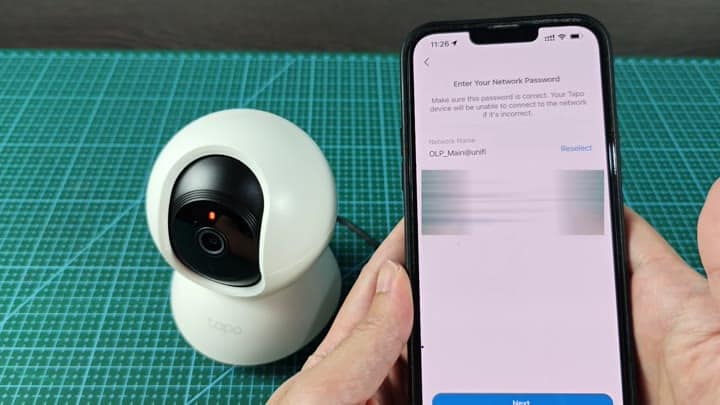
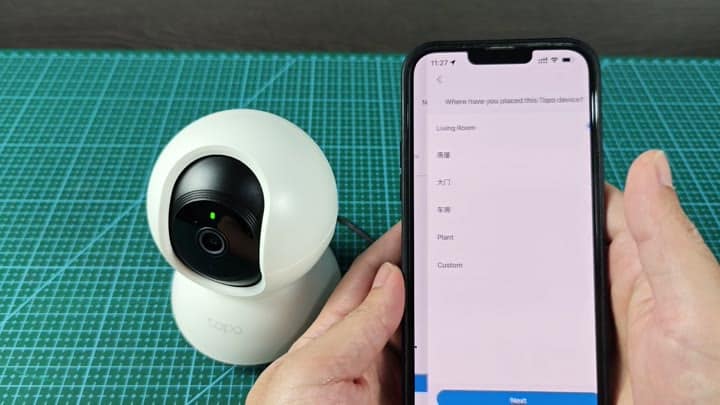
After linking, it walks you through the rest of process. It prompts you for the password for your home network, then shows you an interface to select the room you’ve put the camera in. There is options like Garage or Living Room; you’ll choose one.
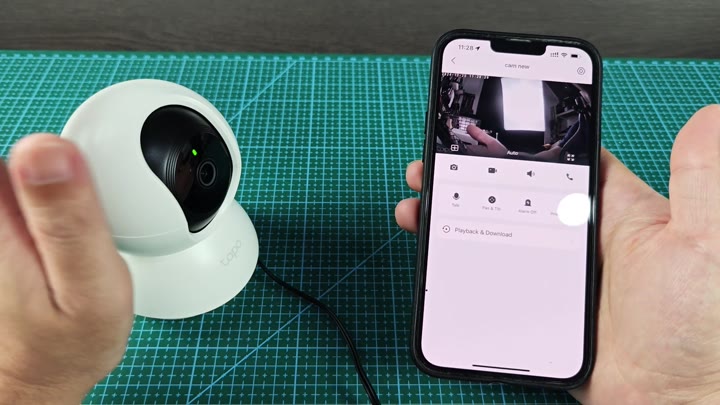
A few seconds later, the status light will go solid green and within moments your phone should show a live feed of whatever is being picked up by the camera.
Works immediatley and stays connected.
No mistakes here though.
If you need to switch your WiFi network at some point in the future, do the same thing as above. Add, reset, reconnect. Easy peasy. It doesn’t get complicated more then that, and that makes a big difference.
All-in-all the process is quick and painless with no potential snags because you’re prompted throughout. Now it’s online and ready to be monitord.
