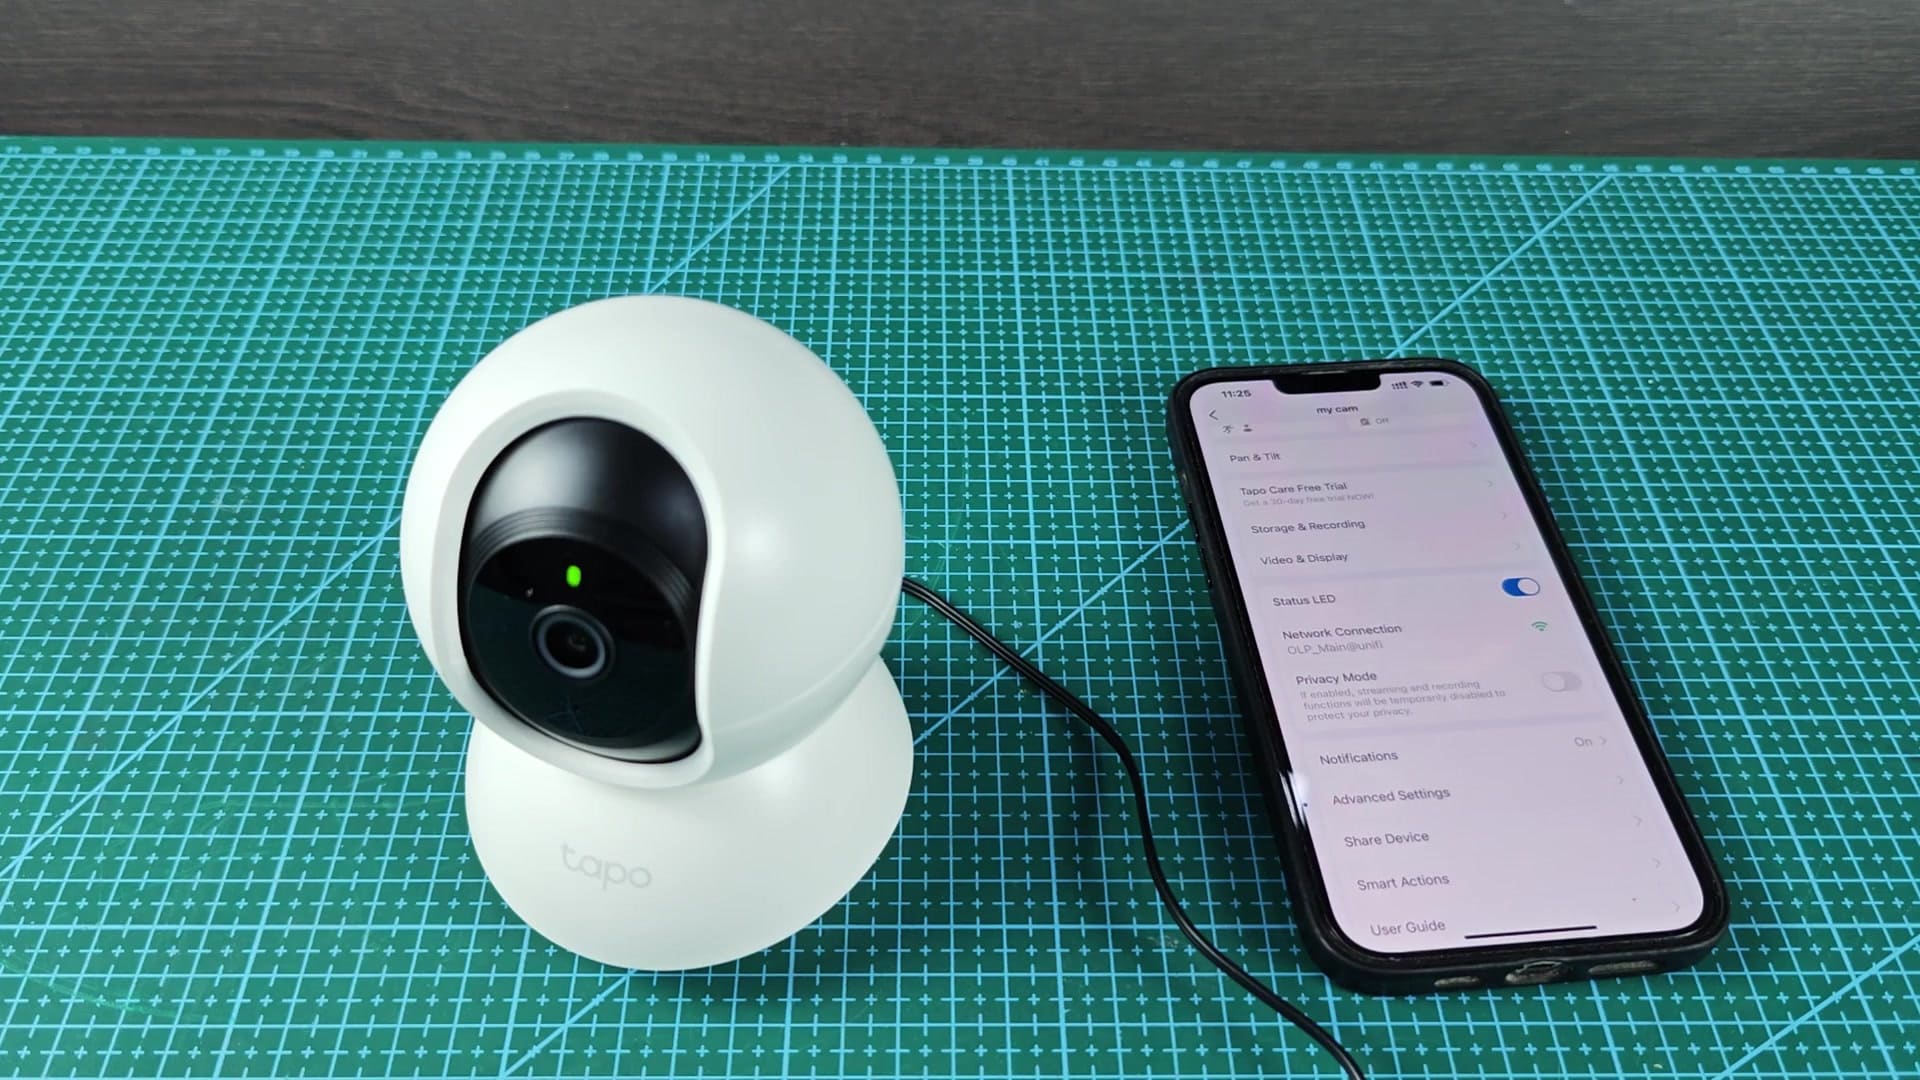
The reset button isn’t exposed on front of the camera, so you’ll need to get behind it and use back panel. No reset button appear either on base ring or lens housing of Tapo device.
To locate appropriate port, you’ll need to fiddle with actual hardware. There’s a proper way to do this, otherwise you may not completely restore your Tapo camera to its factory settings.
Physical Reset Procedure
Rotate the camera head up so that you’re looking at rear of unit. Here, you’ll find a sunken reset button flanked by microSD card slot. The button is hidden to avoid accidental resets while the camera are in use. Find tiny hole first if you want to start your reset process.
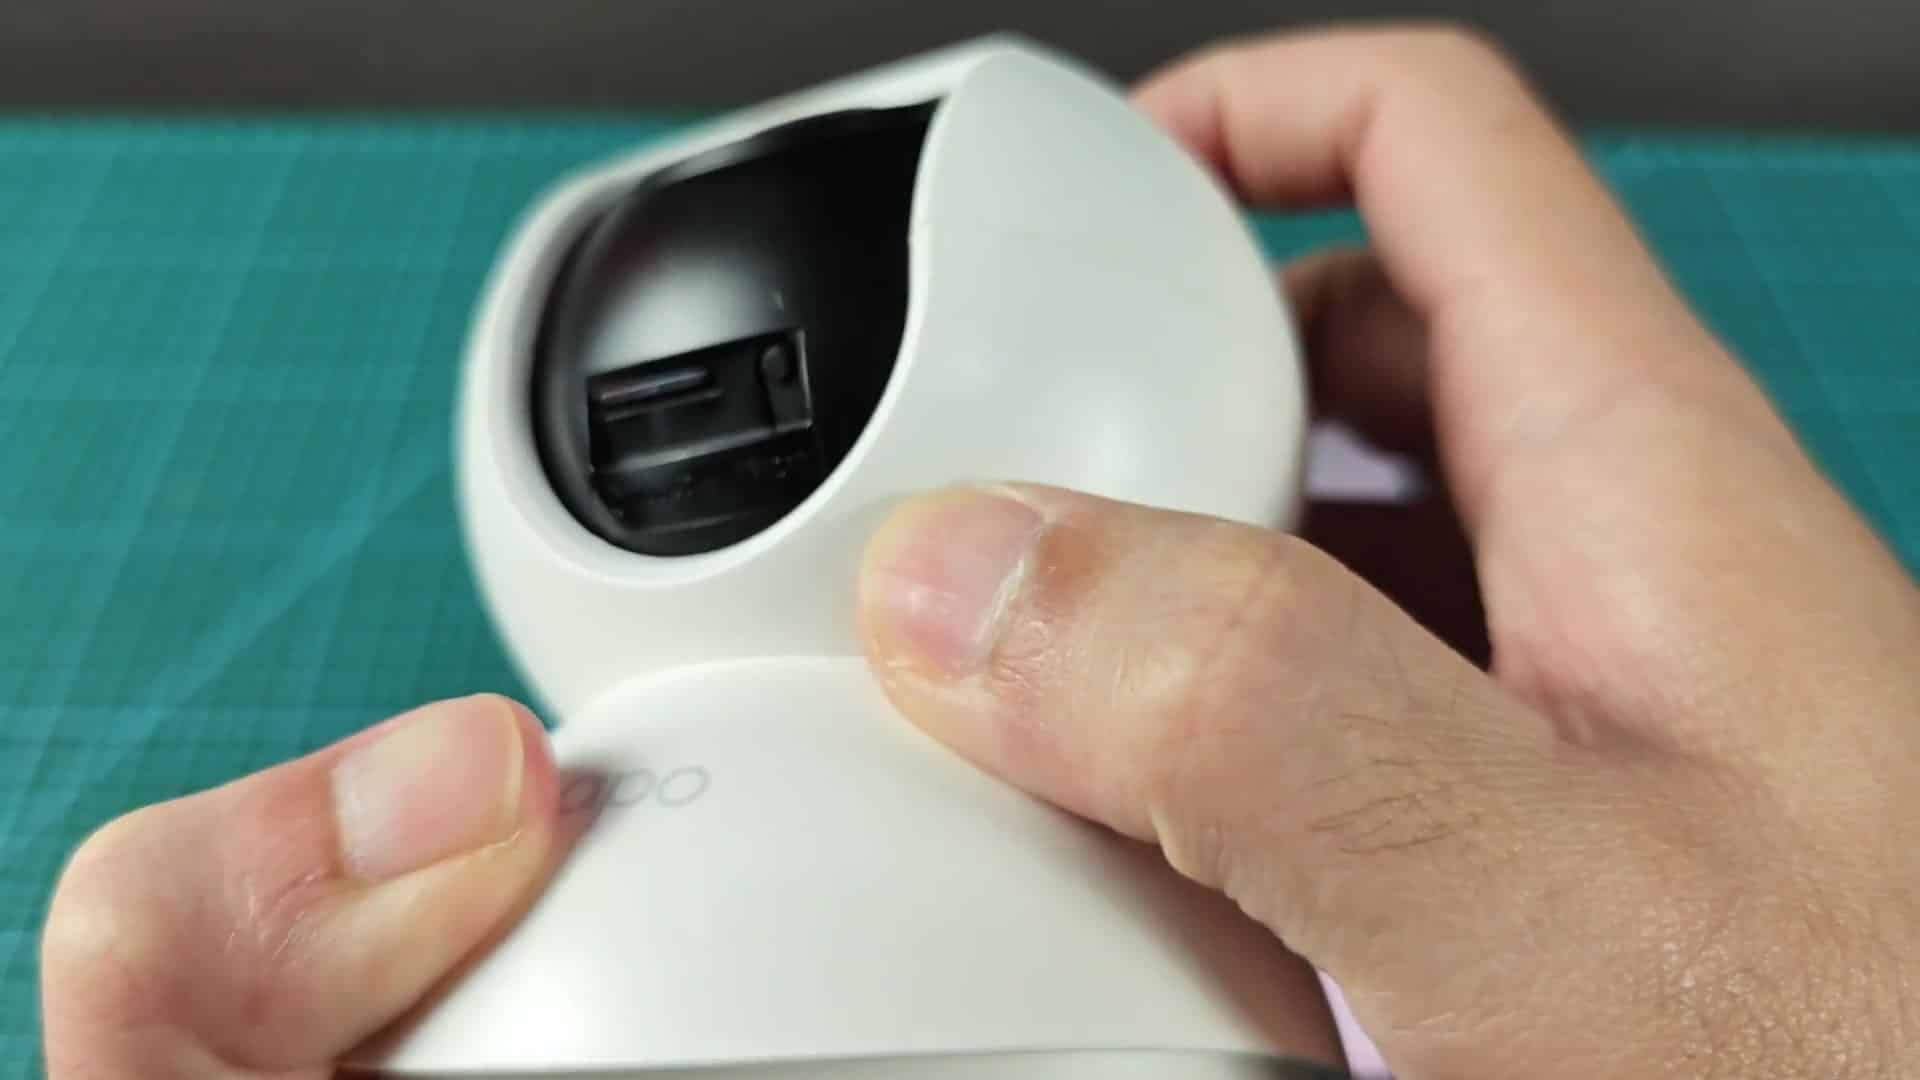
Use a small item like a SIM ejector tool or a straightened out paper clip that you can insert into the hole. Push firmly on the button and don’t expect the camera to react right away, keep pushing for a few seconds until the camera register the command. If you let go too soon, the process won’t finish. You are doing factory wipe, so let it complete.
So you sit there waiting for visual confirmation that it’s resetting. After holding it for several second, the status indicator light will begin blinking red. That means the camera is processing internal command.
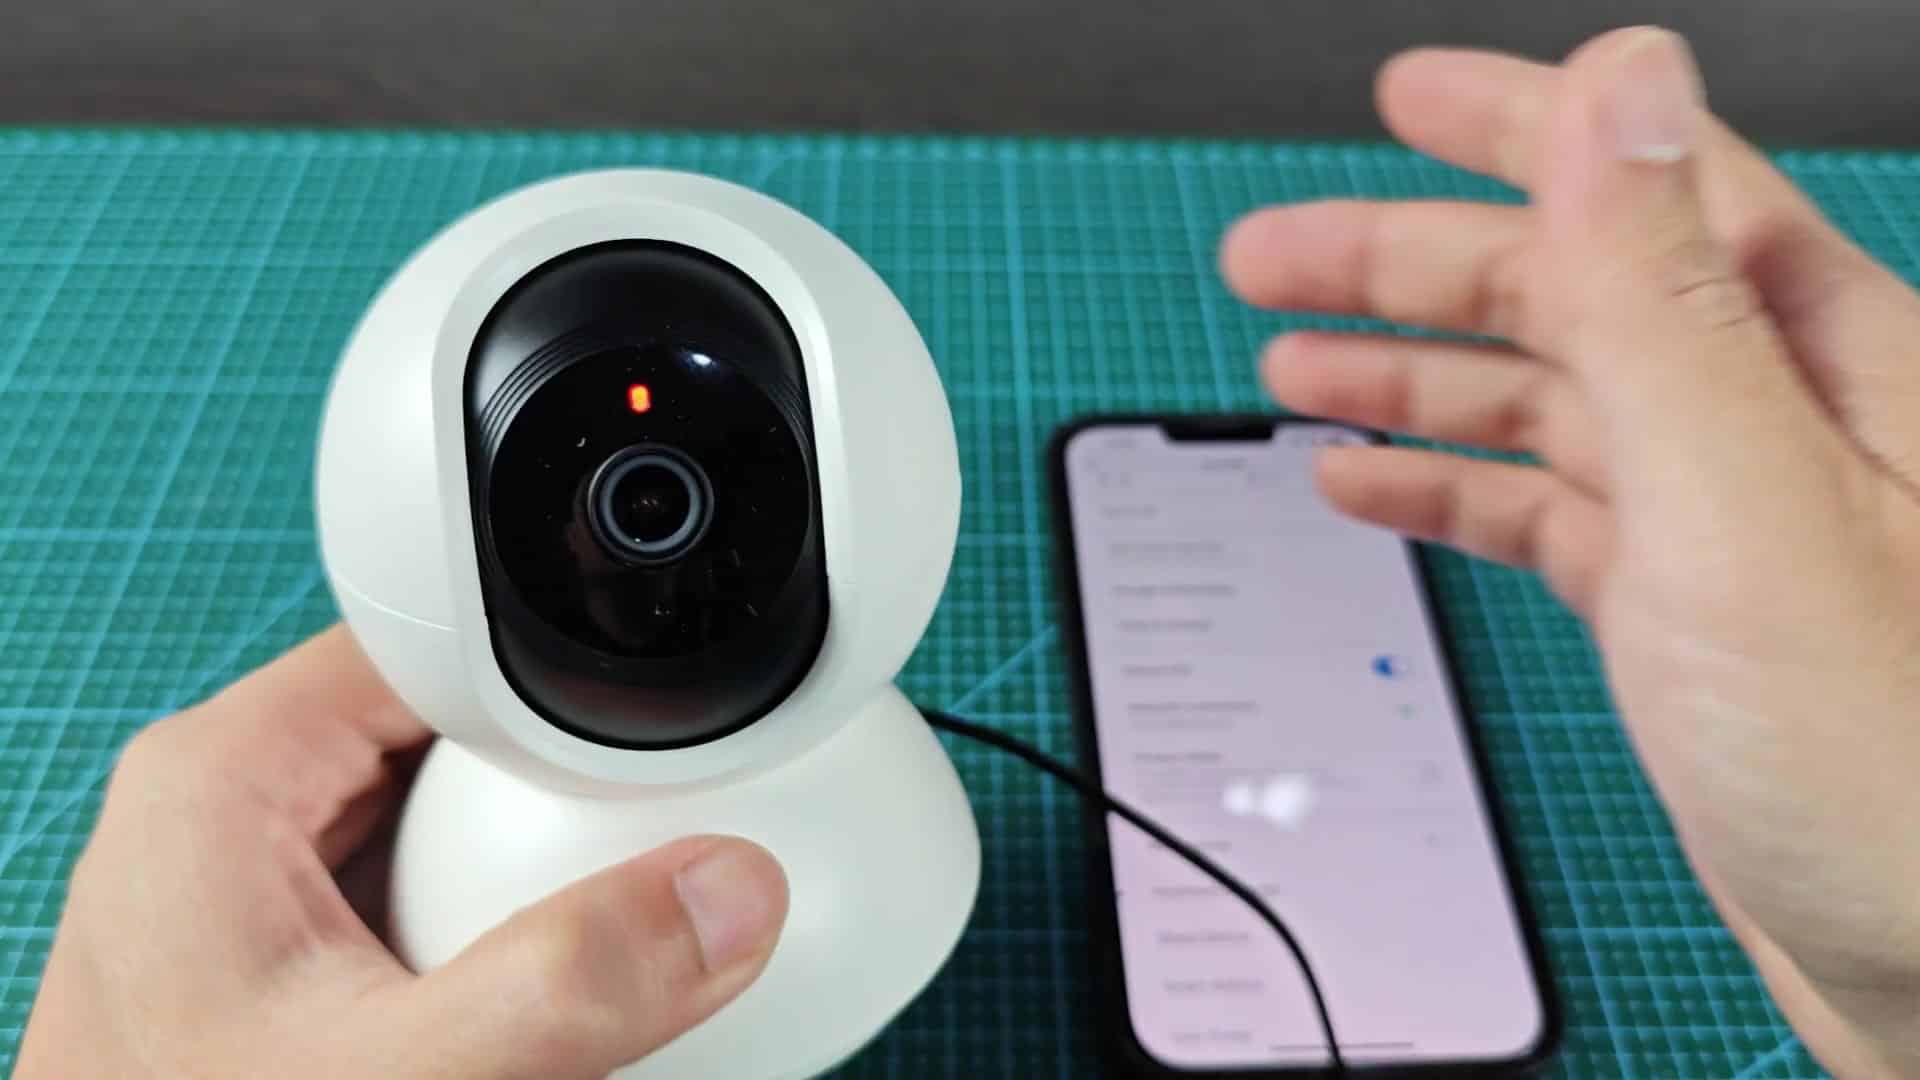
A few moments later, you’ll hear your camera confirm it successfuly via its built-in speaker. There is no need to open the app to verify (the audio cue makes things quite clear).
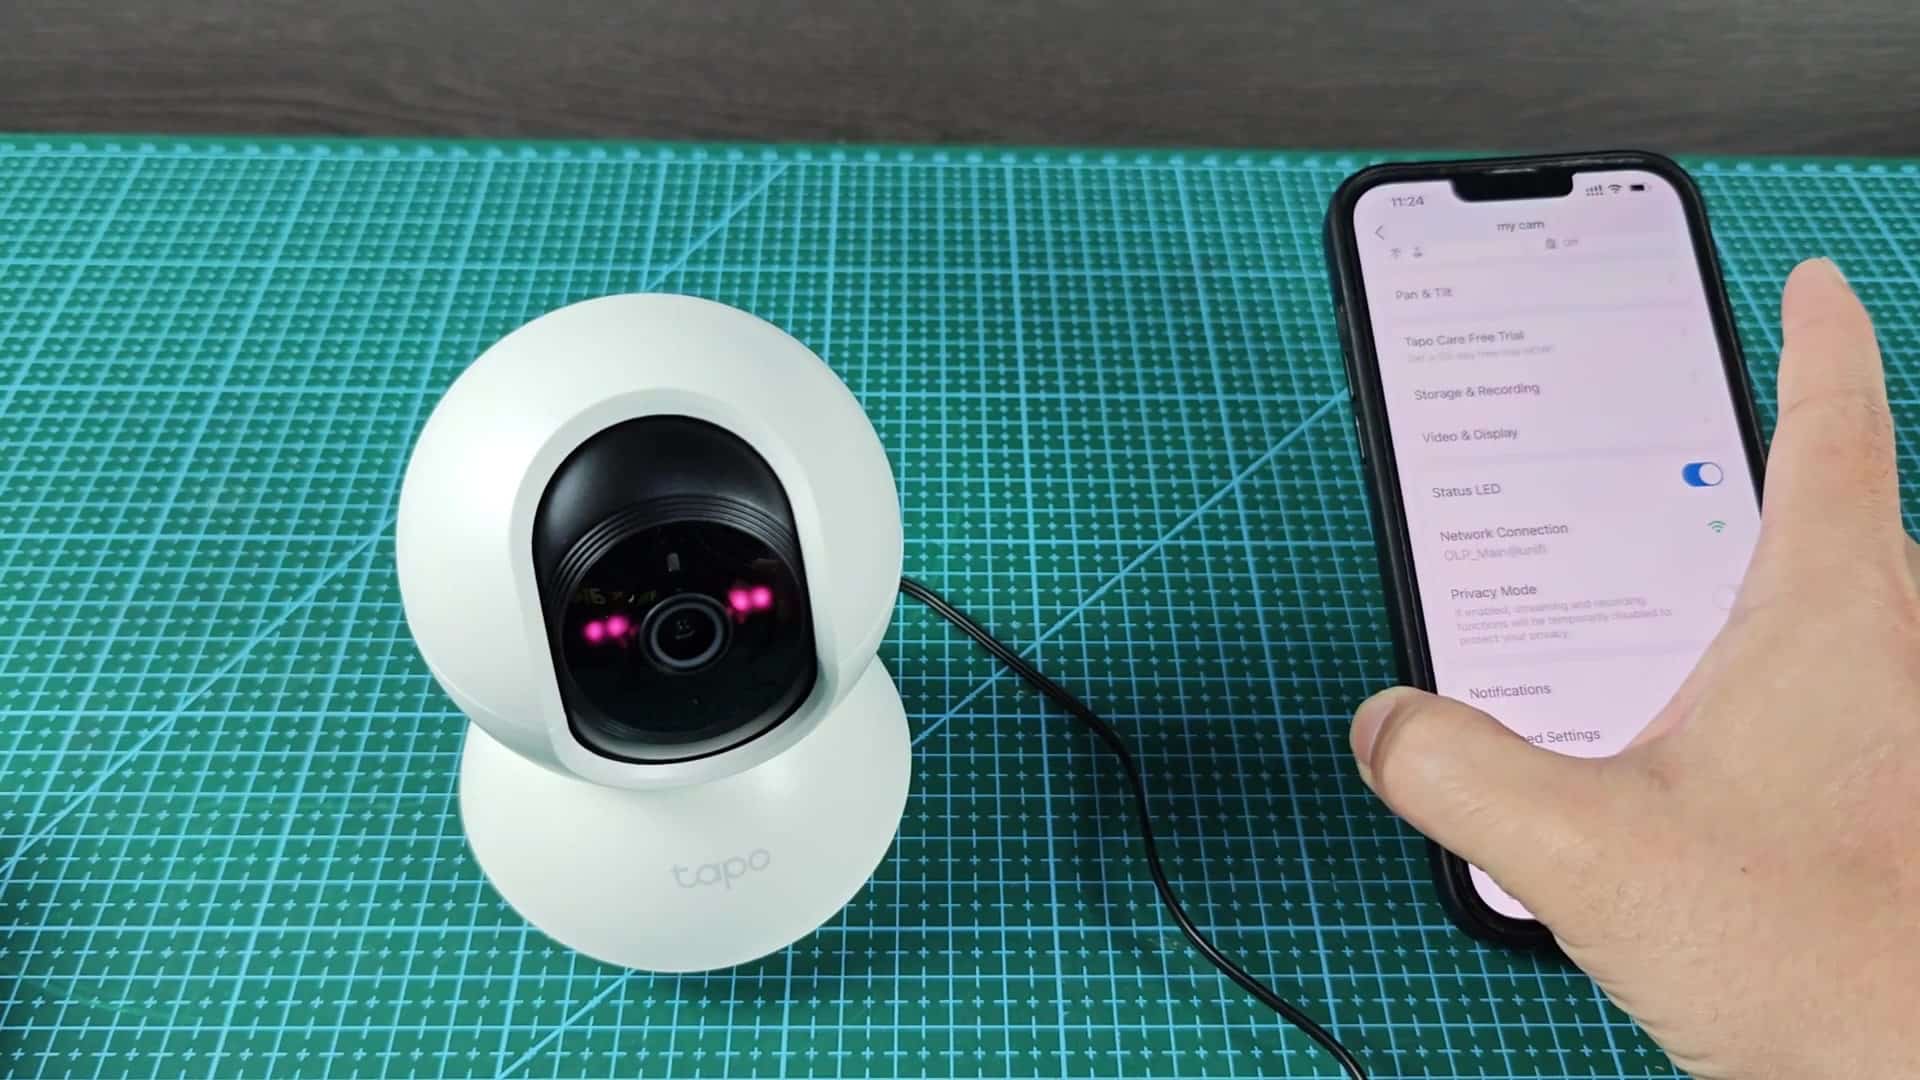
When you see the confirmation message, you let go of button. The camera will display different patterns of lights while it erases previous information. It’ll start with red blinks before transitioning into a mix of lights, indicating that memory has been wiped. At this point, the device should of be ready to recieve new instructions and connect to a new network.
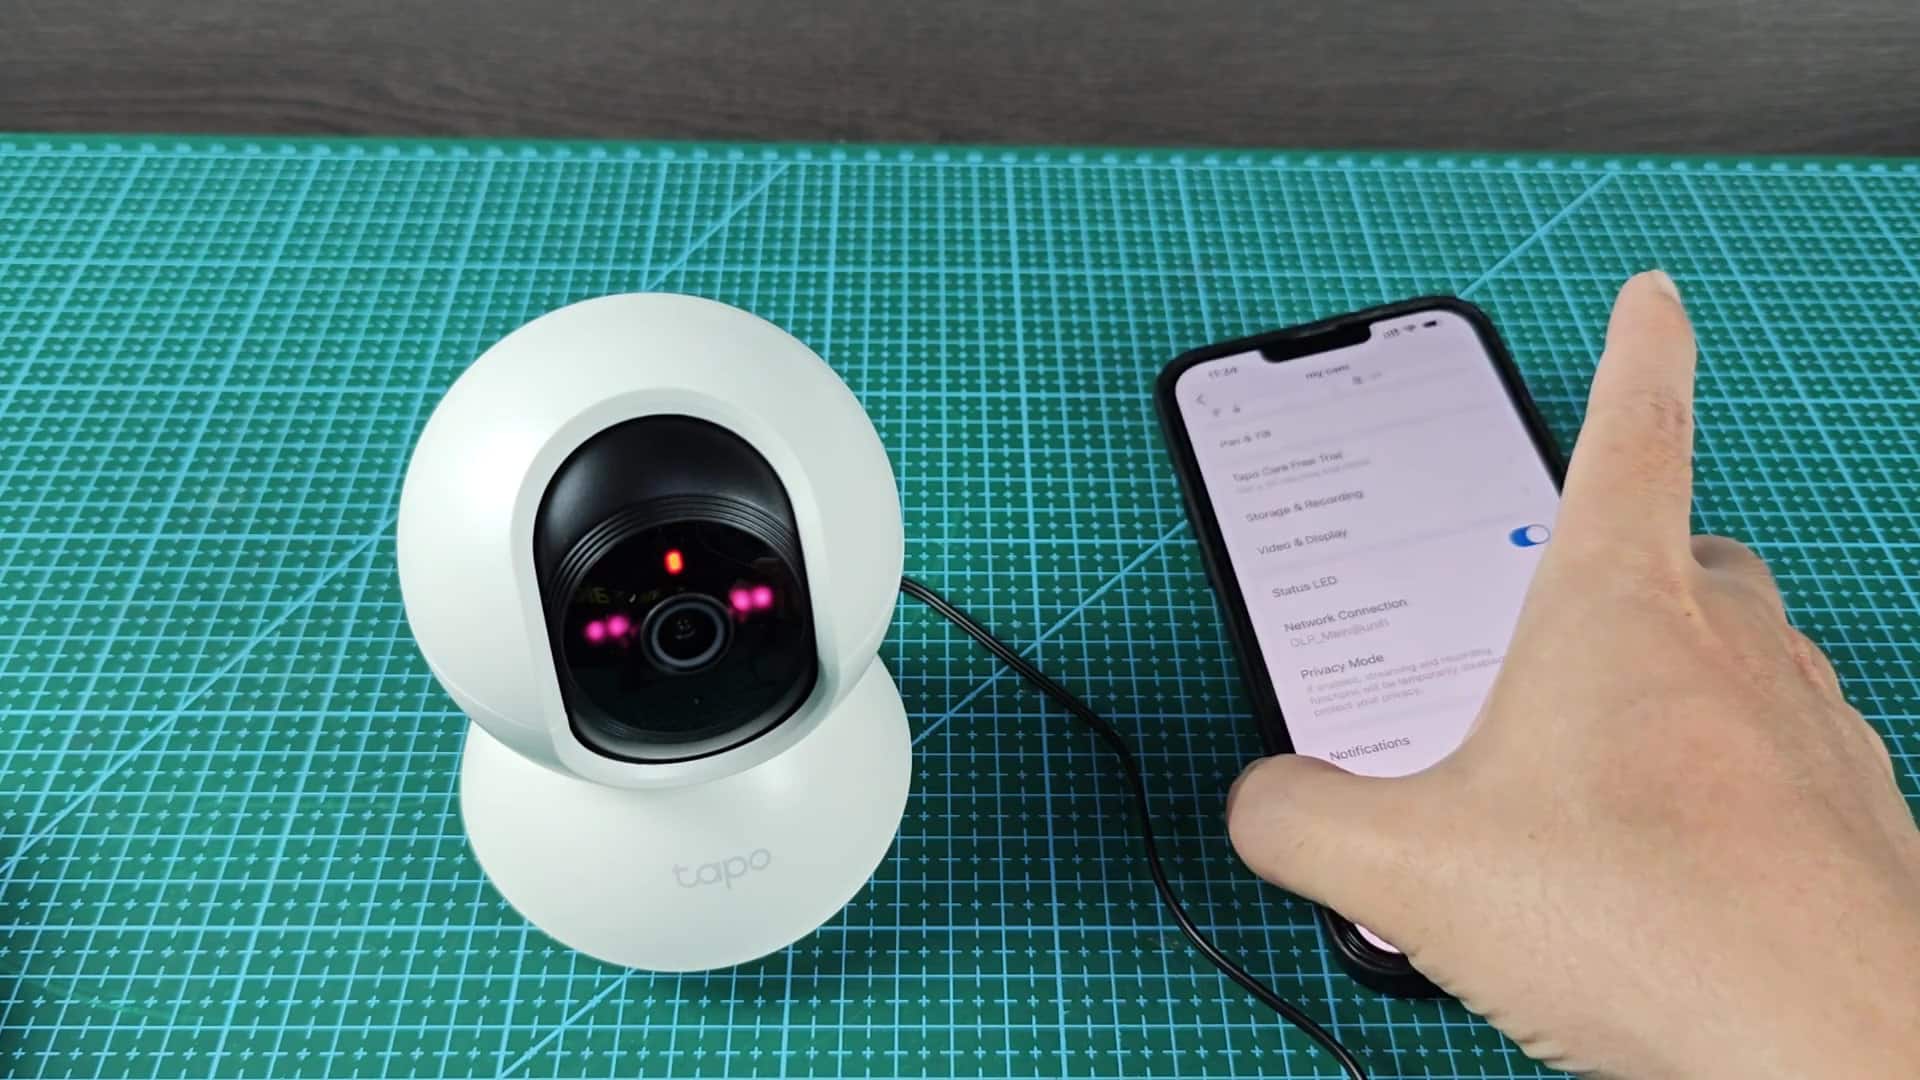
The next step is to see two colors flashing on light: Red and Green together, which means it’s finally unpaired from whatever account or other Wi-Fi network you’d previously paired it with. At this point, it’s literaly a clean slate waiting to be set up again. No old passwords are stored in its memory, and no old connection to other networks are lingering there.
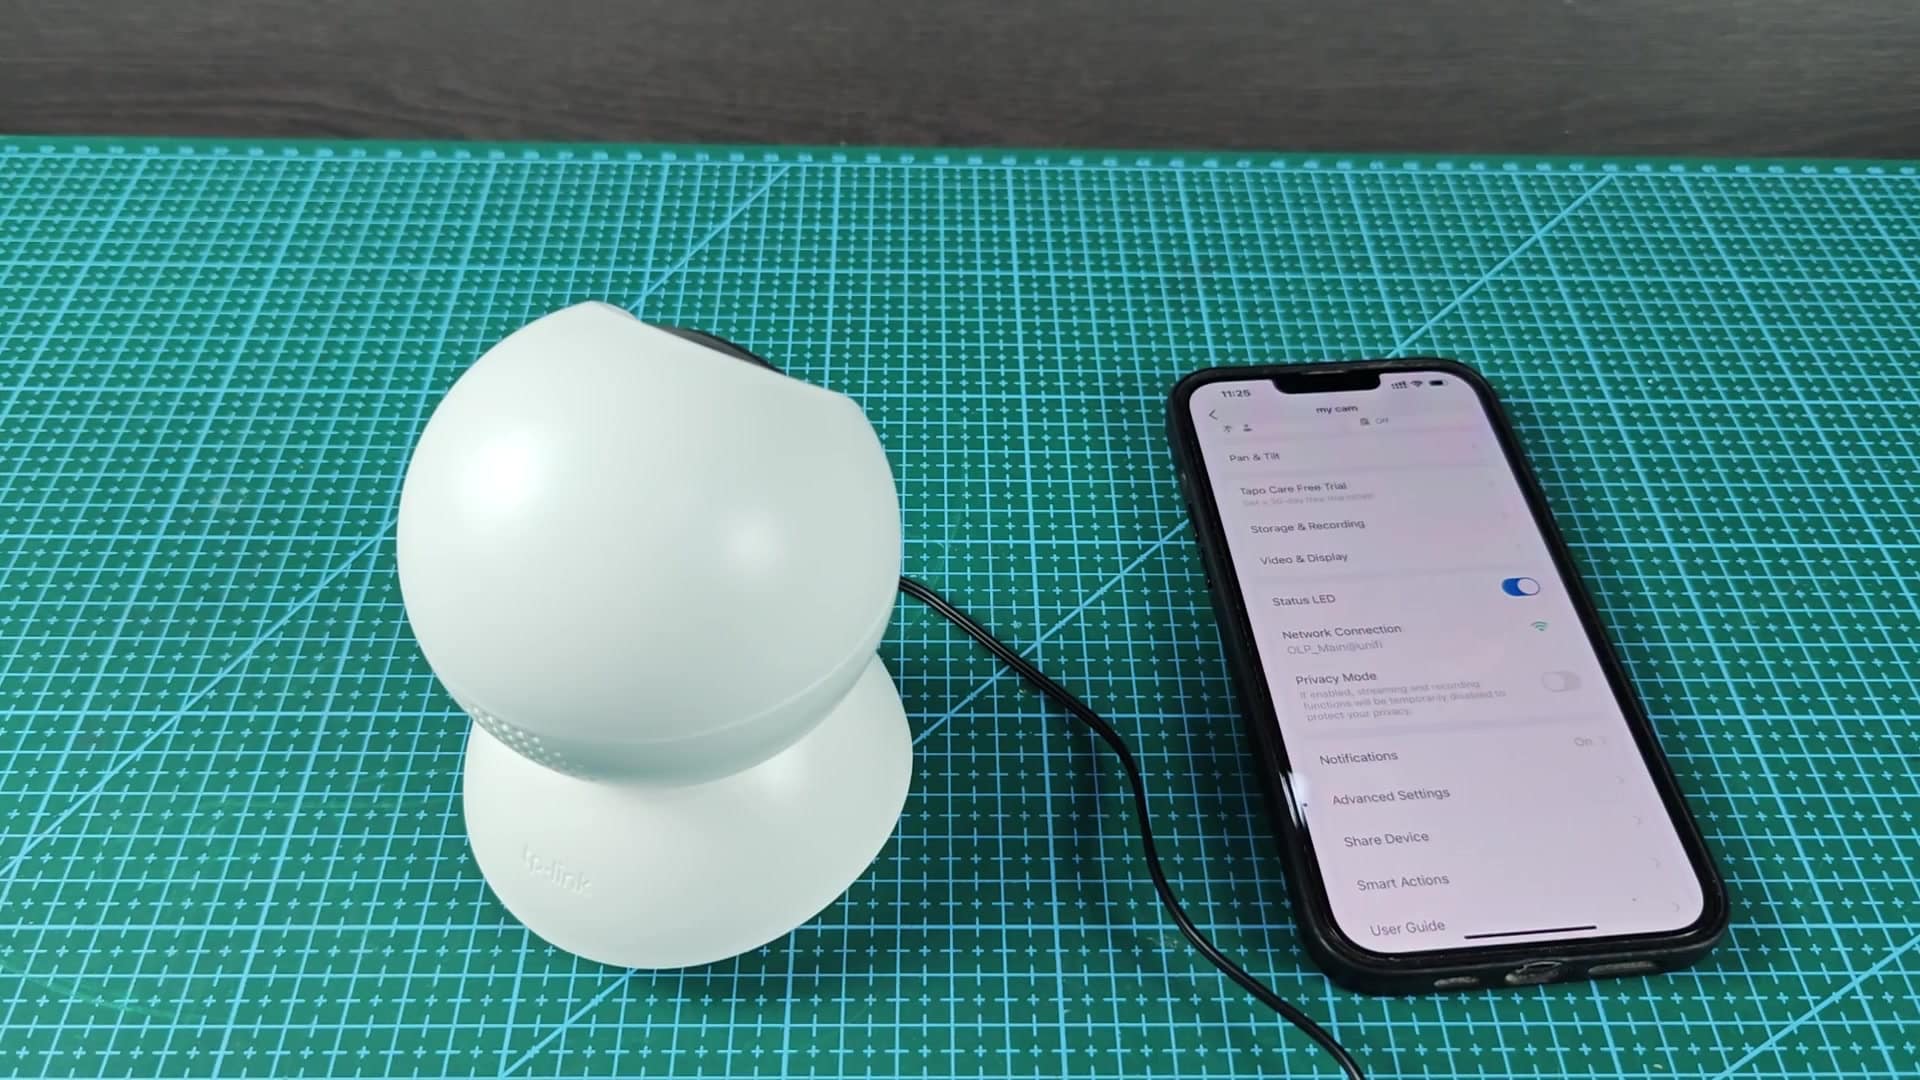
Once you see the flashing red and green pattern, congratulations: that’s the hard part done. No need to unplug it or manually reboot; the camera automatically go into pairing mode. All of its internal settings are cleared but it remains on. Now simply fire up new setup wizard, which guides you through connecting it to your home network.
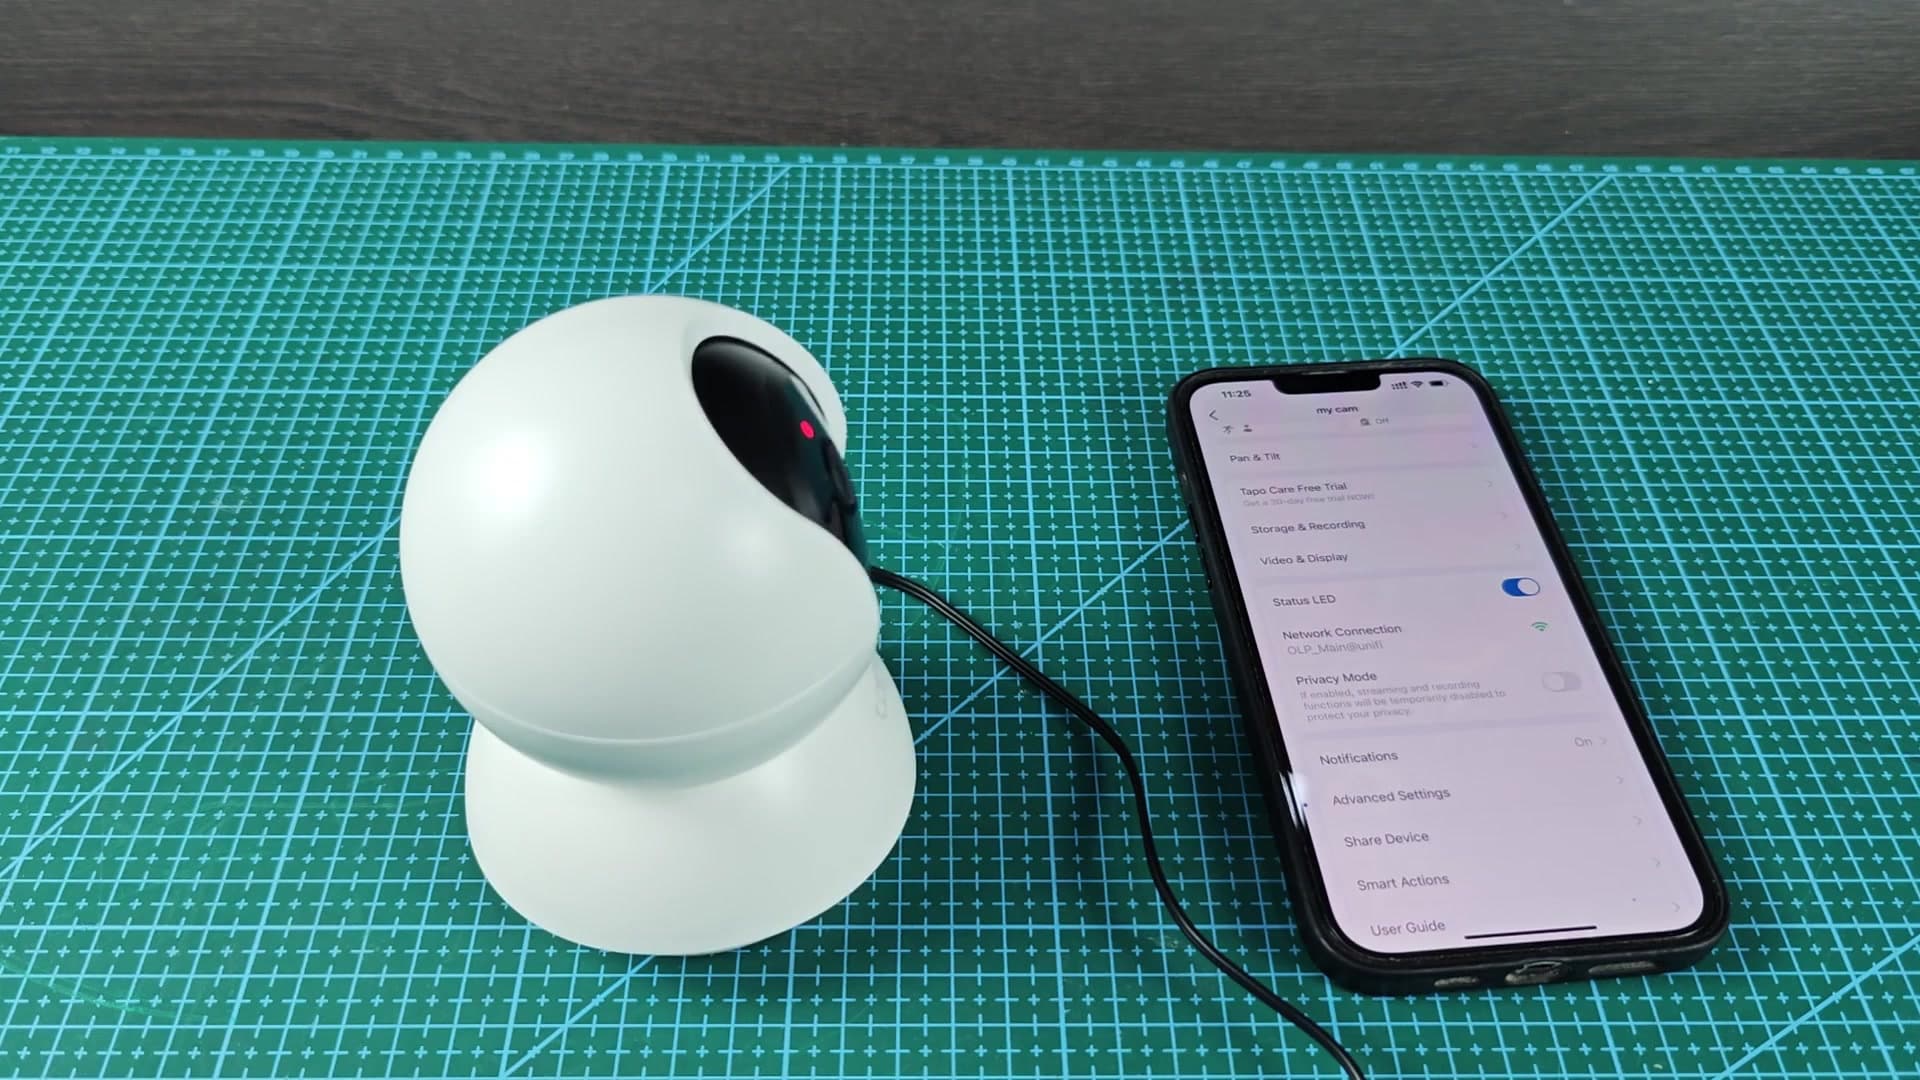
If that happens, just open the app and set up the camera again. The camera will blink its lights until you connect it with your Wi-Fi network (it’s all based off on-screen prompts).
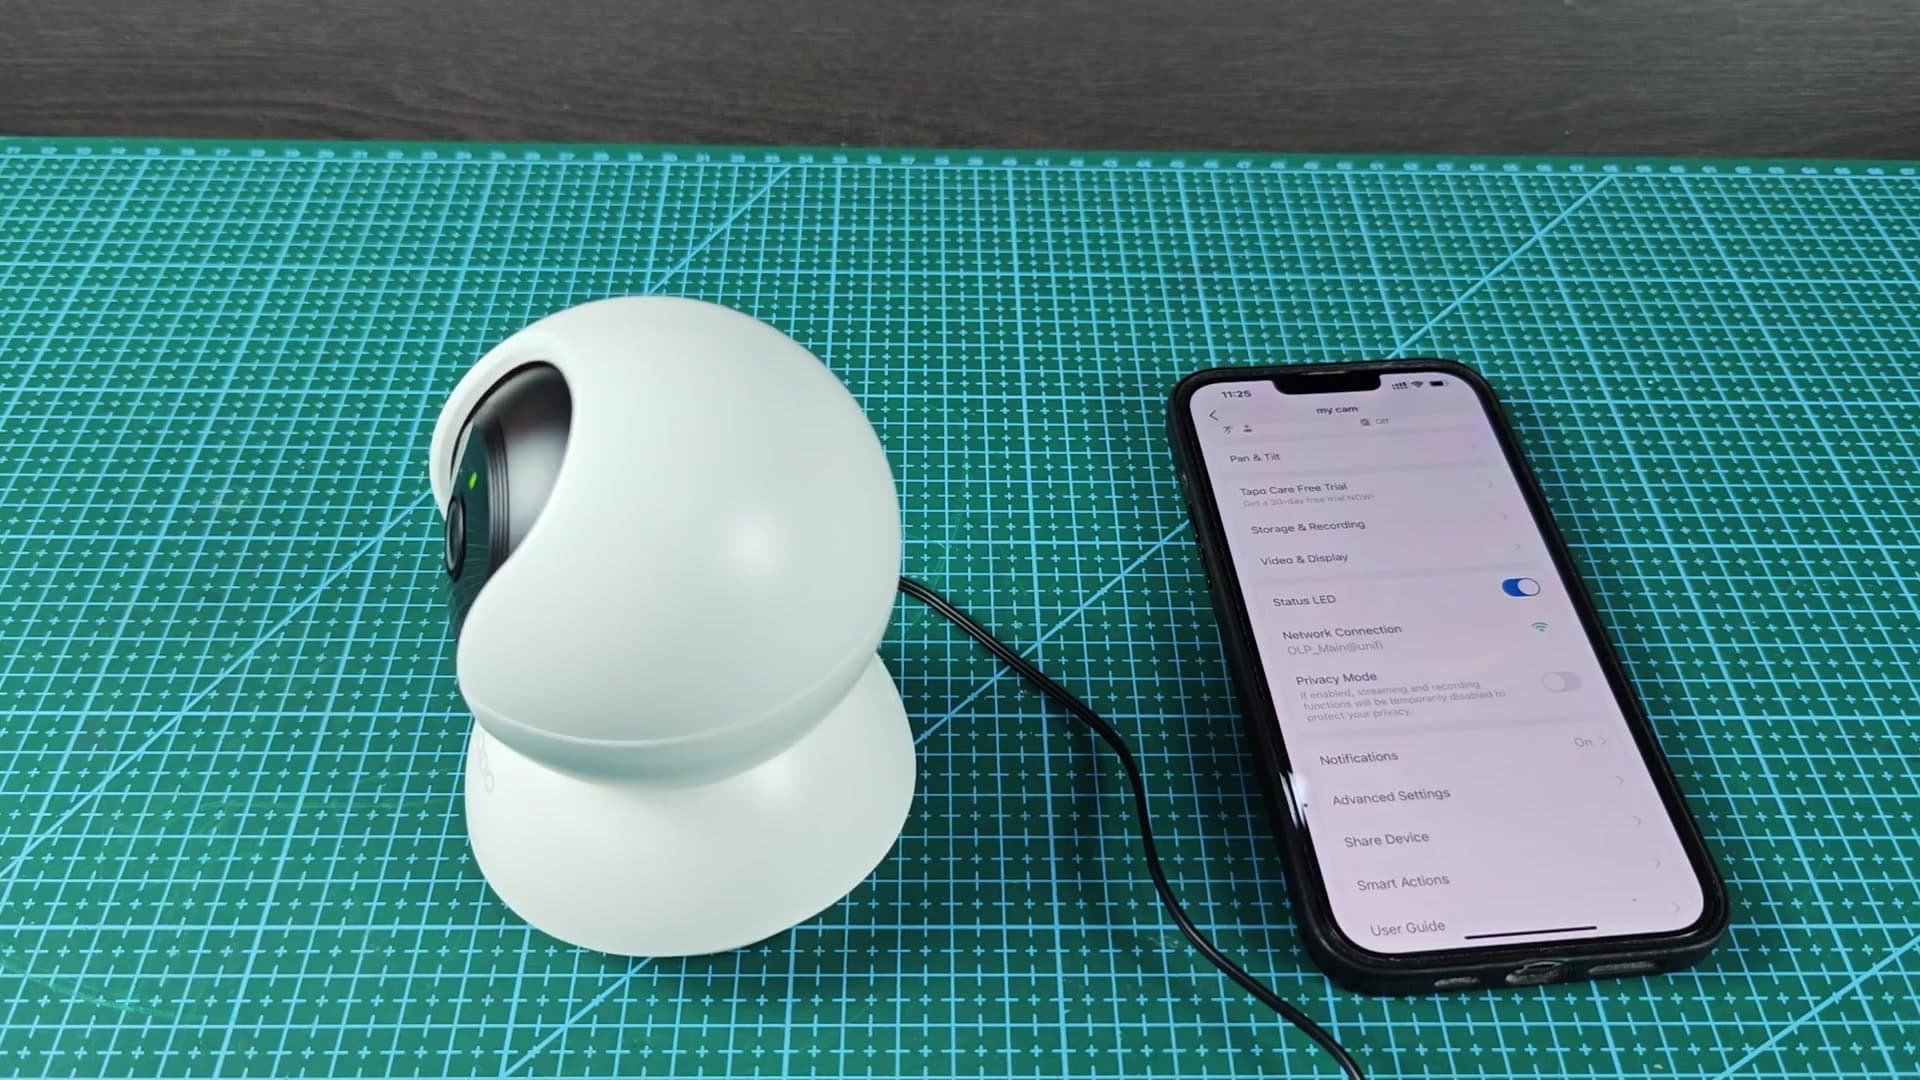
There’s no way to remotely reset in case you lose password access… You’ll need physical access to back panel. In this worst-case scenario, you have the hardware button as a last resort.
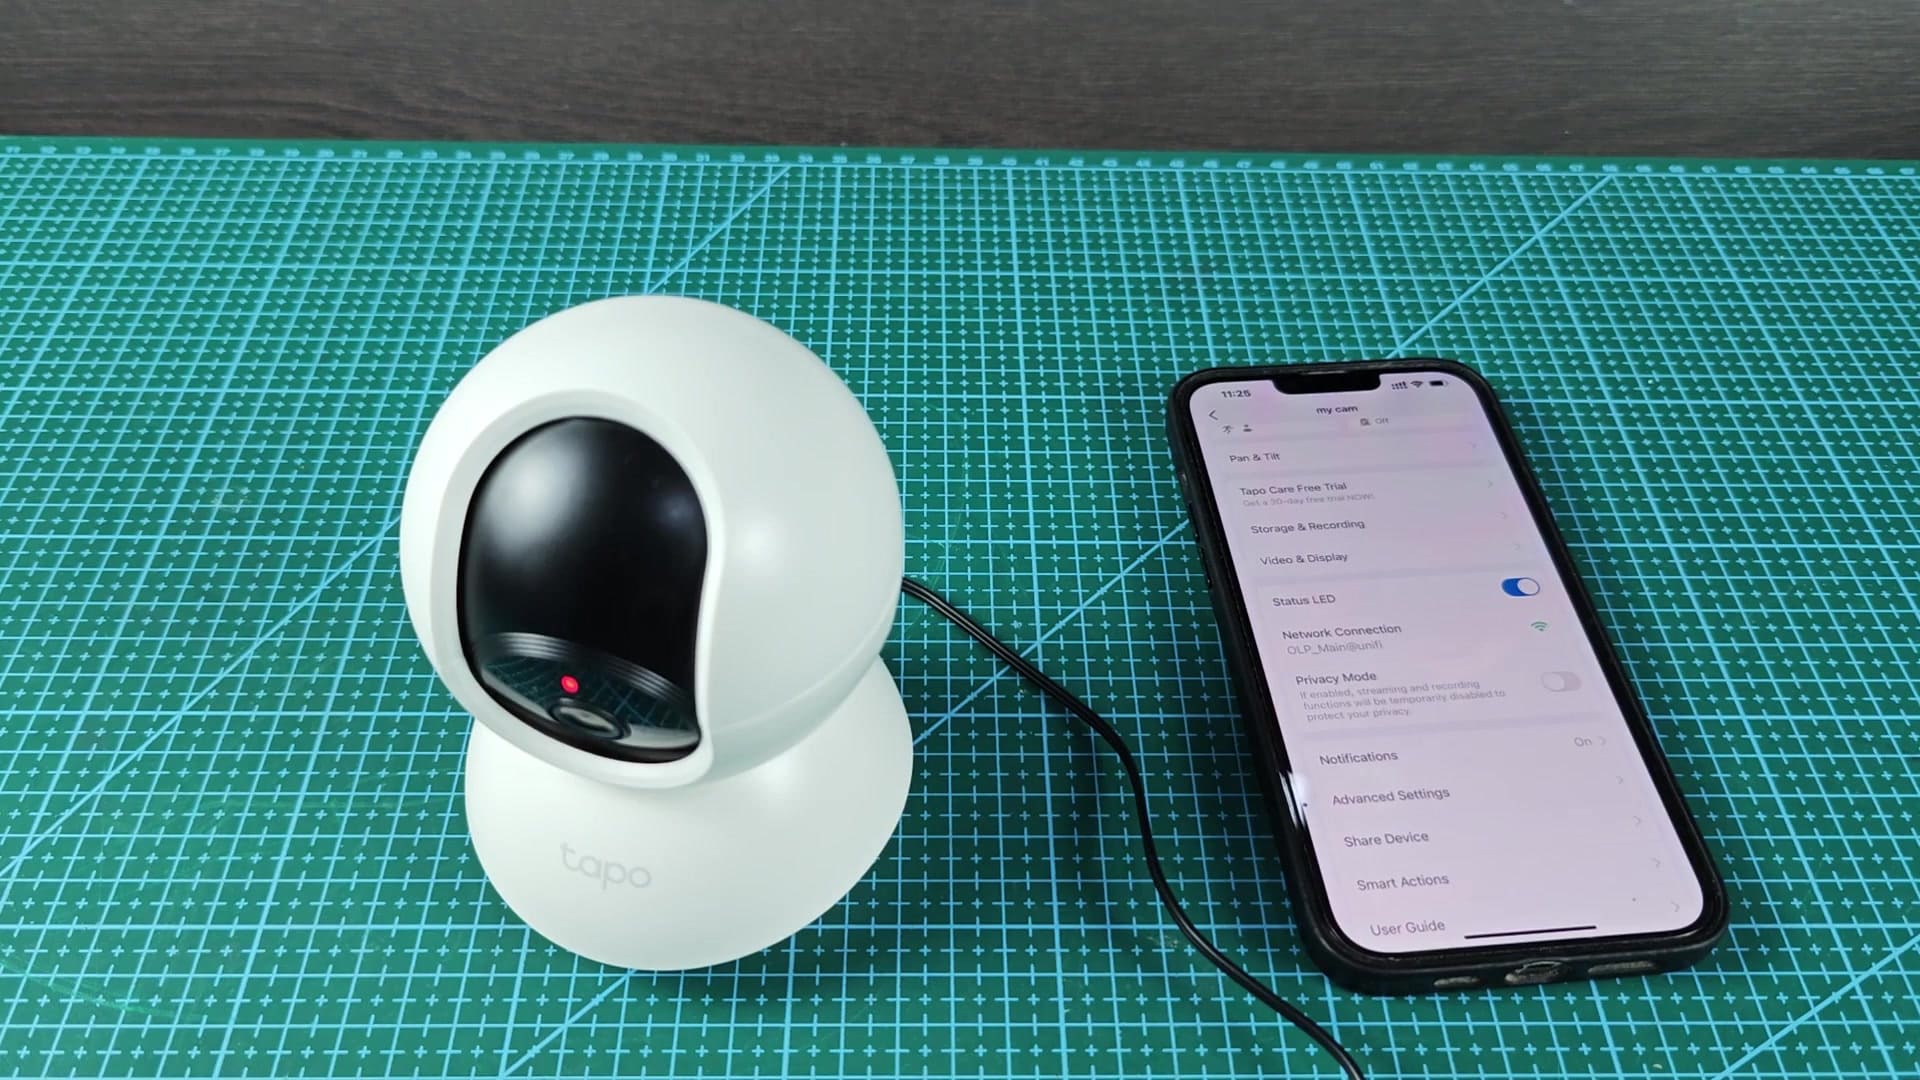
The back button is much more accessible when you angle camera upwards. It’s difficult to hold on to that small little hole with a piece of paper clip without losing it, but it’s easy enough. The light will blink through different stages of reset so you know exactly what’s happening. A quick physical adjustment ensure the operation is smooth and efficient.