
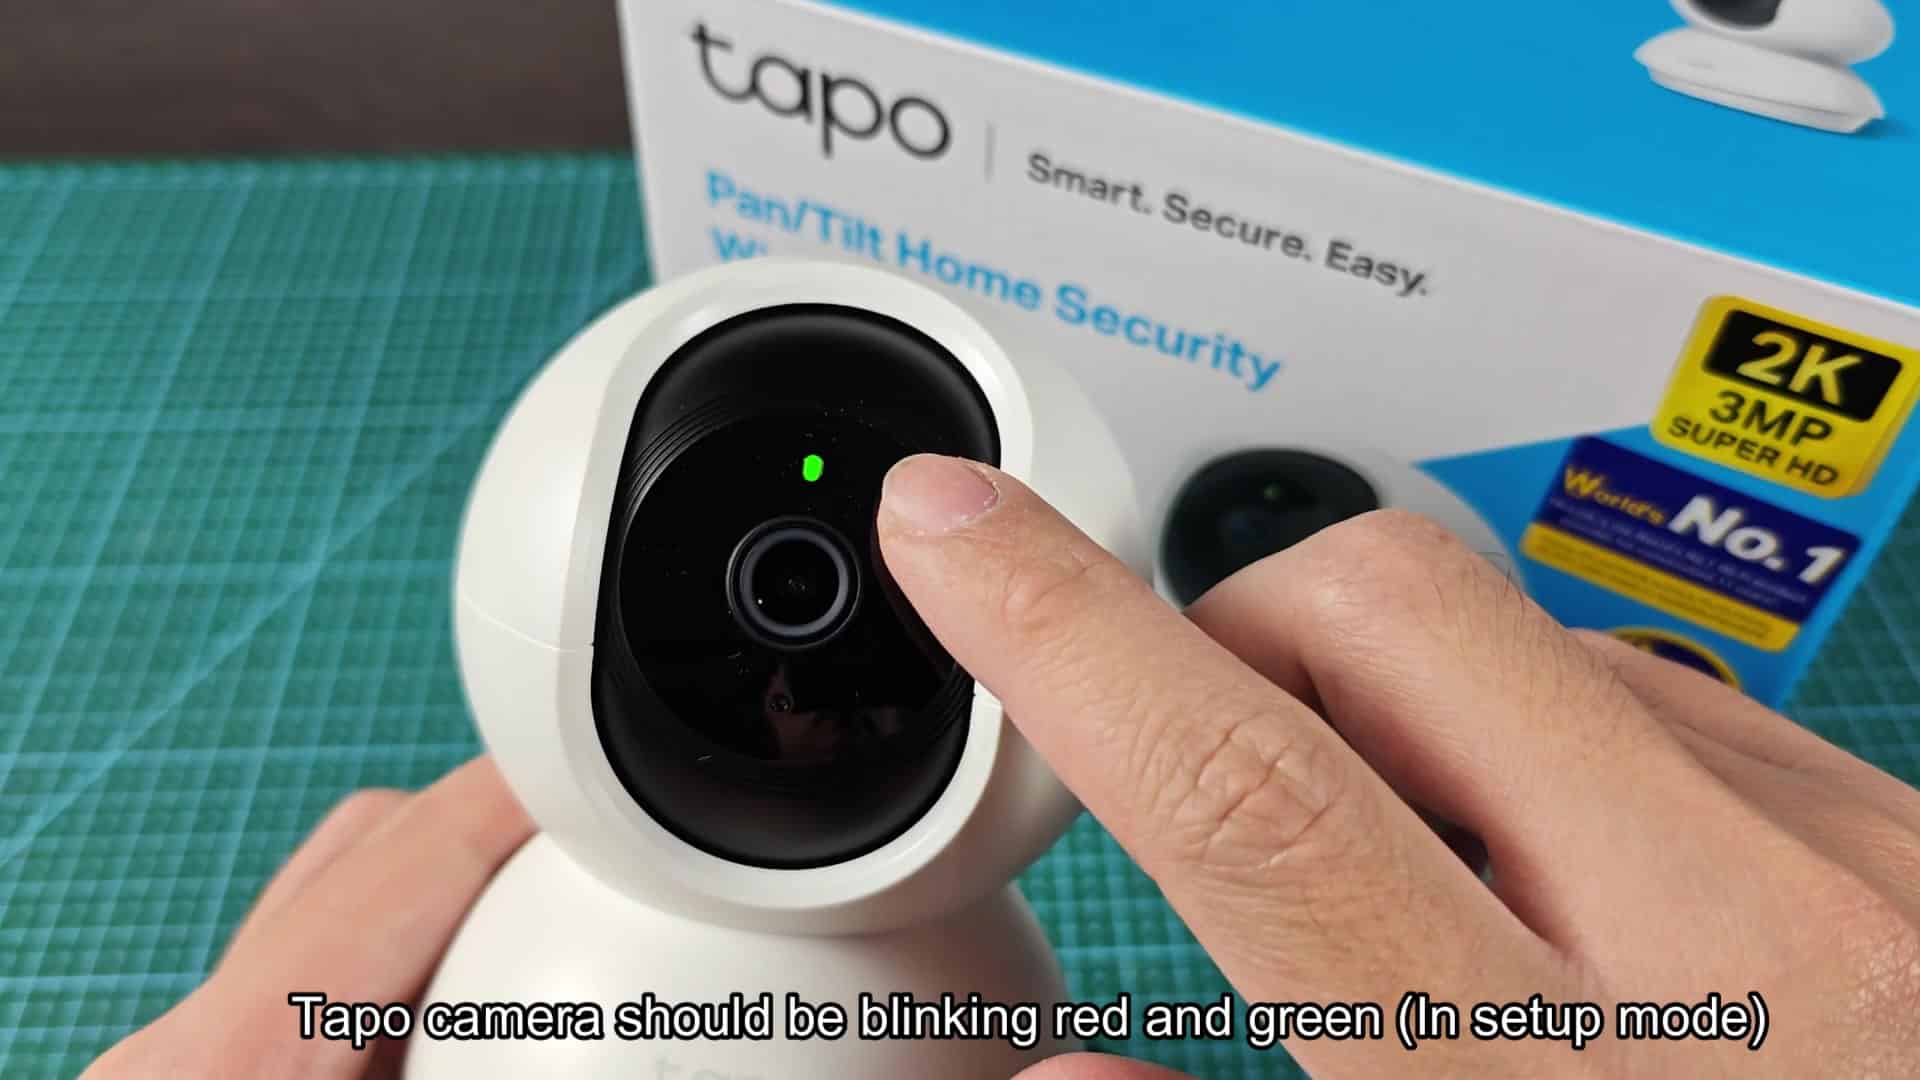
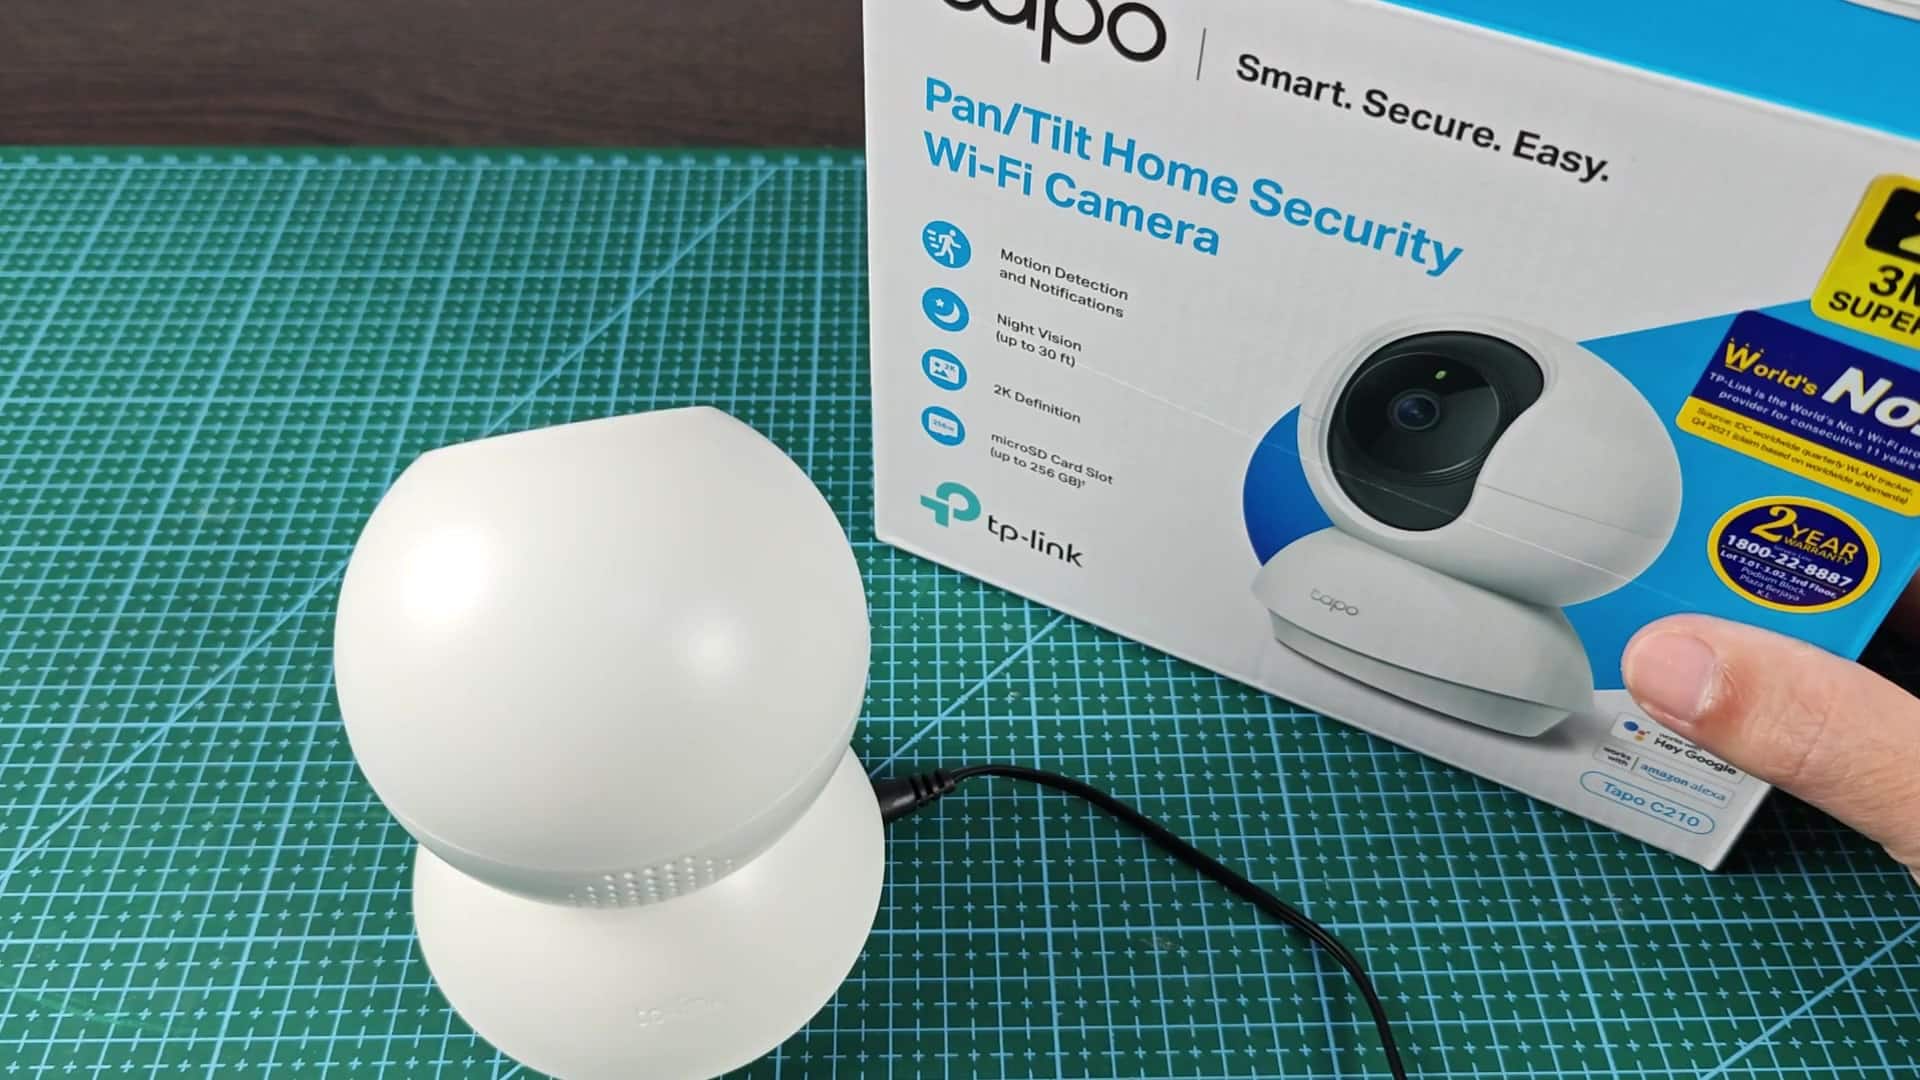
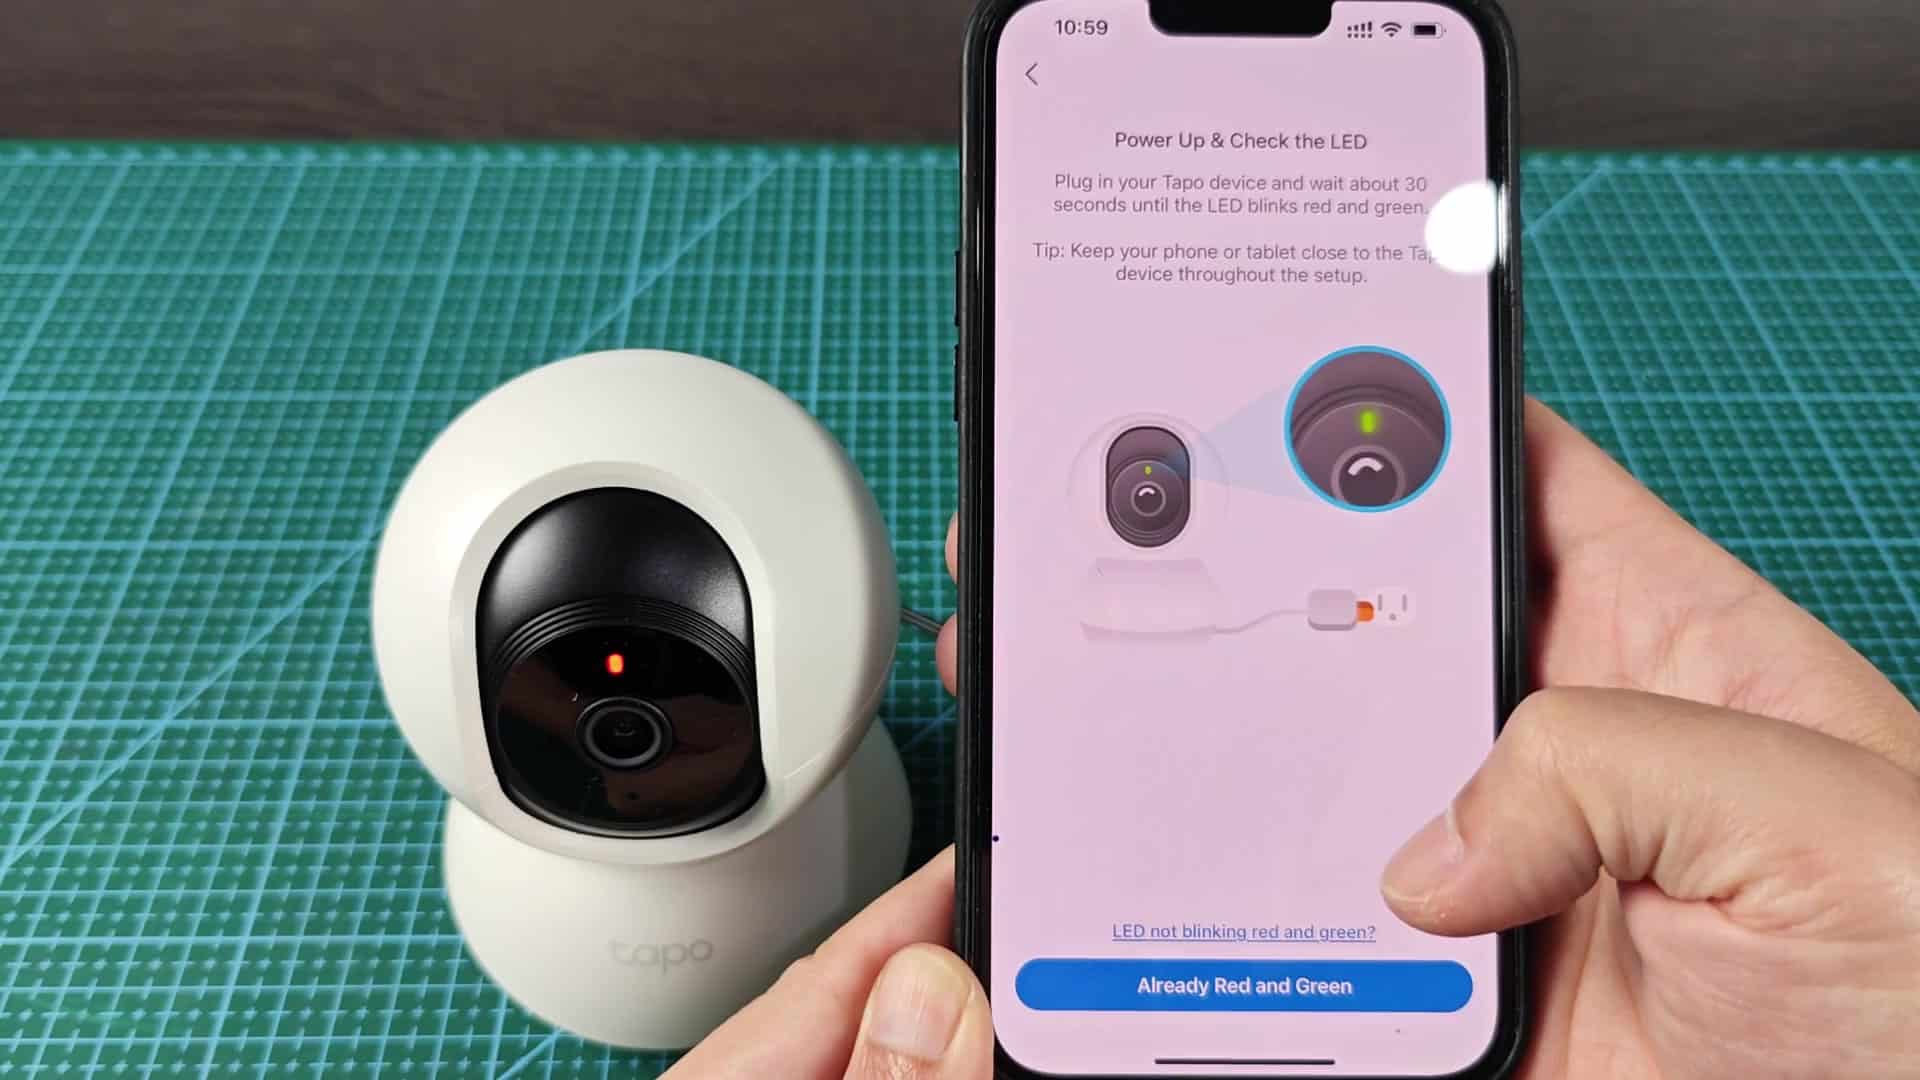
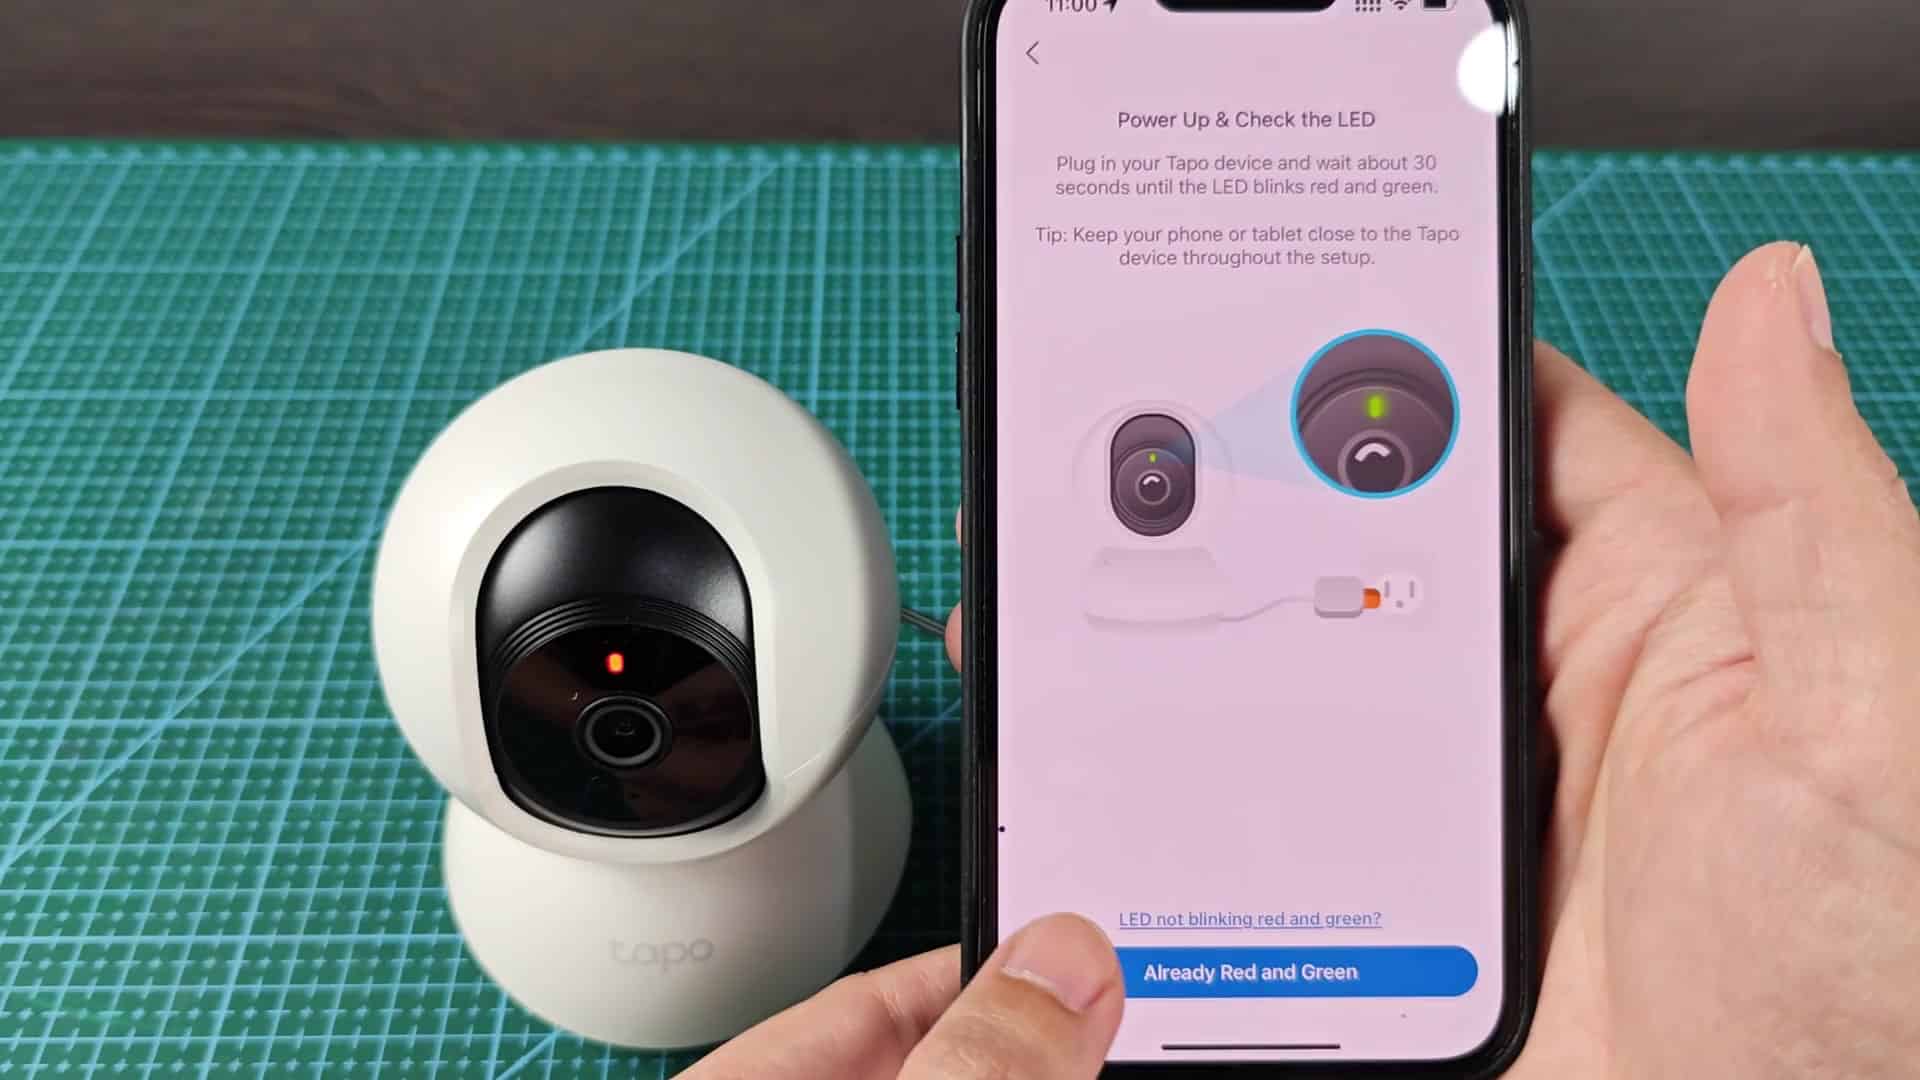
Before you connect your hardware, make sure you prepare it first. For the camera, hold down the reset button until the status LED starts blinking green and red. That’s the indicator that the device is ready for setup. If it doesn’t flash that way, then the app won’t pick up the device. Give it a couple of seconds and it will switch from one color to another.
Connecting the Camera Hardware
Okay, now we have some hardware. Now it’s time to look at your phone. After all, there should be piece of software that connects the camera with the Wi-Fi router.
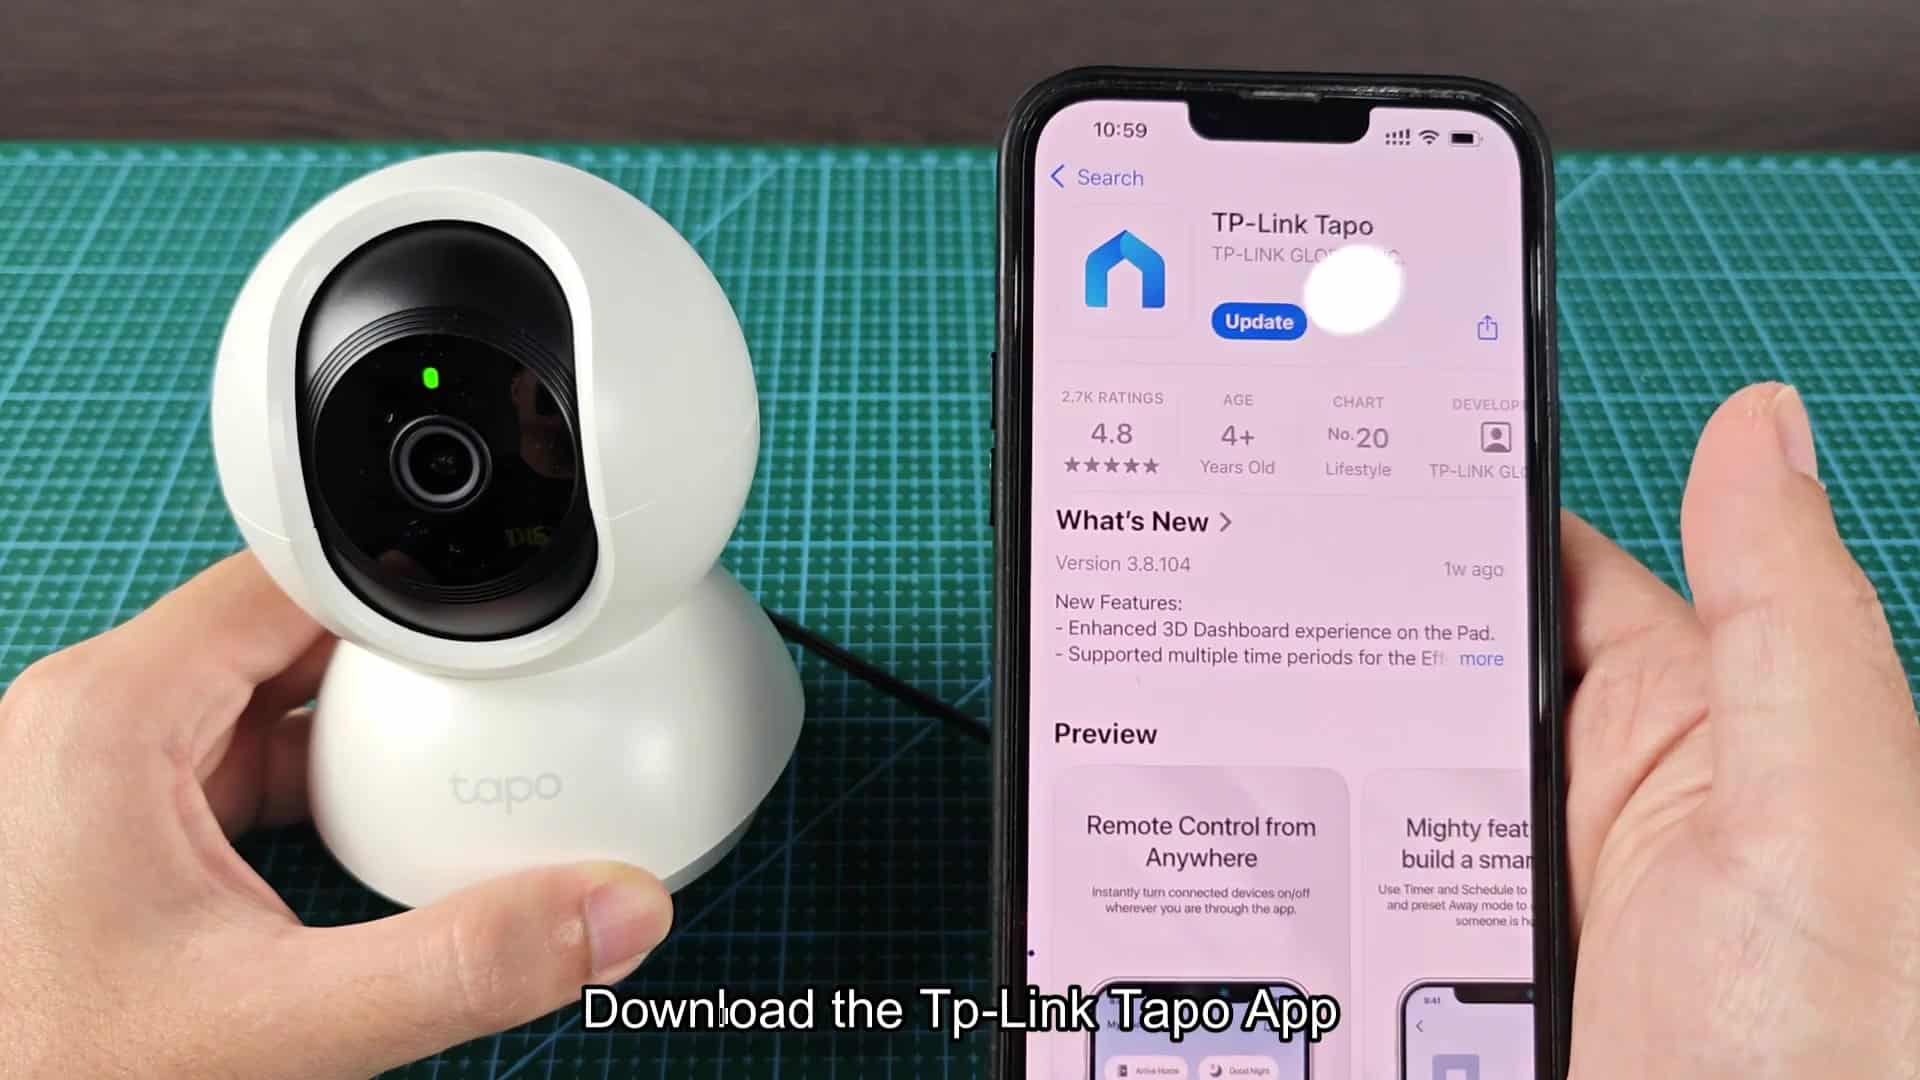
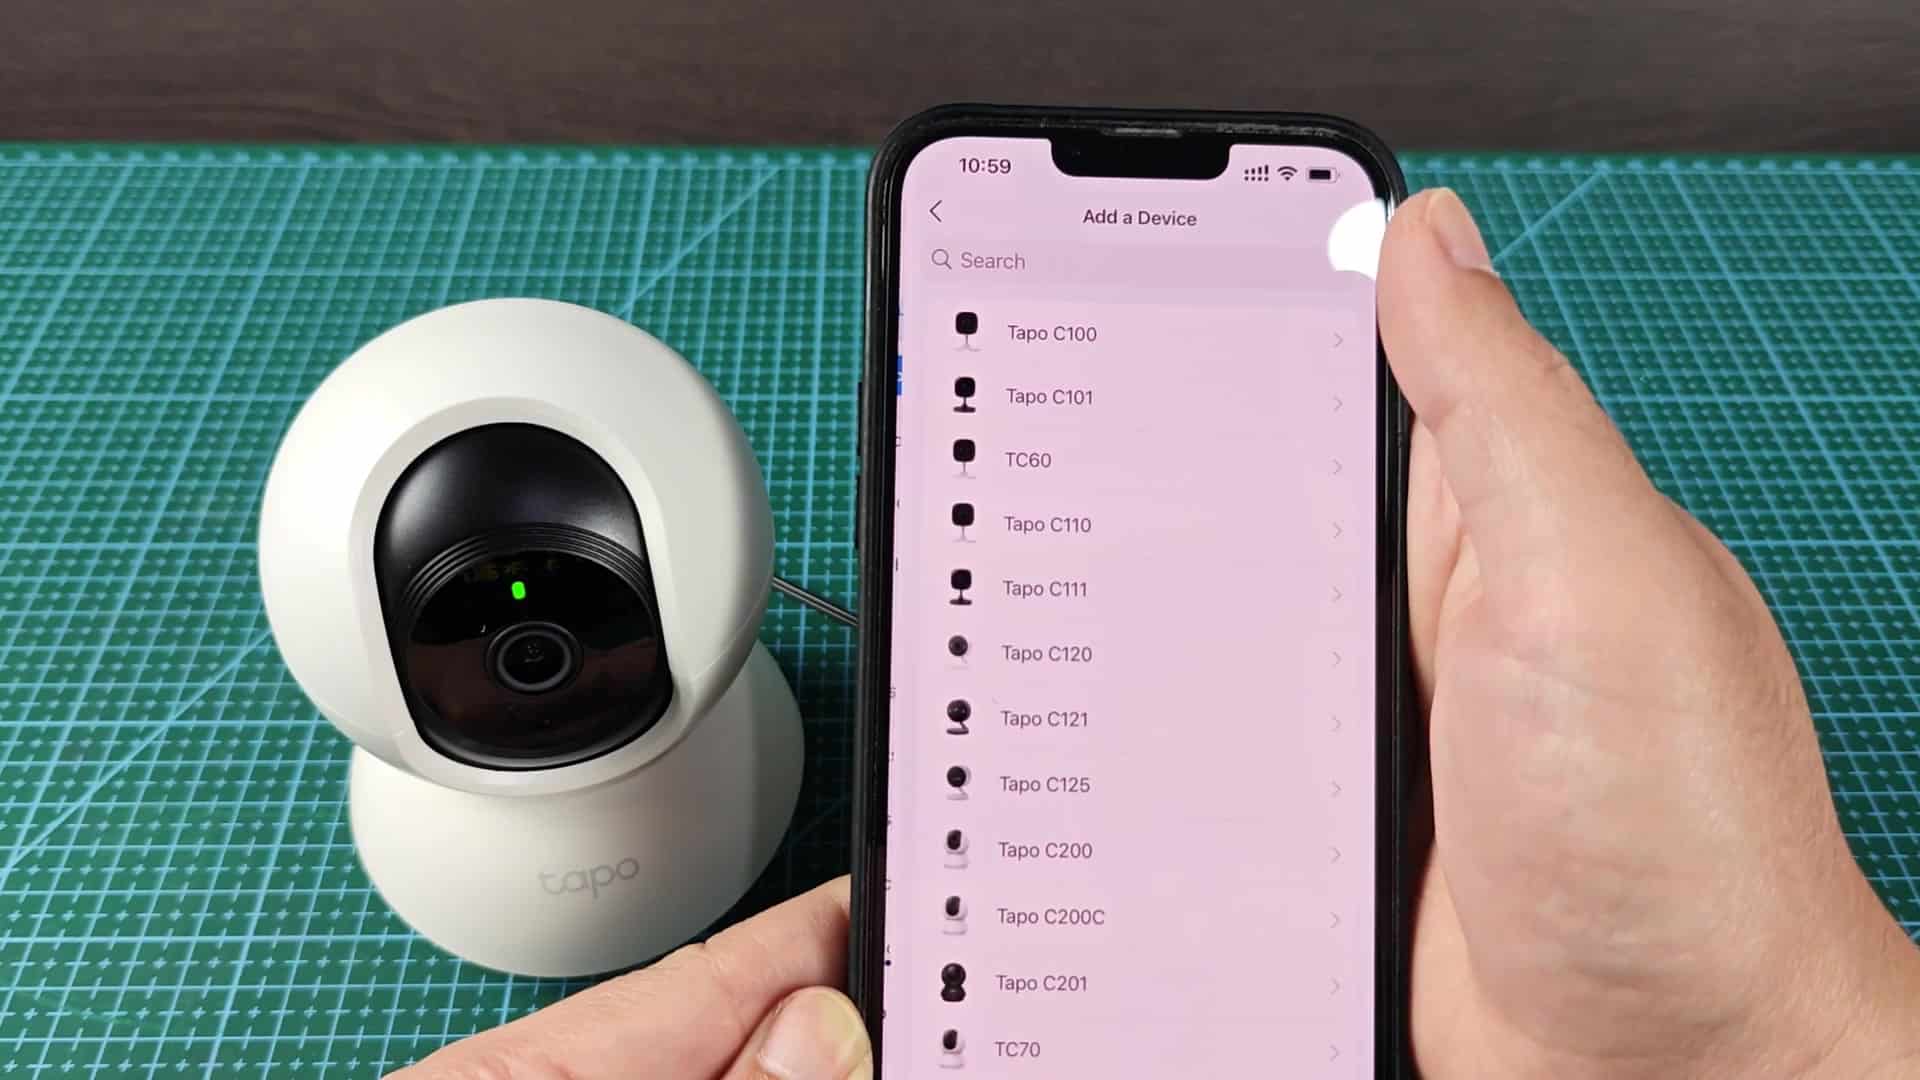
Time to go to your mobile app store. Find the TP-Link Tapo app. It installs quickly without any issues (it’s highly rated). Once installed, you click on the icon. This take you to main menu and gets the ball rolling. Inside the app, you see where you can add a new piece of hardware. It’s right there on the home screen with an Add Device button prominently displayed. Tap it and scroll down until you find your camera model. It should appears toward the top so it is easy to select.
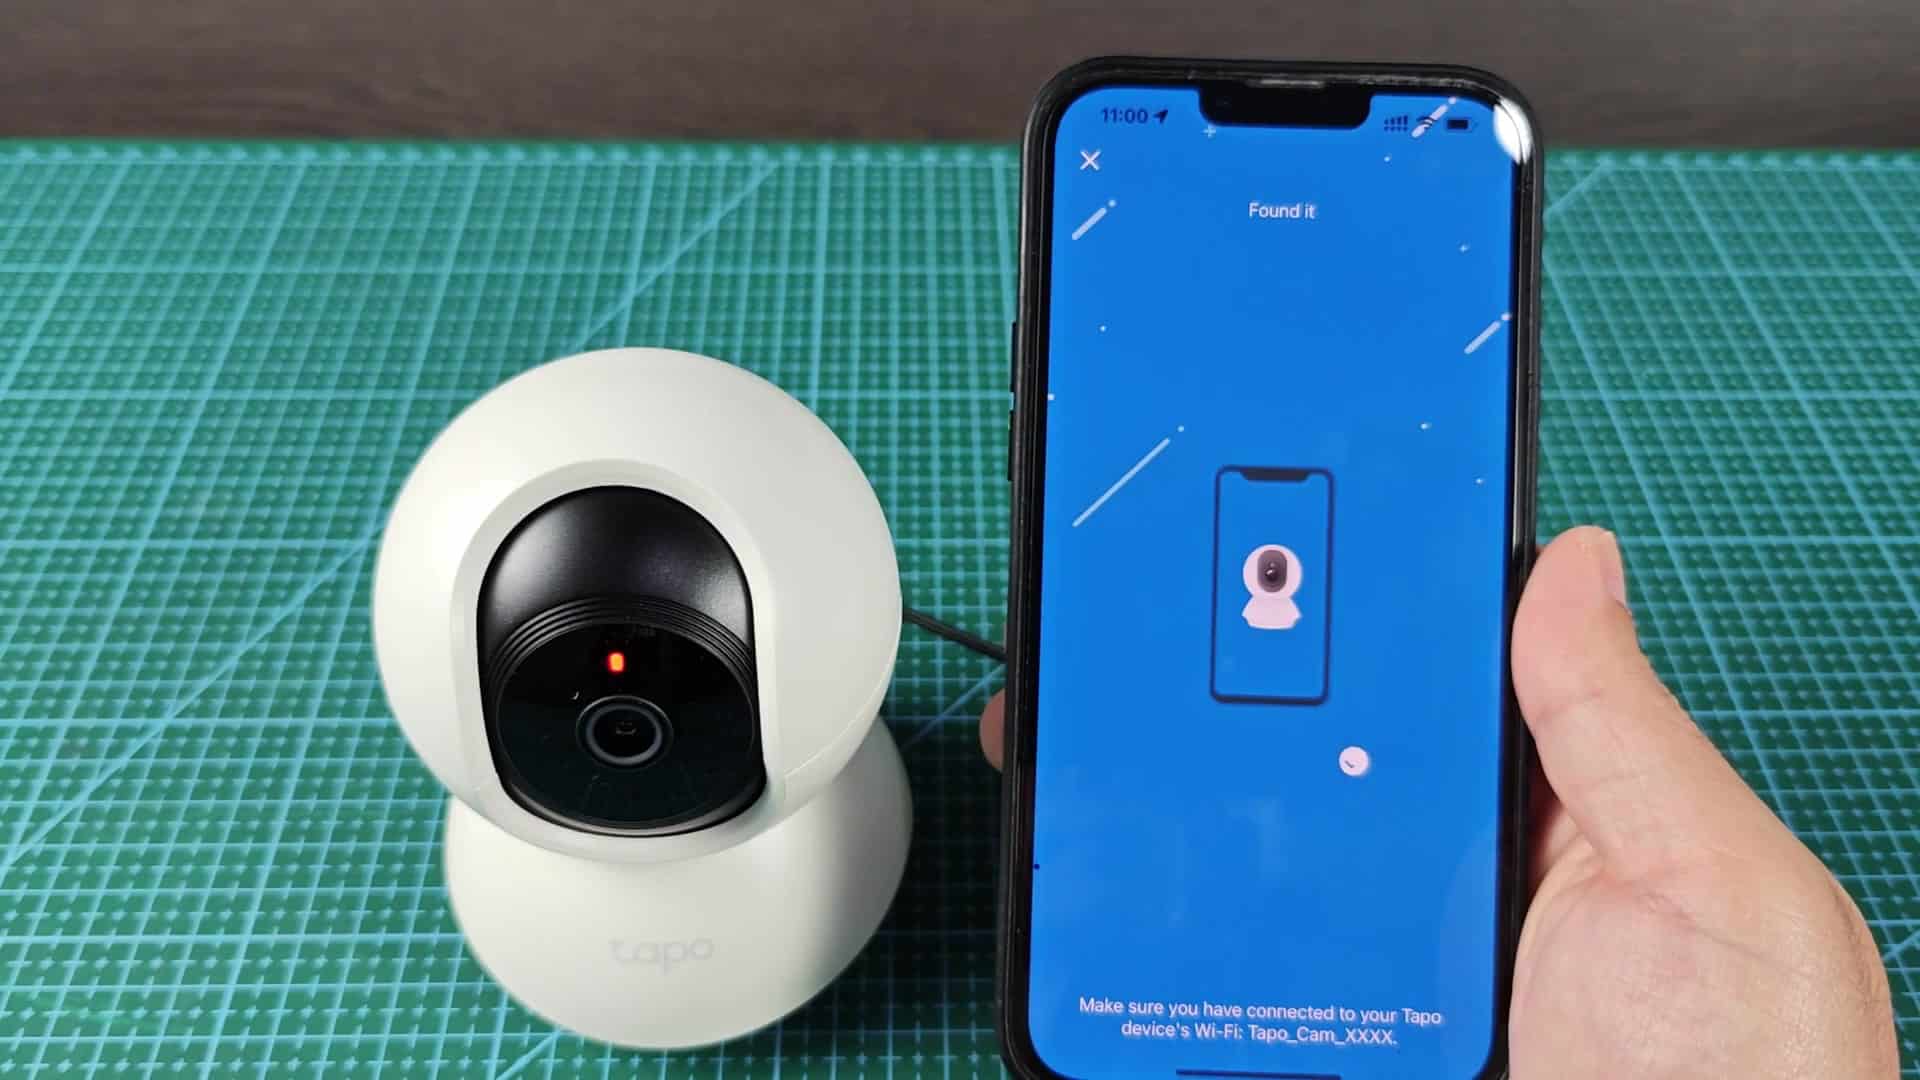
Confirm that you want to do this by tapping the checkmark in the upper-right corner, and the app prompts you to make sure the LED continues to blink green-red. Double-checking hardware never hurts. Next, a seemingly counter-intuitive step: “Go back to the system Wi-Fi setting on your phone,” the app instructs, taking you out of its own interface entirely. Why? It’s about that moment when the camera casts it’s own temporary wireless network while you’re trying to pair with it.
Tapo_cam should be the name of the one you pick, ignoring all others around. Connect instantly and you’ll be linked directly (though also disconnected from your home internet). With your phone now tethered to camera’s temporary network, you flip back to the Tapo app. It notices you’re waiting for it and asks if you want to continue with primary setup process.
It shows you a list of nearby networks and you pick correct Wi-Fi network for your house. Tap your router’s name. Enter your password. Do so very carefully since getting this wrong means starting over. Once inside, all you have to do is type in a password, and then you can tell the app where your camera is situated within your house. If you plan on adding more cameras later down the road, it’s a good way for the app to sort through them all.
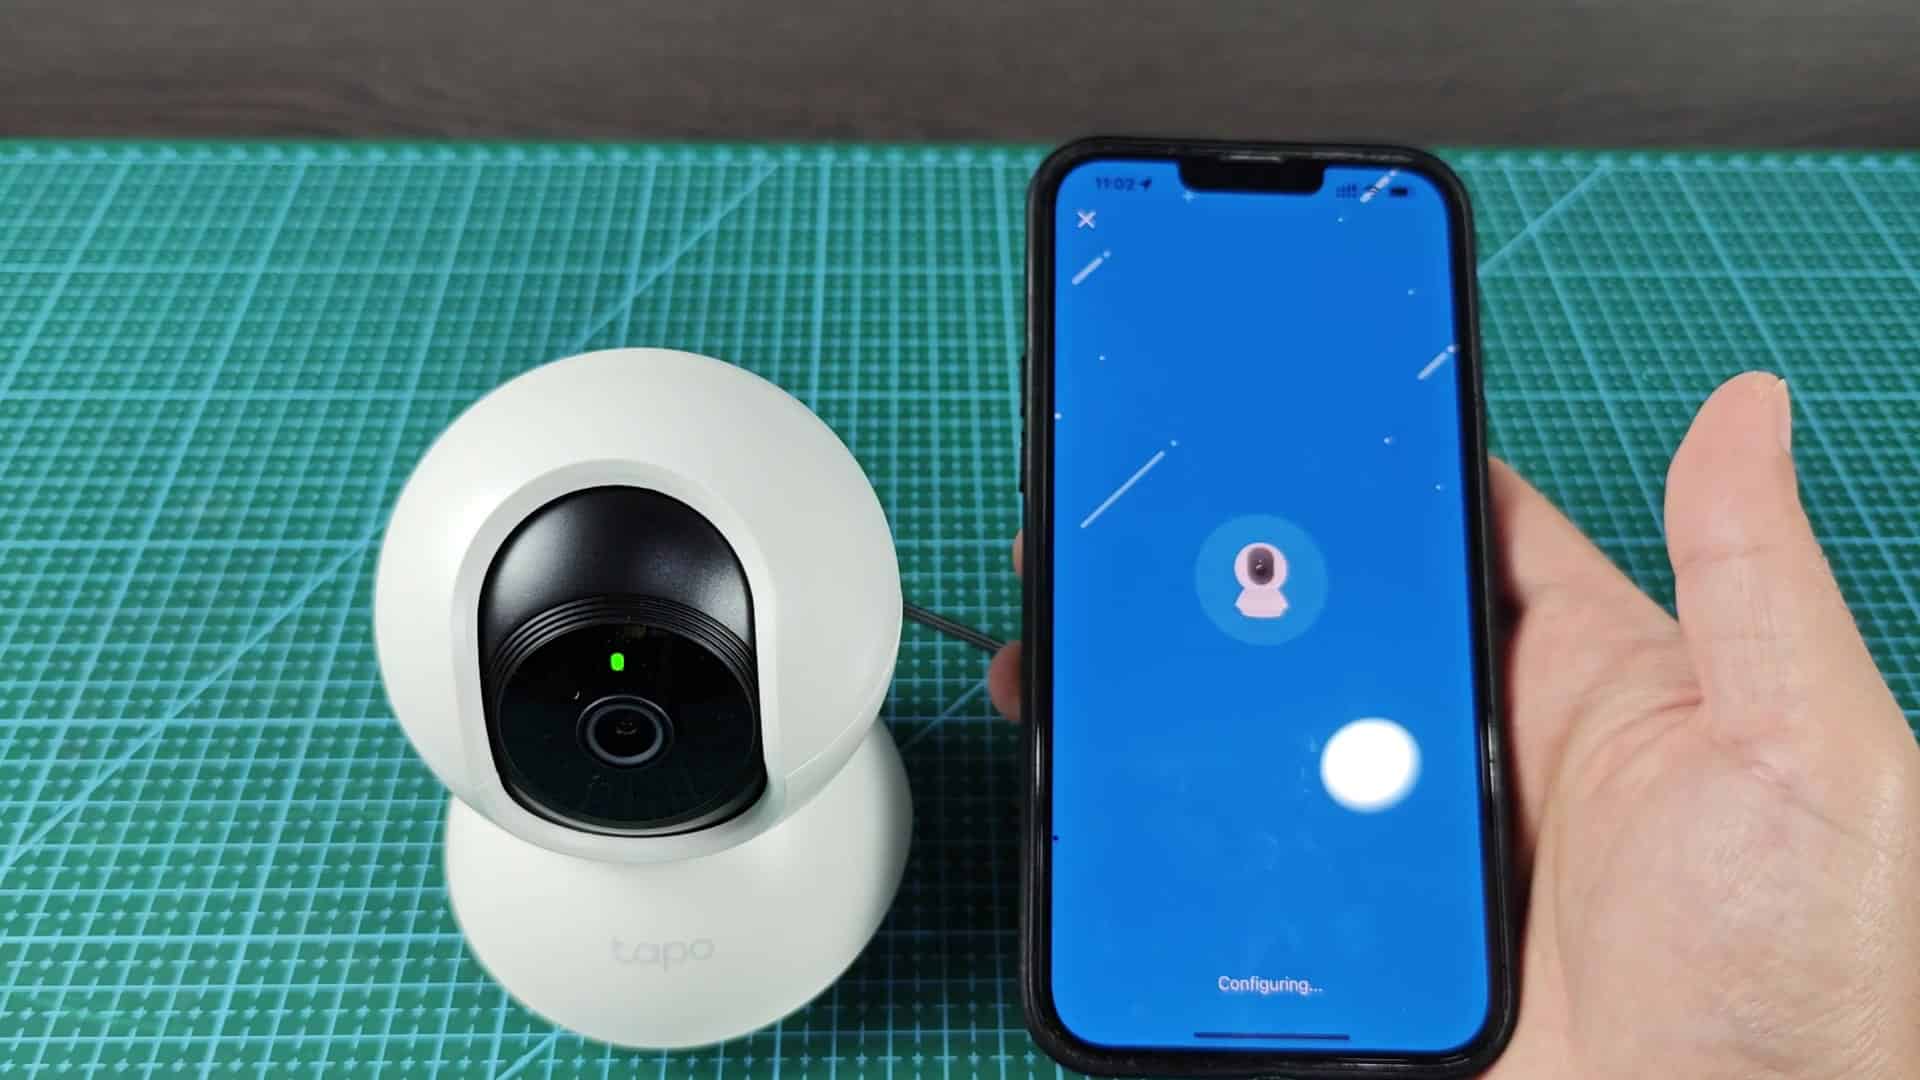
On screen you’re presented with a list of rooms. Because you’re going to set up this one in the living room, you choose that option. It’s simple enough; just tap the Next button once you’ve confirmed its placement. Then you see your final confirmation screen which has a blue checkmark on it saying it worked. Then it says the speaker and mic is connected. There aren’t any timeouts or error messages so the connection remains solid throughout the entire process.
To complete the wizard, you just tap the Sounds Good button and then smoothly go into operating mode. But the camera’s online now so you want to make sure it’s all up and running properly. Head back over to the app and find your way into the Live View section. Almost immediately a video feed pops up. This is what the camera is seeing.
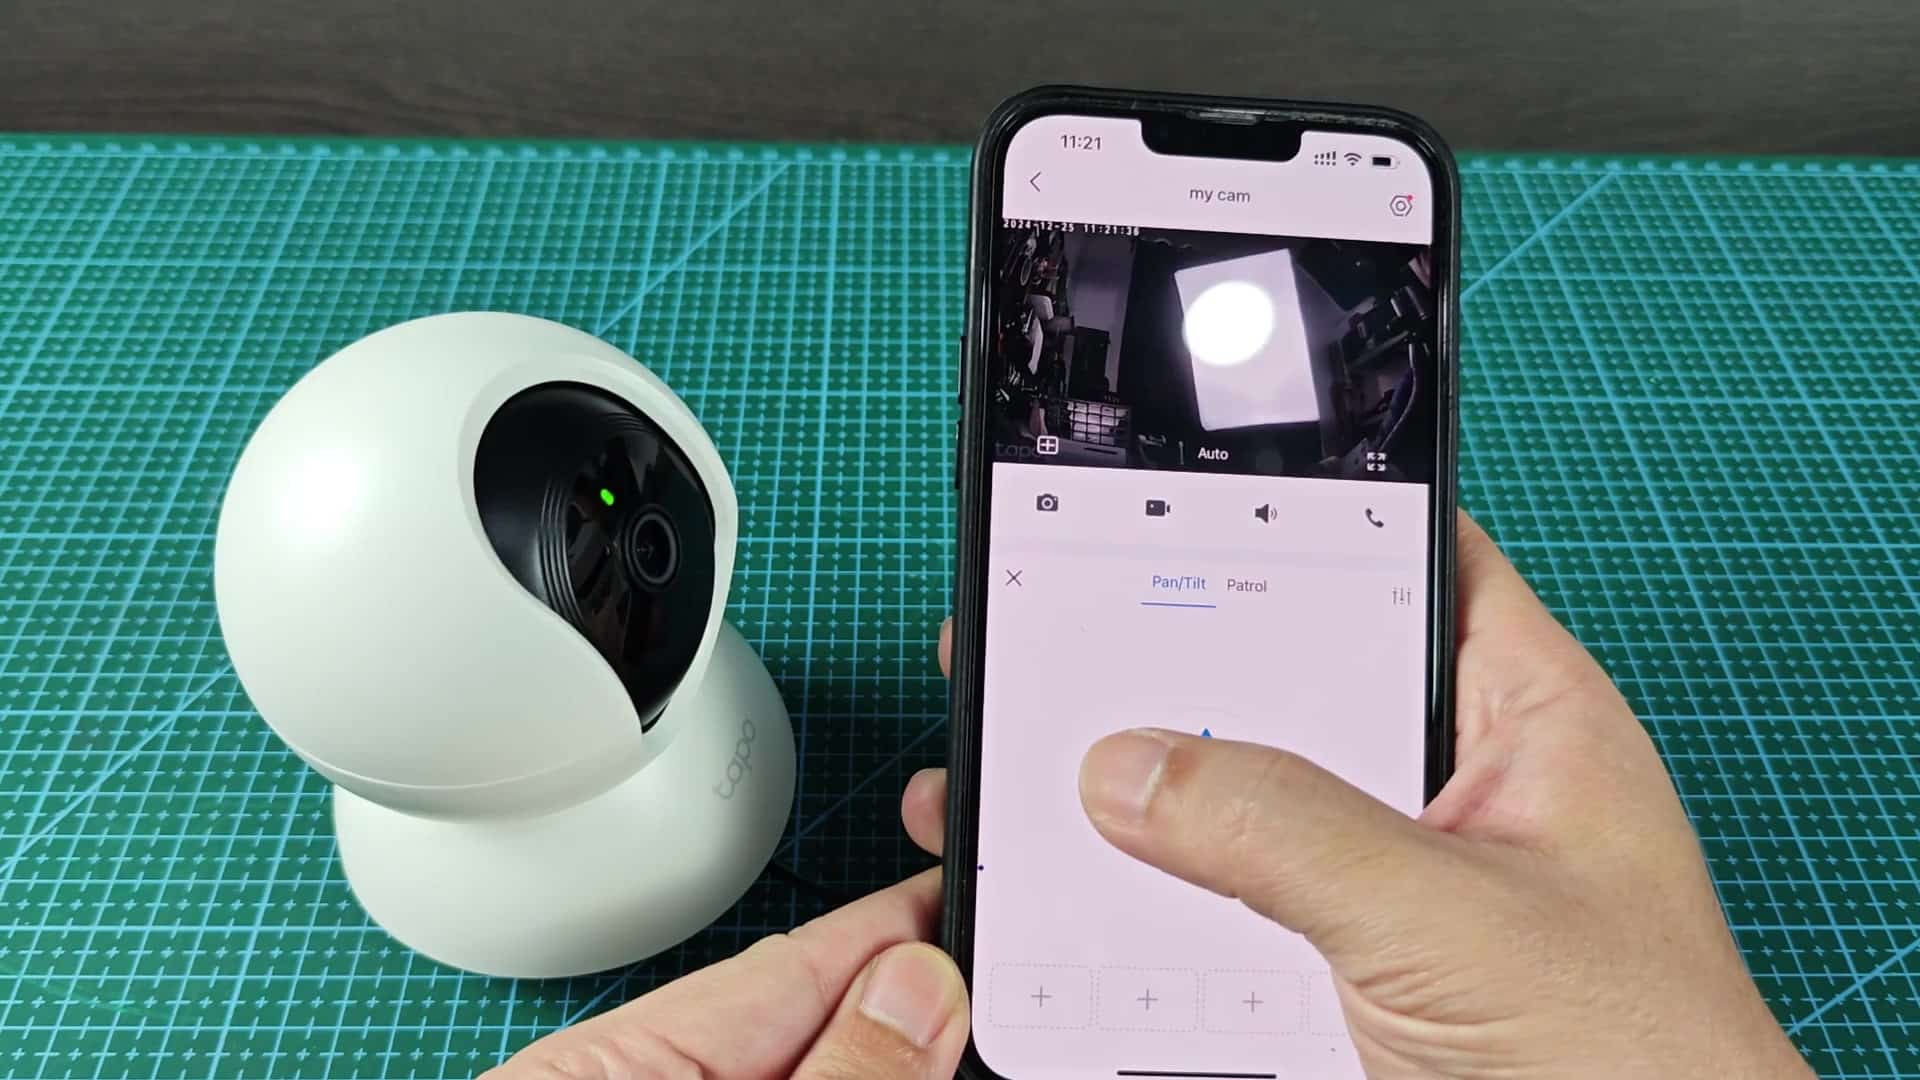
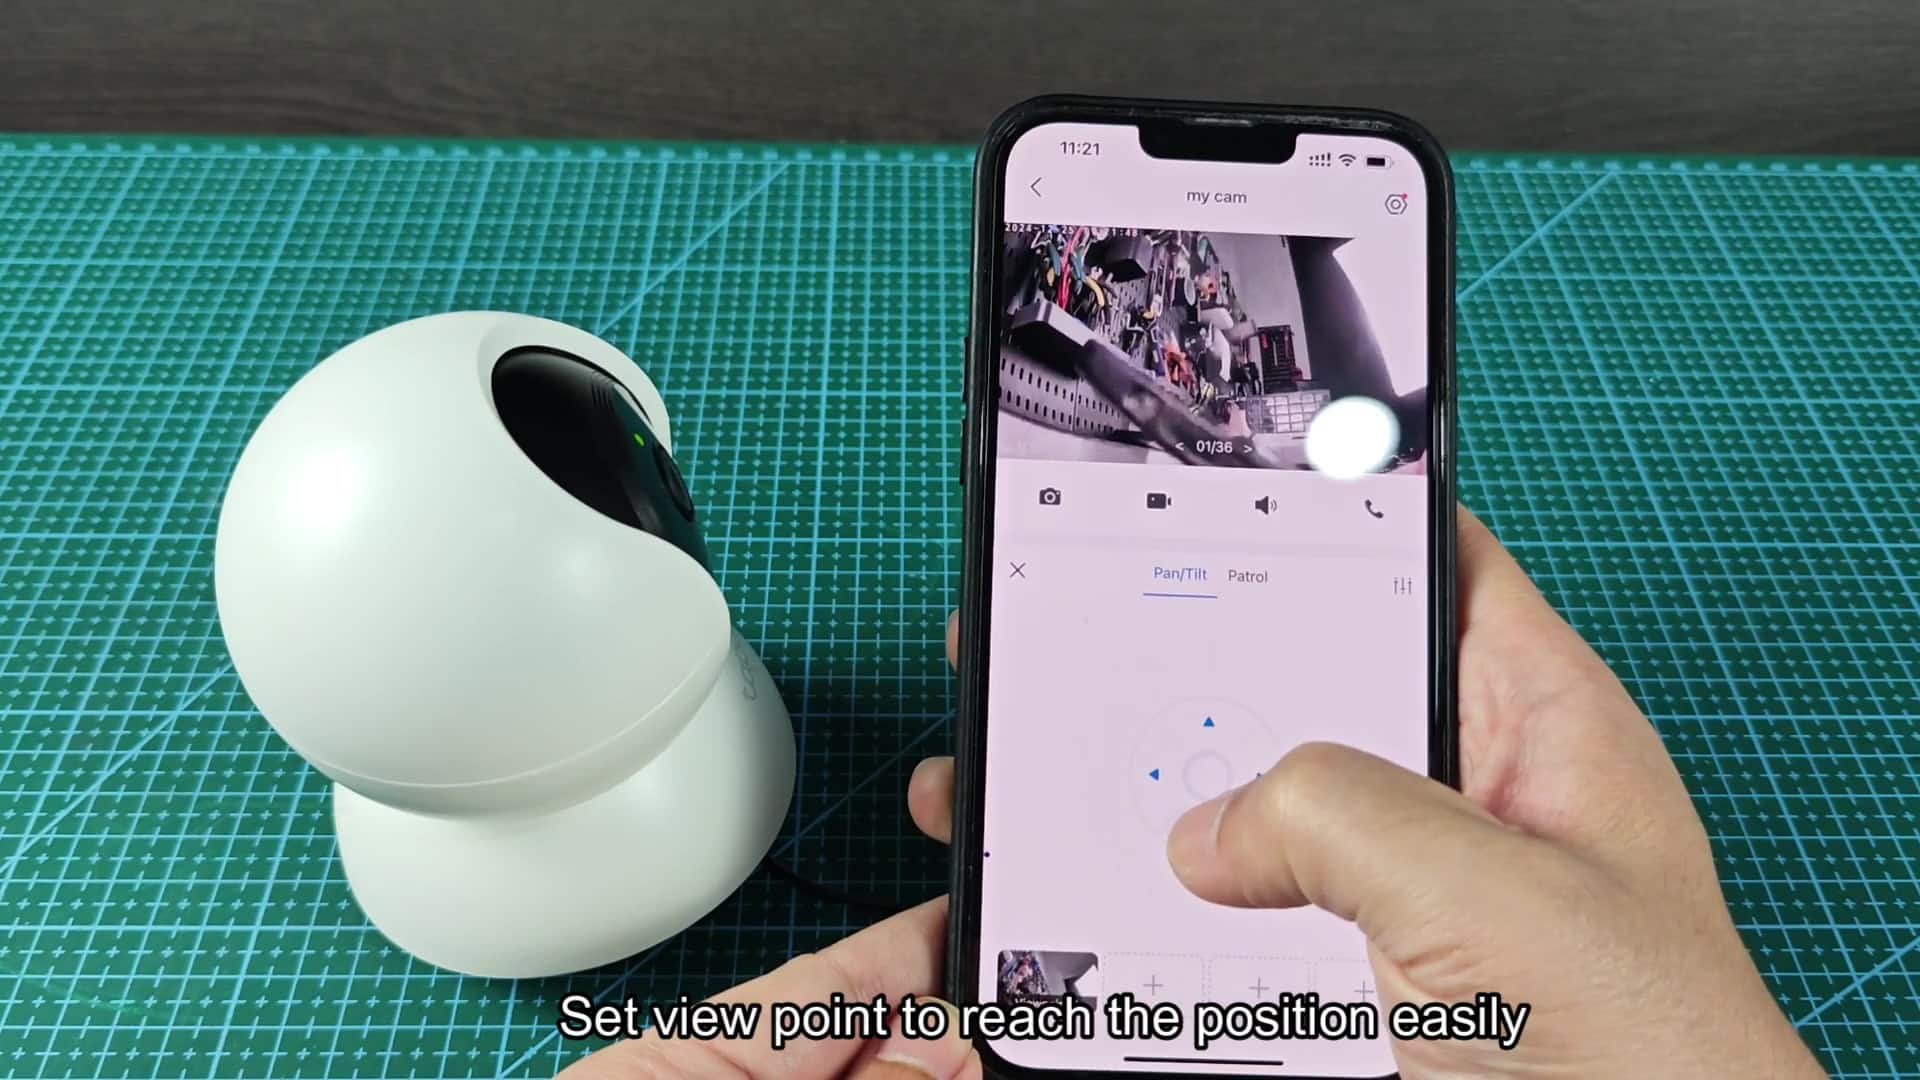
There are some control icons here for privacy and audio settings. The image looks pretty good, sharp and clear. Make sure recording works by checking out the playback option. Because your moddern model can be moved remotely, you want to try out the pan and tilt functionality. Tapping the directional arrows on the display makes the camera head turn around smoothly. Moving it left, right, up and down reveals that it has a good range of motion.
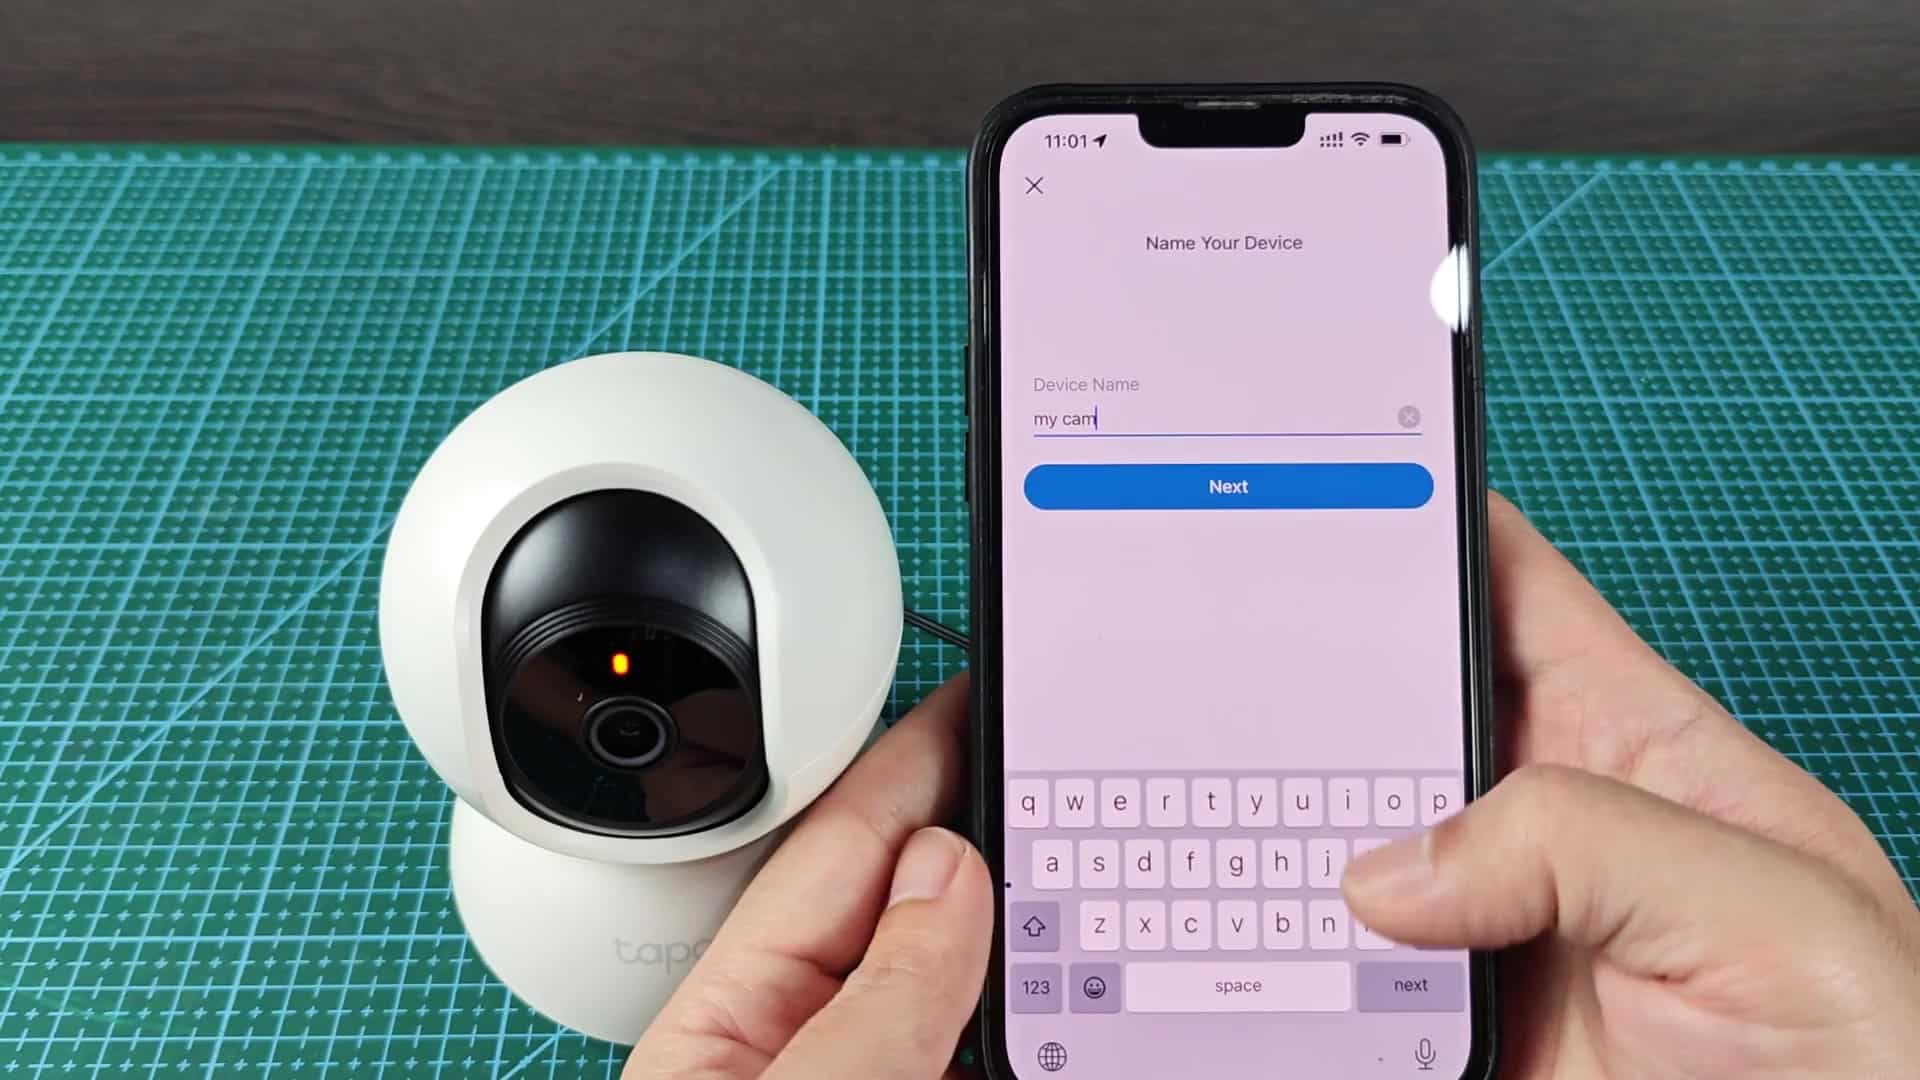
There’s no noticeable lag in the video feed so the response time is minimal. It’s nice to have this functionality for quickly checking various angles without having to move the device itself. So then you save a view for a particular angle you prefer and it will be easier to navigate to in the future. The app asks you with a popup dialog what you’d like to call this saved spot. Just enter a quick label and tap save.
From now on, just one tap returns you to that very same angle without having to mess around with adjusting the camera again. It really simplifies the everyday viewing experience quite a bit, convenient if you’re checking on your home while away.

