
Why?
If you use both a Mac and a Windows PC, you don’t have to set up two computers and switch between them every time you want to work on something different, you can plug in one keyboard, one mouse and one monitor into your Mac and your PC, and share them. You don’t have to reach around your desk and unplug cables anymore.
The idea here is to make it simple. Remove all the messy cable clutter that normaly comes with running two machine.
Setting Up Your Dual System
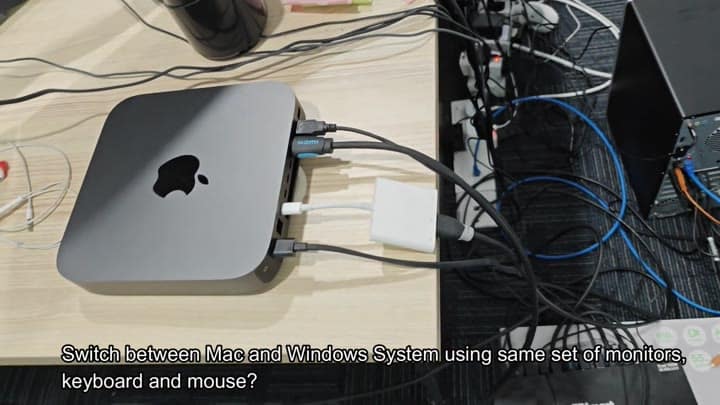
That’s a silver Apple Mac Mini sitting on the desk, which does most of our creative stuff. It plugs into the new stuff with regular HDMI cables, and there’s also a white adapter in the link up. These connections gets a bit hectic at the back but that’s only while setting everything up.
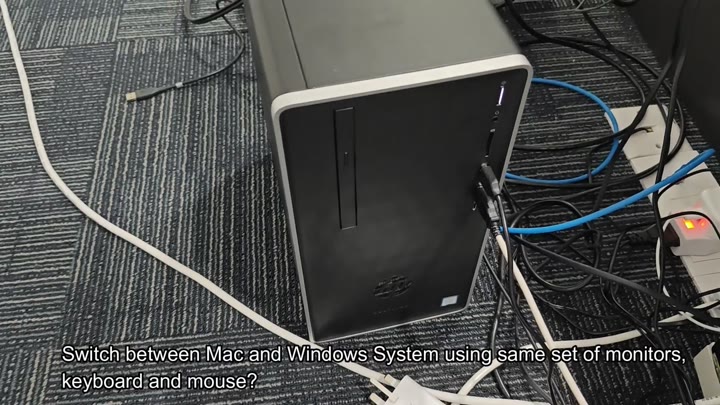
Don’t worry about how cluttered it looks at first. It will be cleaner in the end.
A Dell black desktop tower (the kind that sits on the ground beneath your desk) are the second system. You’ll connect this computer to the same power/data lines and even plug into the same central switching unit as the Mac, which brings these two different computing environments into a seamless workflow. Lights on the power strip show you everything’s properly powered.
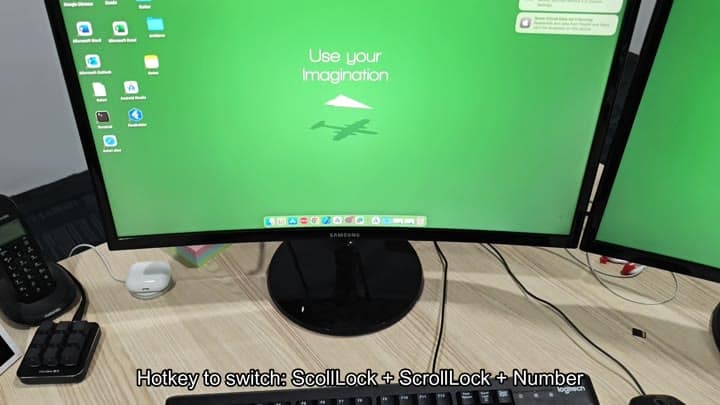
It’s quick to switch between systems. There’s no button on the device itself either (instead), you hit a hotkey combo on your Logitech keyboard. Hit ScrollLock twice followed by one of the number keys, and you’ll see display change immediately.
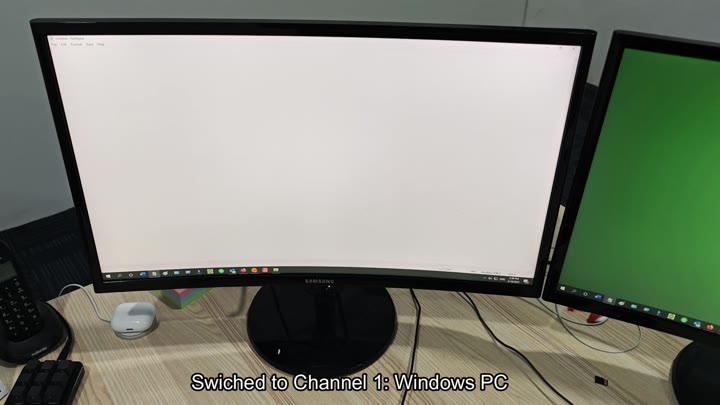
It feels seamless, and I’ve found it work reliably every single time during my testing.
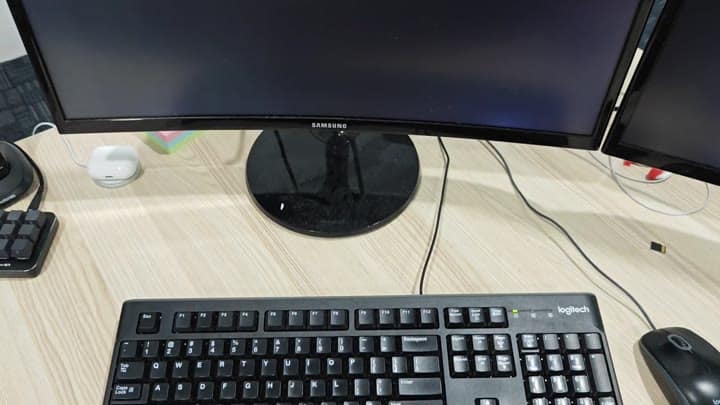
Even with all those added connections, it’s still a clean desk. There are two Samsung monitors tucked in back of the keyboard. The only other things there is an AirPods case and a numeric keypad.
Instead of multiple keyboards and mice to juggle, you only have one set of peripherals to deal with. That frees up plenty of room on your desk, which means no more clutter.
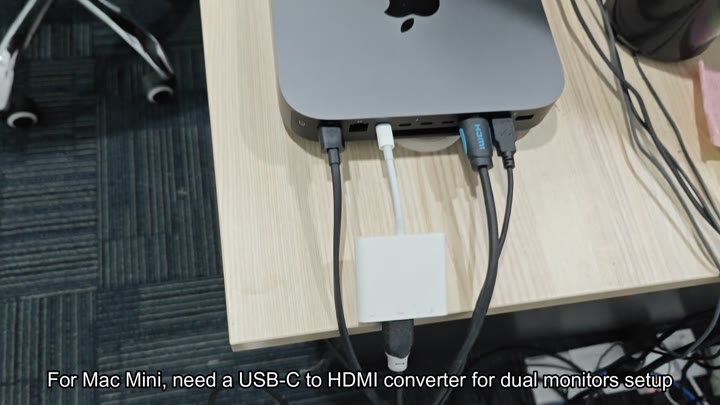
The only trick is that the Mac Mini doesn’t has native enough HDMI connections to power two displays. So you need one of these (a USB-C to HDMI converter)… To link things together.
The cable connecting everything is this: One end goes into the port, then two black HDMI cords exit to connect to the switch. It’s an added expense but so worth it in terms of flexibility.
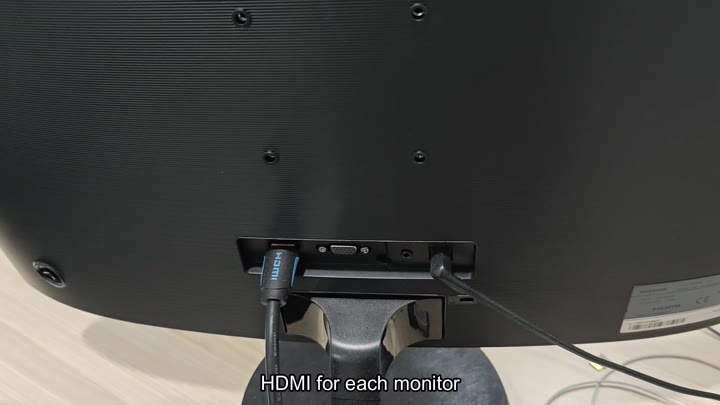
You use a USB-C to HDMI converter to bridge that gap.
Each monitor gets its own HDMI feed from your KVM switch. You confirm that both feeds is working and receiving a signal.
Once you have everything set up, the KVM switch doesn’t cause any problems and each screen shows exactly what it should show based off which system you’ve chosen. There’s no delay in the switch-over and no flicker at all. It stays rock-solid and doesn’t feel like the resolution change as you toggle between systems.
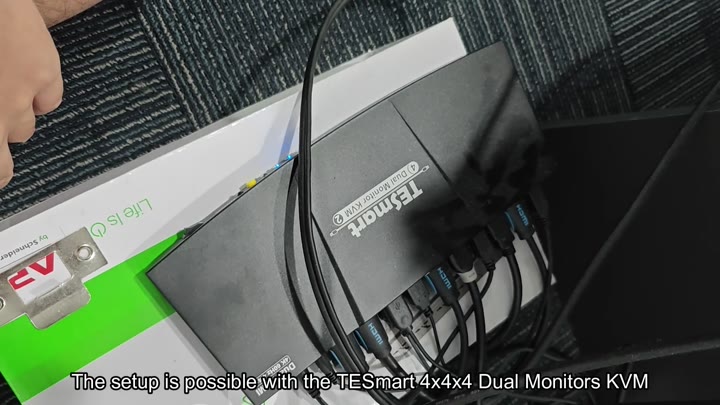
The star of the show here is the TESmart 4x4x4 Dual Monitor KVM switch. I have it stashed in a box behind the monitors, which is fine because it has plenty of room to sit comfortabley there. Multiple HDMI cables plugs directly into it and it handles both computers’ USB and video signal.
With just a little bit of effort you can toggle back and forth between Mac and PC. Everything works together, and you’re able to work on whichever one you want without interrupting your flow. It’s an incredibly simple solution to what is otherwise a pretty complex problem.
