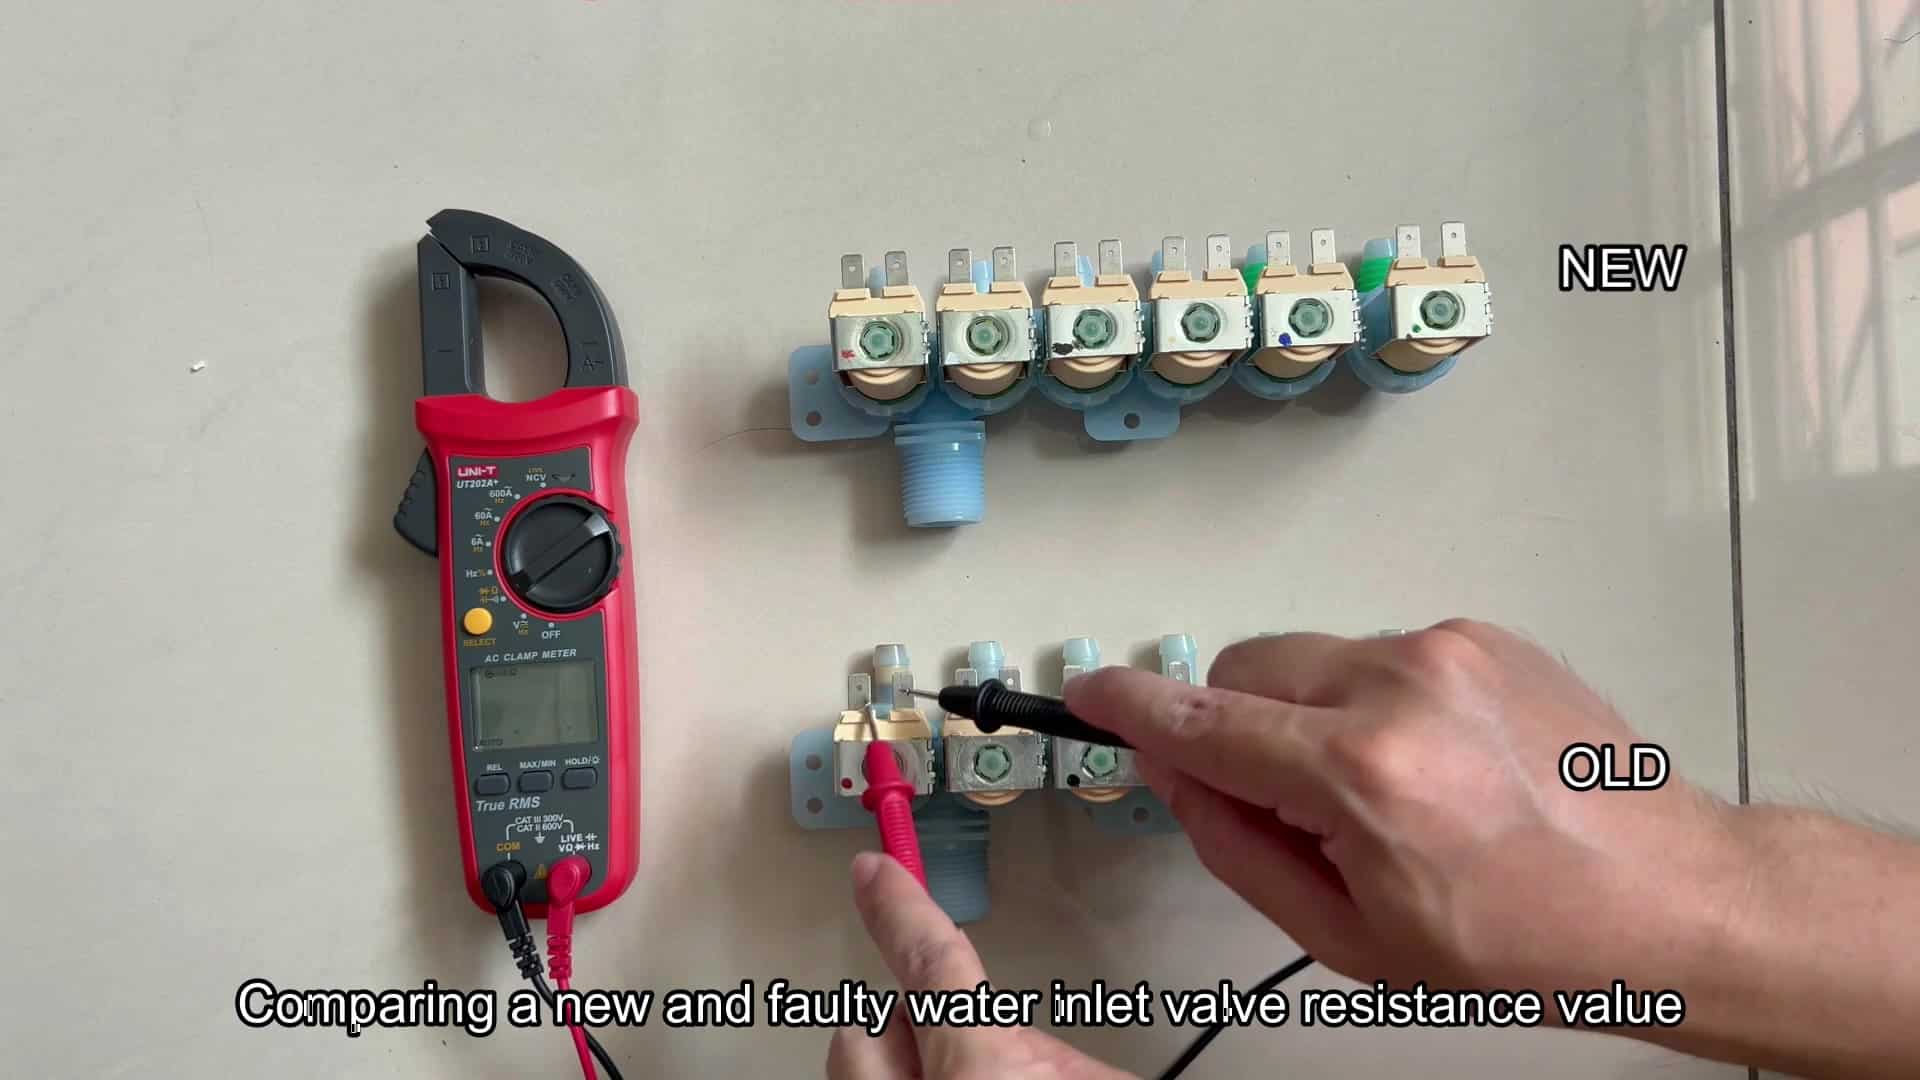
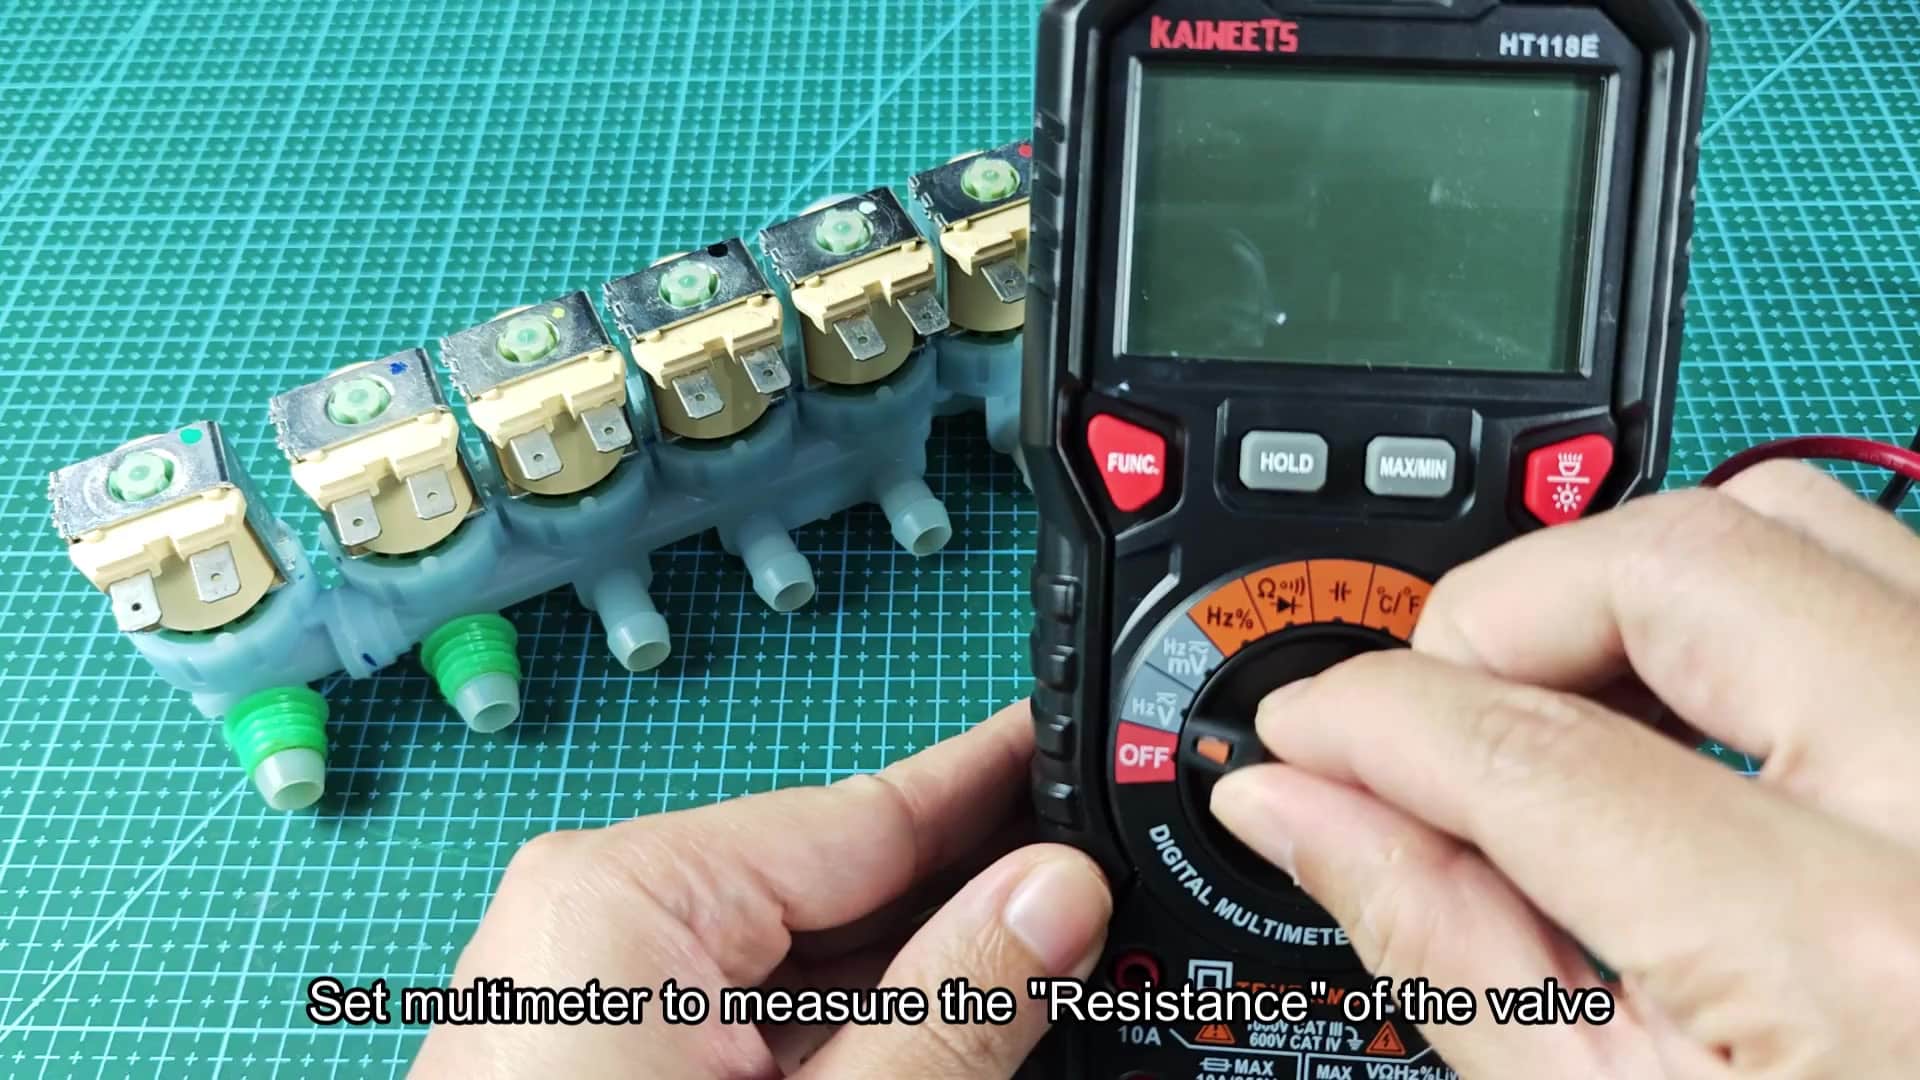
To see if your water inlet valve is bad, test its electrical resistance, or look for any physical signs of damage. For this process, there’s no need for fancy tools; just a simple multimeter will do. Resistance indicates that the coil(s) inside are still intact. That way, rather than guessing around, you’ll know exactly what’s going on with a quick check. To test resistance, you set your multimeter on the Ohms setting. You want to isolate and test each individual solenoid on the valve assembly. Each valve should shows about the same number on your meter.
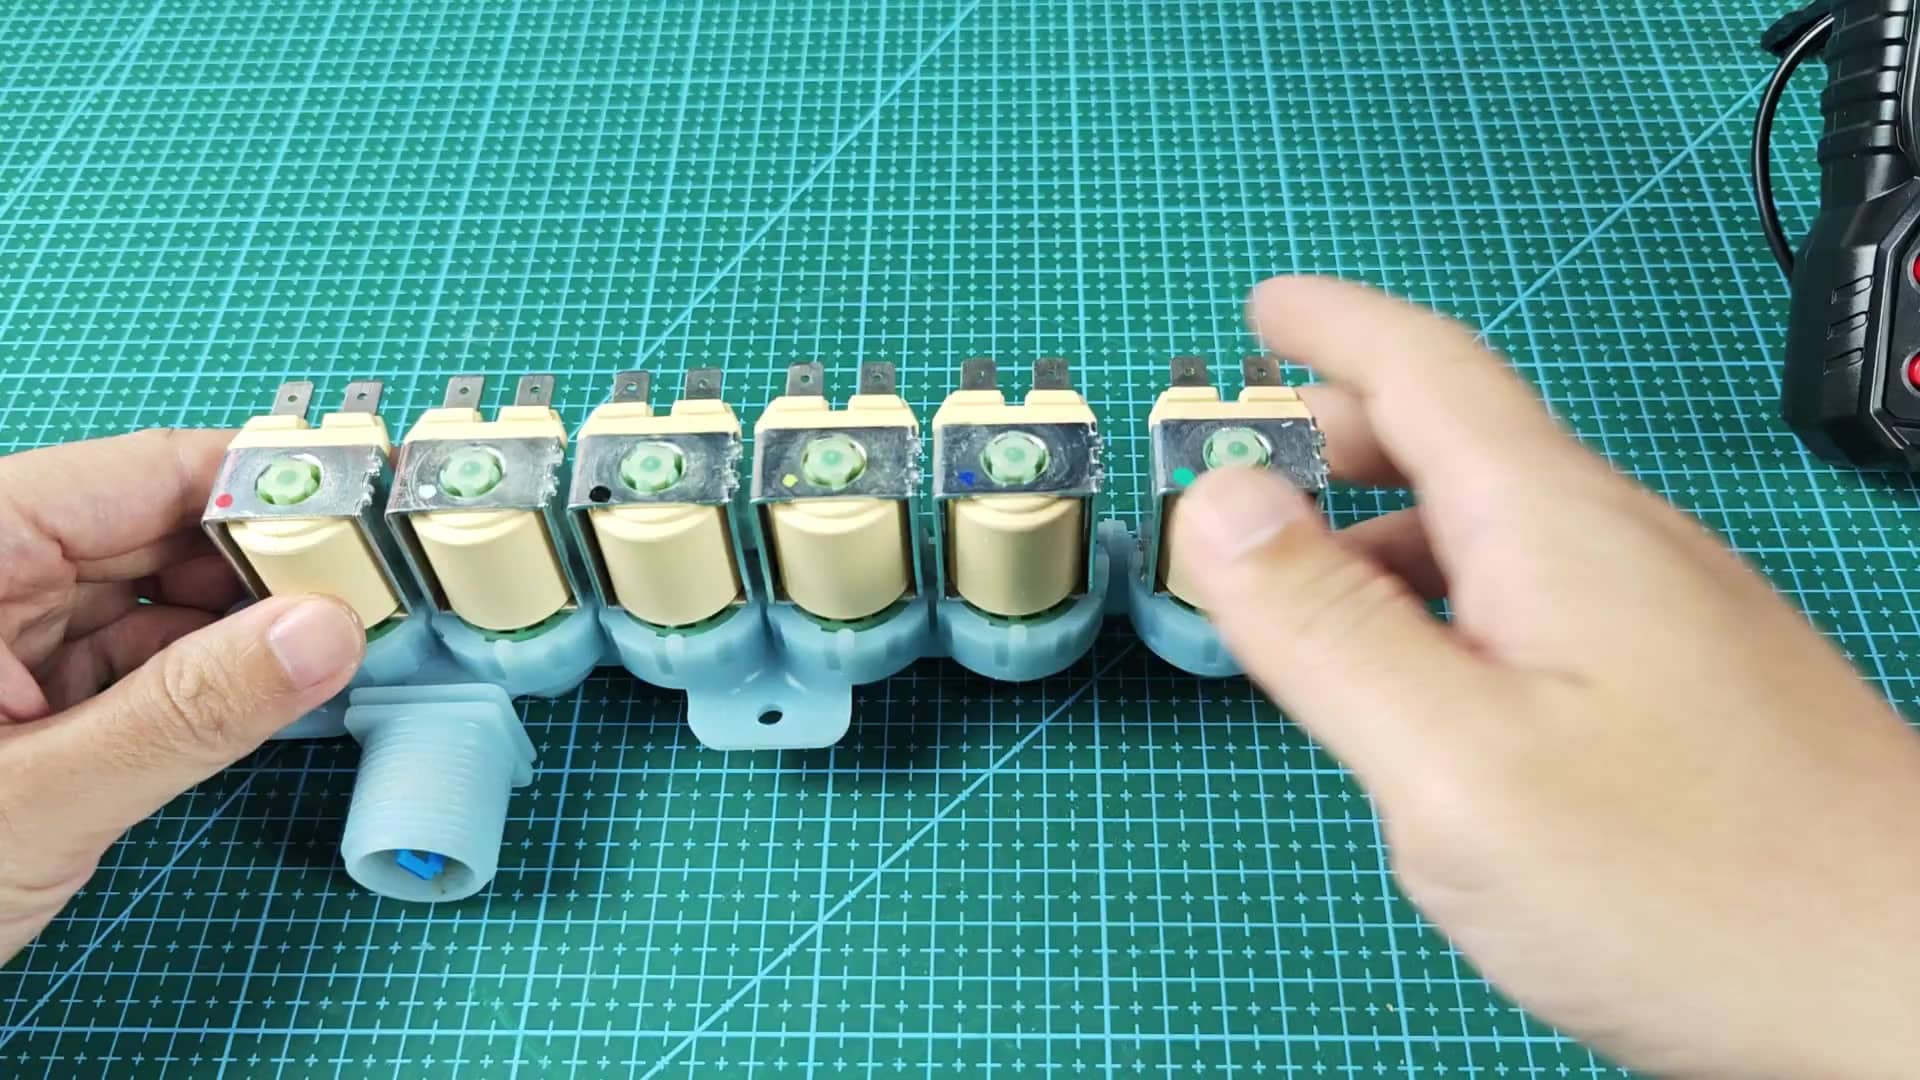
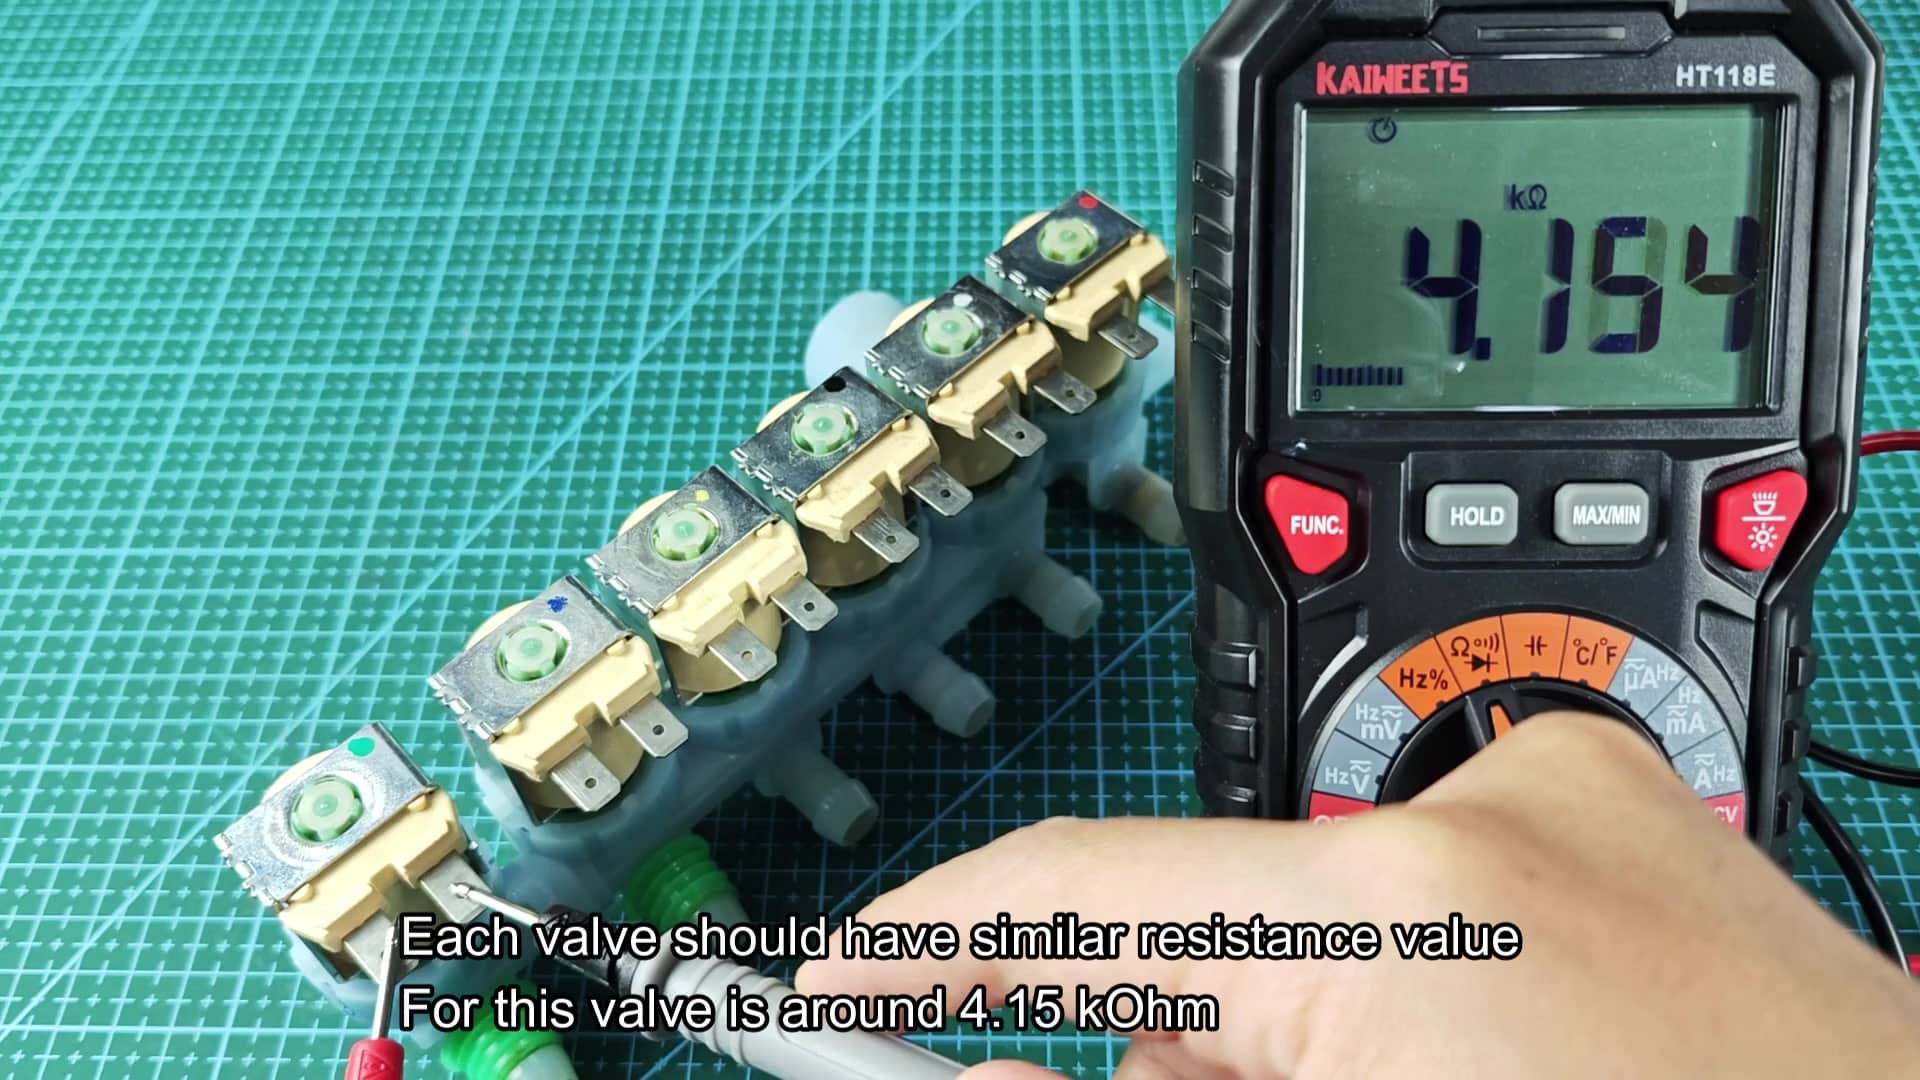
If they are all consistent then it’s likely the electric part of the valve is good. That little test helps you avoid pulling your hair out unnecessarily when fixing the valve. So you test the terminals of one section of your solenoids and set it for reference. So we’re looking at roughly 4.15 kOhm on this readout. That is a good readout and what we expects.
Visual Inspection Steps
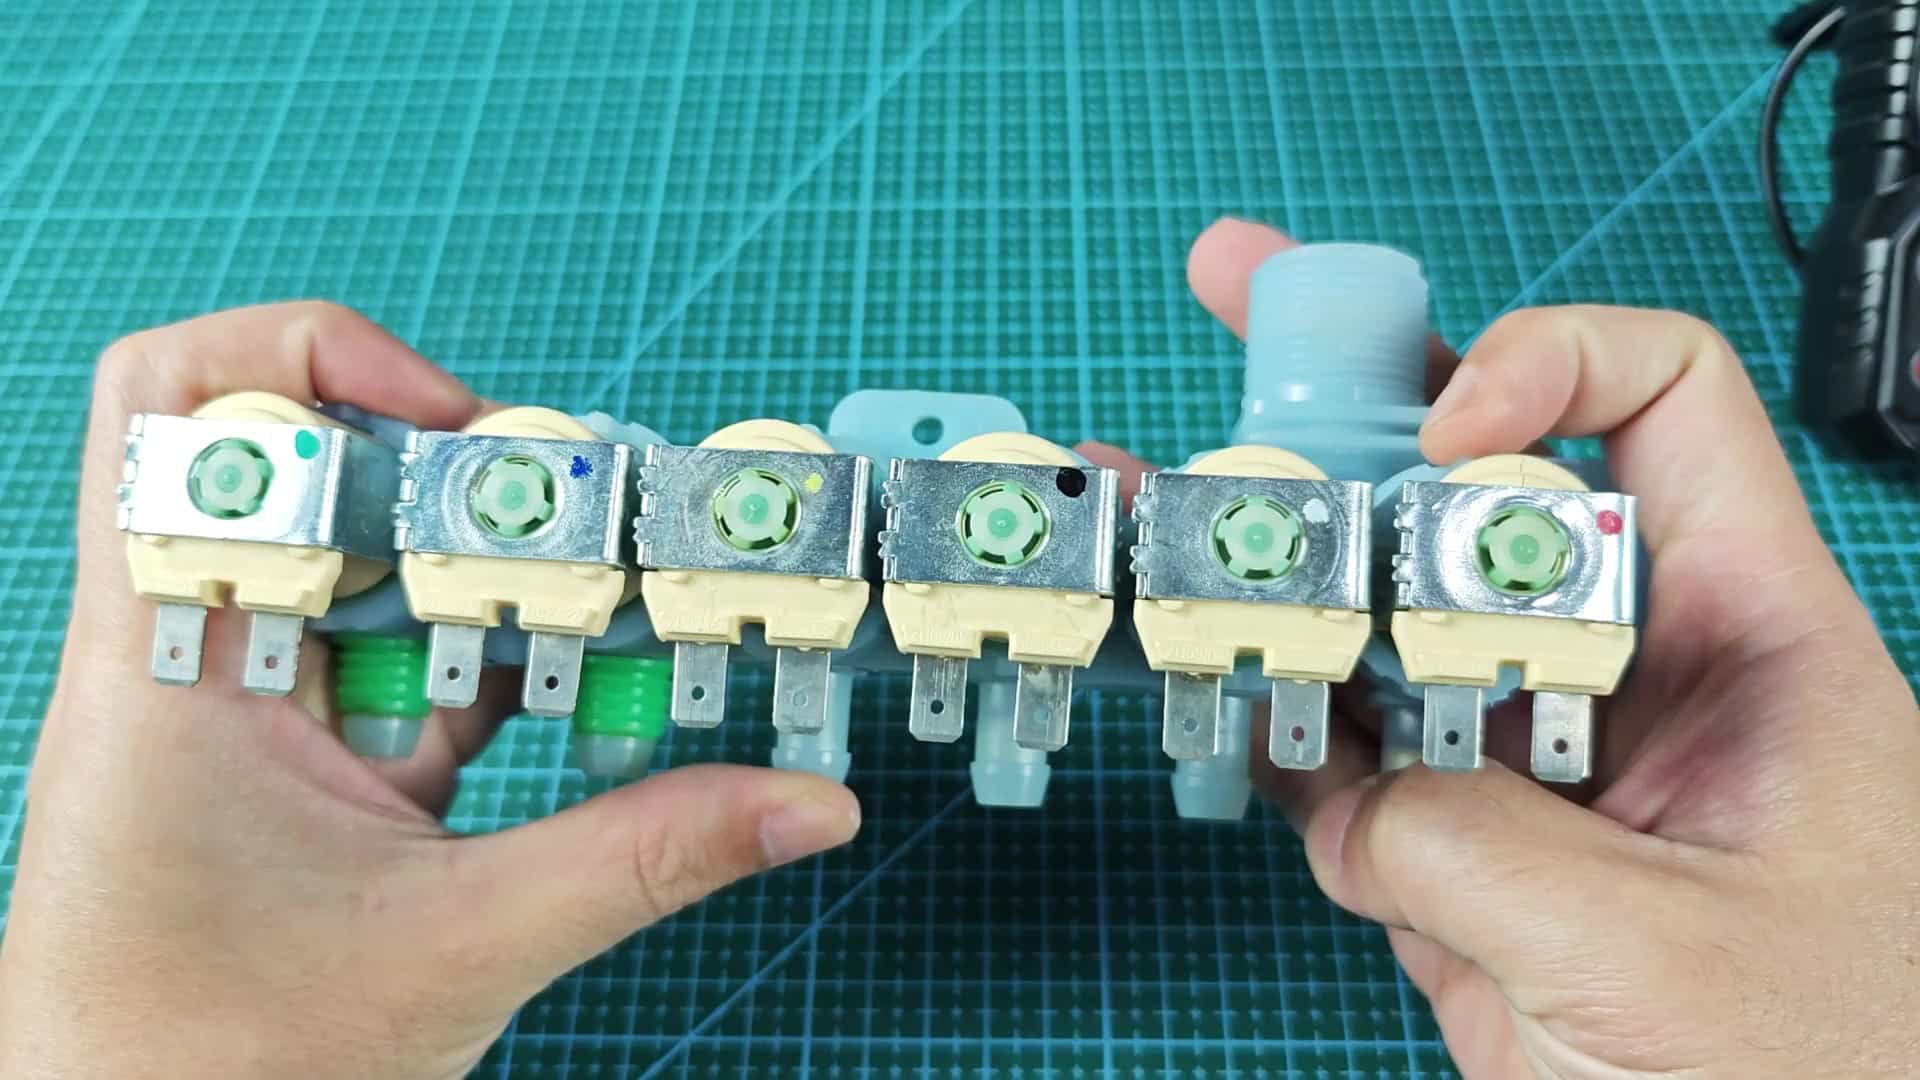
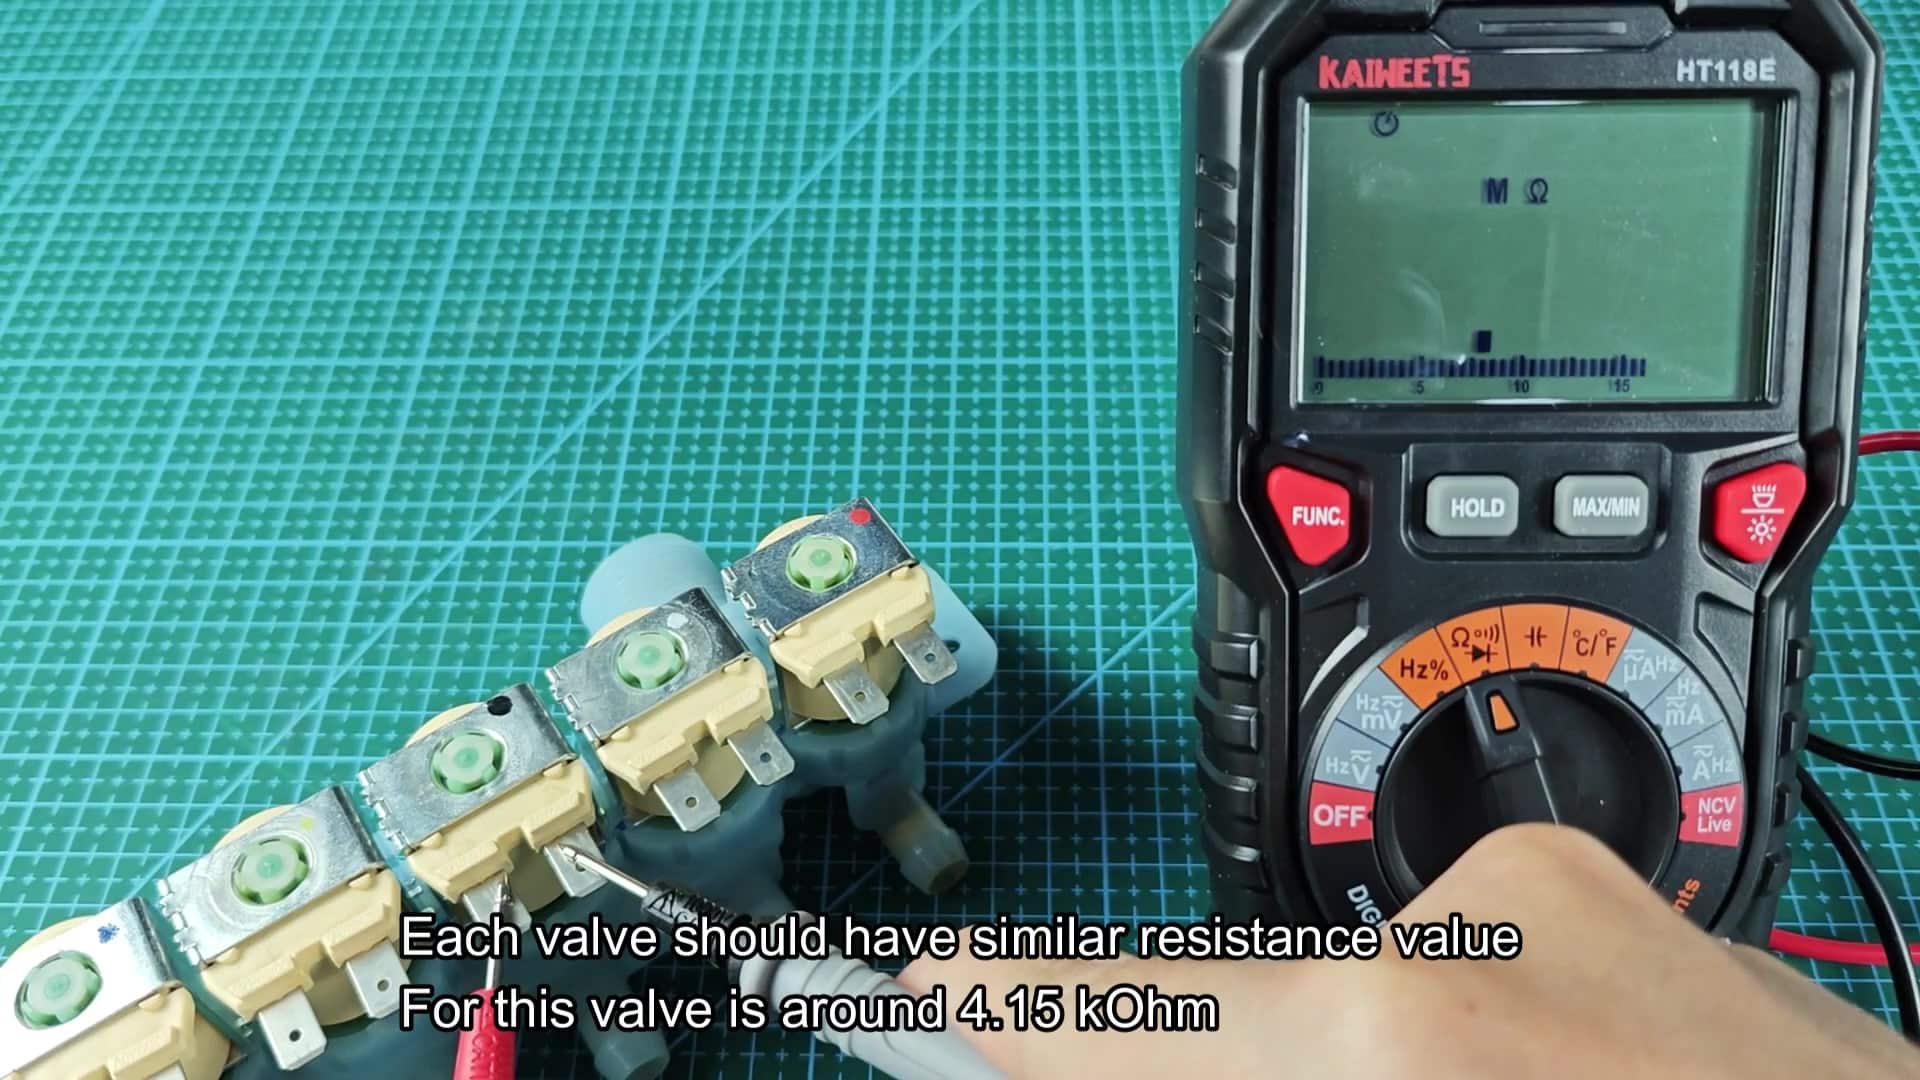
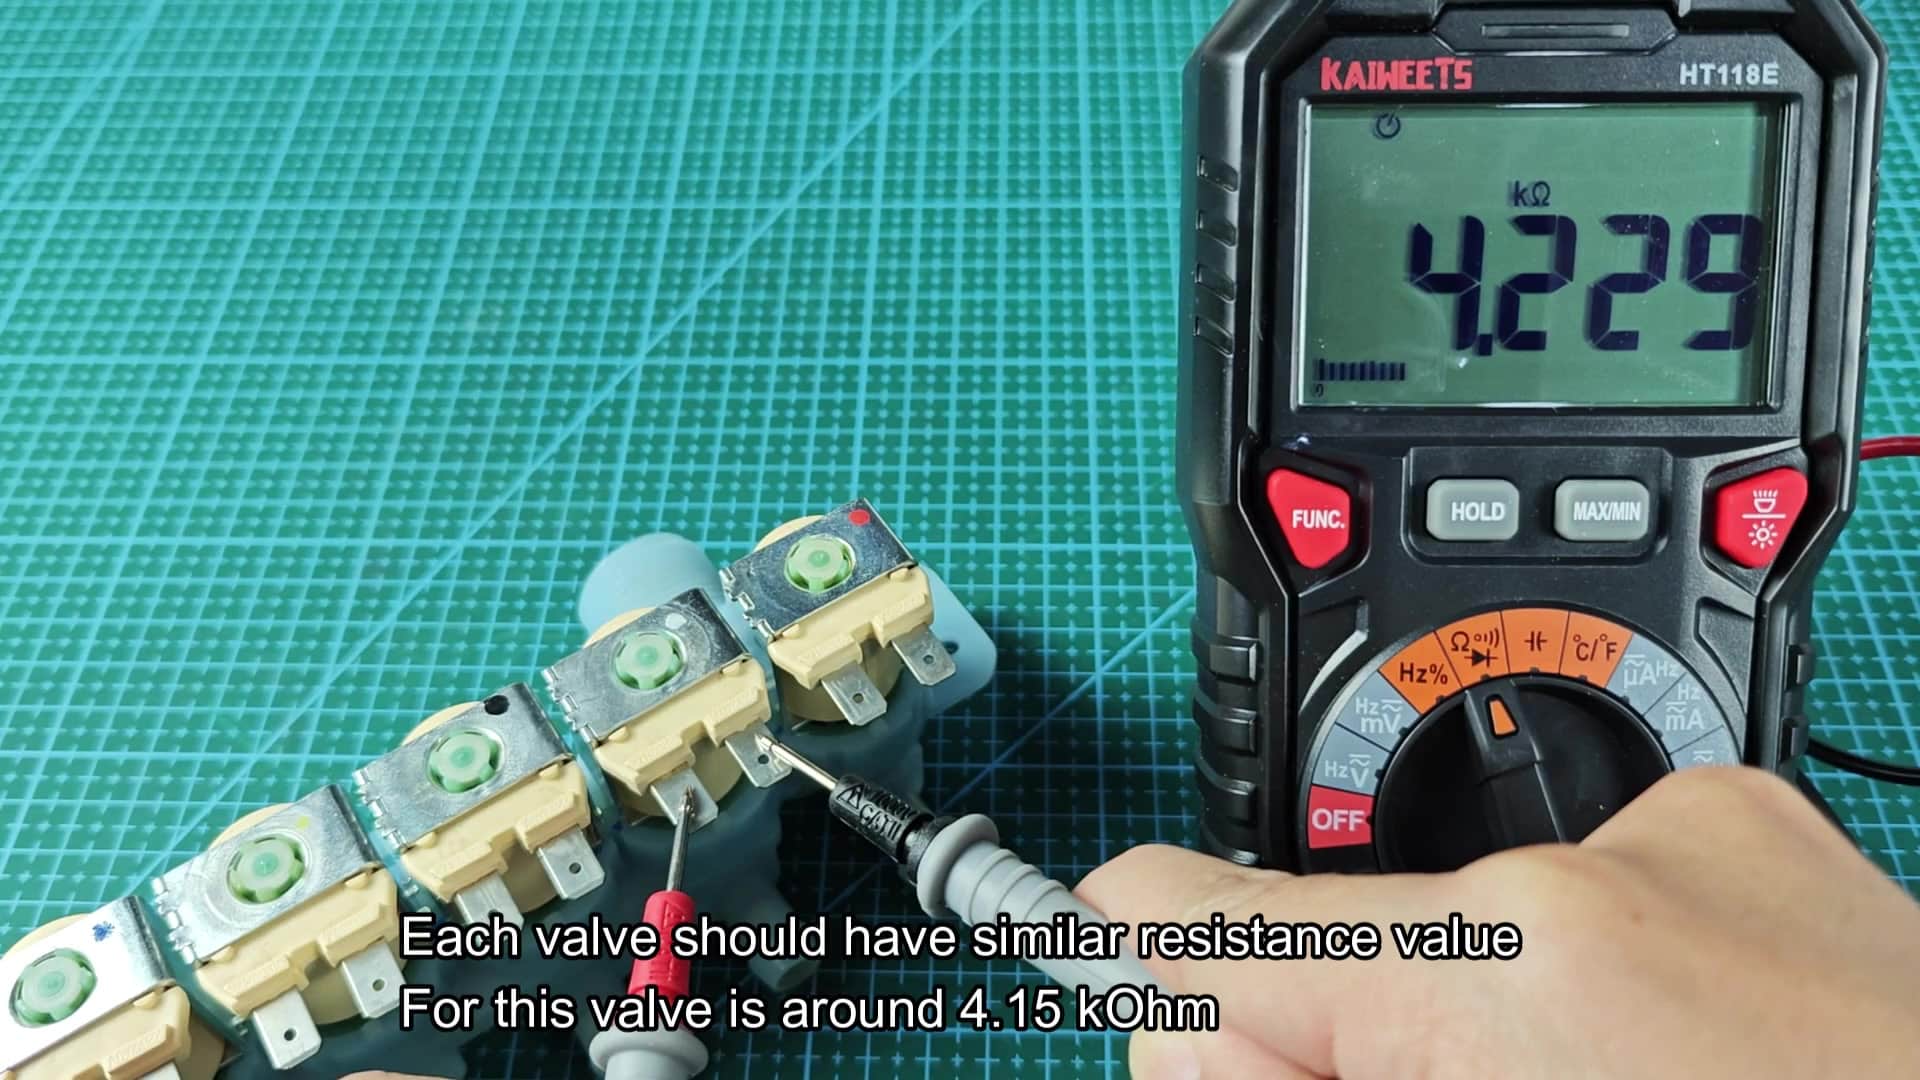
Then you go over to another terminal, and it reads something similar: 4.169 kOhm or something close to that. Test again, and you have 4.229 kOhm. Those valves seem to be in good shape. If the valves all have the same specs, there shouldn’t be a big change in resistance between healthy coils. Then you go check your troublesome solenoid and find it’s totally messed up. It doesn’t read correctly at all. If it was open, the screen will shows no resistance; if it was shorted, it might also look like an open circuit.
On one particular valve there is essentially nothing. The coil within this valve has broke or shorted internally, so there is no electrical flow at all. That’s definitely not good. Electricity can’t pass through a bad coil properly, and it should of give you some sign that it has failed.
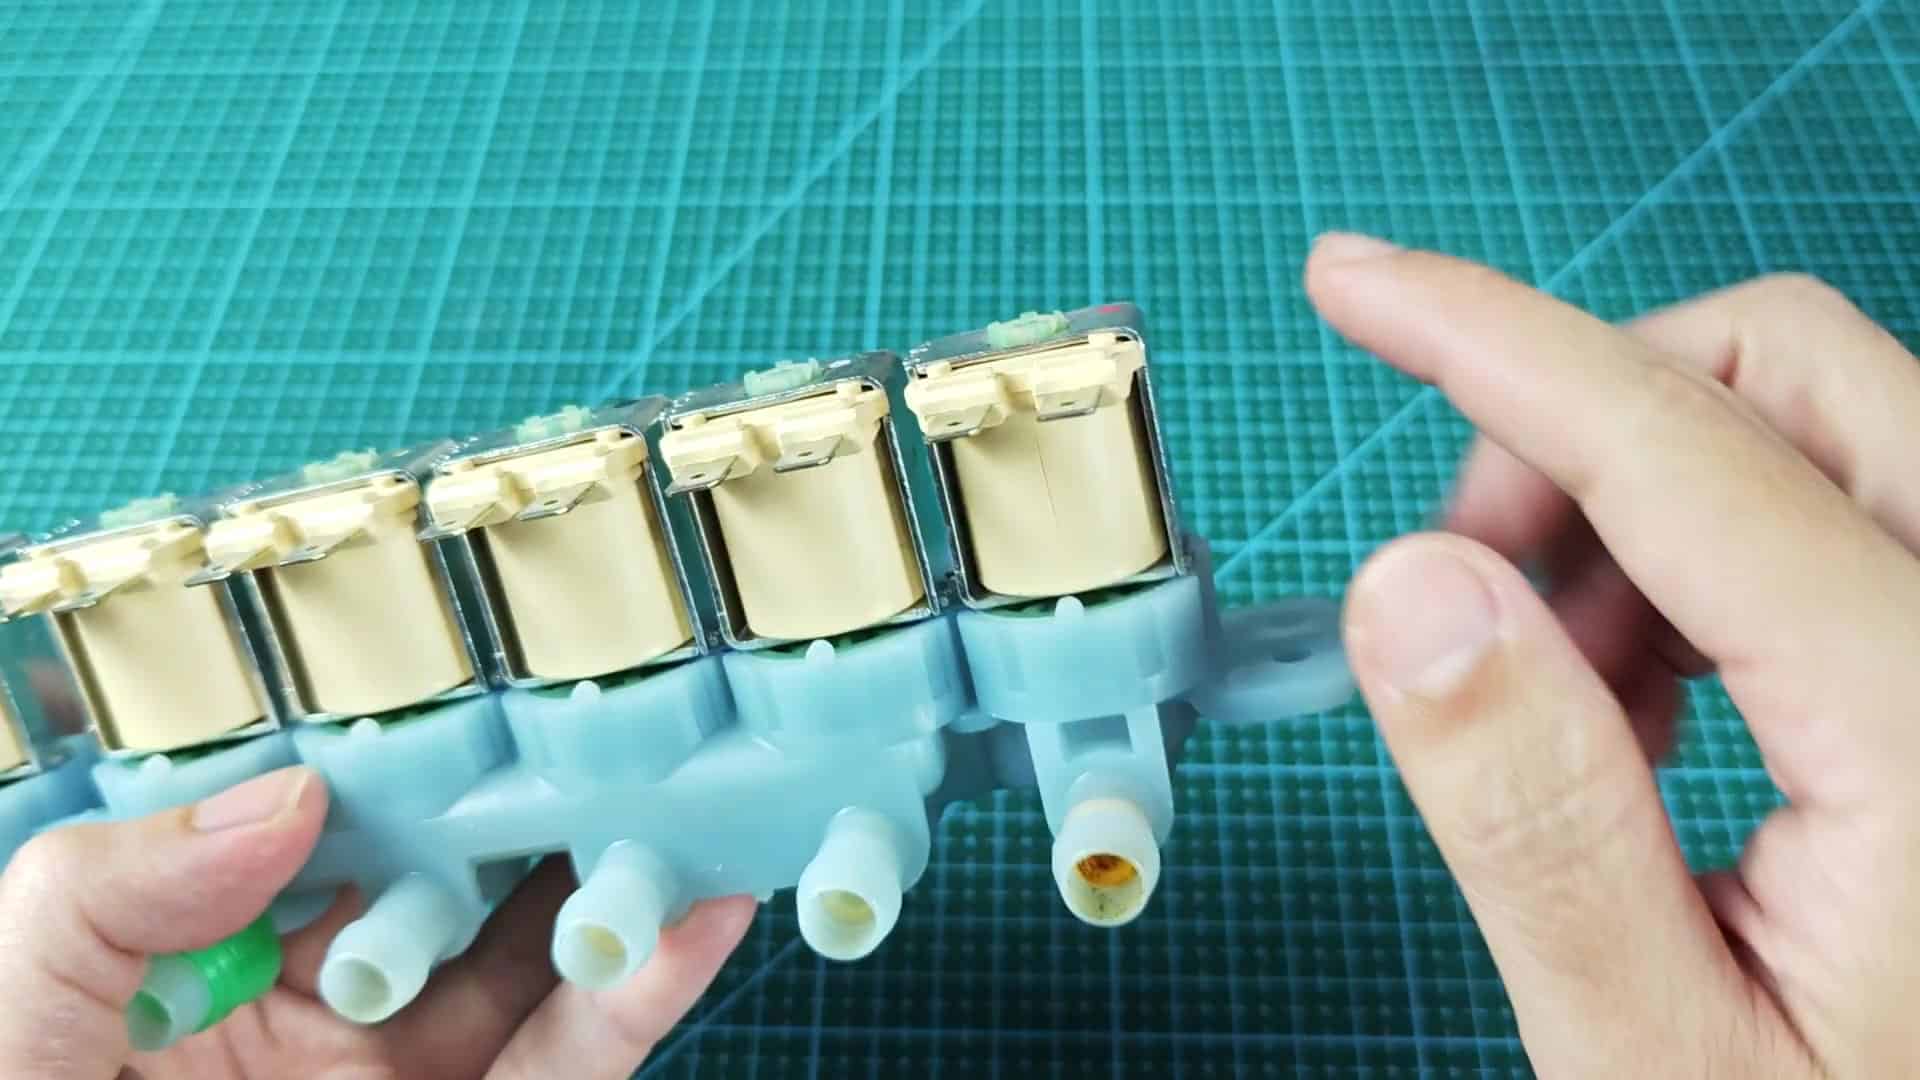
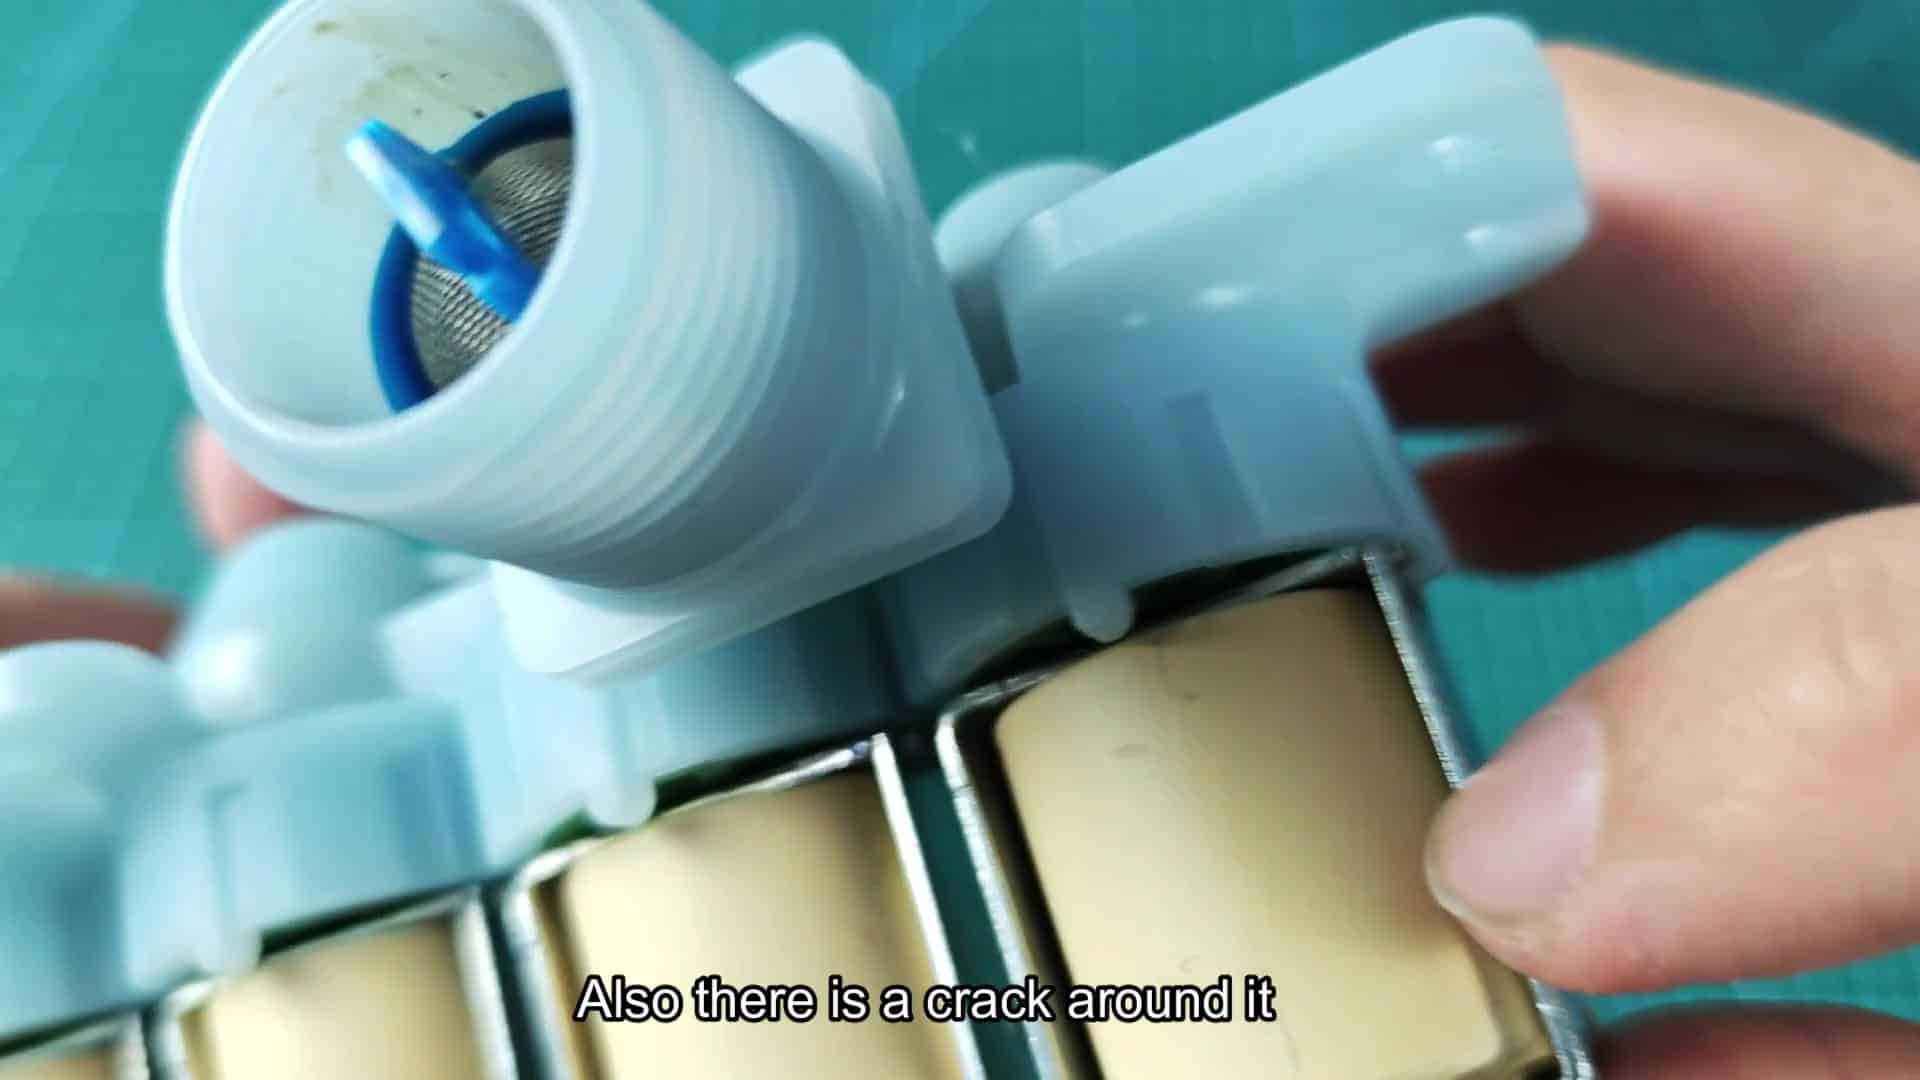
The electrical tests are important but so are visual inspections. You look at the actual housing too. Run your finger down on the outside of the solenoid plastic body for any signs of stress fractures.
Cracks in the valve assembly is caused by heat and age that will weaken the structure. A crack around one of the coils may be why it won’t seal well or why water is leaking internally. Looking closely at it shows that although it looks good there is a hairline crack. This crack is just enough to allow water to seep out, and over time, the water pressure exploits this tiny weakness and causes it to leak again.
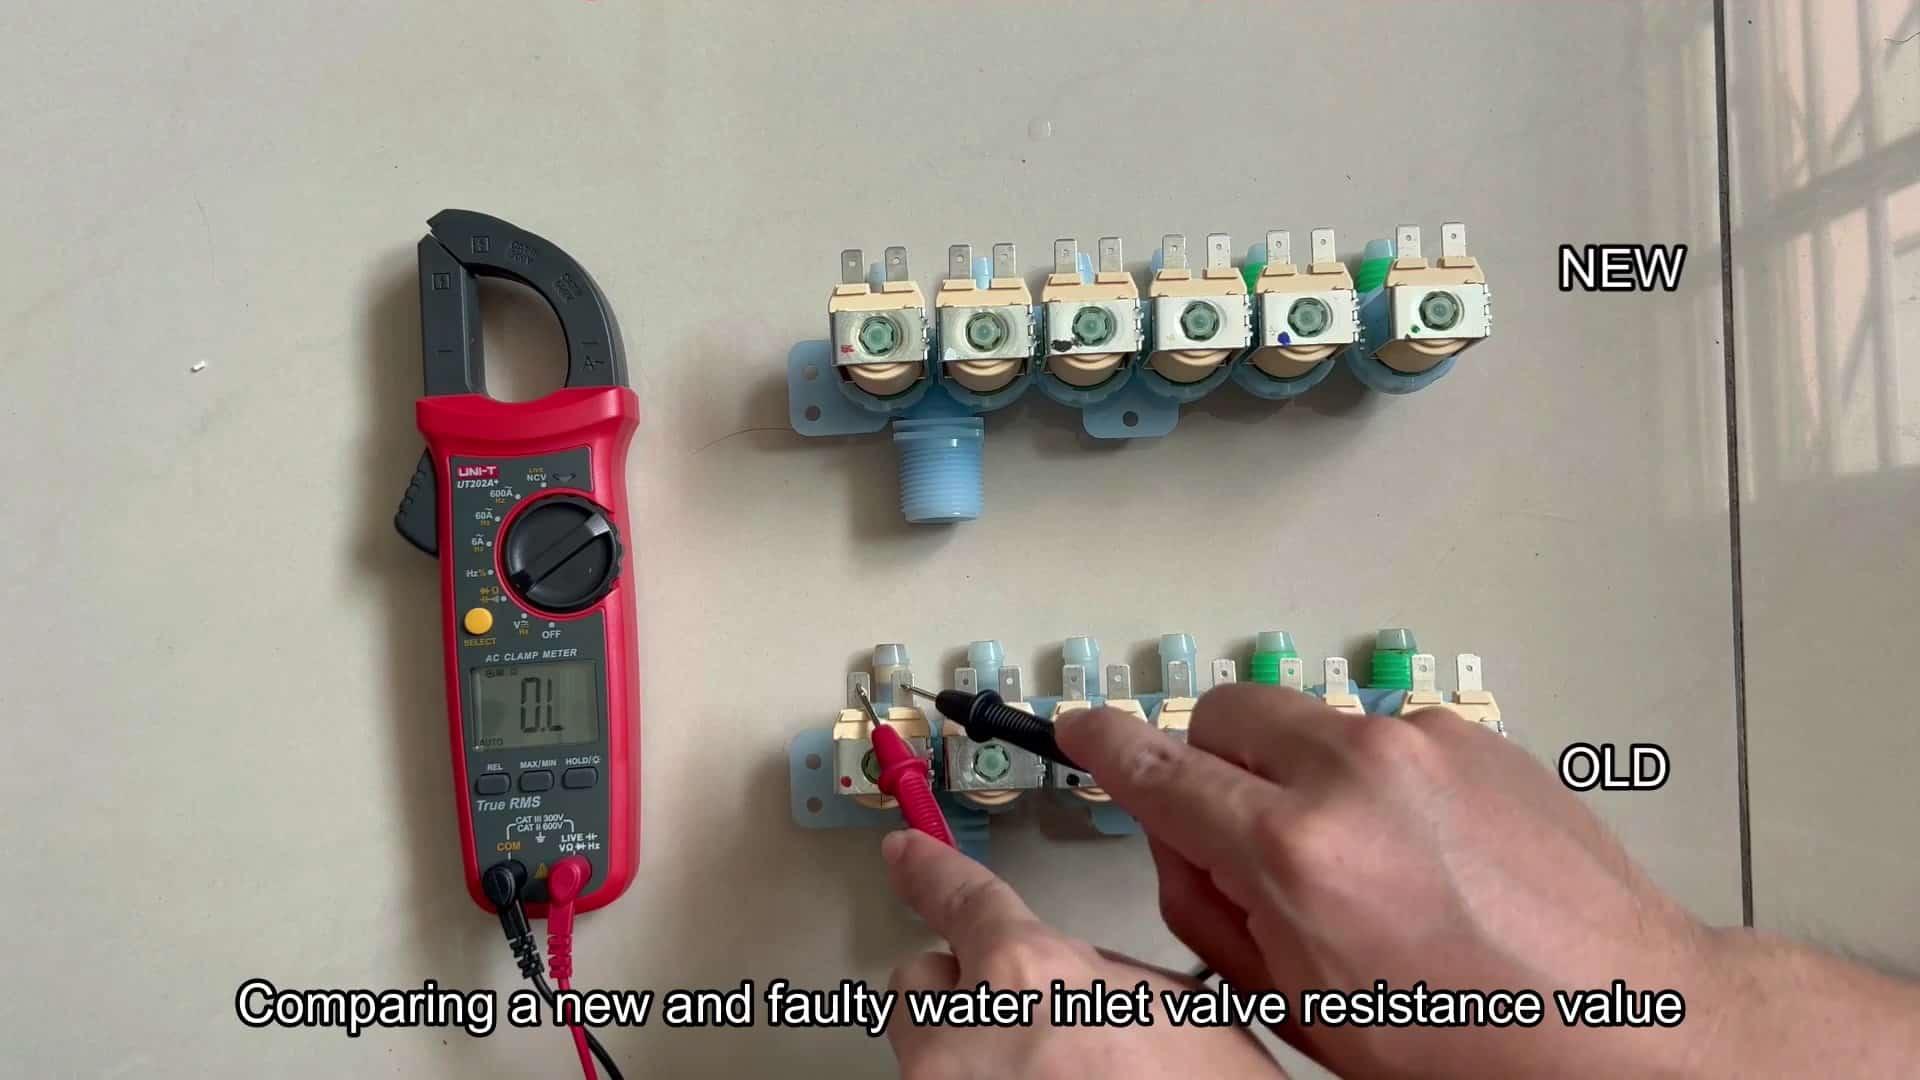
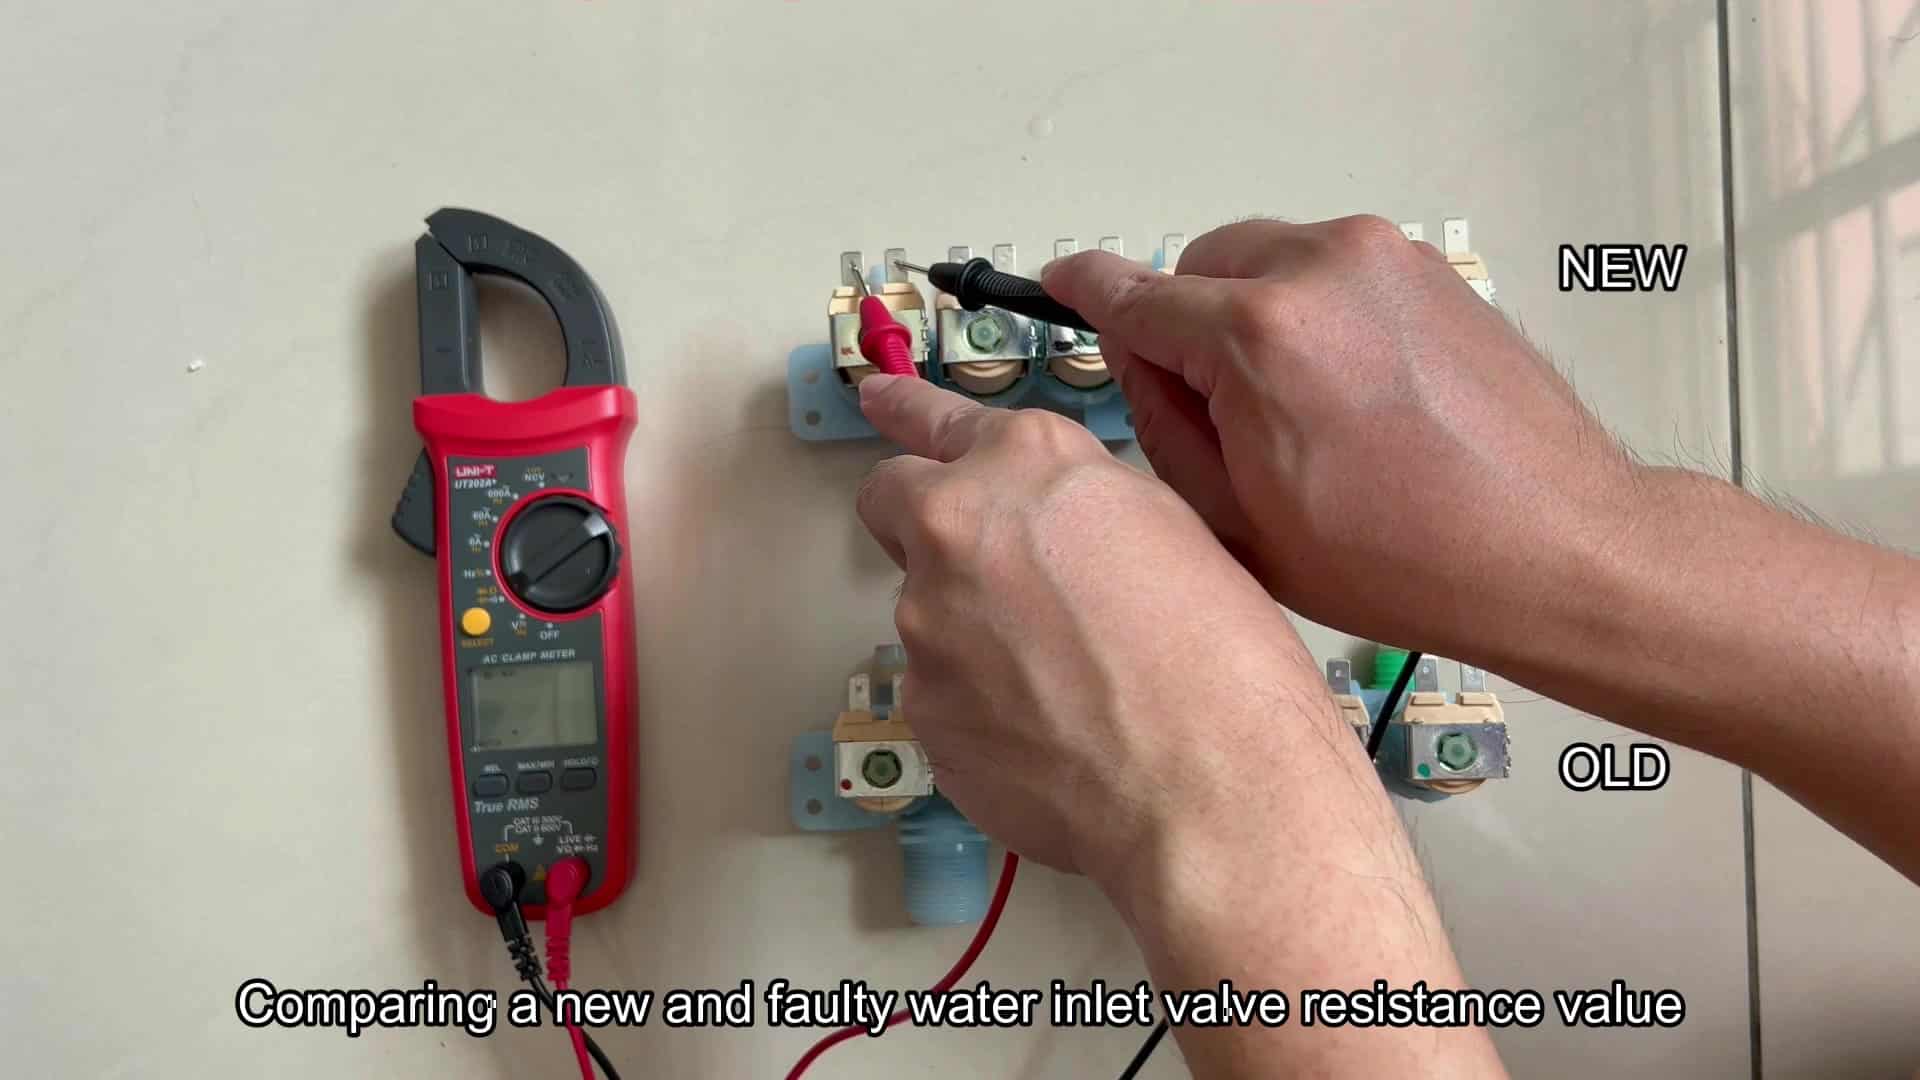
A cracked housing will leak water even though the electrical resistance might appear fine. You note the location of the damage for your records because visual checks complement the multimeter data perfectly. Using both tells you everything about the valve. To be certain about your findings you bring in a brand new valve for comparison. The differences are obvious as soon as you lay out the new valve alongside the old faulty one.
When you place the probes onto the new valve terminals, the display shows healthy resistance values of roughly 4.19 kOhm. This is the same as what you read off the good parts of the old valve, so it’s confirmed: 4 kOhm should be the right ballpark. For one last time you switch back to the old faulty unit for a final comparison test. Using your multimeter you test the bad solenoid. Immediately, your multimeter flashes an over-limit error code, leaving absolutely zero doubt about the open circuit state.
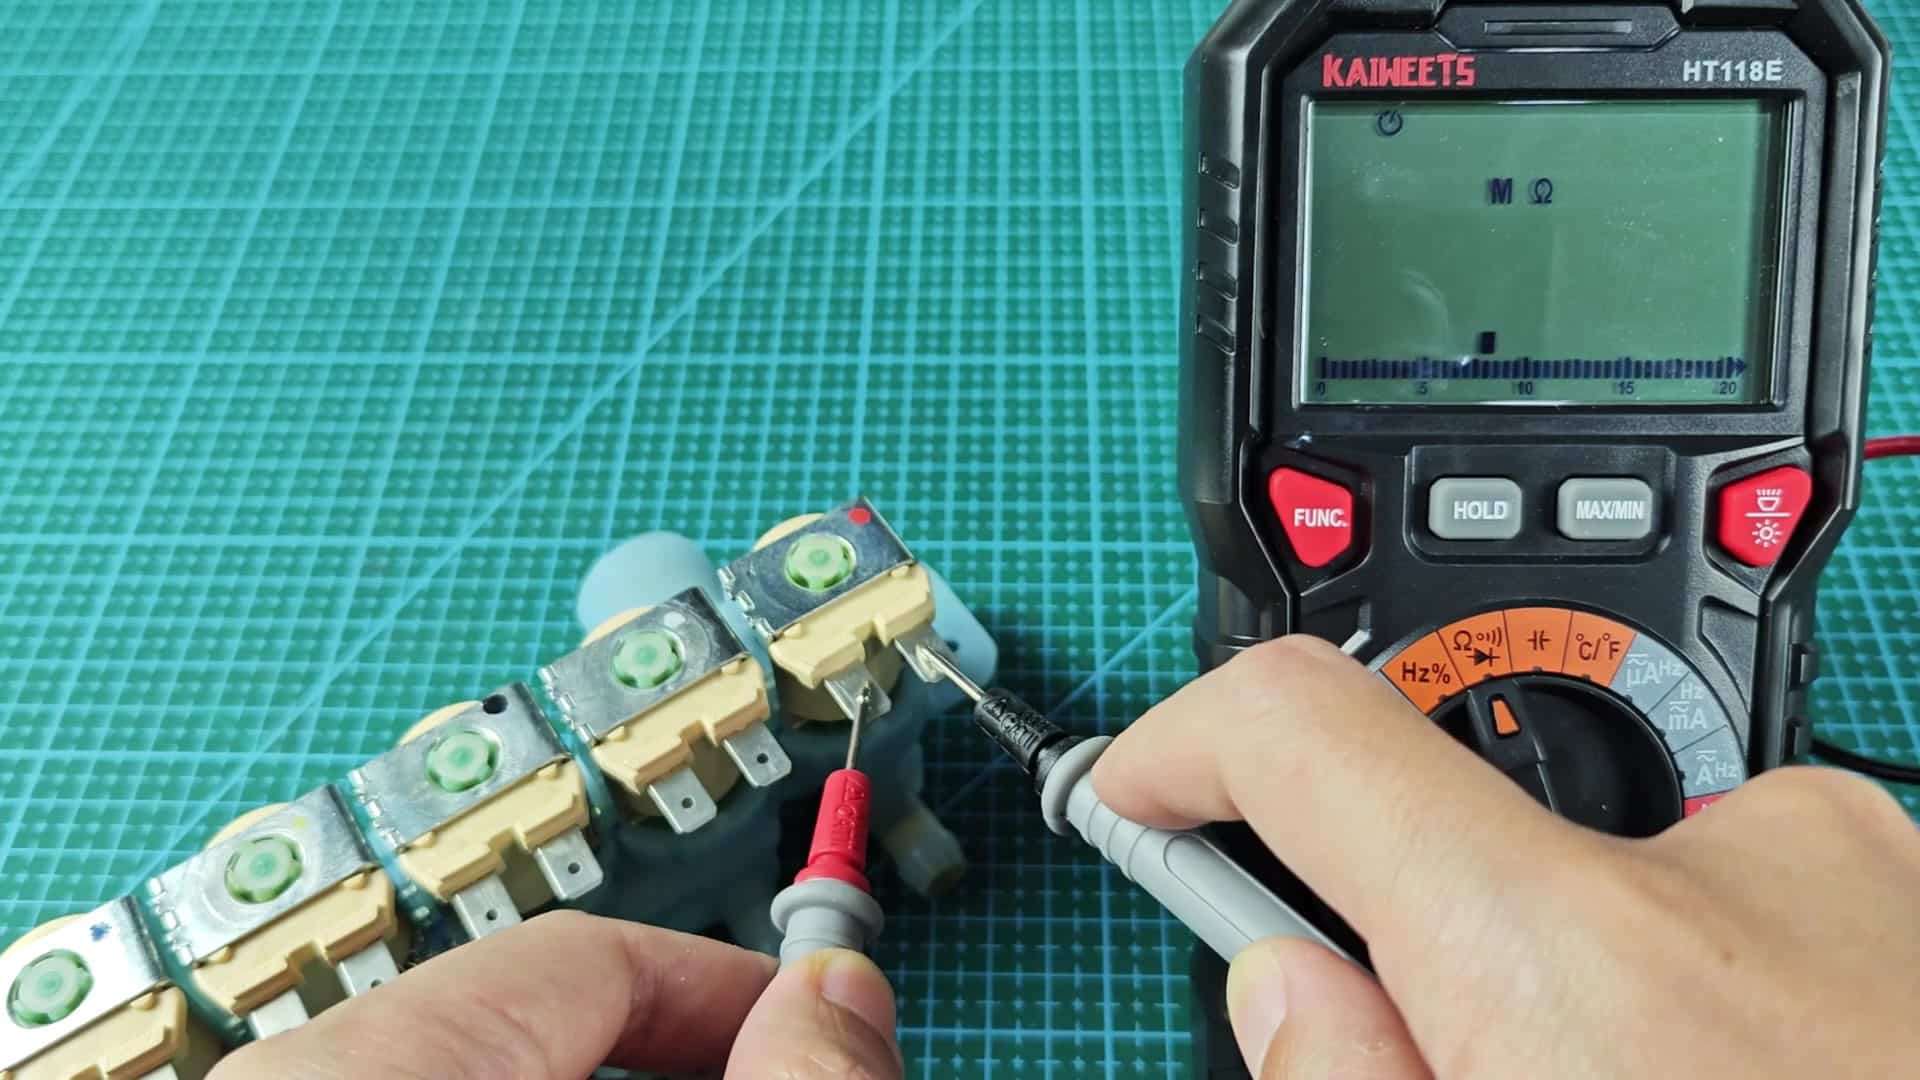
There is no continuity where there should of been. And it’s not even close. Your diagnosis is confirmed: The old component is dead as a doornail. The new valve makes for a perfect reference point in making the diagnosis. This is a clear diagnosis when you run those tests. With visual inspections and electrical resistance testing it’s tough to go wrong.
In this case, you’re looking at one bad solenoid: It shows both visually (cracks on the housing) and electrically (incorrect resistance). Both point to a bad valve, so it is time for replacement. Having an extra multimeter on hand can make diagnosing your appliance woes a lot quicker. A mystery leak means a quick swap-out.
Knowing what a normal value should be (the resistance of the coils in this case, which is normally about 4 kOhm) will make future repairs much easier, so you note those down on your documentation. It’s generally cheaper and more reliable to simply swap out the entire inlet valve assembly instead of just replacing a single coil. And since you had a pretty straight-forward diagnosis, the repair is not as long than you’d think.
The basics will always suffice for testing electricity; you don’t need a Ph.D to test electrical parts. The numbers are consistent. The faulty valve is clearly different than normal readings. You know that you’re onto something.
Replace it, and voila!. The washing machine problem is solved. Knowing precisely which component is malfunctioning saves you money and prevents buying replacement parts that aren’t needed. It’s all about keeping things simple.